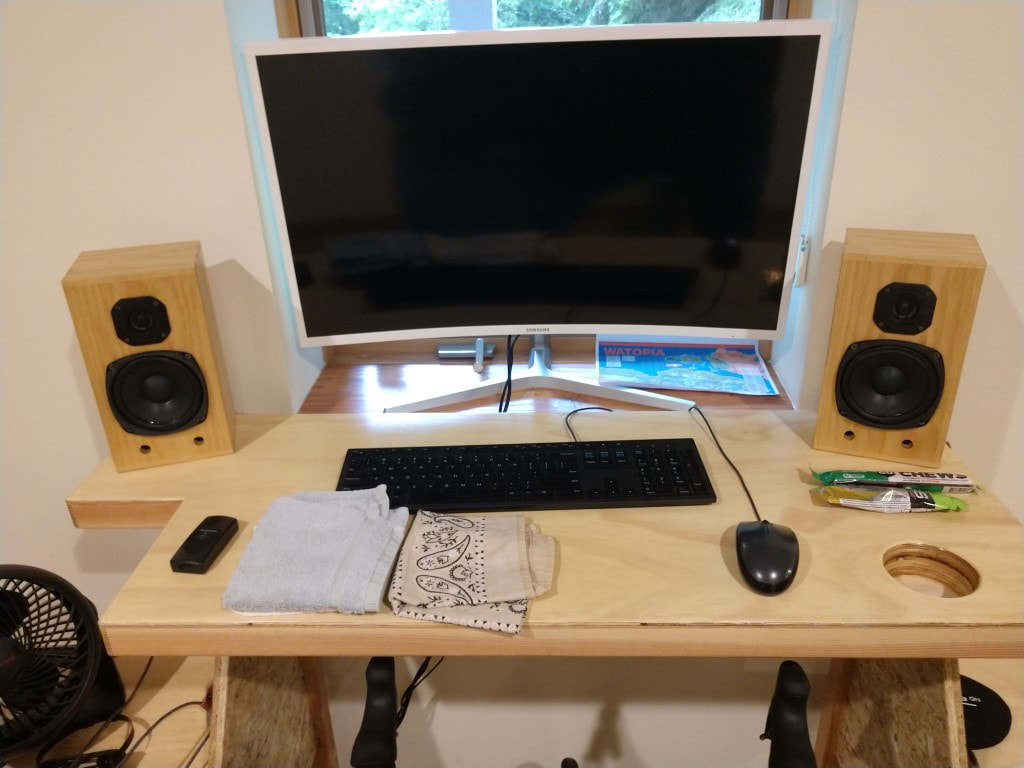
Zwift speakers - 2 way
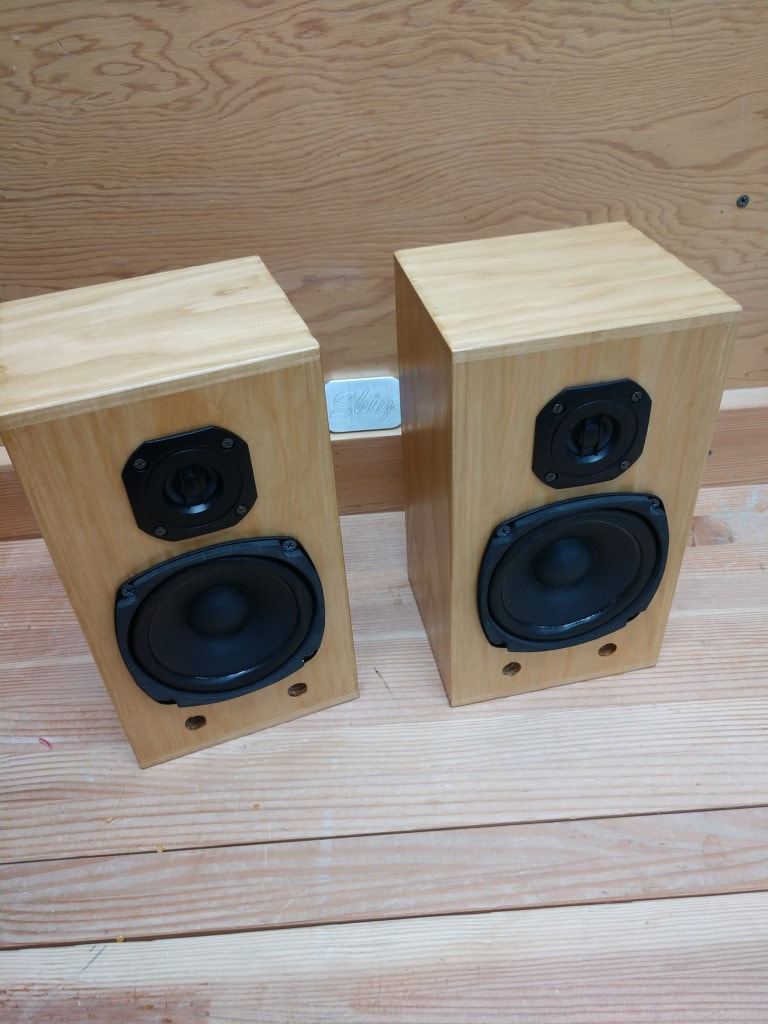
To go along with the Shigshop Zwift table, it was time for a new pair of speakers.
During the pandemic, we have been doing a lot of riding on Zwift (an indoor trainer cycling game). For musical entertainment, I've gone thru a few pairs of headphones. But I have some issues with headphones. With glasses on, they tend to get in the way and when I ride, I sweat to no end and I need to take my glasses off to wipe off my head. The headphones always get in the way when I try to put the glasses back on and I end up taking the phones off and sometimes not even bothering to put them back on.
I had some speaker parts on hand along with plenty of wood, an old Pioneer receiver, and of course, a shop. So, here we go - another set of small speakers, this time a 2 way design.
On another note, for future computer speakers, I would use these as opposed to my speakers in a day projects.
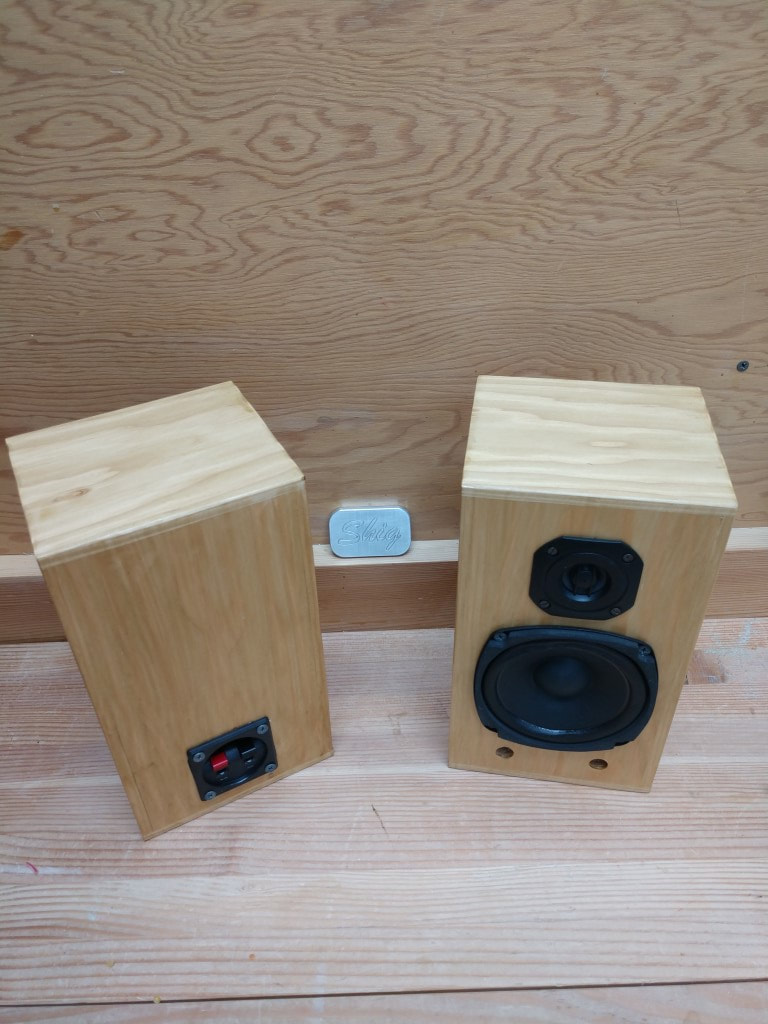
These little speakers are very surprising. The mid and high ranges are full and surprisingly dynamic, which is something I really like. Not a whole lot of bass, but that's to be expected with small cabinets. For what I use them for, the bass is certainly fine. If these were built for a primary system, a sub woofer would be a nice upgrade. I might design one someday... ;)
The design
|
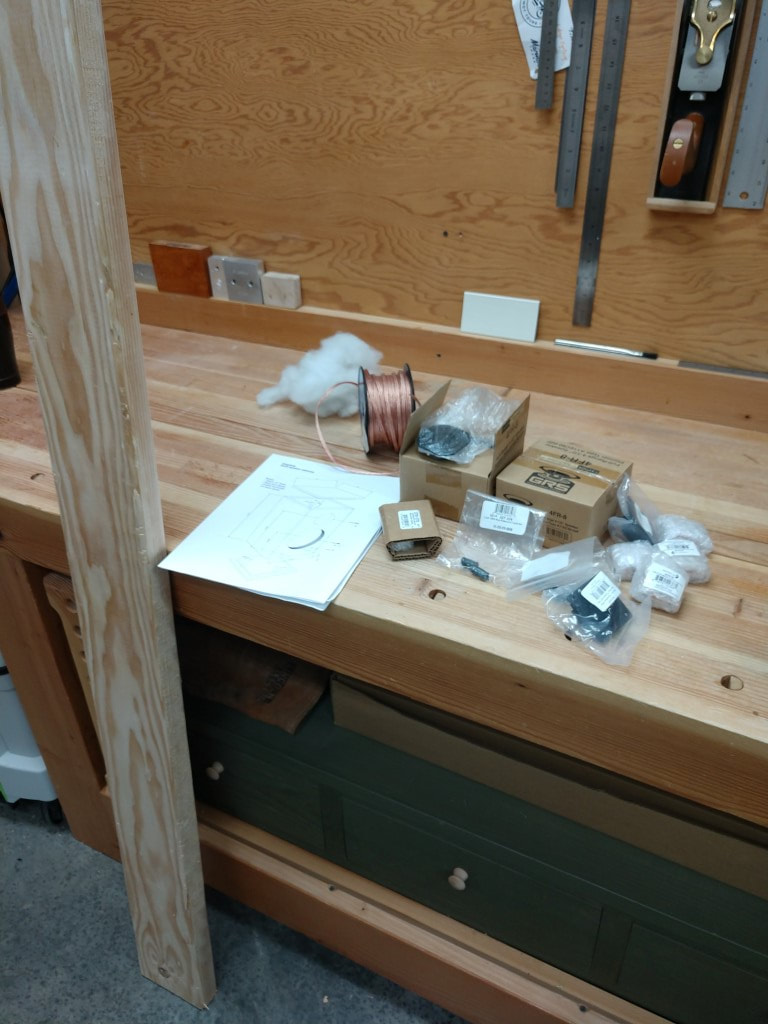
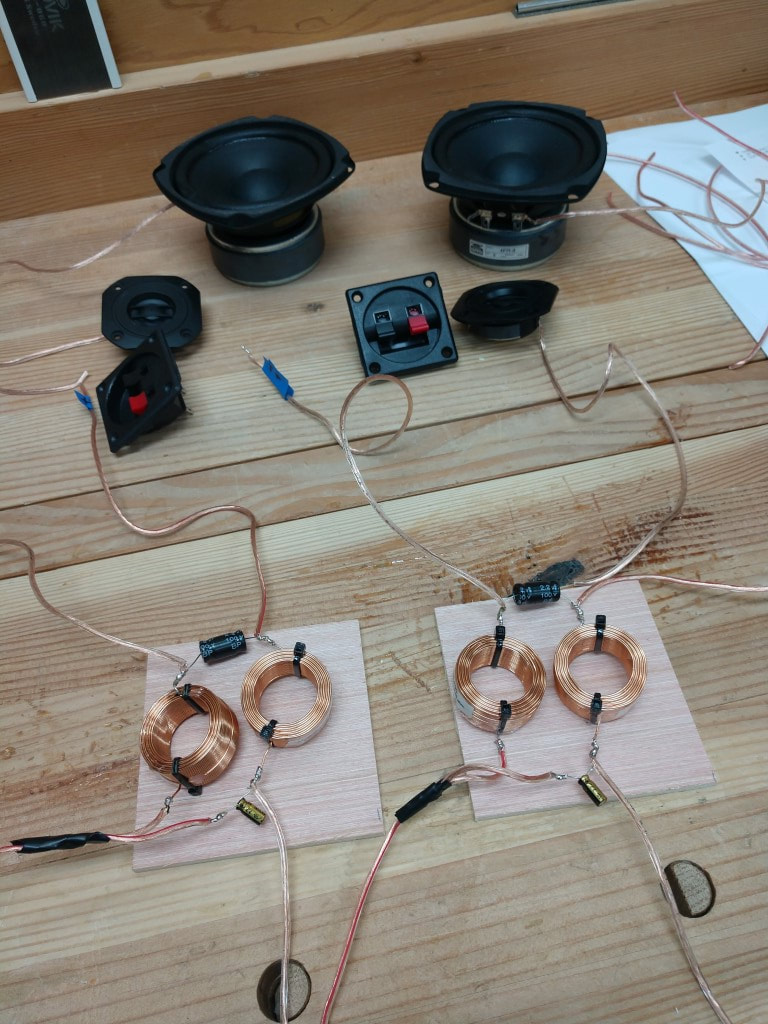
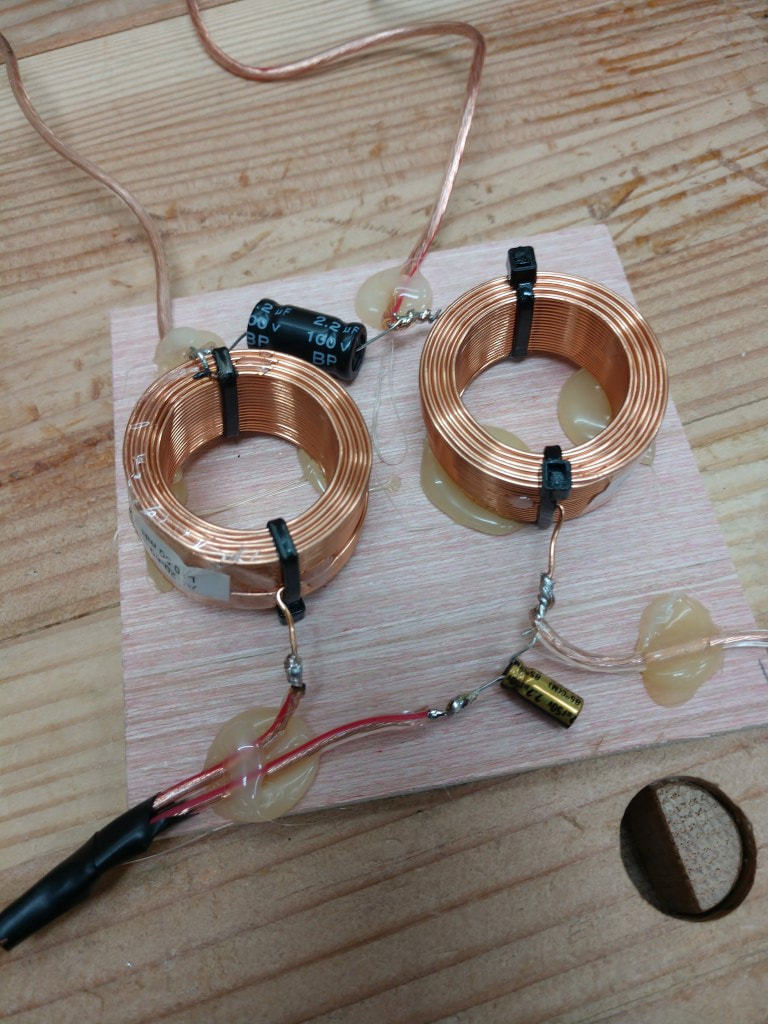
These speakers will be using the same GRS 4FR-8 woofers I used in the computer speakers in a day project. Hint: build these instead of those. :) They also get Goldwood GT302 tweeters and some Shigshop built crossovers. Here are the driver specs: Woofer - GRS 4FR-8
Tweeter - Goldwood GT-302
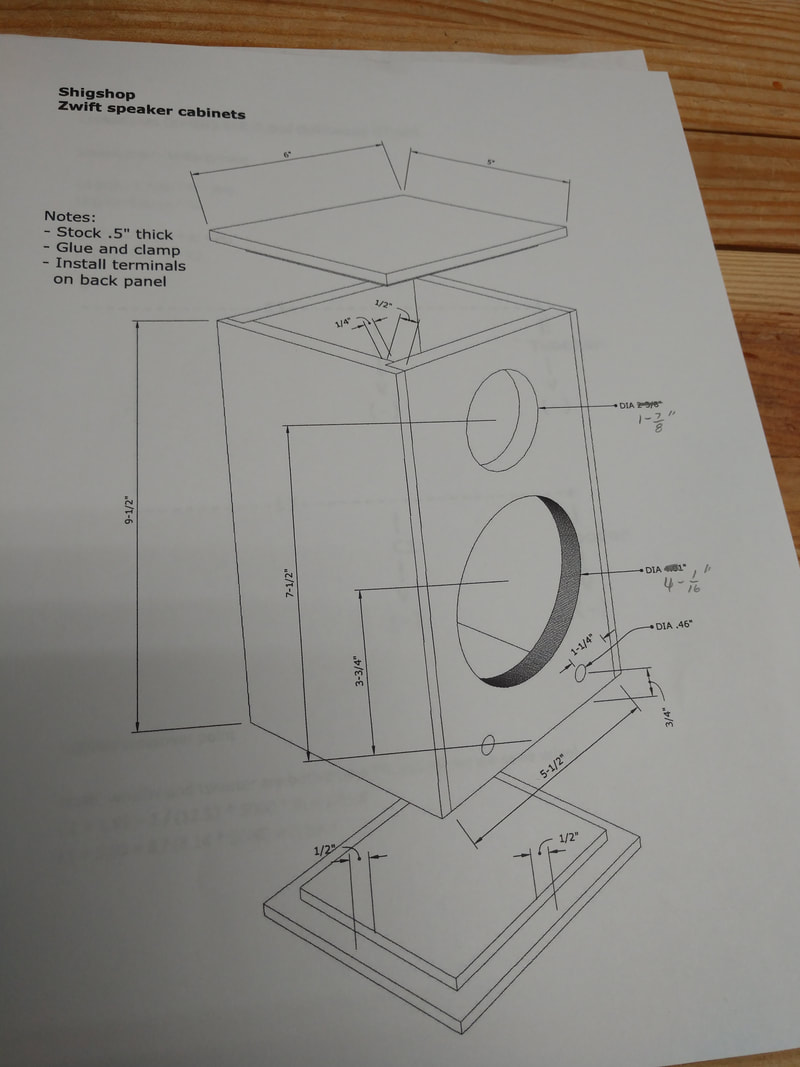
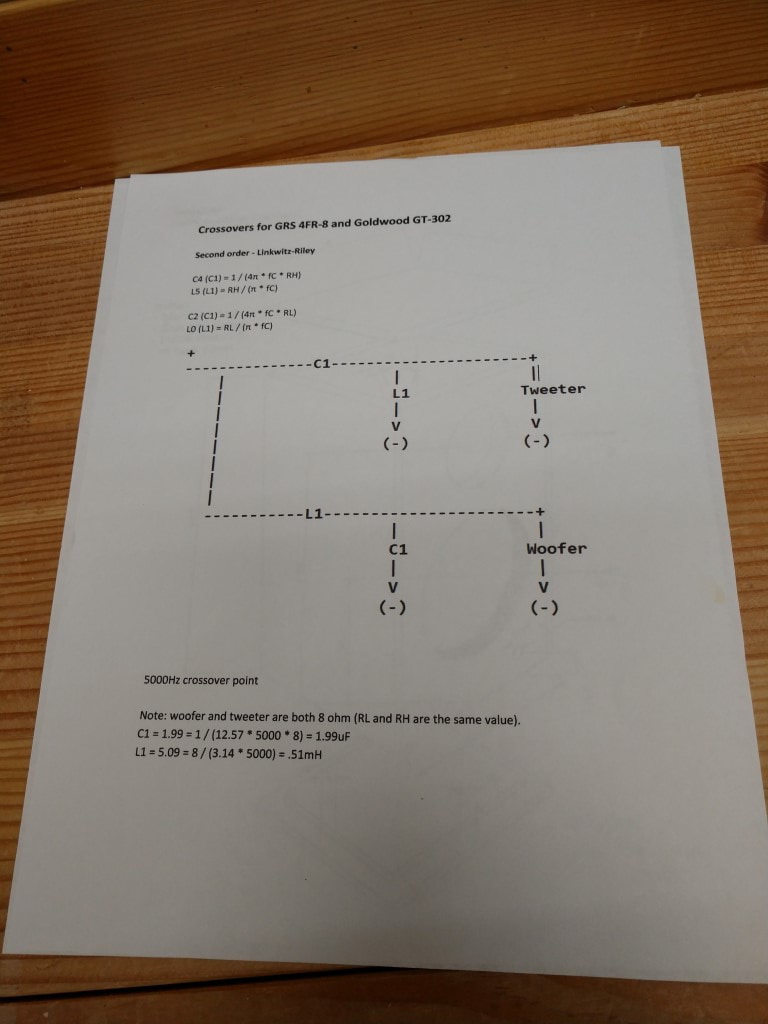
I went with vented cabinets with a volume of about .1 cubic foot and two 1/2" ports, that should tune these to around 95hz (fine for the intended purpose). The crossovers are a 2nd order Linkwitz-Riley design with a 5000hz crossover point. All speaker components with purchase links are listed on the bottom. |
The build
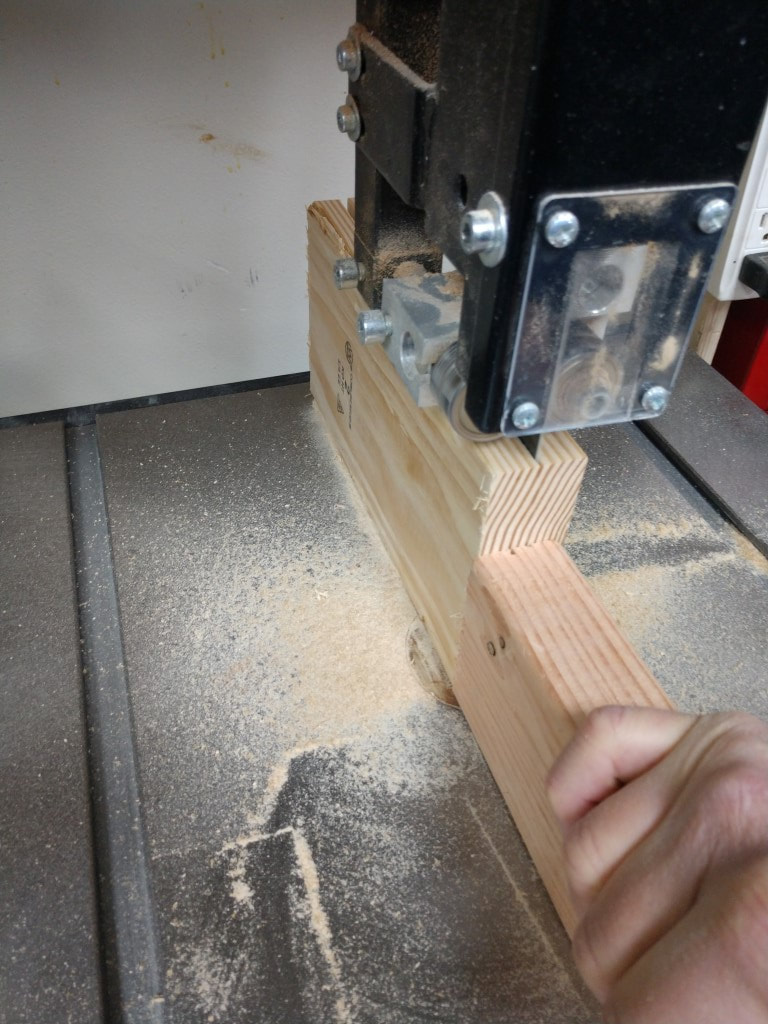
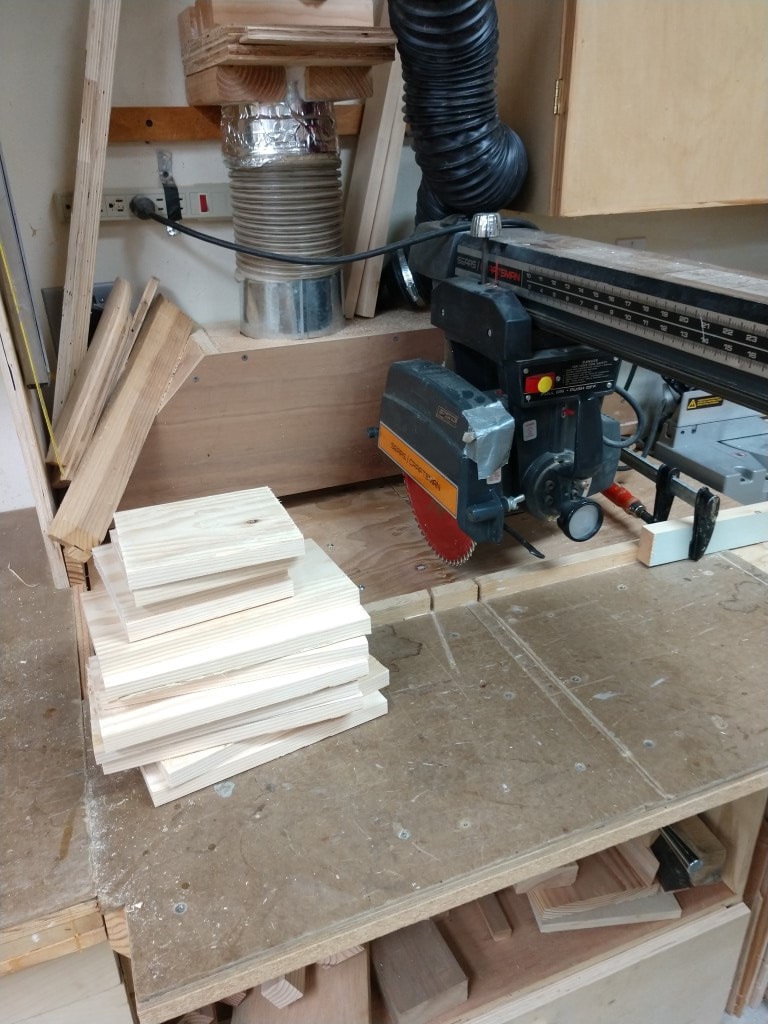
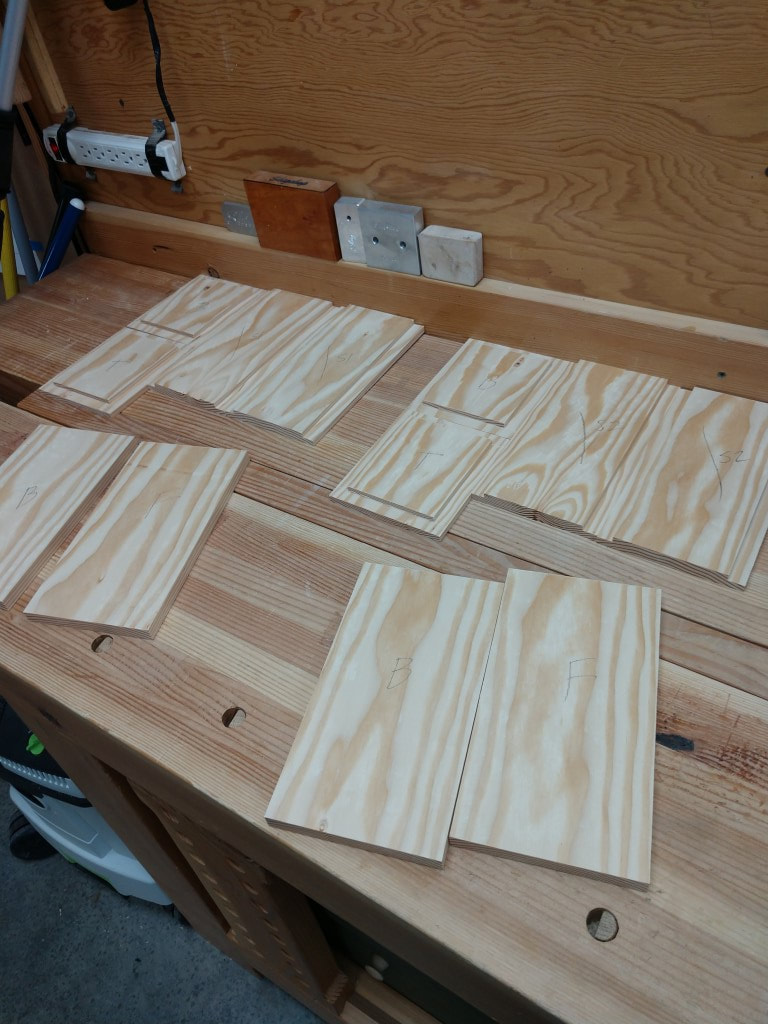
The cabinets get built first. A 2x6 piece of douglas fir got jointed, crosscut, ripped, and planed to final dimensions for all of the pieces to make both cabinets. I used a radial arm saw, table saw, power jointer, band saw, and power planer to do these ops.
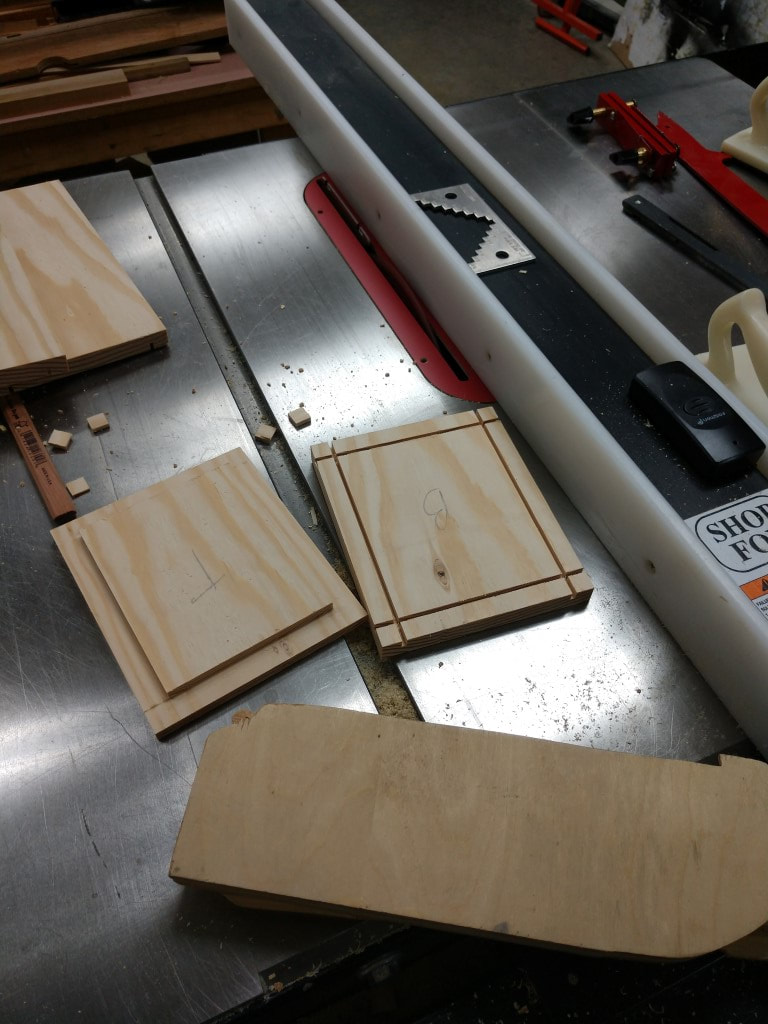
For joinery, simple rabbetts were cut on the table saw.
For joinery, simple rabbetts were cut on the table saw.
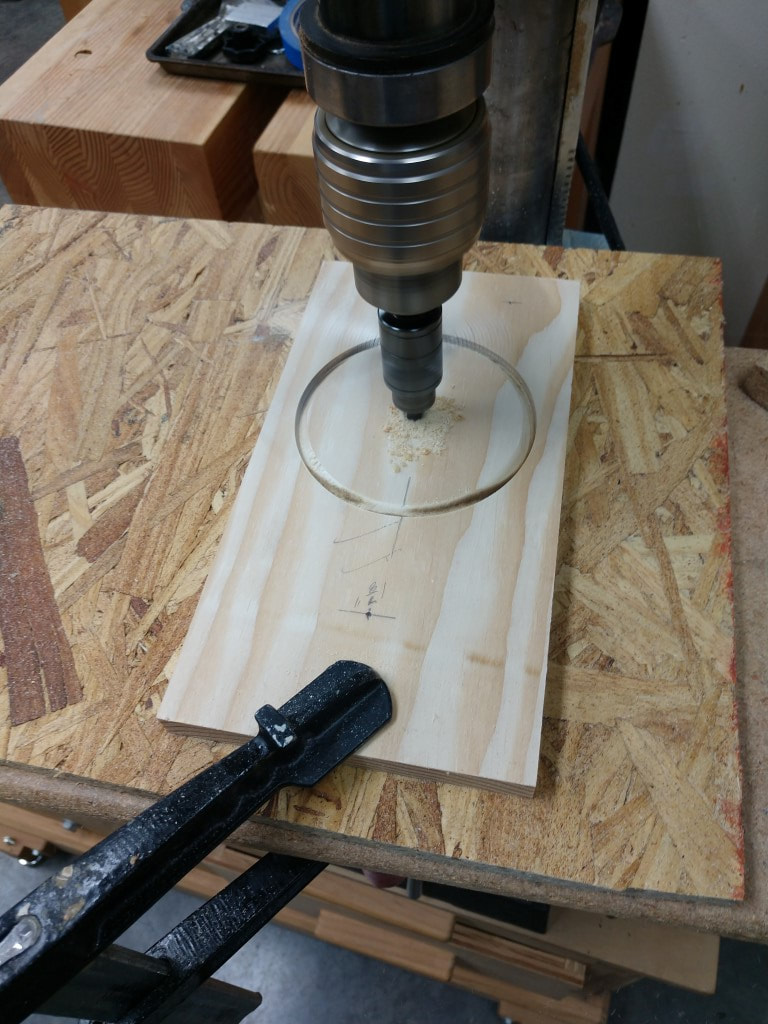
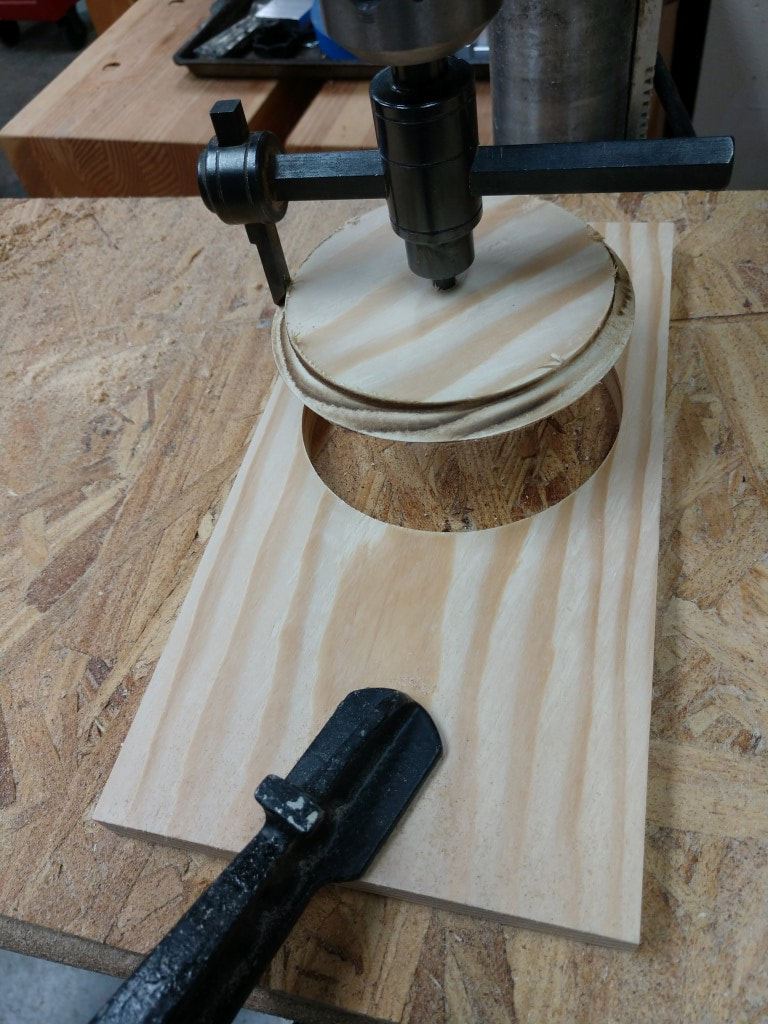
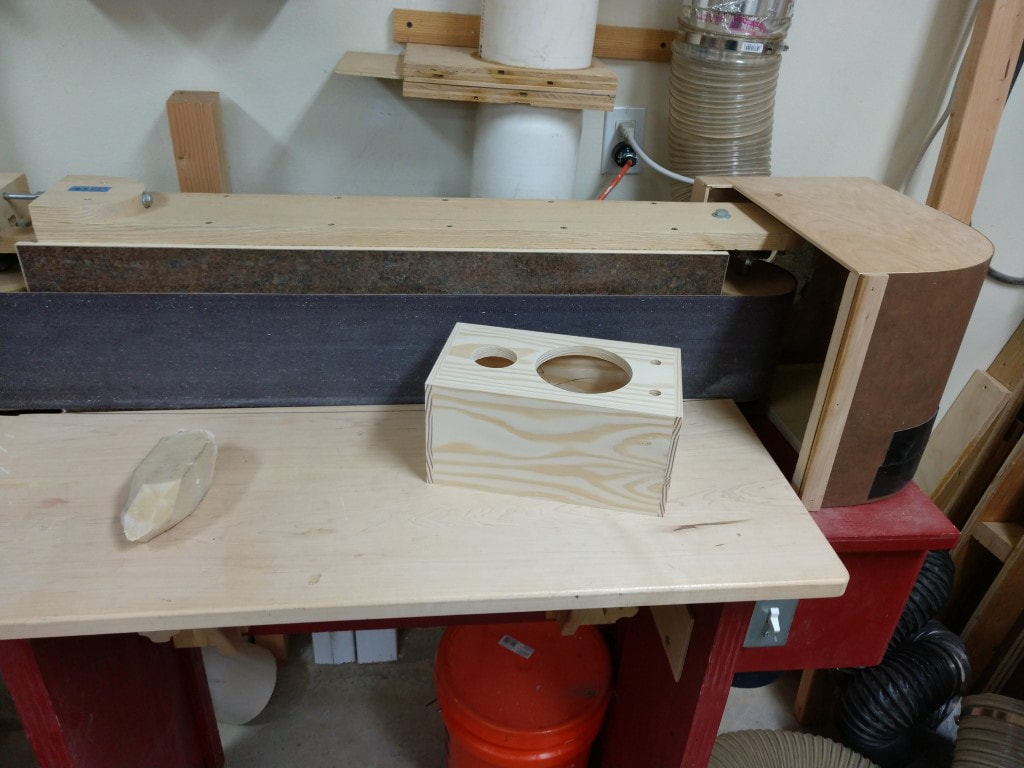
The holes for these speakers aren't standard holesaw sizes. I have a fly cutter that is fully adjustable and worked perfect for these guys. My biggest issue with this method is the fine dust it produces and not having a good way to capture it via my dust collection system, so I wear a respirator.
For the small port holes, I used a 1/2" forstner bit. The actual size should be closer to .46", but that's a hard size to cut and sound-wise, it won't make any difference to me.
For the small port holes, I used a 1/2" forstner bit. The actual size should be closer to .46", but that's a hard size to cut and sound-wise, it won't make any difference to me.
Here's an Amazon link to that fly cutter I use - a drill press is required....
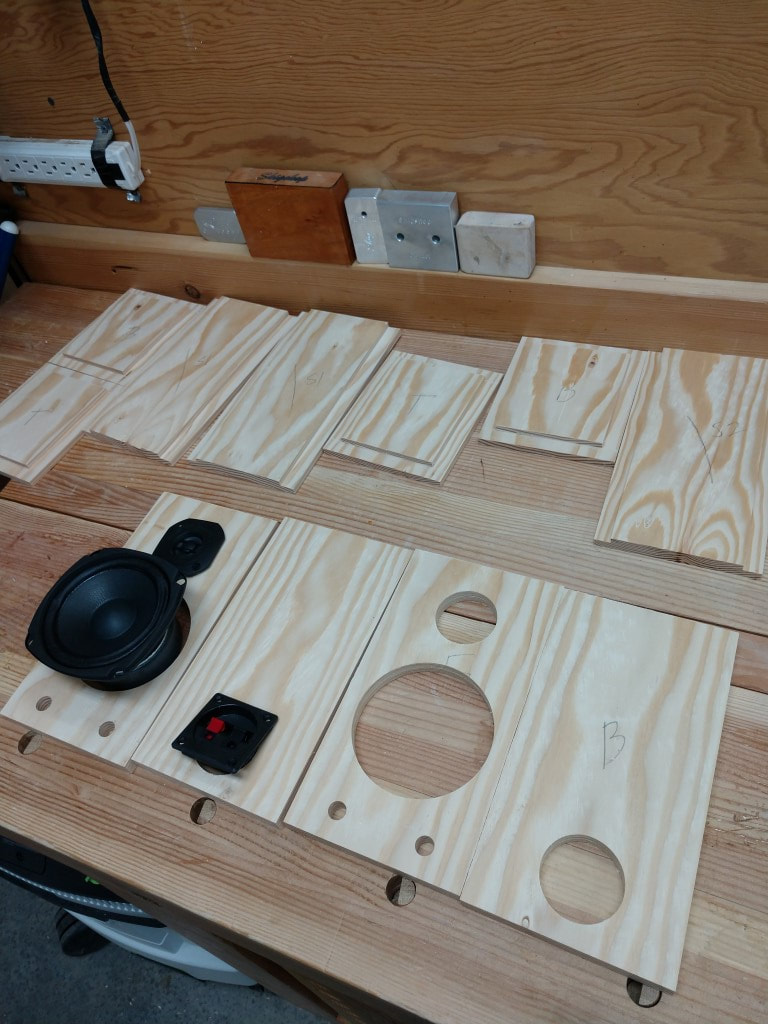
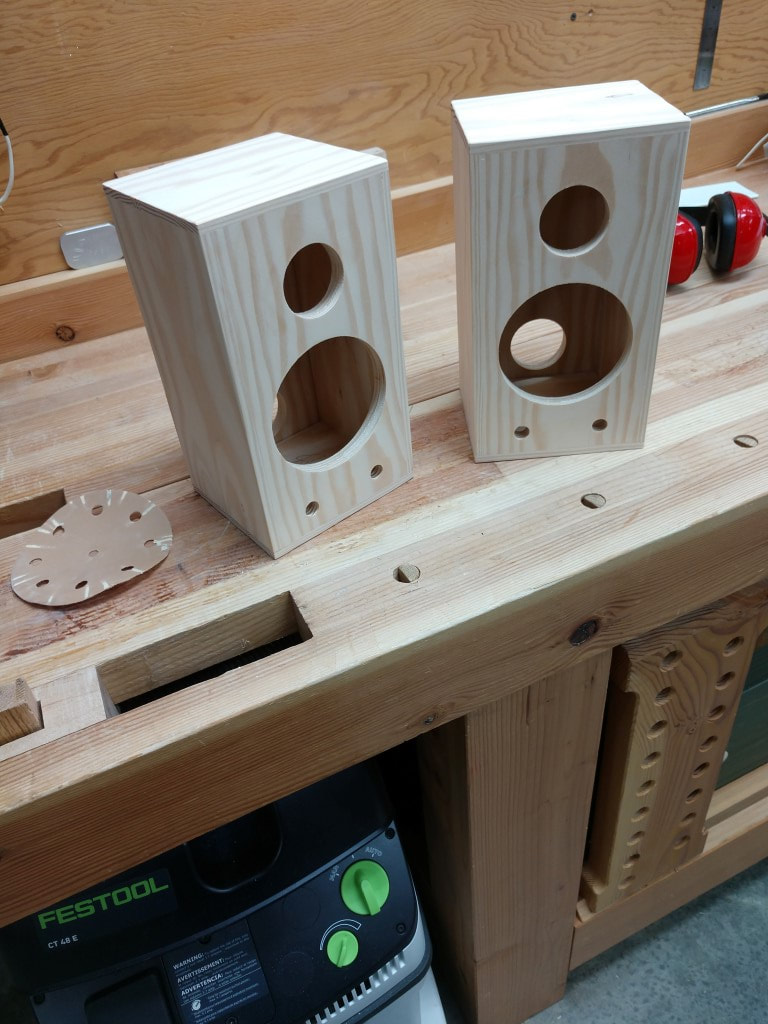
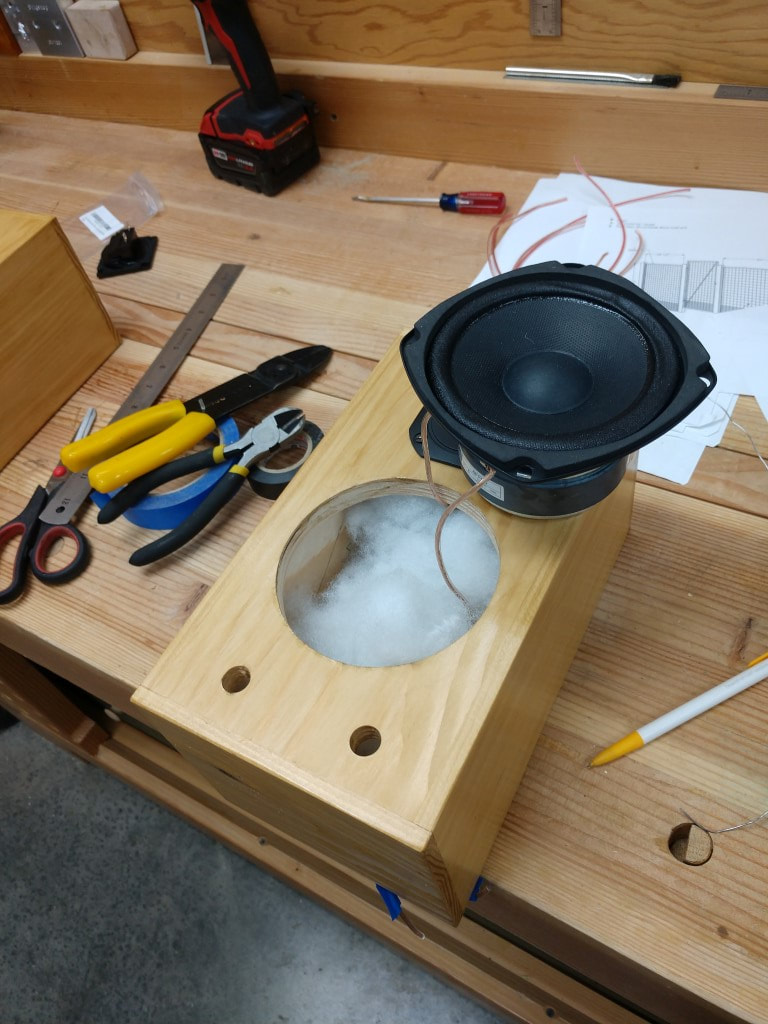
Ready for glue up. No pics of that process, which consisted of applying glue to the rabbetts, then putting them together and clamping. A bit of a juggling act, but it got done.
The way I designed the cabinets with rabbetts on the top, bottom and side pieces ensure everything stays square during glue up.
Final assembly
Time for a ride...
Speaker components used in this build
If you choose to use the links below, a small amount will be credited to me to help support Shigshop.com. If you do, thank you for your support!
Woofers
I have used these woofers on all of my computer and now Zwift speakers. They would also make a good center channel speaker for a home theater system (wink...).
Obviously, 2 required for a pair of speakers.
I have used these woofers on all of my computer and now Zwift speakers. They would also make a good center channel speaker for a home theater system (wink...).
Obviously, 2 required for a pair of speakers.
Tweeters
These pair up nicely with that woofer. I tried a couple different tweeters and crossover designs, but prefer these Goldwoods.
These pair up nicely with that woofer. I tried a couple different tweeters and crossover designs, but prefer these Goldwoods.
Crossover parts and other stuff
The crossovers require 2 of these capacitors in each crossover, so, you'll need 4 in total. This is a pack of 6, which will do.
The crossovers require 2 of these capacitors in each crossover, so, you'll need 4 in total. This is a pack of 6, which will do.
Air core inductors. You'll need 2 in each crossover - so a total of 4.
No need to go overboard with speaker wire for these little guys. This wire will be used for the internal wiring, with plenty left over that can be used to connect the speakers to your amp.
For simple speakers, I like spring loaded terminals. Square or round ones can be found - I like the ones that have screw down anchor points, some are just a press fit into the cabinet hole. The spring loaded terminals make them easy to use - just strip the end of the speaker wire, push the tab and insert the wire.
Plenty of polyfill here for quite a few speakers.
Integrated amp
Here's an inexpensive amp that will work great. Kinter is another company that makes an almost identical one - either would be fine.
Here's an inexpensive amp that will work great. Kinter is another company that makes an almost identical one - either would be fine.
Bluetooth receiver
Assuming you want to make this super simple and stream music from your phone over bluetooth, you'll need a Bluetooth receiver for that little amp.
Assuming you want to make this super simple and stream music from your phone over bluetooth, you'll need a Bluetooth receiver for that little amp.
Deoxit
If you get an old receiver or integrated amp, you might need this....
If you get an old receiver or integrated amp, you might need this....
If you made it this far, here are some free plans for the cabinets and crossovers (use parts listed above). These are super simple plans, but should suffice for this build. After downloading, extract it since it's a compressed (.zip) file.
Although an effort has been made to ensure these plans will produce a good safe project, Shigshop.com does not assume any liability as a result of any usage of these plans or project as a result. Do not use these plans for commercial purposes.
Be careful and proceed at your own risk.
Although an effort has been made to ensure these plans will produce a good safe project, Shigshop.com does not assume any liability as a result of any usage of these plans or project as a result. Do not use these plans for commercial purposes.
Be careful and proceed at your own risk.
| zwift_speakers.zip | |
| File Size: | 118 kb |
| File Type: | zip |
Thanks for reading folks! I hope you build a pair. Contact me via the button below and let me know how it goes.

