
Speakers in a day - again. This time, 3 pair.
My wife kept asking for new speakers for her computer. She works at home quite a bit and never really had any decent computer speakers. So, I did a little research and found a full range driver that lots of folks seemed to like - and they were less than $9 a piece. With inexpensive amps and power supplies, I figured 3 pair wouldn't cost too much at all. Doing projects like these are fun. I waited until my son had a weekend away from college and we kicked them out in a day. For Shigshop "speakers in a day", they have to go from rough lumber and a pile of parts to music by the end of the day. These did it with time to spare.
NOTE:
My Zwift (computer) speakers are an upgrade. Click here for more info.
NOTE:
My Zwift (computer) speakers are an upgrade. Click here for more info.
The design
|
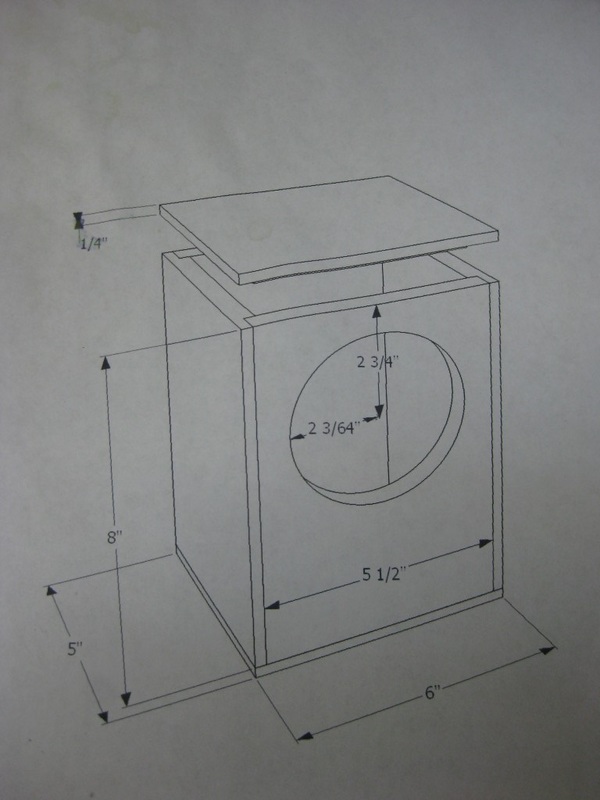
Keeping it simple on this build. We took some 5/4 maple boards - then, resawed and planed them down to 1/2" stock, which was just right for this project. Each cabinet has 2 holes - one 4-1/8" hole for the speaker, and a 1" port in the rear - the wires come out of the port hole - no terminals on these little guys.
|
Parts
|
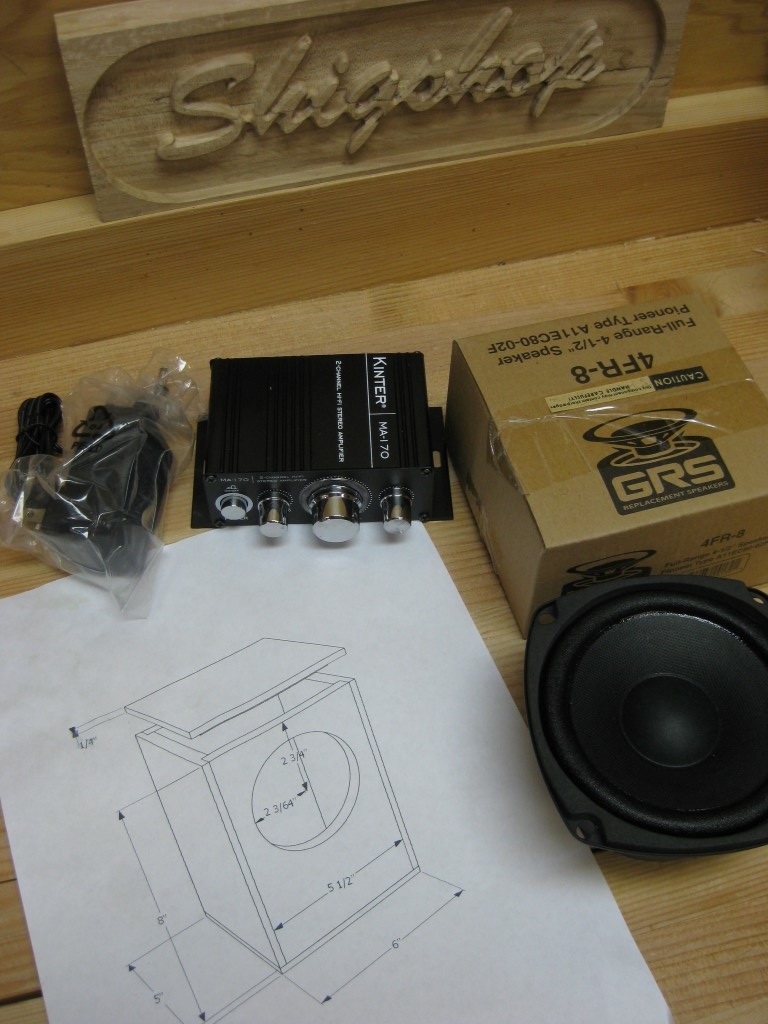
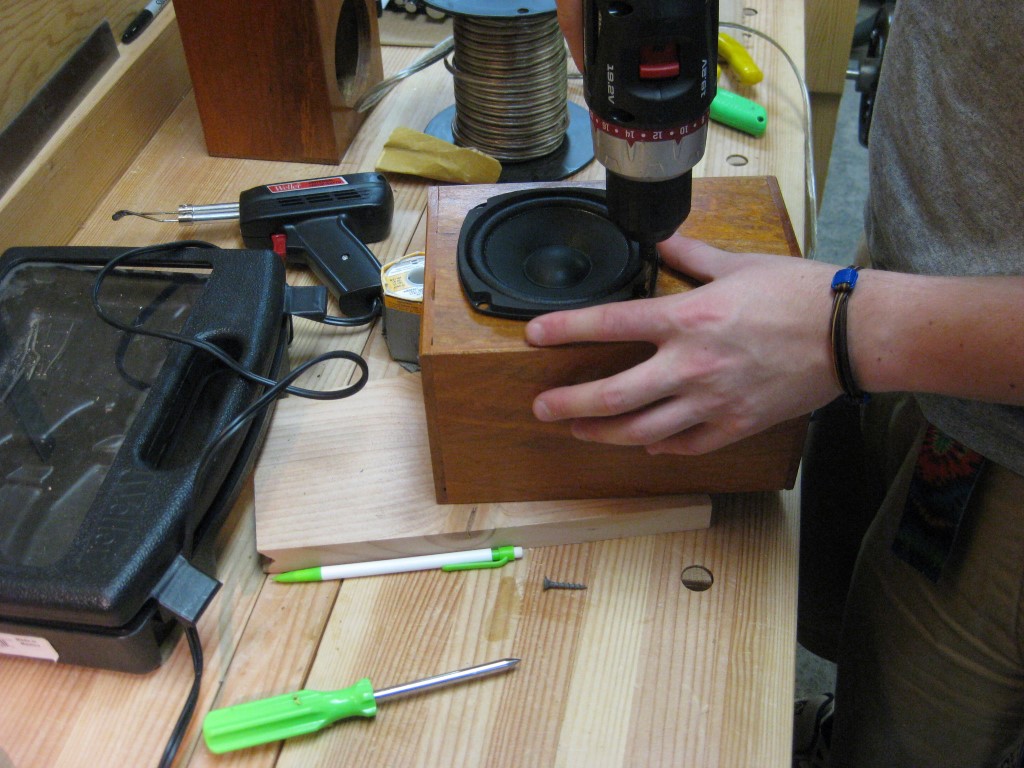
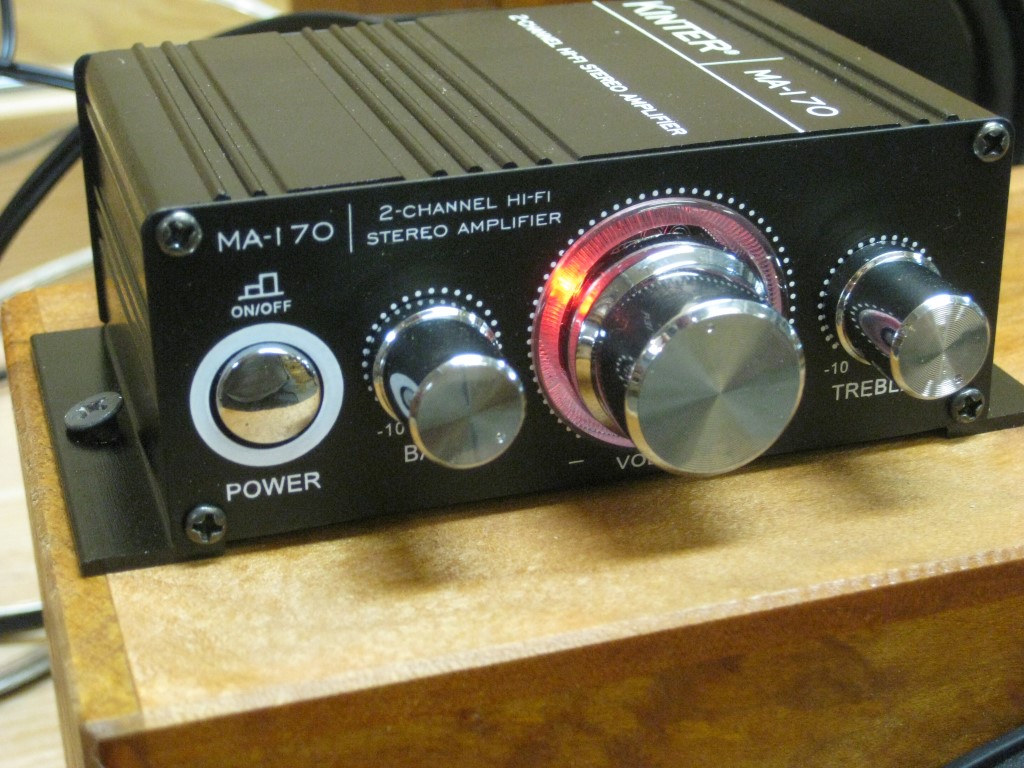
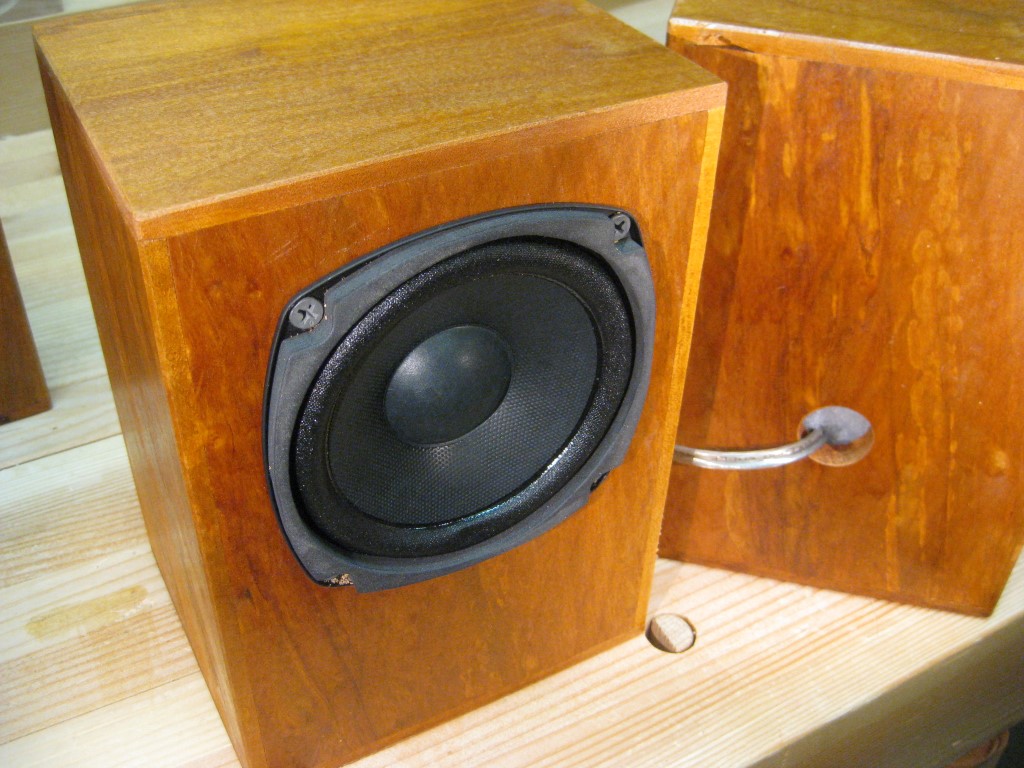
The speakers are full range GRS, model 4FR-8, 4-1/2" drivers, and the amp is a "Kinter MA-170" - we are using wall wart power supplies.
|
Links to parts:
|
GRS 4FR-8 full range speakers
 |
Kinter MA-170 amplifier
 |
The build
We start by jointing, resawing, ripping, and planing the pieces to final dimensions

Resawing on the bandsaw.
|
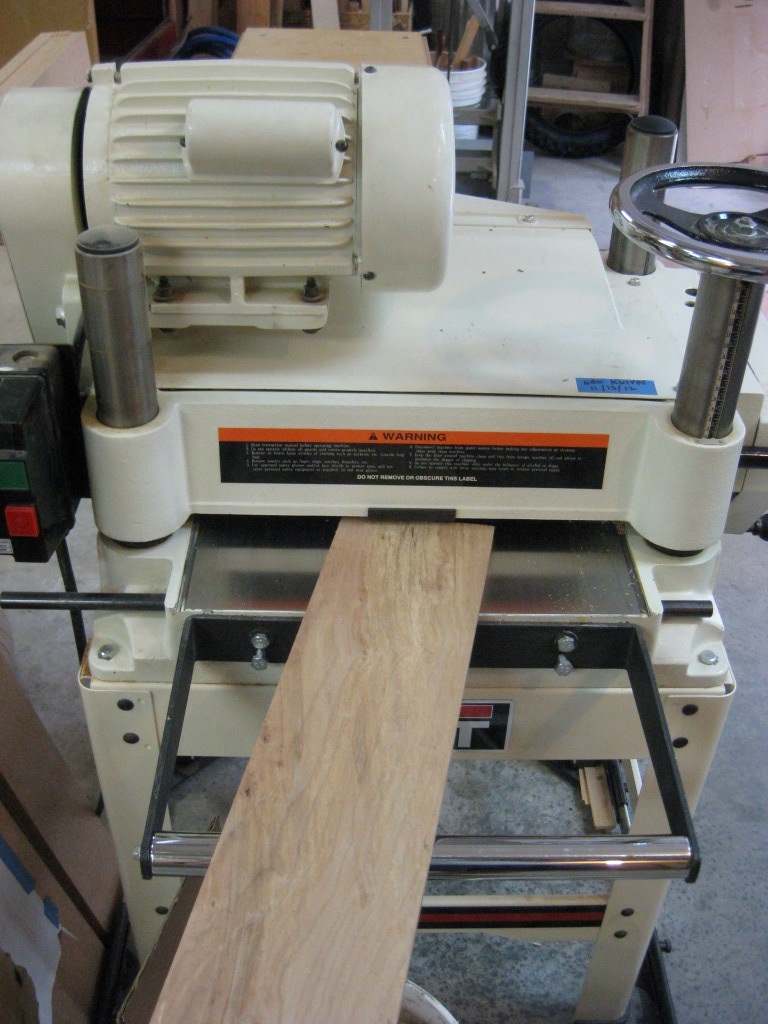
Planing
|
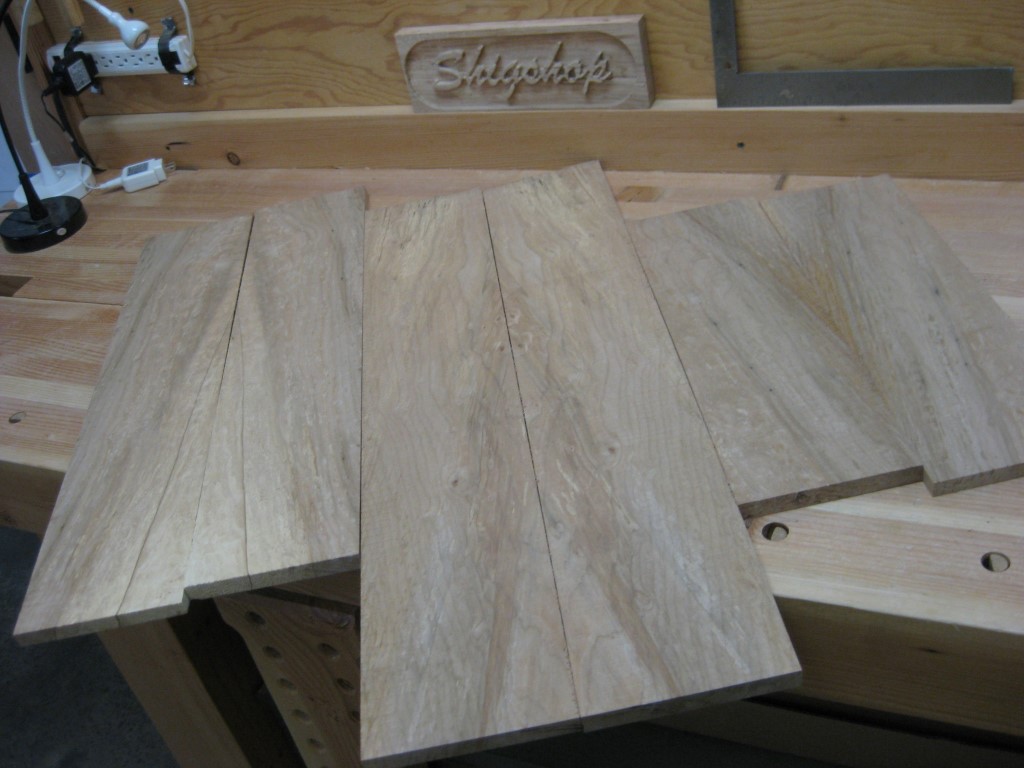
ready for crosscutting
|
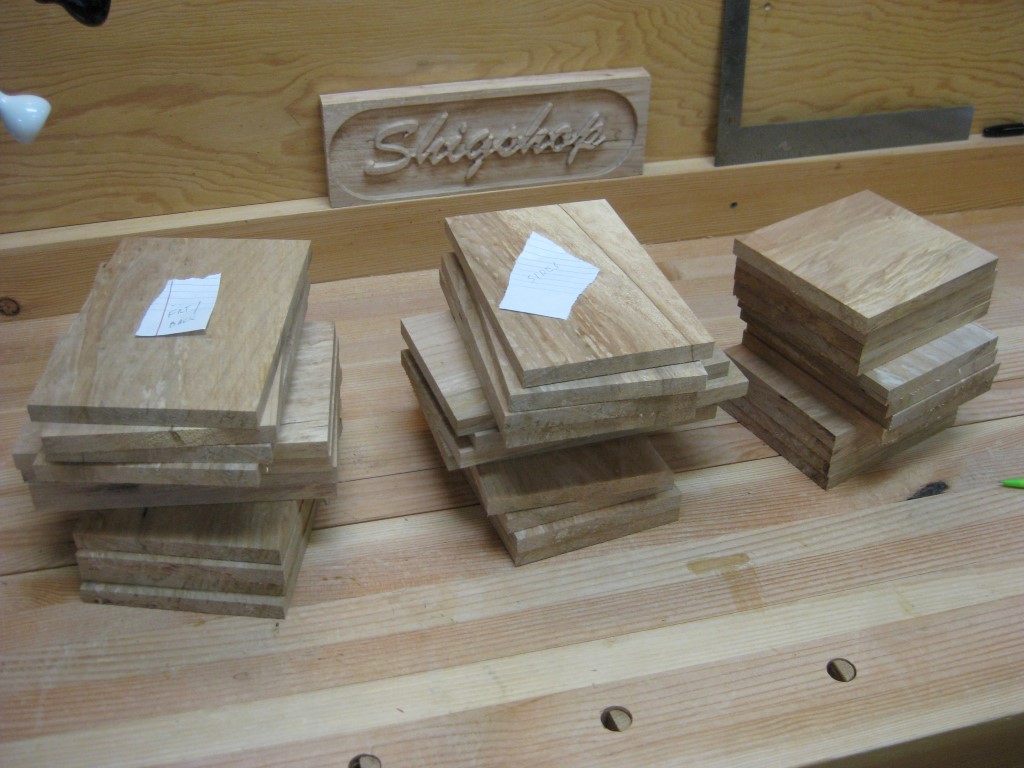
The radial arm saw brought them to their final lengths. And we end up with a few stacks of wood - we label each stack, otherwise, we'll lose track. There's quite a few little pieces - some with very similar, but different dimensions. I've learned the hard way to keep track of the pieces for this kind of project. Sometimes, I put a piece of tape on the piece and write it's name on it. On other projects, I might just write something in an inconspicuous spot, like on a tenon. In this case, I keep the stacks separated and put a tag on 2 of the 3 stacks.
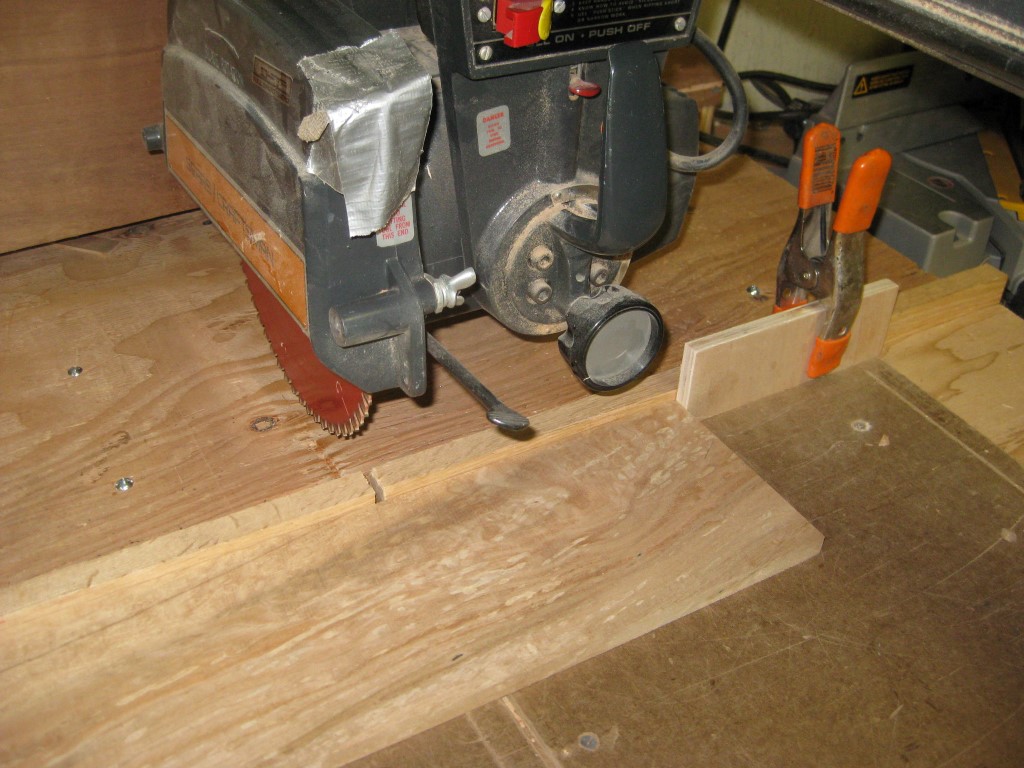
Still like my RAS!
|
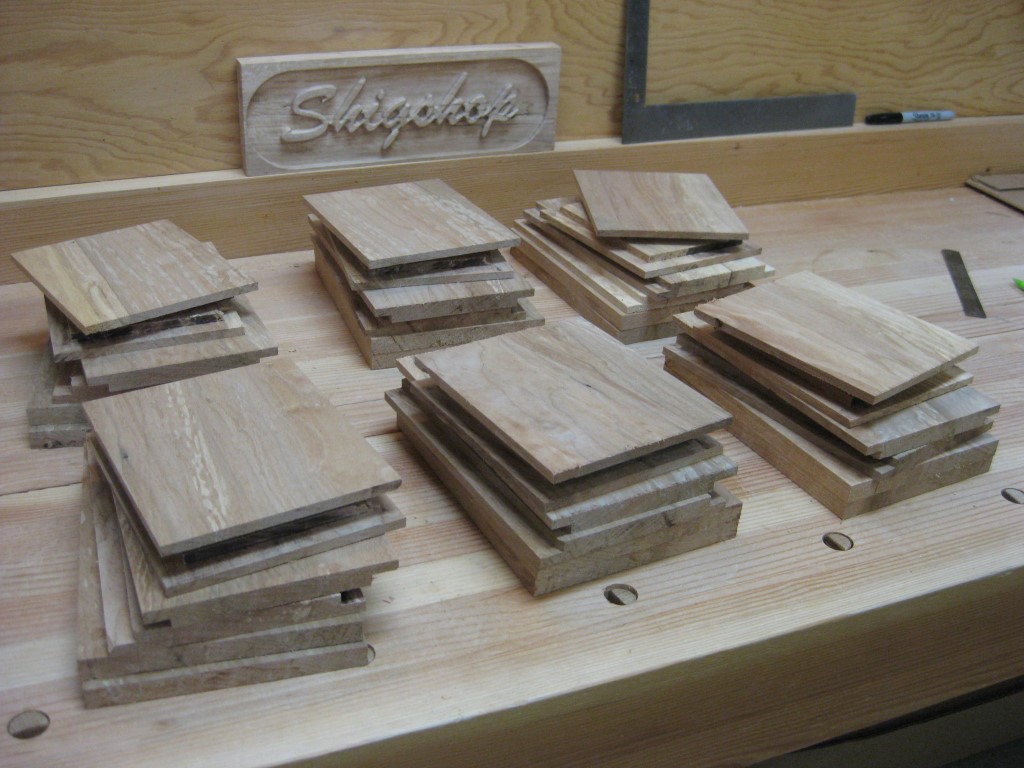
Ready for joinery. Per the plan, the sides and tops get rabbets, while the fronts and backs are good to go.
|
Rabbets

|
Using a bottom bearing rabbet bit, we cut rabbets 1/4" deep x 1/2" wide. Of course, when the router is in a router table, the router is upside down so the bearing is on top even though it's on the bottom :).
|
|
Components for 6 speakers ready for glue up.
|
|
|
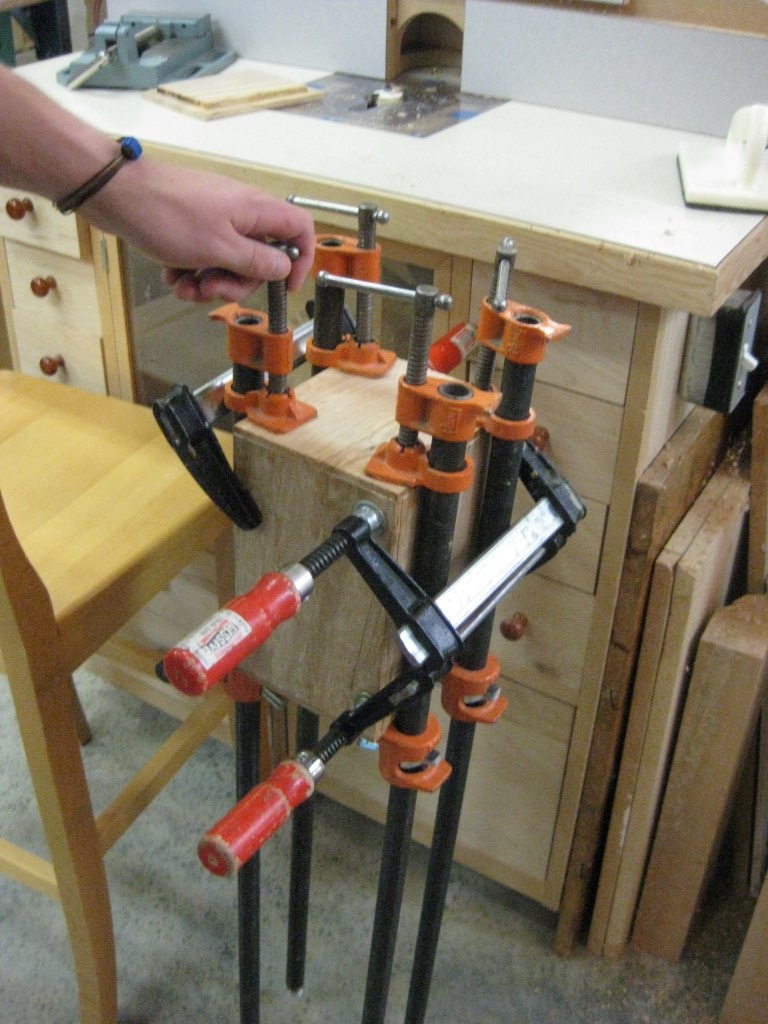
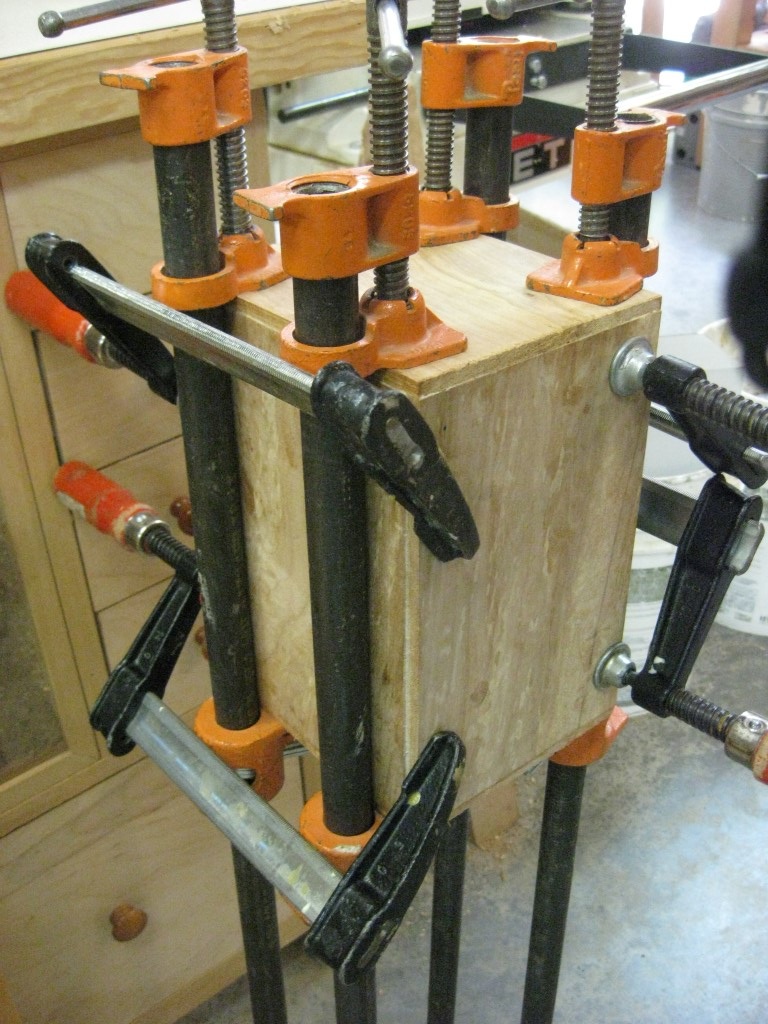
No screws, brads, nails or any other kind of mechanical fasteners - just carpenters glue and clamps. We had enough clamps for 3 speakers at a time. As soon as we had the 3rd speaker clamped up, we removed the clamps from the first speaker and continued until all 6 had been clamped. I've found leaving a project like this in clamps for 20 or 30 minutes is sometimes sufficient - for this project, no problem.
|
|
|
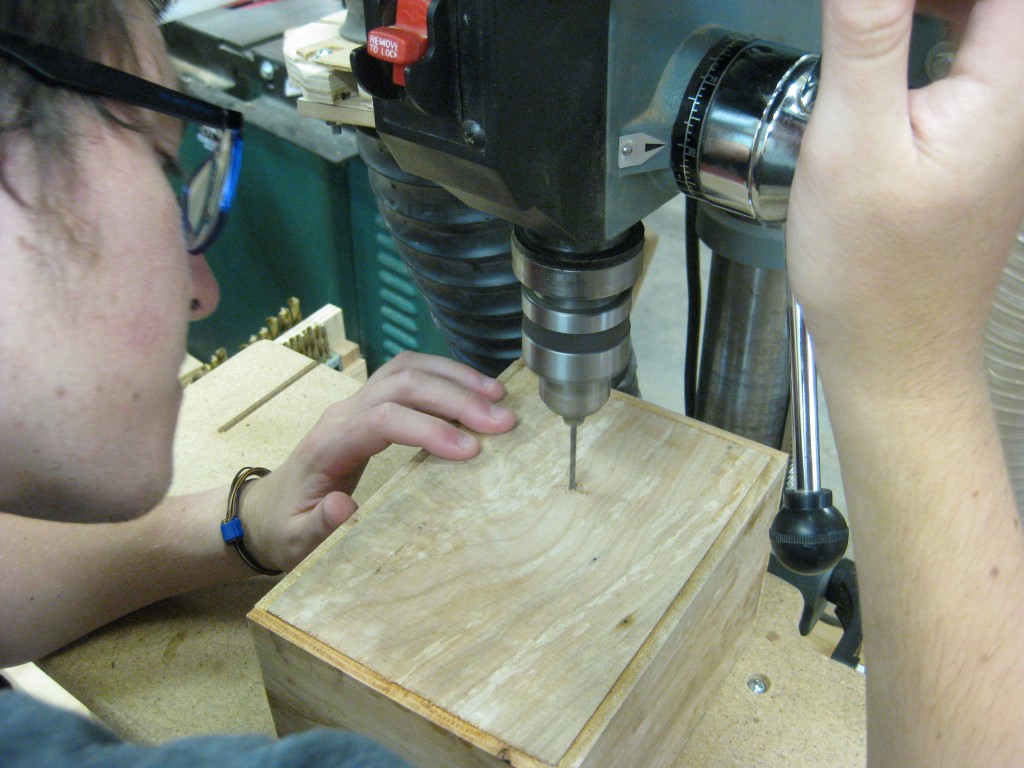
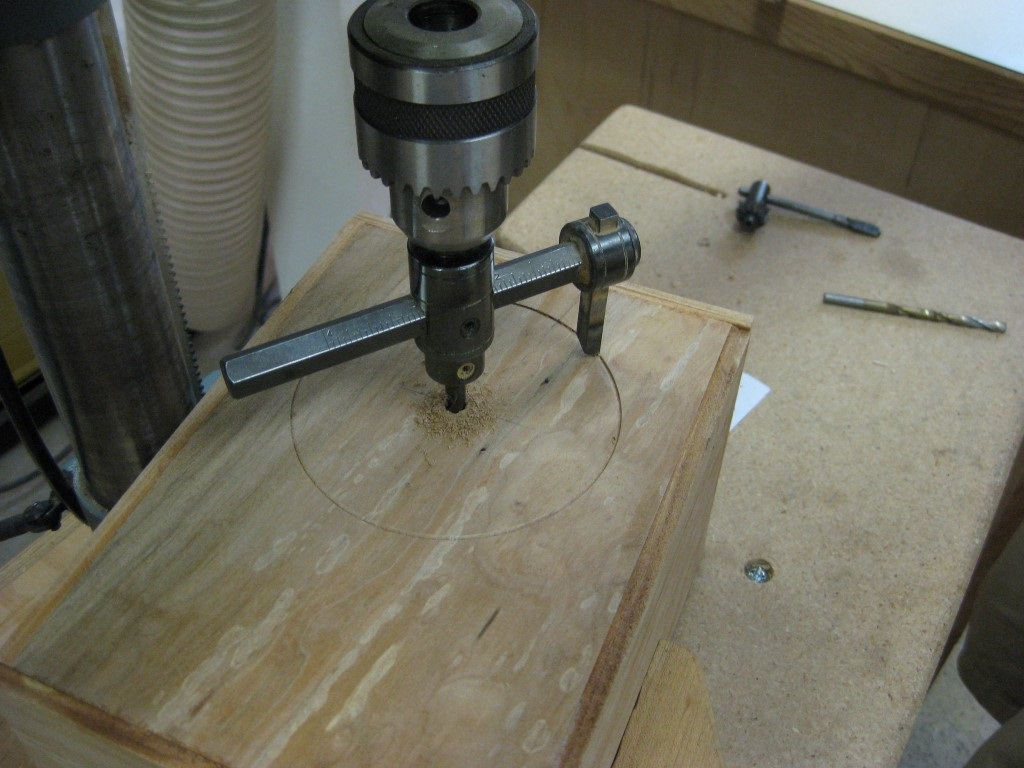
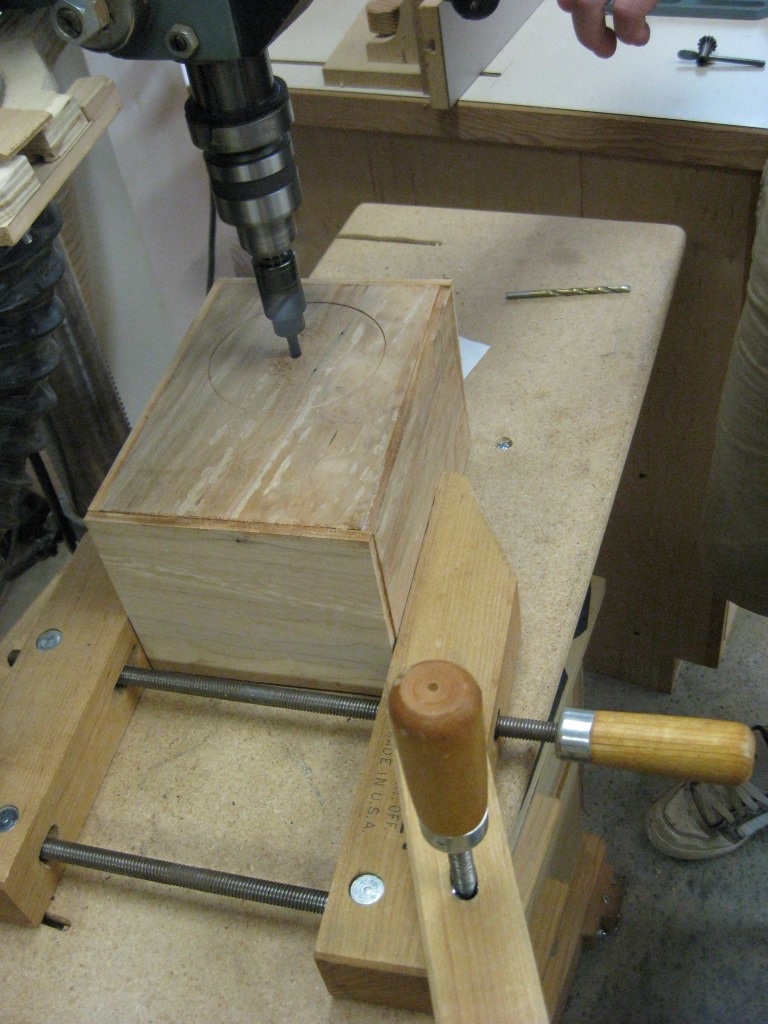
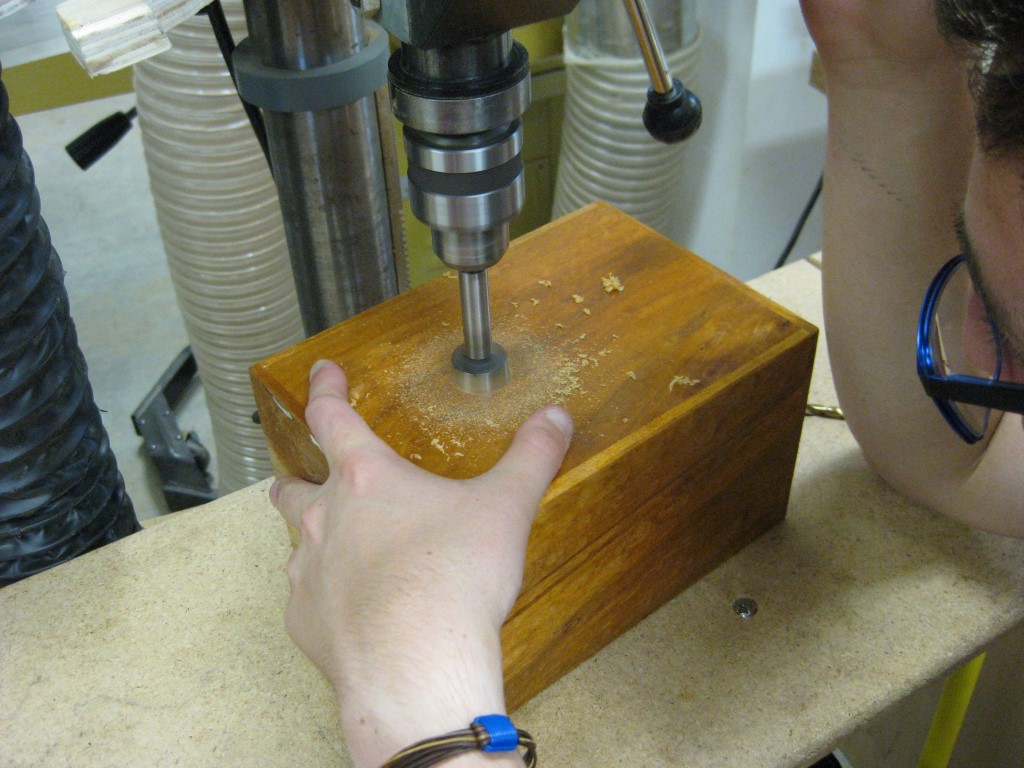
To cut the speaker hole, we first located and drilled a pilot hole, then used a fly cutter. That fly cutter isn't the funnest tool to use on my little drill press, but it does cut a clean hole. The spindle has to be on it's slowest speed for any semblence of safety. We waited until the cabinets were glued up before cutting these holes because they were easier to hold.
|
Finishing
The cabinets went together in about 2-1/2 hours. After a quick lunch, it was time to finish them up.
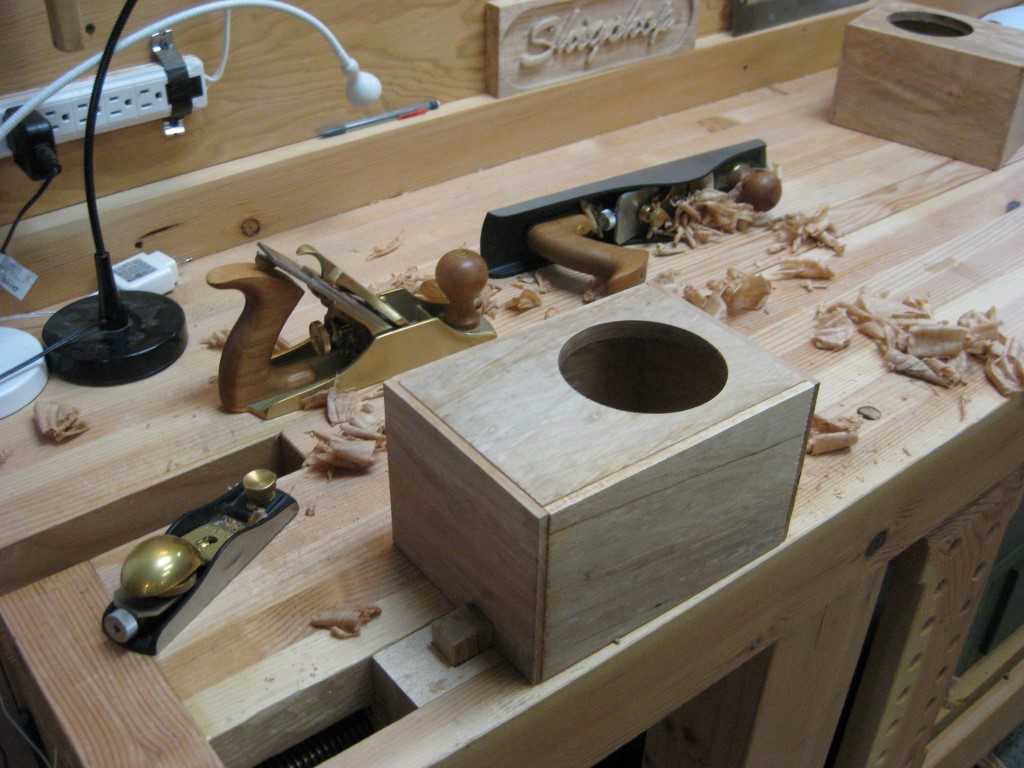
As my son was cutting the speaker holes, I started cleaning the cabinets up on the bench.
|

And after he finished the holes, we both worked the hand planes. The bench worked great with both of us on it.
|
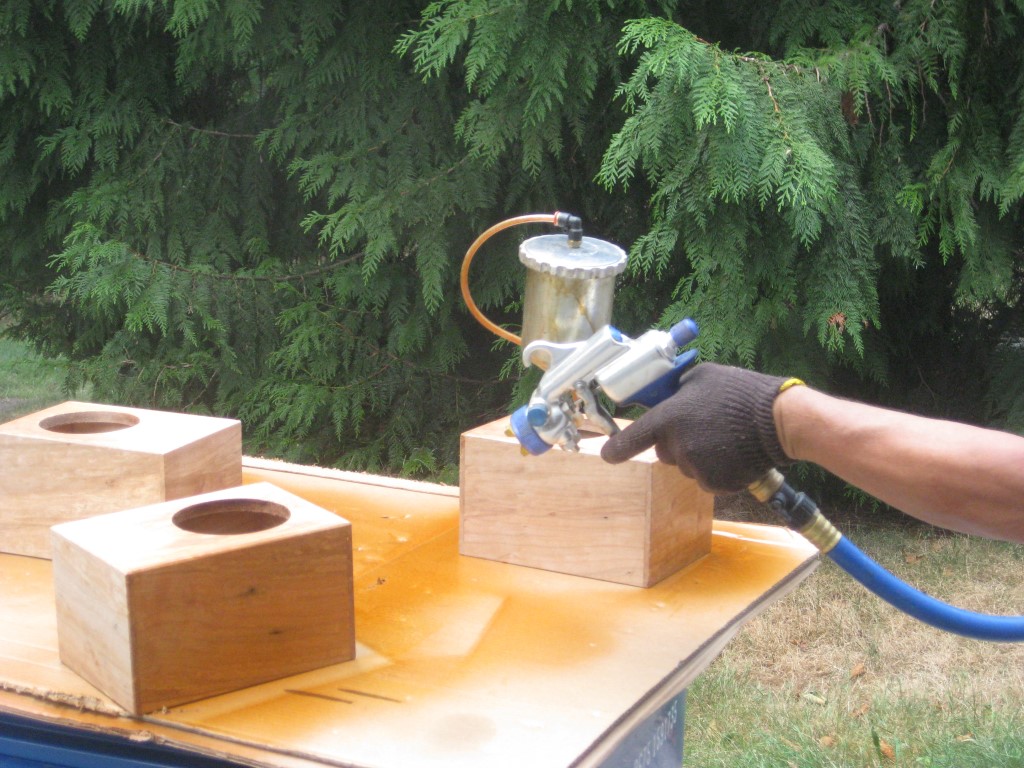
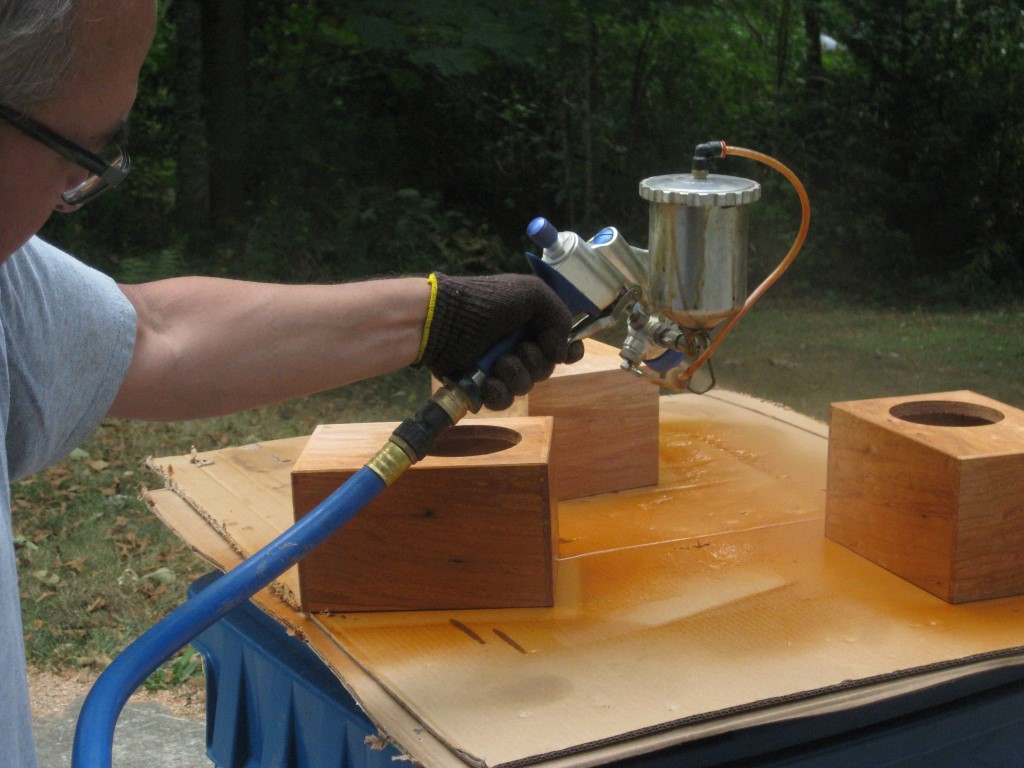
The finish got sprayed. Hover over the pics for descriptions.
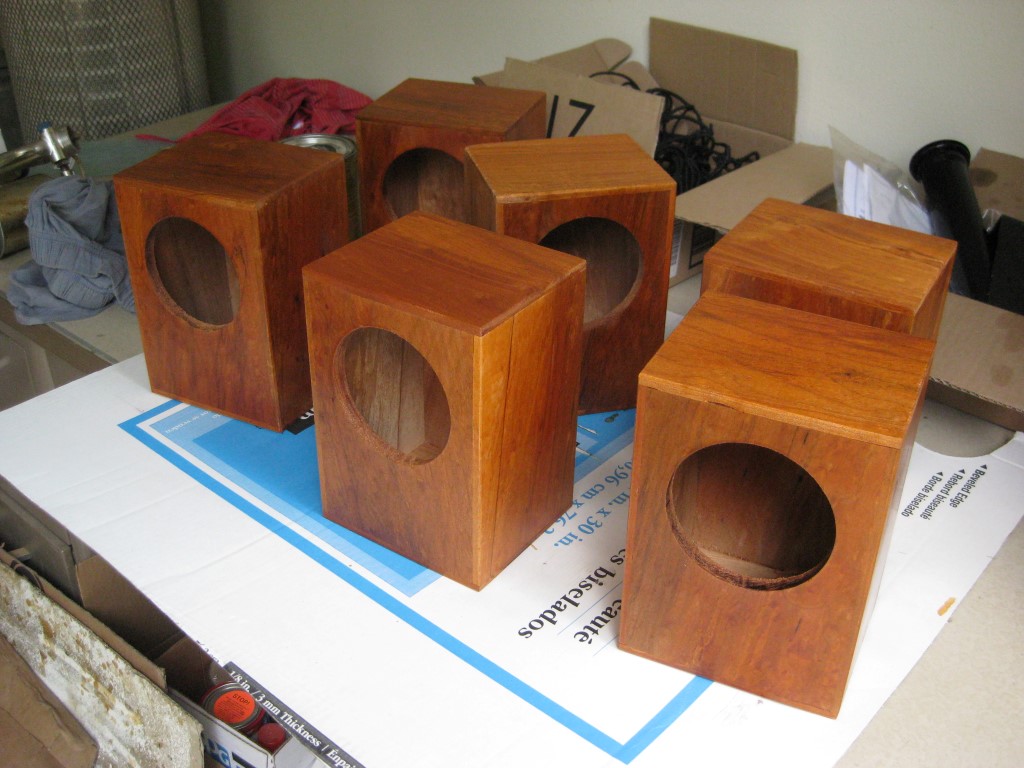

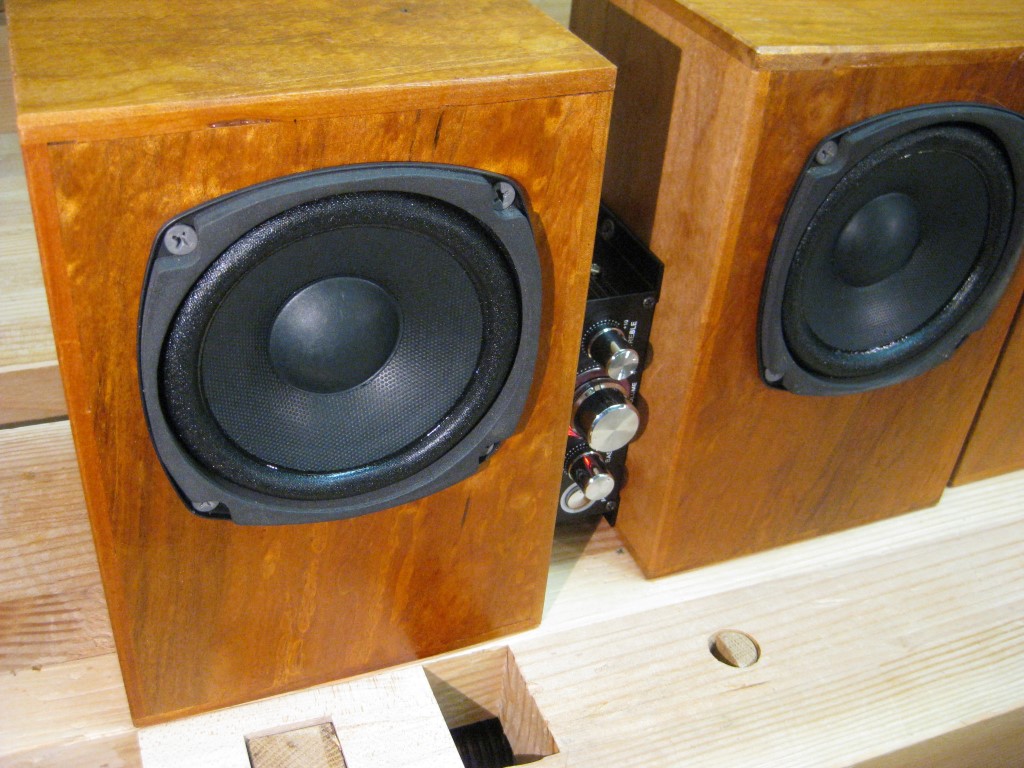
All done!
These projects are so fun. In one day, we made some quality speakers that really sound quite amazing for how inexpensive the components cost.
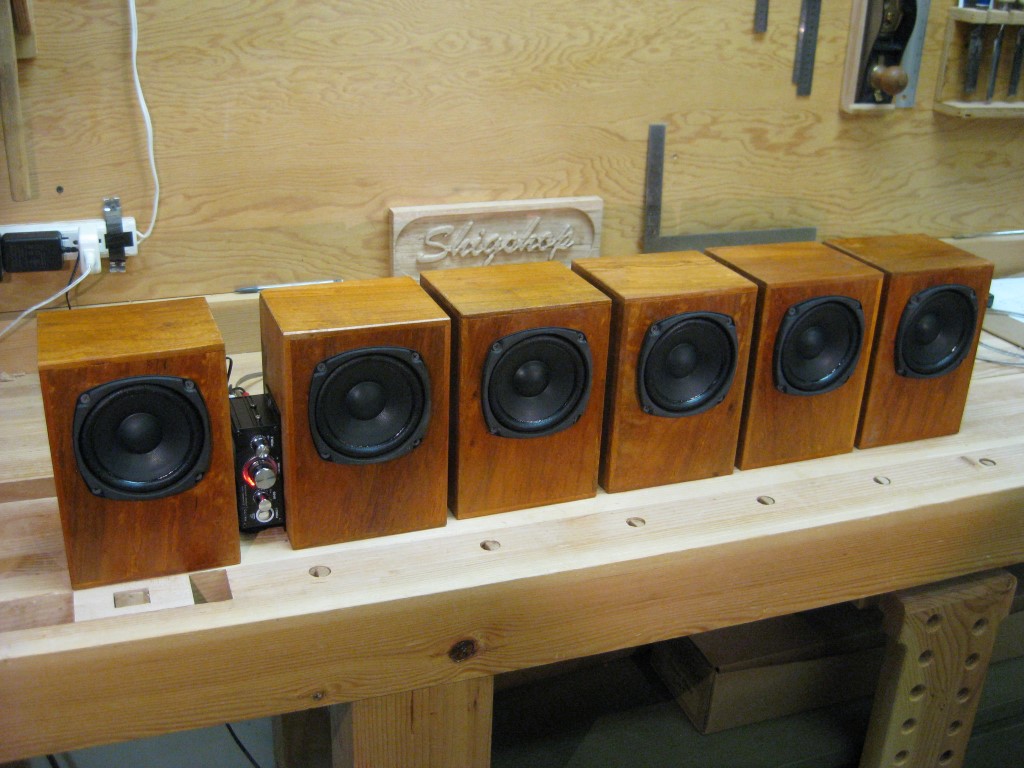
After listening to a few songs, my son said "people spend a lot of money on stereos, and these inexpensive things sound fantastic!"
Happy Birthday Sweetheart!
