
Wall light fixture (mission style)
|
If you've been following me, you've probably noticed that I've been working on making some home improvements - specifically to one particular wall. We've added a wall shelf, and a couple pieces of art that I built some frames for.
For months, and months, no - years, we have looked for a nice light to replace a mushroom light that we "temporarily" installed when we built the house back in 2005.... Many hours spent at home centers, lighting stores, and cruising internet suppliers yielded nothing we were willing to purchase. I finally gave up and decided to make one... |
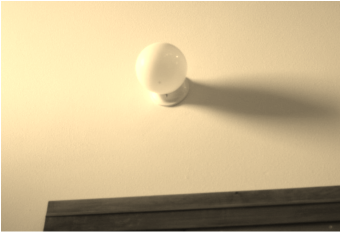
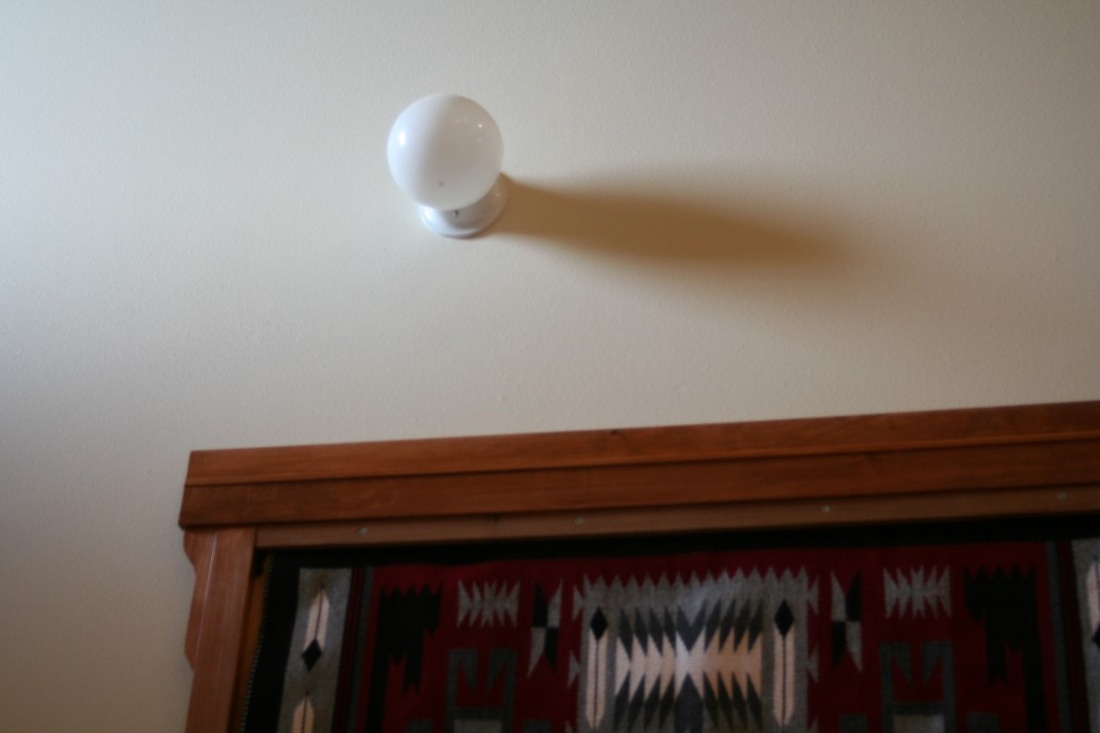
The original "mushroom" light that got replaced.
|
The design
|
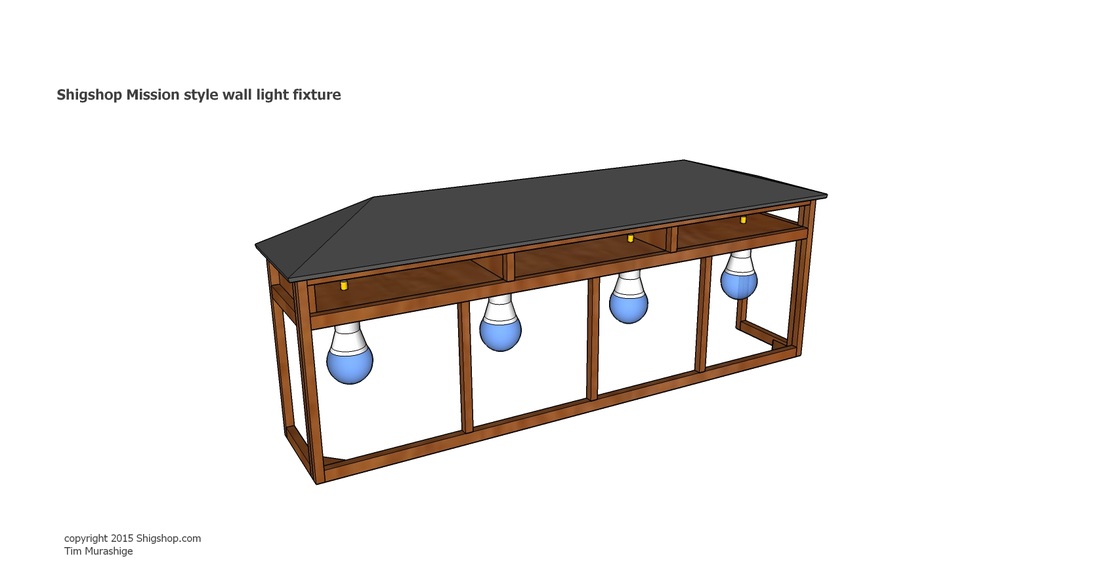
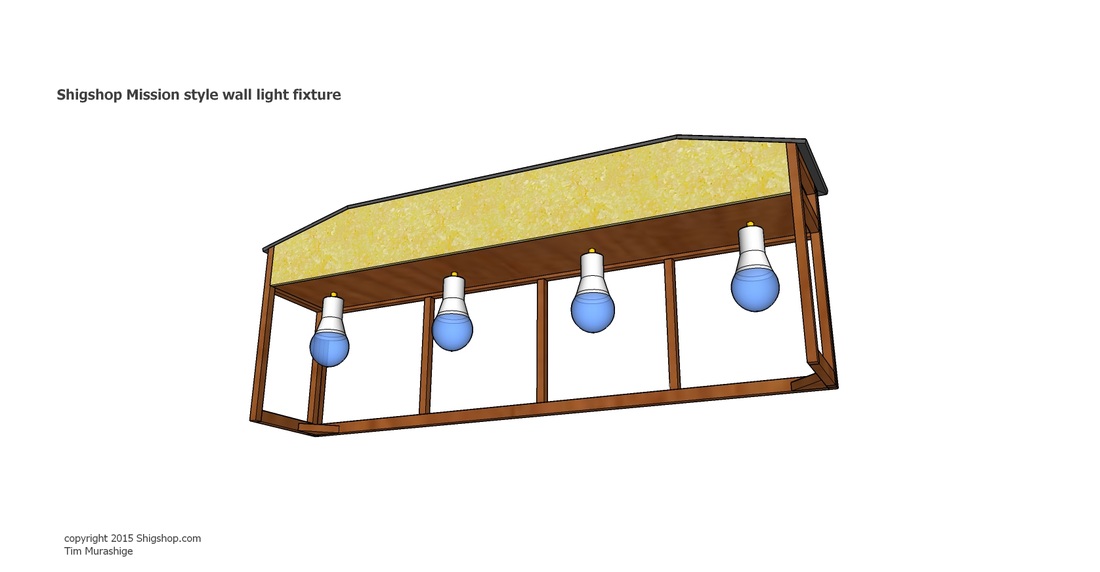
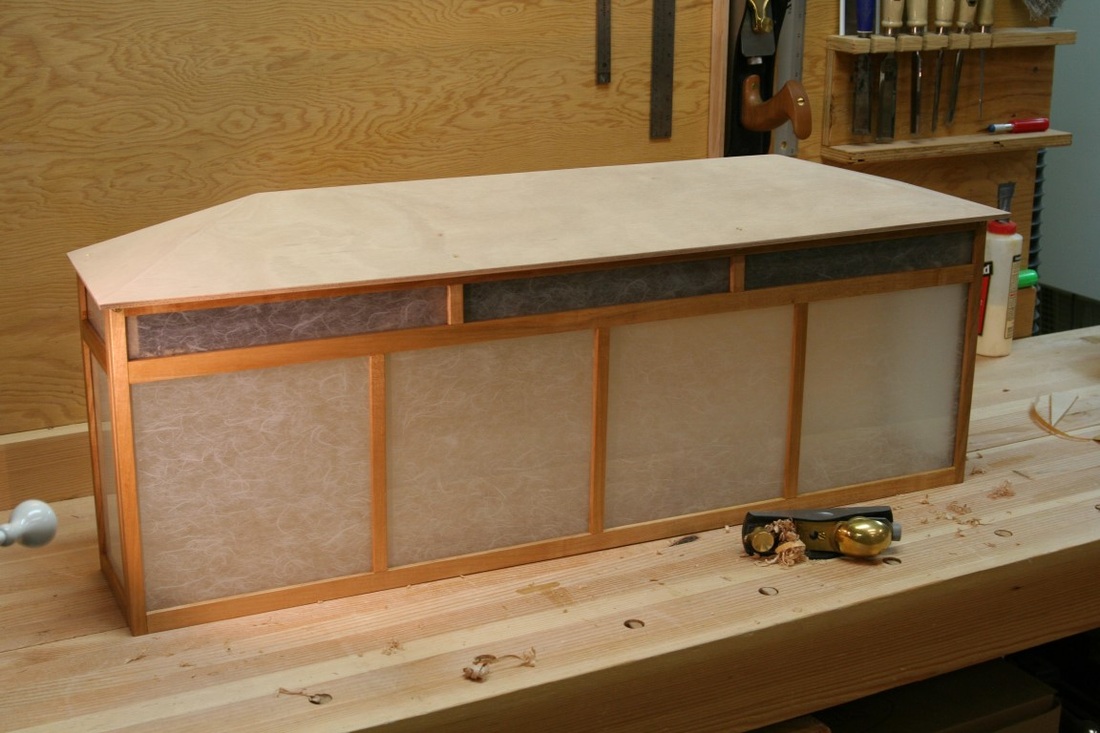
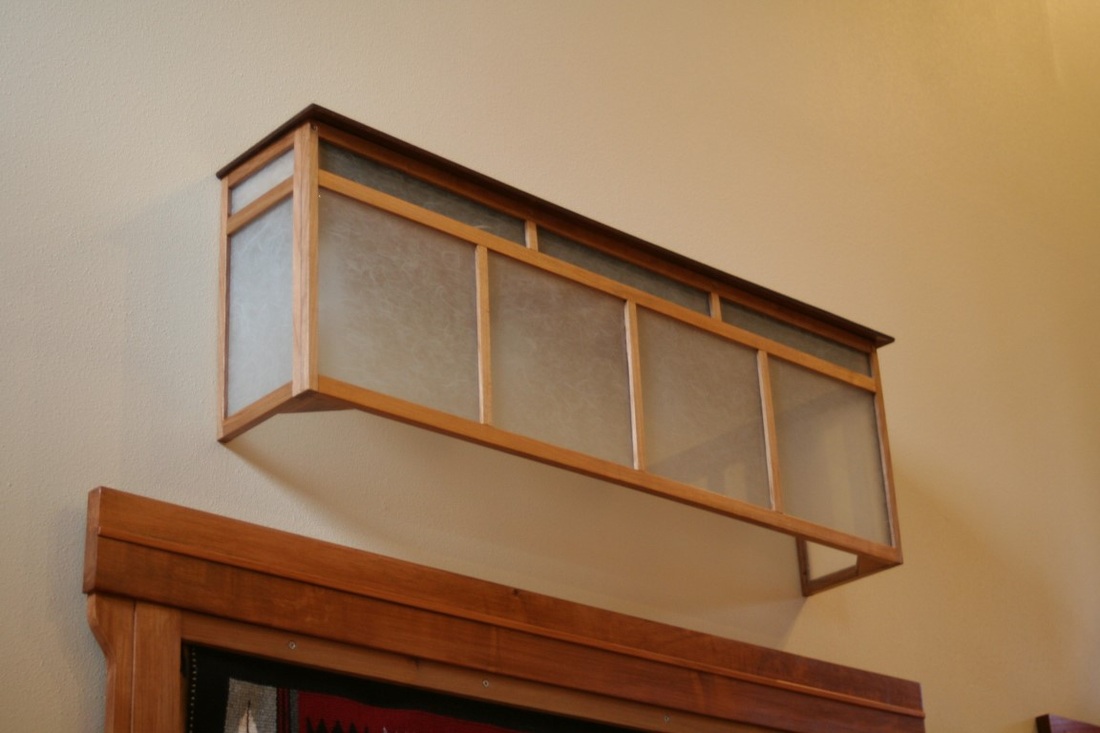
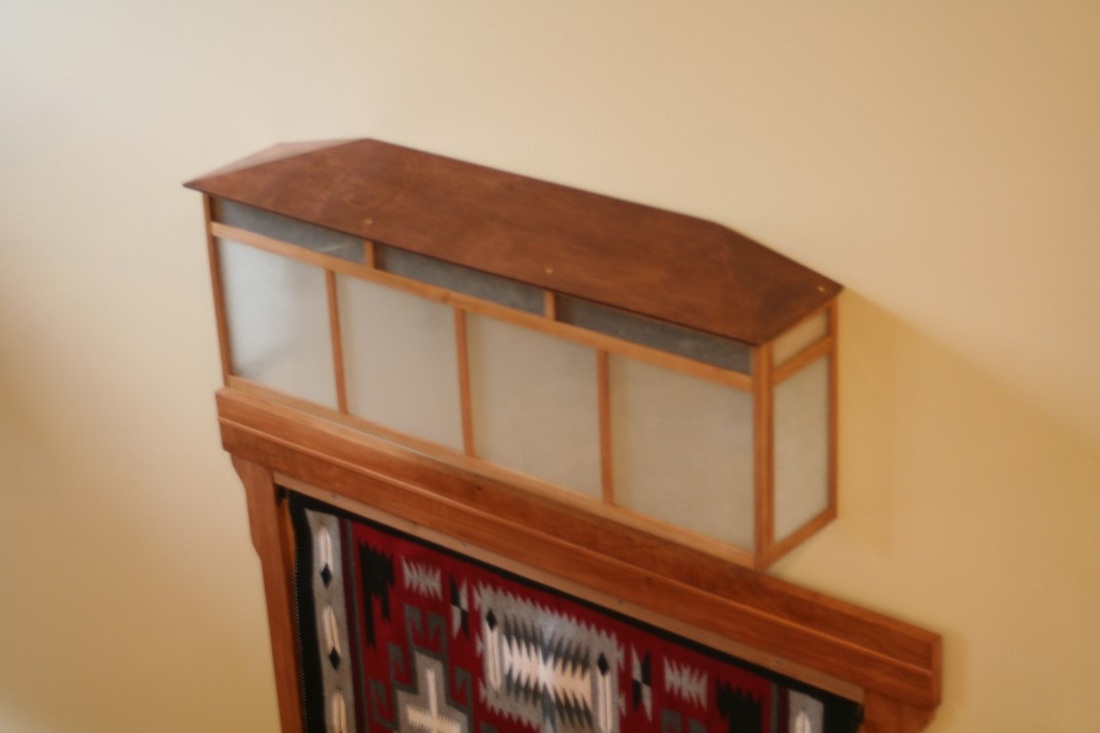
The light fixture is a simple design that ended up using some scrap maple I had left over from various other maple projects. It consists of 3 frames - 1 front and 2 sides, that have glass panels sitting in rabbets, a mounting panel for the light sockets, a small piece of plywood for the back, and a 3 piece plywood roof.
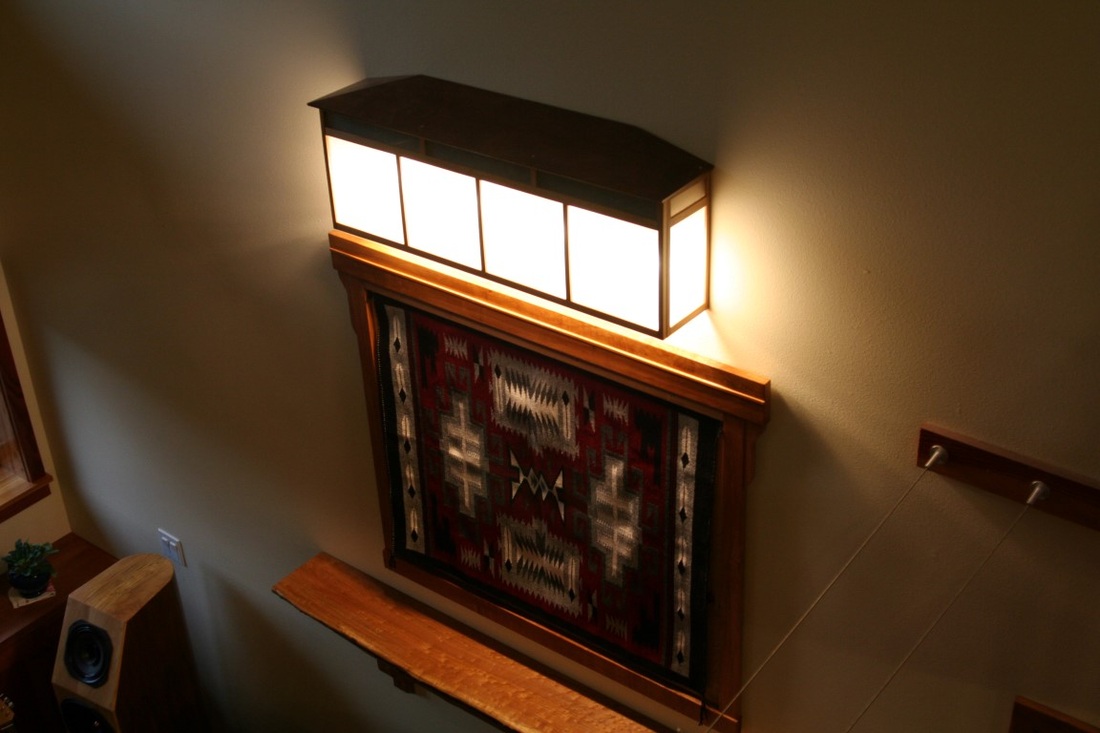
The frames use mortise/tenon joints, but this time, I decided to make them round. Matthias Wandel described how to do this on woodgears.ca using his pantorouter, and since I have one of those.... well, why not? The tenons are 1/4" round, so the mortises would be simple to make with a 1/4" drill bit. The light sockets are installed on a panel and stand off it about 3/4" or so. I put a plywood hip roof on it and LED light bulbs were installed. Using CAD to design the fixture made the roof pretty simple to figure out - the design doesn't require a protractor to build. Angles are formed by using a ruler laid to specific lengths - you'll see how below. The space between the roof and main light socket panel provides ample room for wiring. A piece of plywood is attached to the rear in the top section to allow the fixture to be mounted to a wall. All in all, it was a quick, fun project with lots of glass to cut. |
The build
I created a pdf file from the CAD drawing and printed it off for use in the shop. Then, a bunch of maple scraps were gathered for the frames. The main socket panel was glued up from 3 narrower boards.
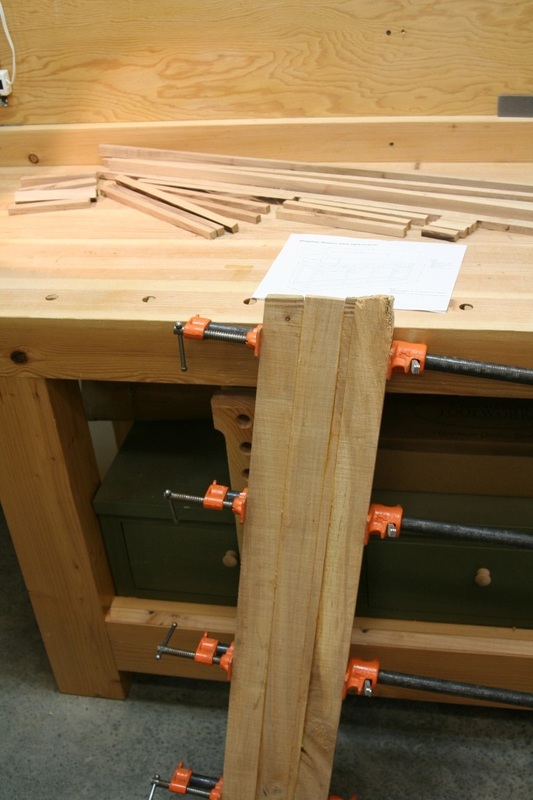
The panel for the light sockets, which is the main structural panel, was glued up from 3 boards.
|
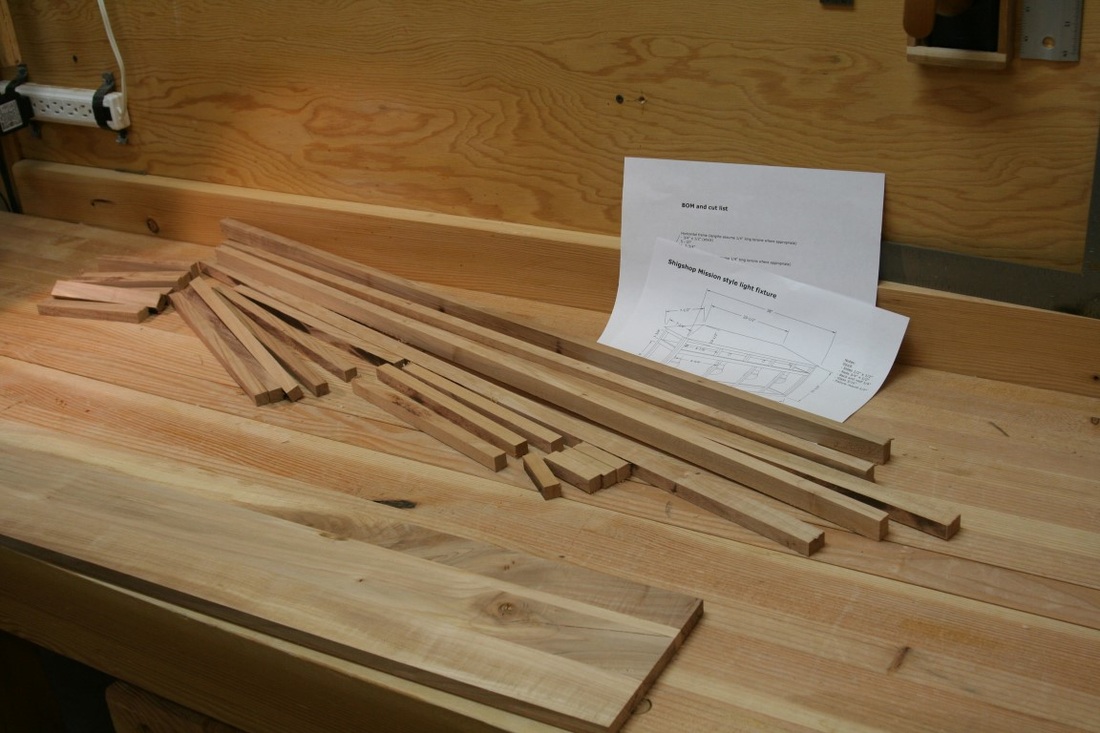
All of the rough milling done here - ready for the mortises and tenons.
|
|
Next, the round tenons were cut. Notice the little round template on the pantorouter. I cut that off a 1/2" piece of aluminum rod, bored a hole in it and screwed it to a pantorouter template board.
|

Cutting the tenons. The round template is circled.
|
One done. Need to clean that bit, eh? With the pantorouter, these go quickly.
|
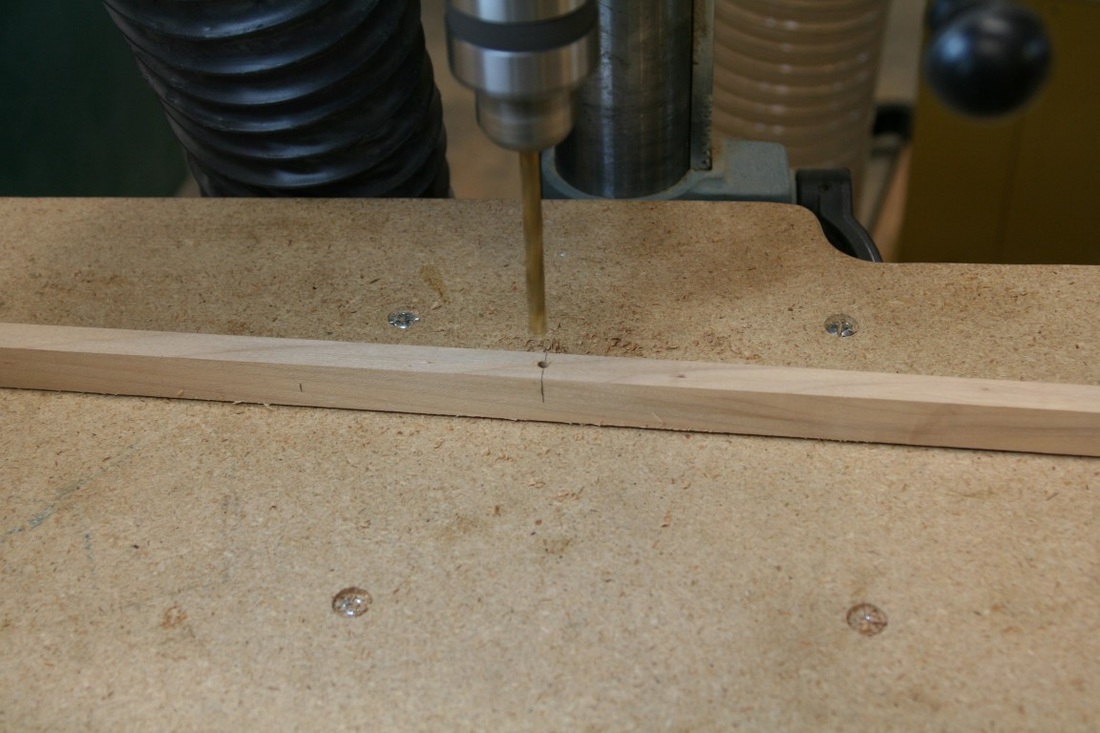
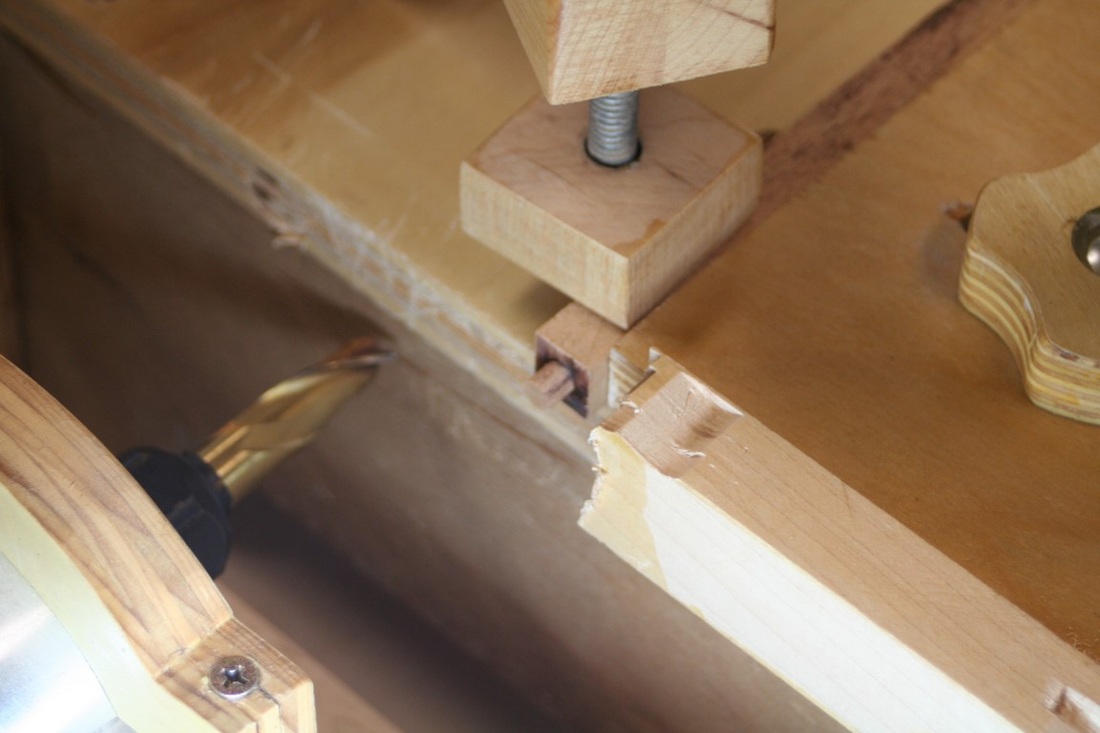
Drilling the mortises
|
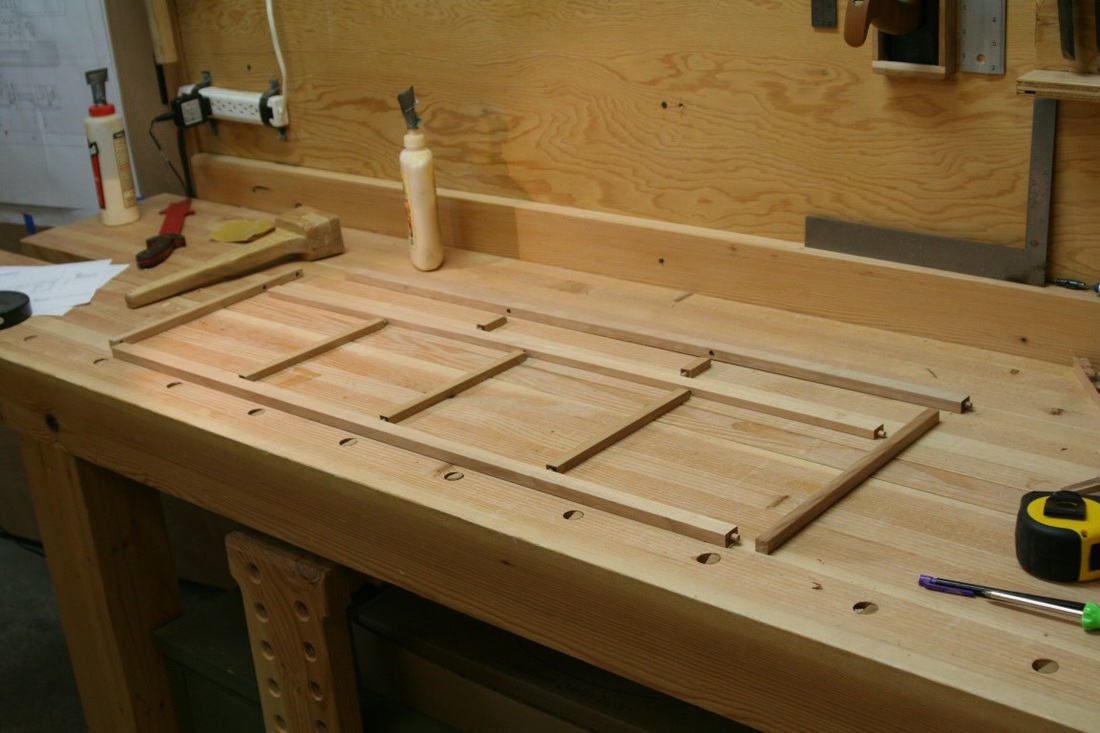
All mortises and tenons are cut here. I'm just laying out the panels to see how they look getting ready for glue up.
|
The mortises were simple. I located the holes and simply drilled them on the drill press using a 1/4" twist drill bit - could have used a brad point or fortsner bit I suppose, wouldn't have made much of a difference.
|
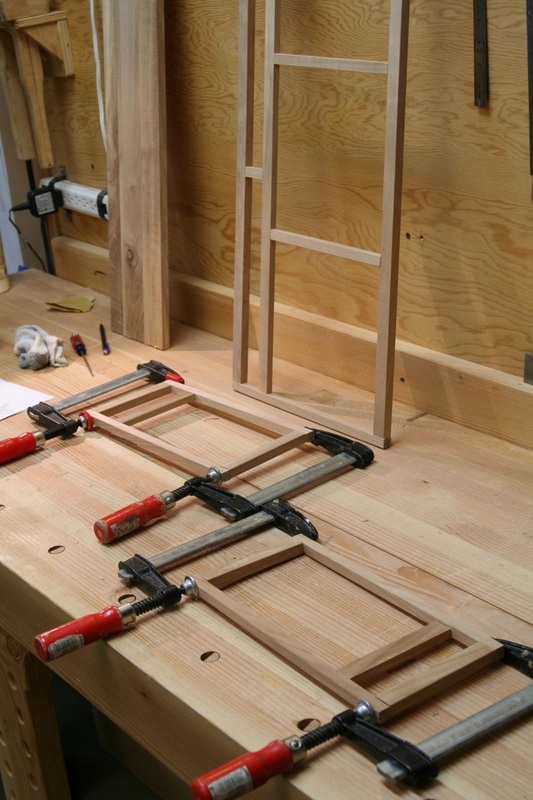
The big frame is done, just gluing up the little ones here.
|
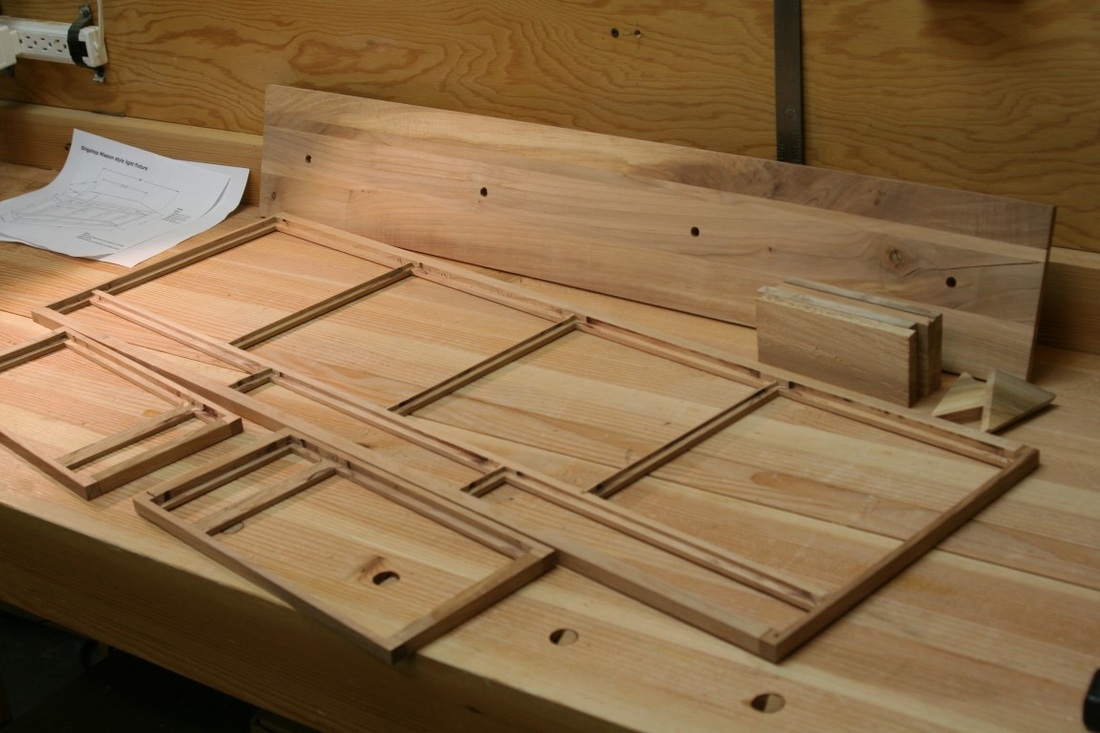
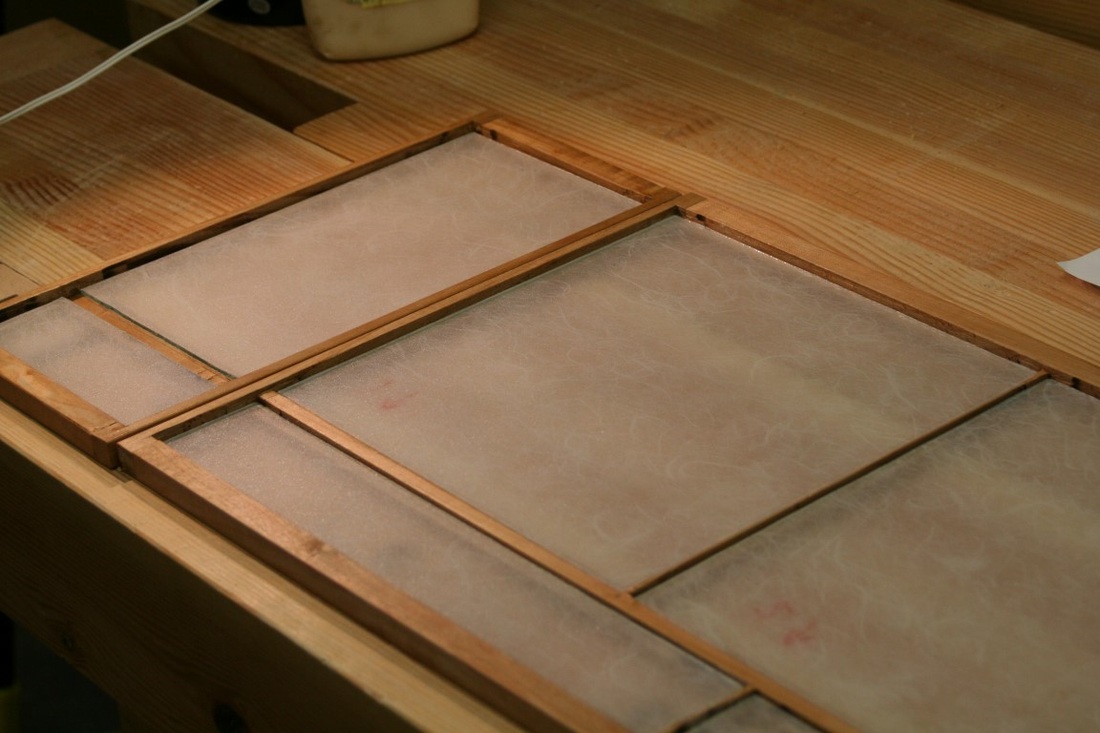
Here are all of the pieces, minus the roof. Rabbets were routed in the frames for the glass to sit in. I did that on the router table and cleaned up the corners by hand with a chisel and mallet.
|
There were a few little extra pieces I needed to support the structure. A couple small triangles hold the bottom corners of the frames together, and 4 supports are used to secure the back to the main socket panel as well as the side frames to the front.
|
A little glass work
|
When I built the flag case, I had to cut a piece of glass, but ended up breaking one in the process, which was caused by having too soft of a surface under the glass when I scored it - I had done it on a piece of corrugated cardboard.
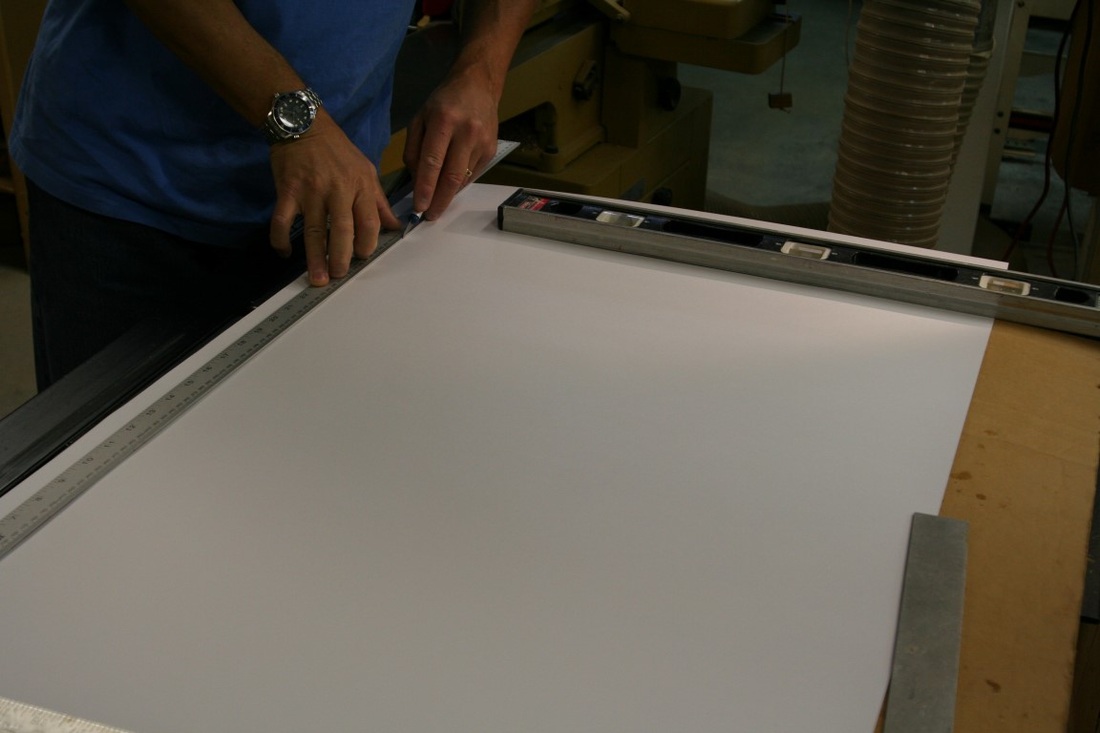
This time, I used the top of my table saw to support the glass. Much better! With 12 small pieces to cut out, not one goof up. |
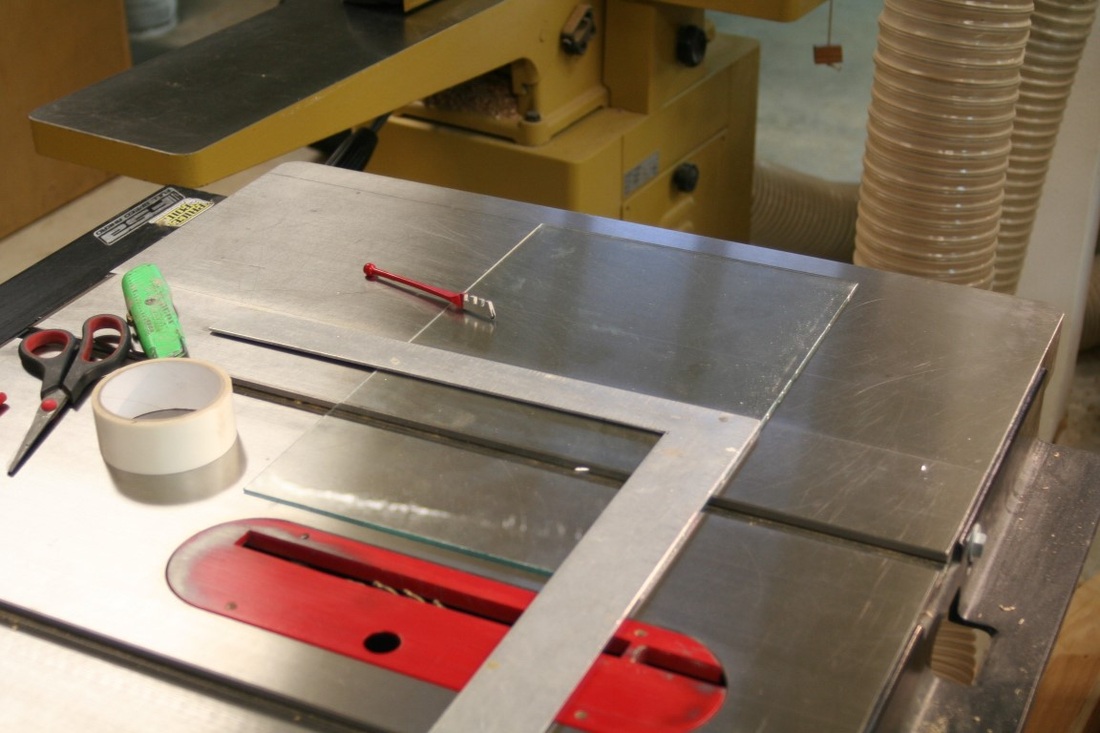
Tools for the job. Using double sided tape, I secured a straight edge onto the glass before scoring. Because of the pressure you need to apply to the scriber, the straightedge can tend to wander without the tape.
|
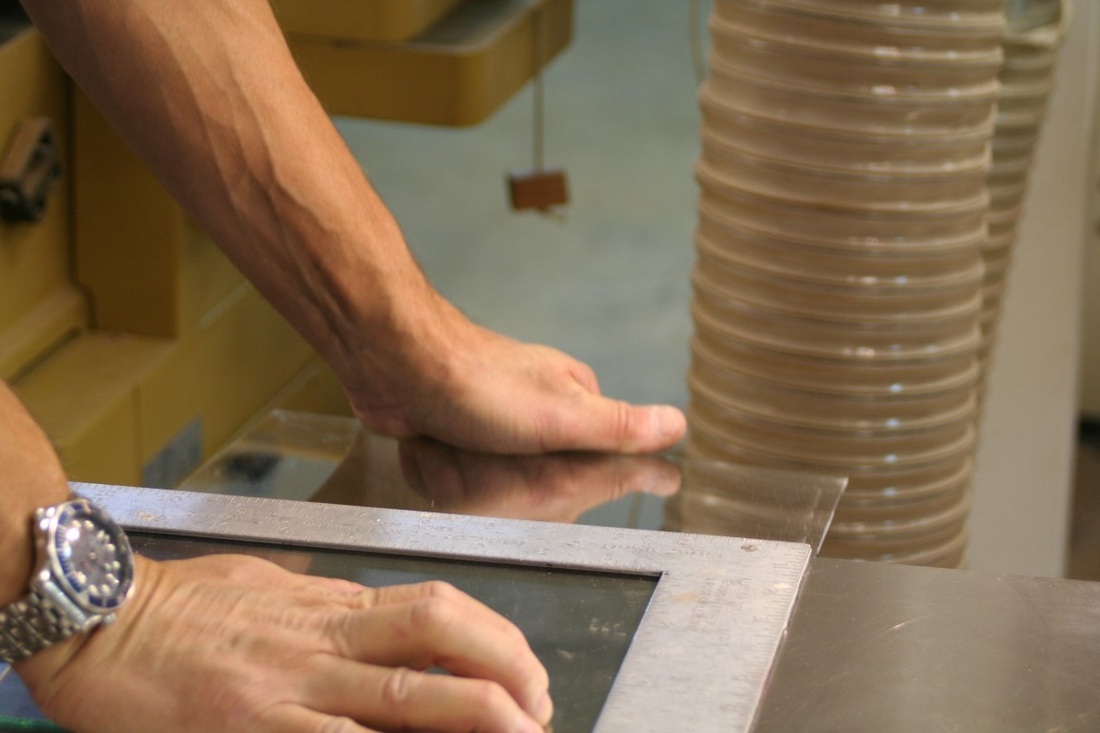
I left the straightedge on, moved the glass over so the scribed line was at the table's edge, and snapped it off.
|
|
A company called Artscape makes some nice water activated rice paper window film that was applied to the glass. This is a lightly colored translucent film that will allow most of the light to pass through.
They have a bunch of different styles: Artscape water activated film |
A straightedge and razor knife being used to cut the paper. The level is being used to hold the paper down as it tends to curl up.
|
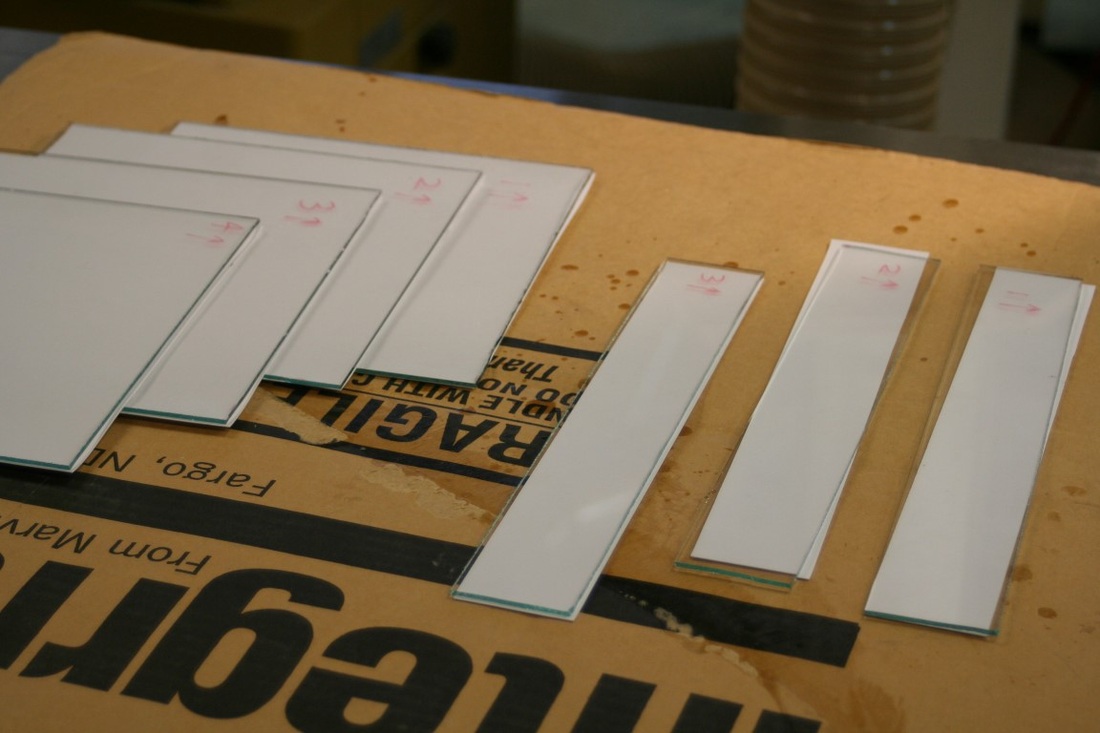
The paper has a pattern that I kept in sync on each of the glass pieces. This didn't really matter though because you really can't tell that the edges line up on the finished lamp.
|
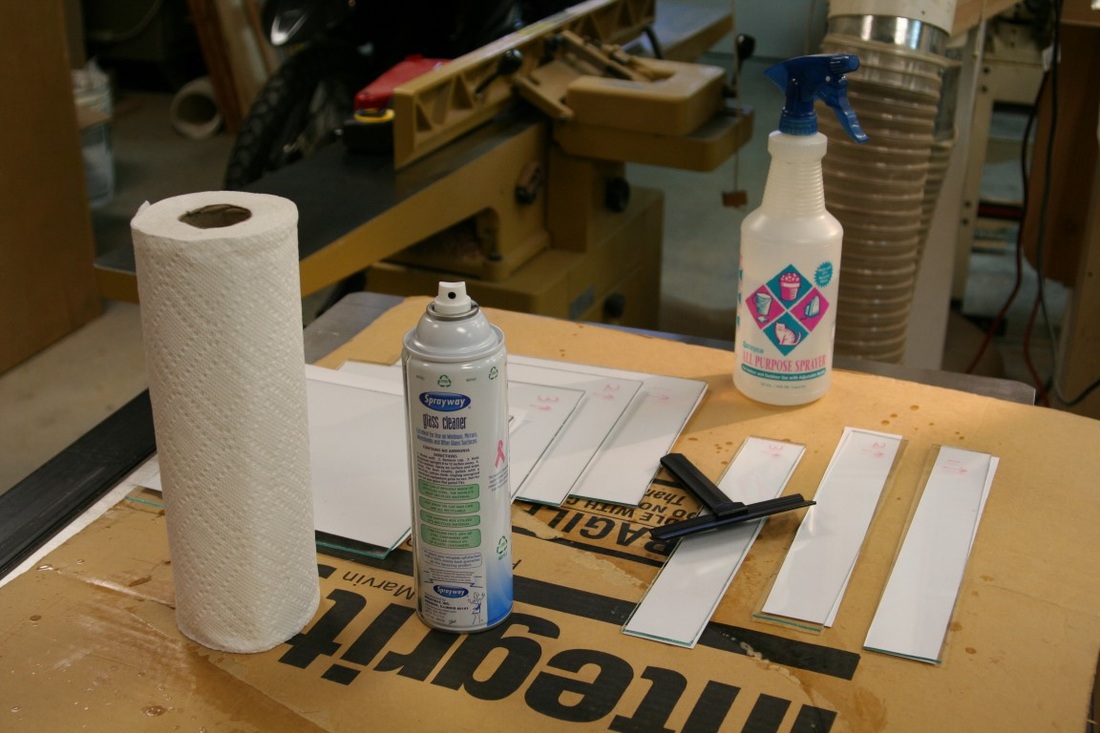
Ready to apply the film. The glass is cleaned, a paper back is removed from the film, water sprayed onto the glass, the film applied, and water squeegeed out. It was easy to adjust the film to get a good fit.
|
That was fun. The panels were then laid into the rabbets on the frames. I should mention the panels were finished with 2 coats of water based poly prior to this step.
|
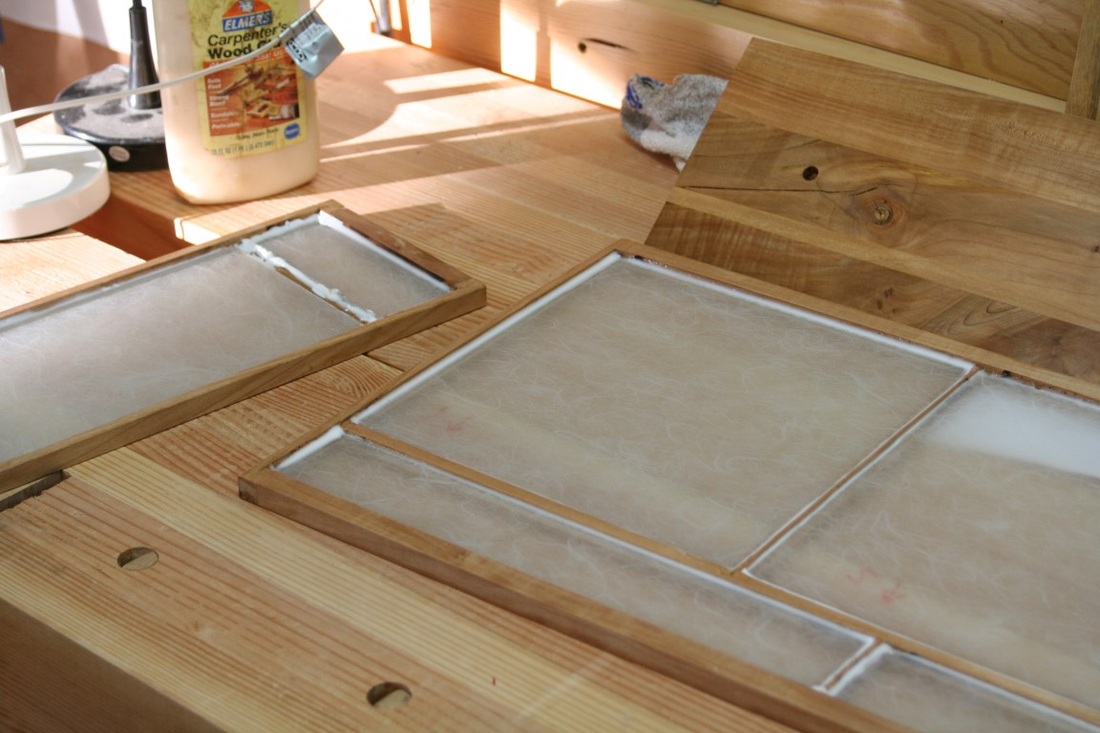
A clear poly adhesive was used to attach the glass panels. It goes on white and cures clear.
|
Intermediate assembly...
The 4 rectangular supports were screwed onto the main socket panel. Then, the frames were screwed to that panel and the triangular corner braces were screwed on.
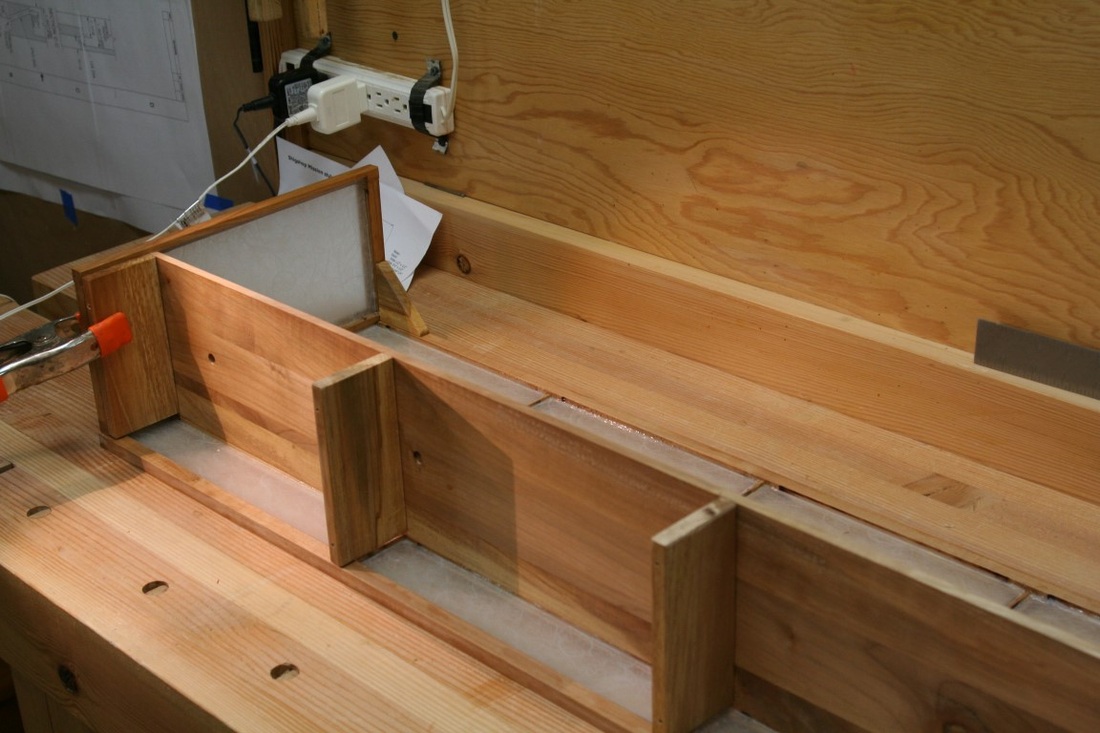
You can see one of the little triangle corner supports and the upper supports. The triangles were screwed in from the inside. The upper rectangle supports were screwed to the main socket panel first, then the frames were screwed to those supports.
|
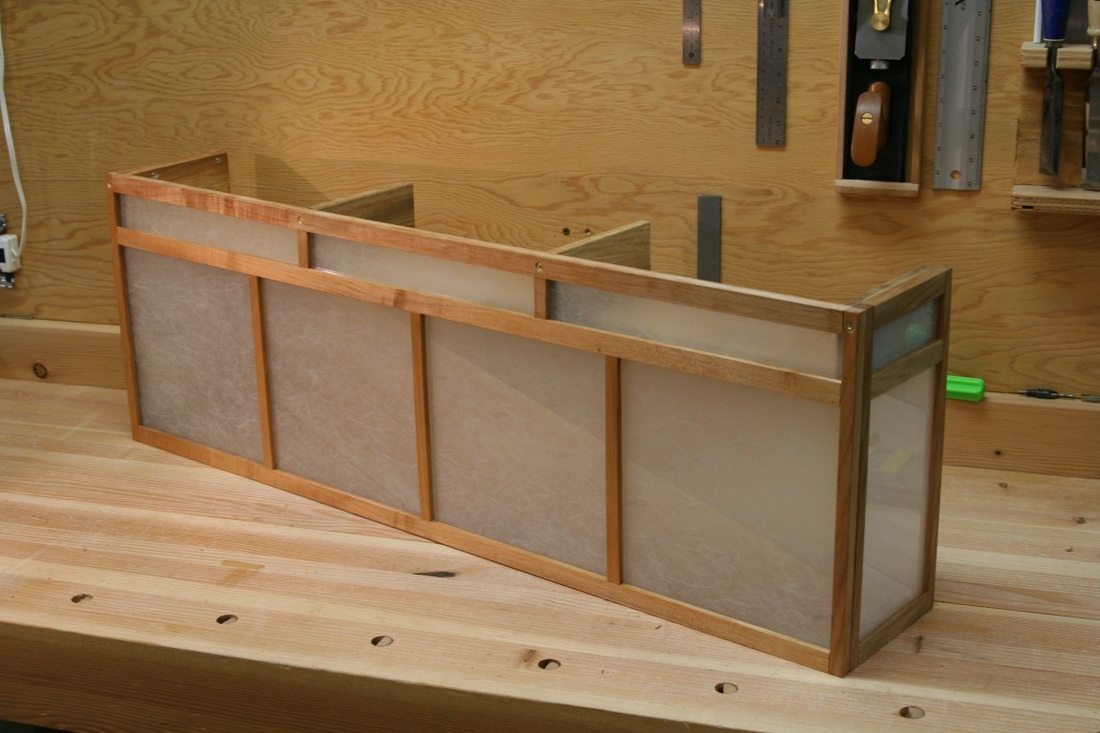
On the 2 rectangular end supports, the screws attach from the inside, those hold on the side panels. The front panel had to be screwed on from the outside, so I used some nice brass screws there.
|
The roof and final assembly
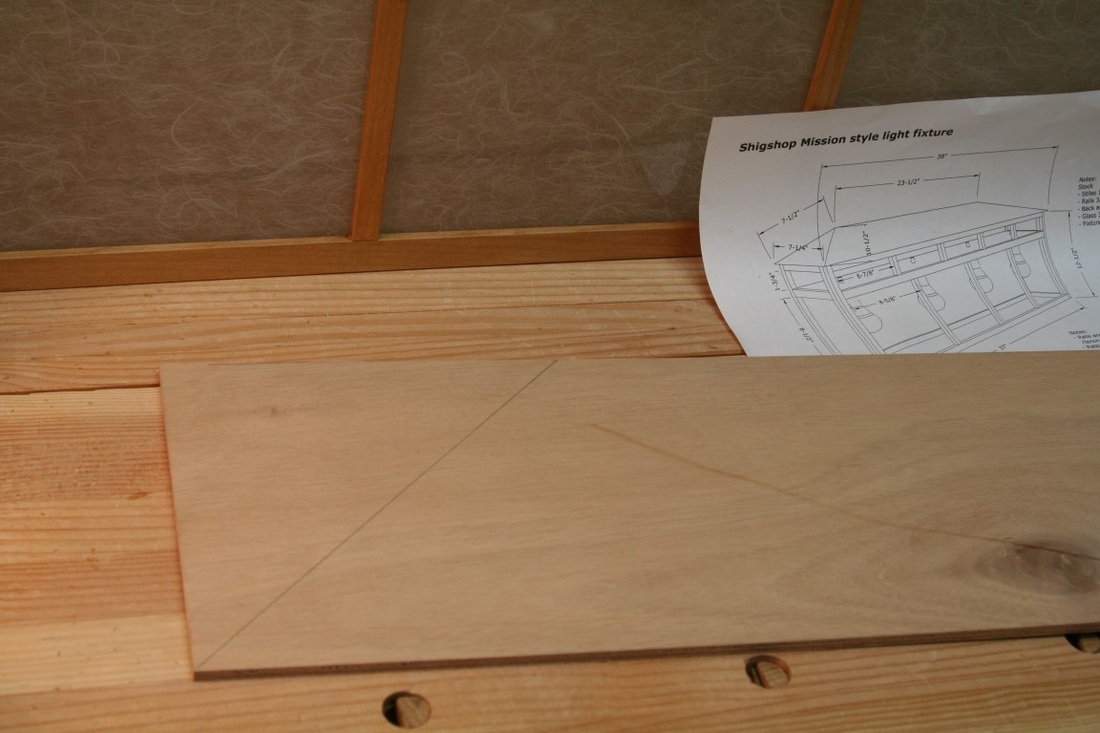
The roof is made from 12mm mahogany plywood and this is the main panel, which is a trapezoid shape. I started by cutting out a rectangle and measured from the bottom corners to the correct length of the hip (or top corner) of the roof.
|
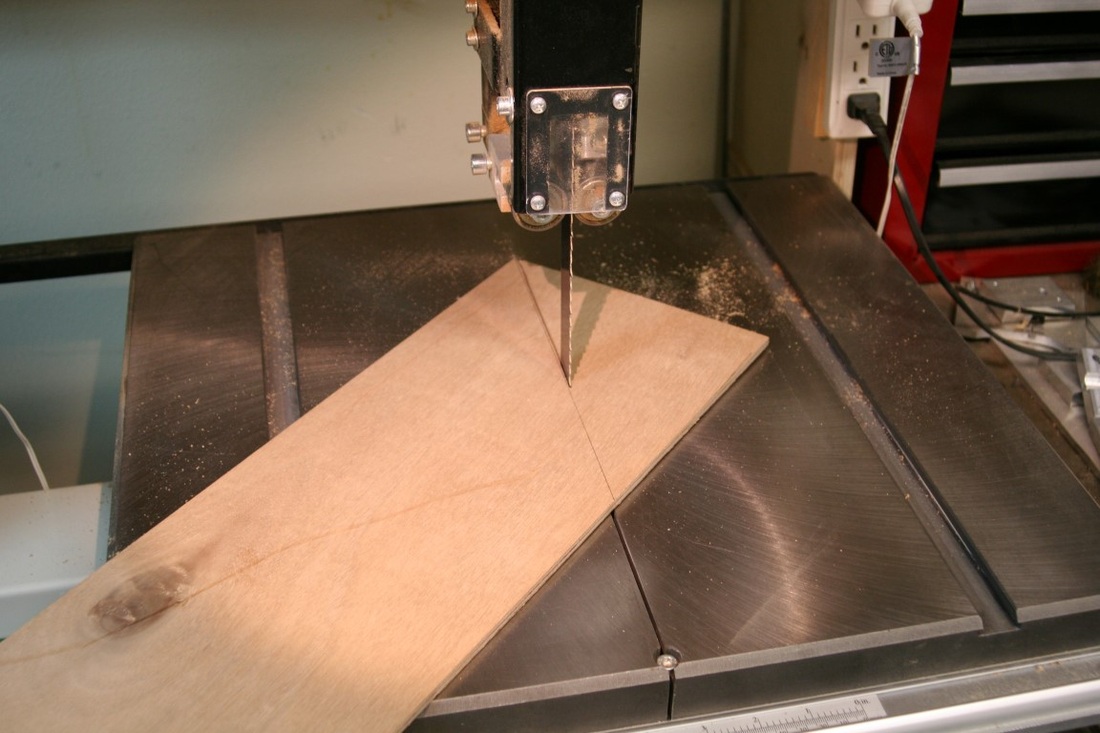
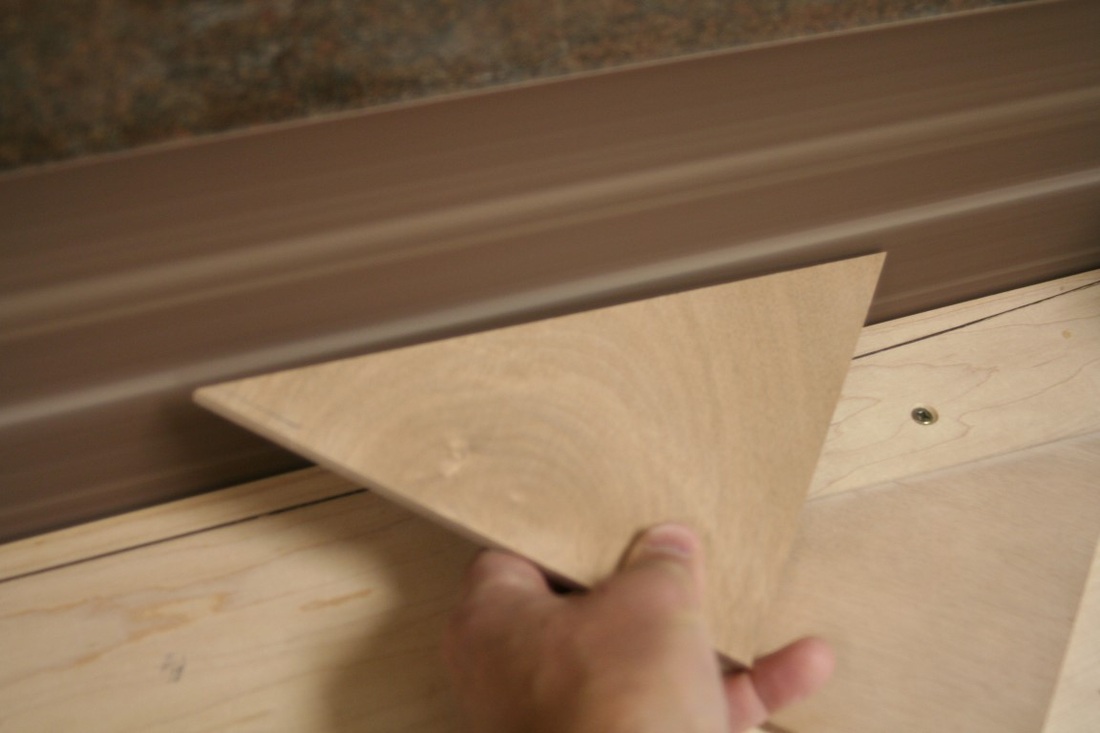
Then, I rough cut it on the bandsaw. I did a similar layout and rough cut for the 2 triangles for the side pieces.
|
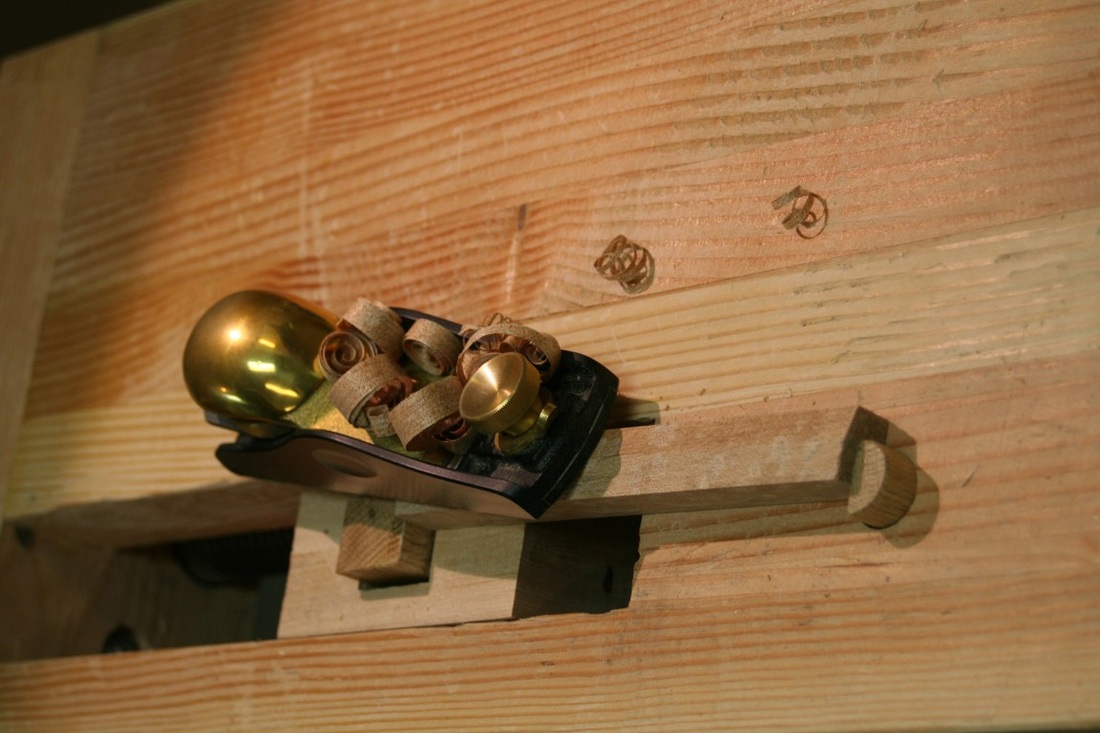
Then, the rough cuts were refined on the edge sander. If you can tell, I'm holding the edge against the sander to get a slight bevel.
|
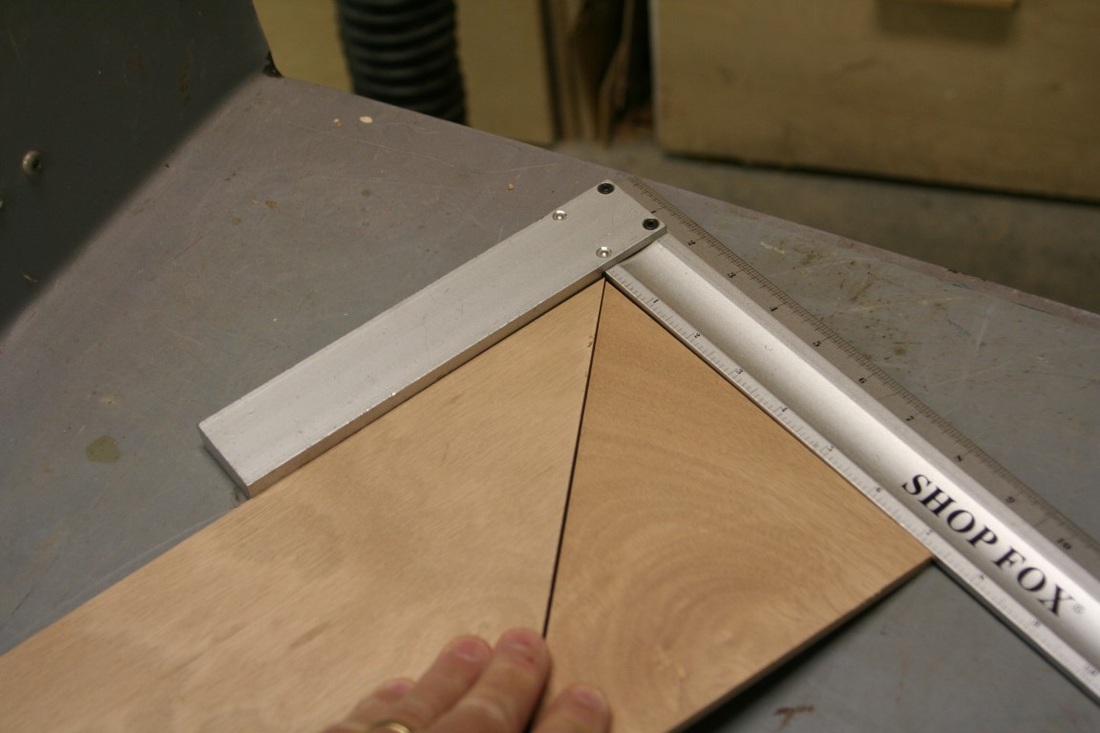
I used a square to ensure the angles and bevels were perfect.
|
A couple little supports were made for the underside of the hips.
|

And first glued onto the main piece, after about 20 minutes, the sides were glued on.
|
Starting to look good! A bevel was put onto the top rail of each of frames to match the angle of the roof. This allowed the roof to sit tighly on the frame and I used 4 countersunk brass screws to hold it down.
Finish
Before the glass panels were adhered to the frames, 2 coats of water based satin poly were applied.
|
|
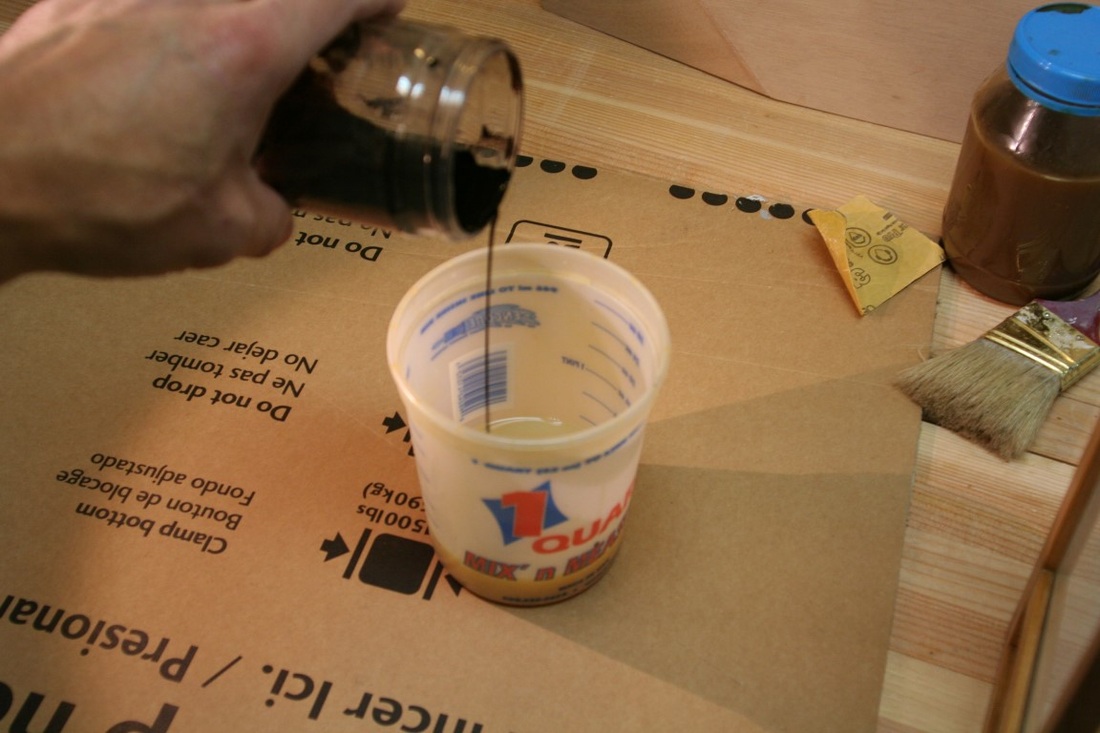
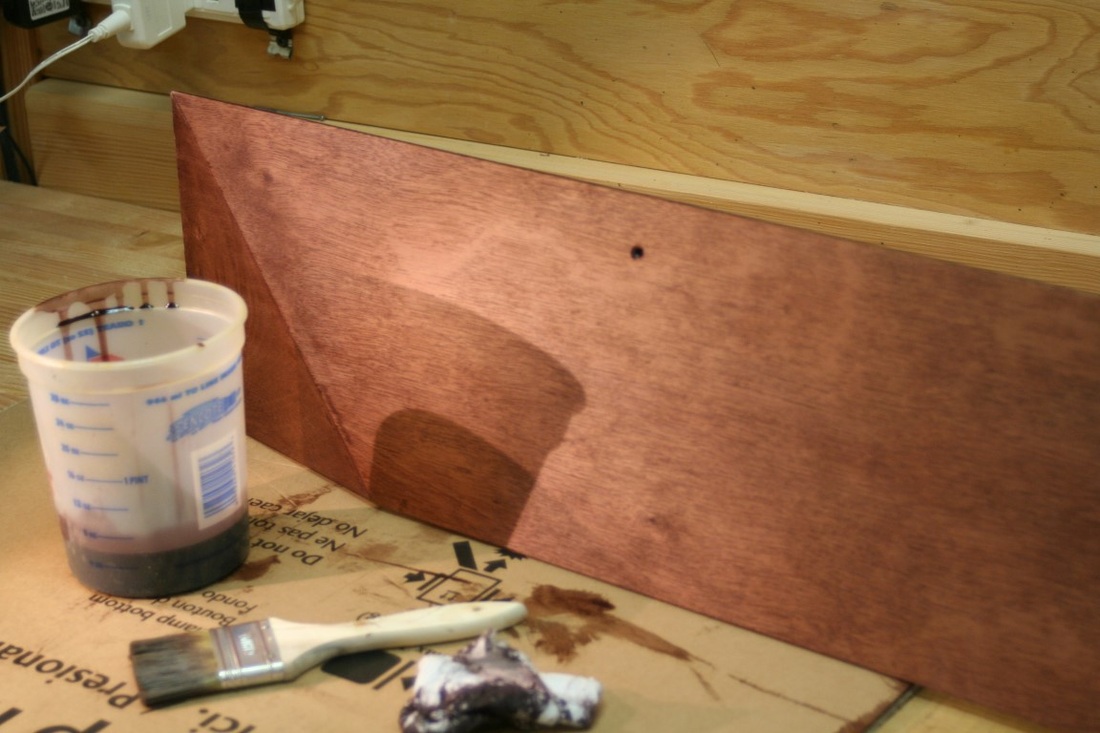
The roof is a little darker than the frame. To get a nice color, some aniline dye was mixed with water and added to the poly. I applied 1 coat of this and 2 coats of a lighter mix.
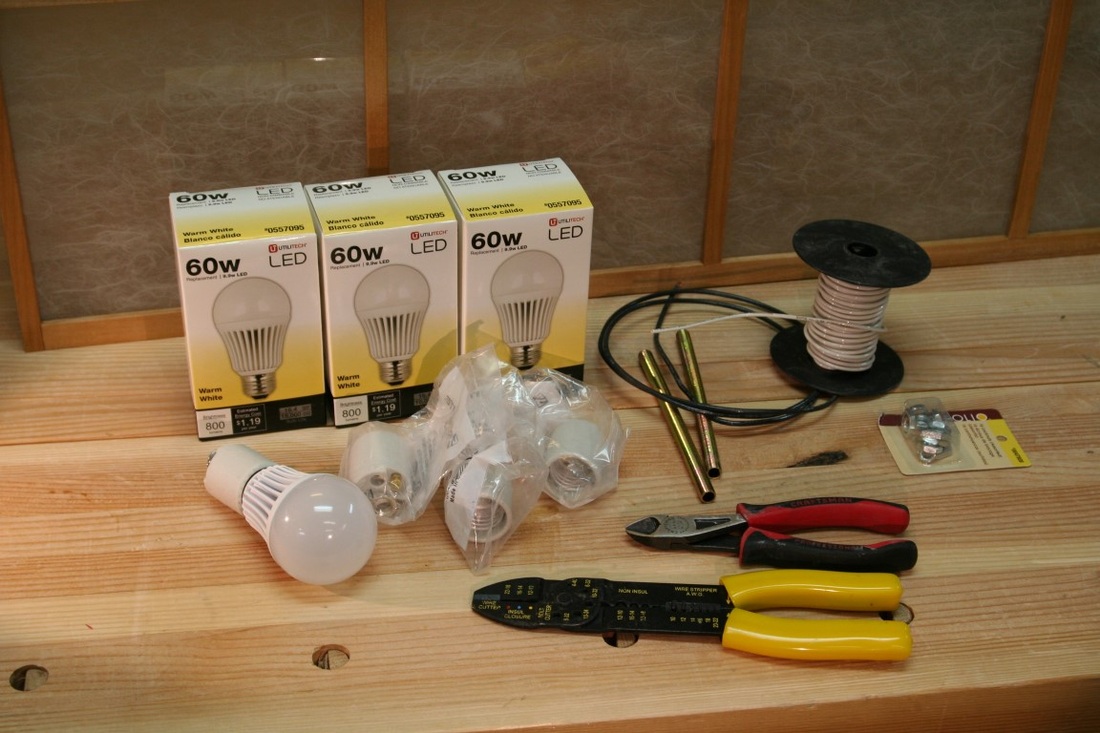
Here are the electrical components and a couple tools.
|
Time to get rid of this...
|
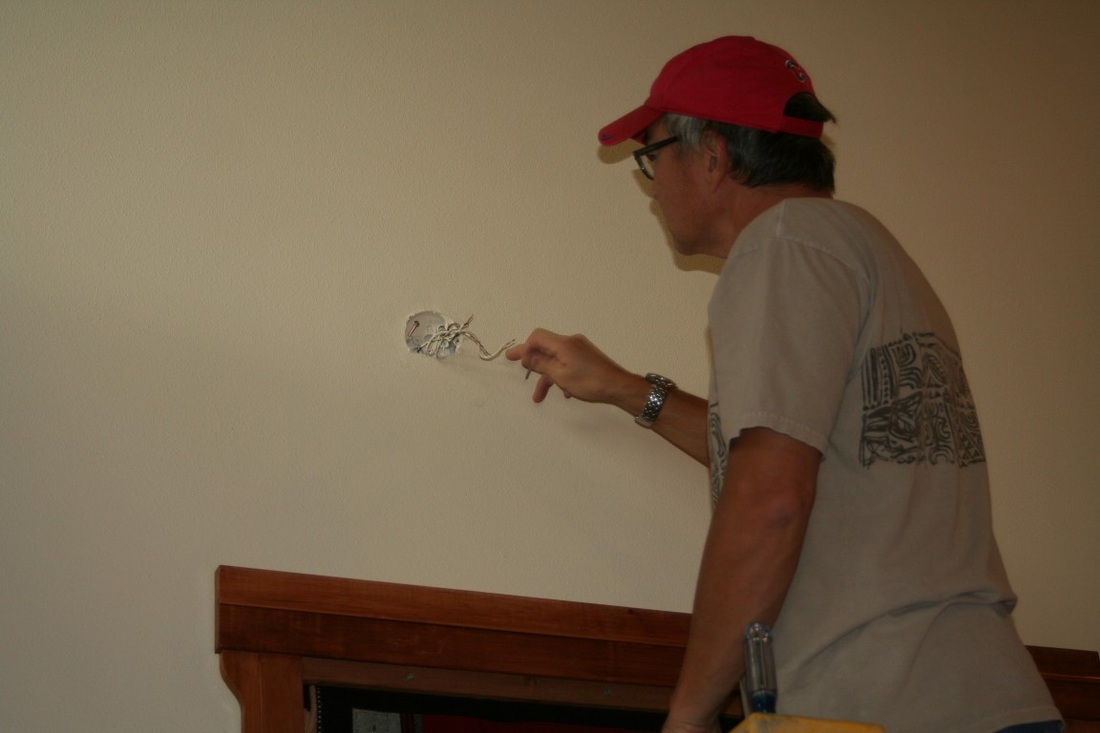
It's gone!
|

Locating for new fixture.
|
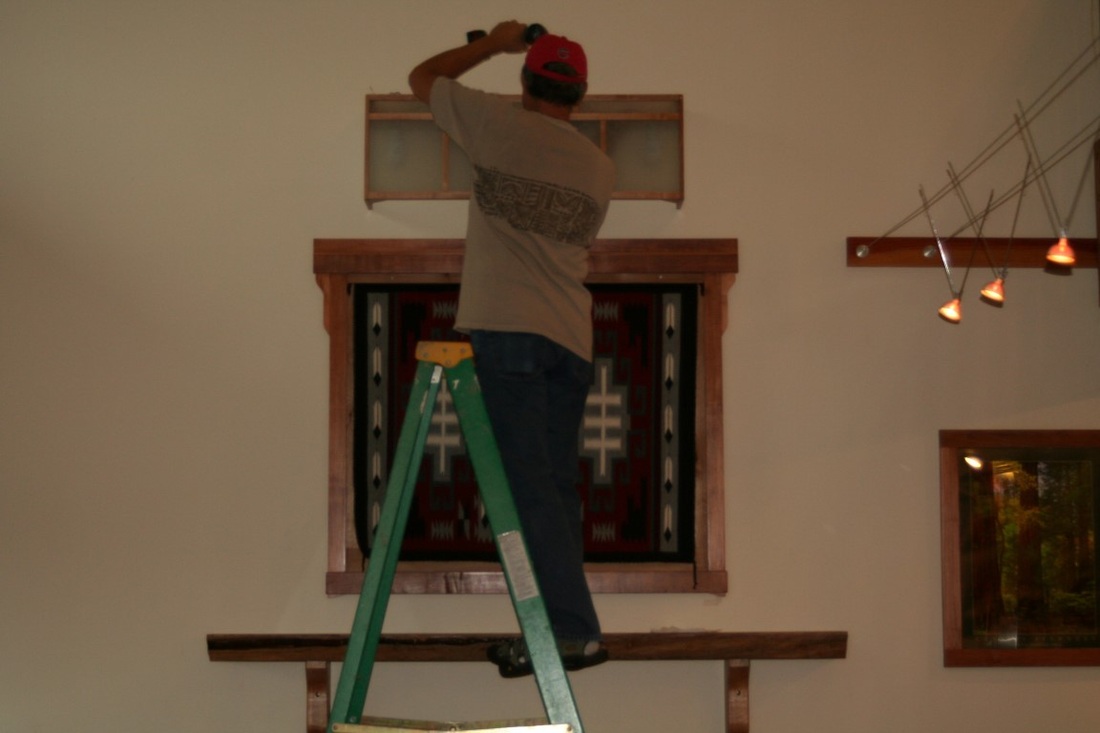
Driving it home.
|
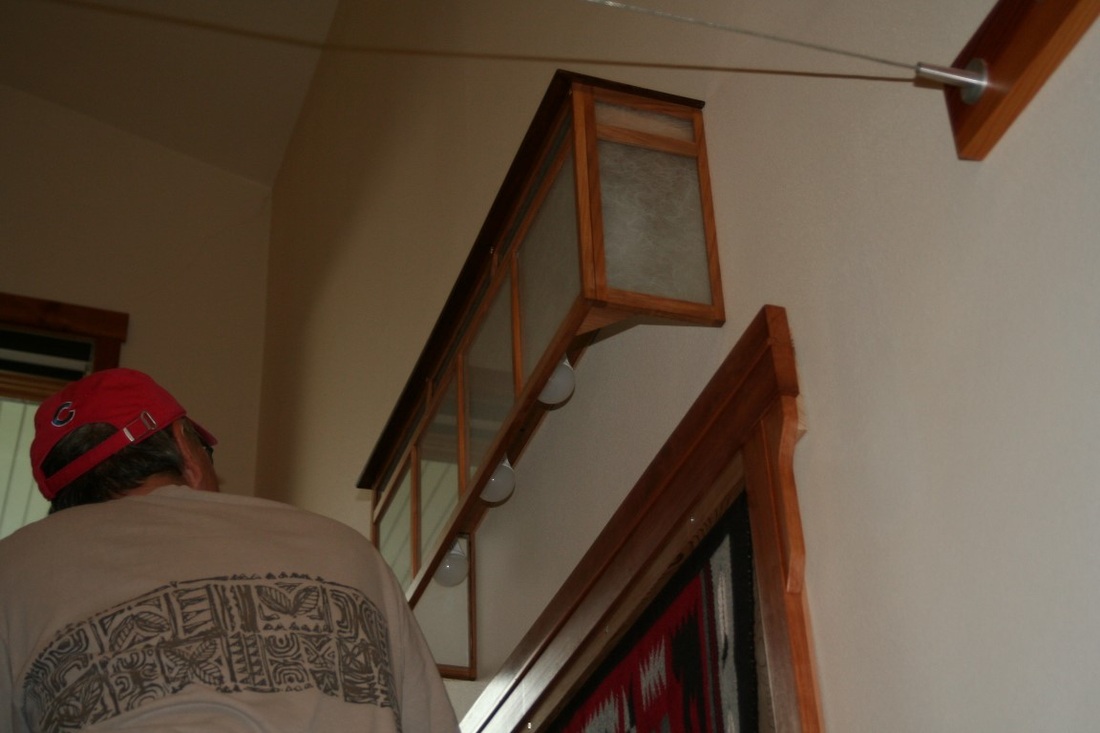
Feeling good about it!
|
|
|
Disclaimer...
Upon the purchase or use of Shigshop.com plans, please do not distribute or copy them in any manner - they are only for the personal use of the original purchaser or user. Shigshop.com does not authorize the manufacture of products for sale using these designs without consent by Shigshop.com.
Although a big effort has been made to ensure these plans will produce a good safe machine or other shop accessory, Shigshop.com cannot assume any liability as a result of any usage of the plans or machines/shop accessories built with them.
Building with these plans should only be attempted by those experienced with the tools and techniques necessary to produce the machine or shop accessory described in the Shigshop.com plans and instructions. When using woodworking and metalworking machines and tools, always ensure safety devices are properly functioning and appropriate clothing, glasses and ear protection are worn.
Be careful and proceed at your own risk - adhere to standard safety practices and you should be ok.
