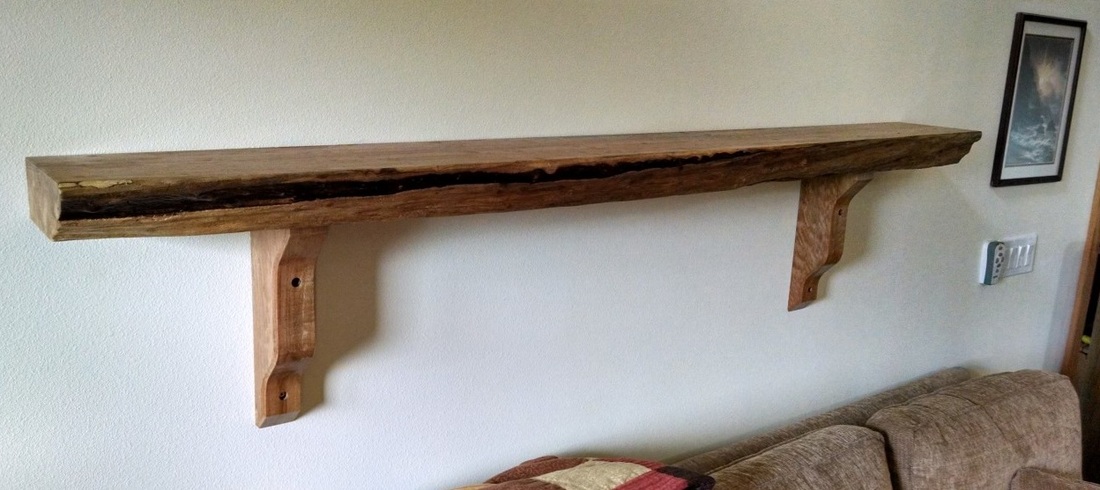
Great room shelf
Sitting in the garage for a few years were some nice pieces of big 3" thick maple. After making the cabin bed with live edges for some friends, we decided to do something with a live edge for our house - and some of that thick maple would be perfect. We have a large wall that always needed some decorating and this shelf is the first step in that direction.
The materials and design

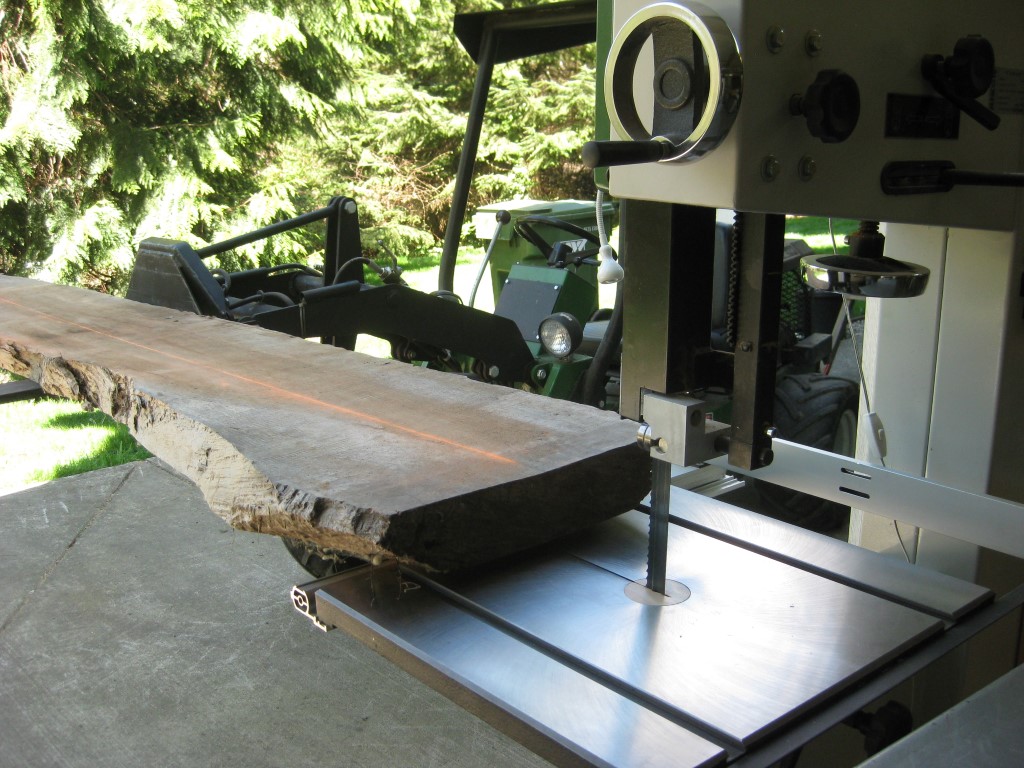
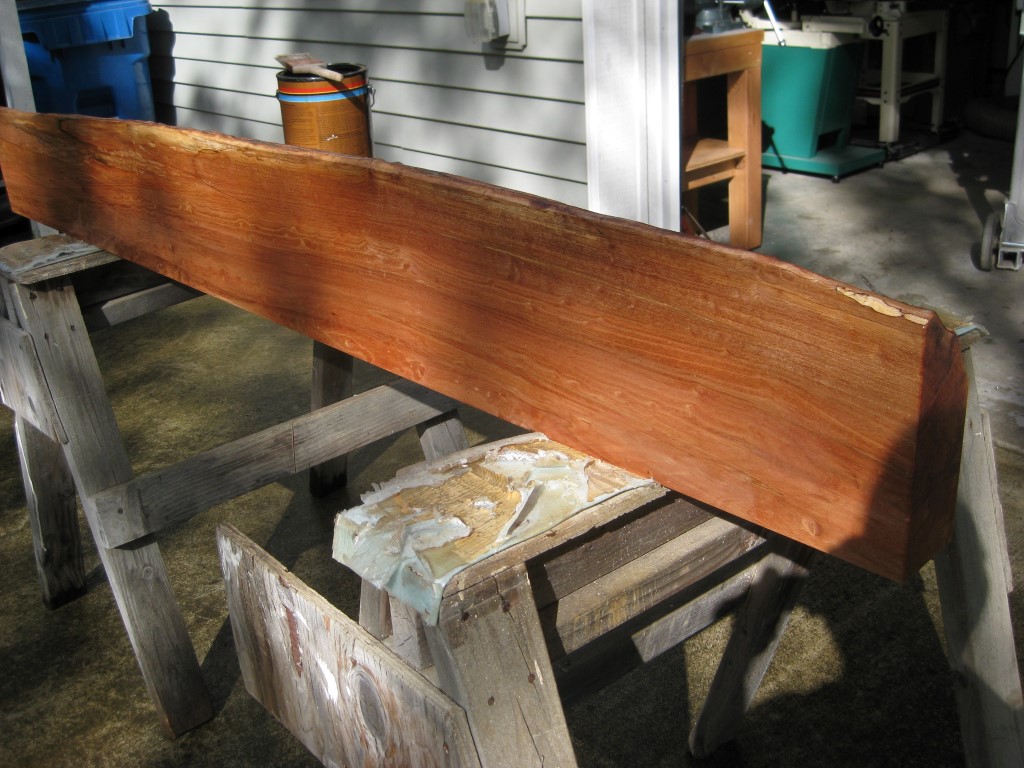
Big rough piece of maple.
|
Here's the wood for this project. The concave side had to go while the other side became the live, outside edge of the shelf.
This was a very simple project. It only has the main board with 2 supports that attach it to a wall. This wall has studs with 16" centers. The shelf is 72" long, and the supports are spaced to attach to 2 studs 48" apart. |
The build
|
To cut the shelf out of the board, a chalk line was snapped and the bandsaw was used to slice down the line. A small tractor with a fork lift attachment, provided some extra infeed support. Keeping the bandsaw on a mobile stand makes it simple to move around the shop. For these cuts, it was moved near the garage door, while the tractor remained outside. |

|

|
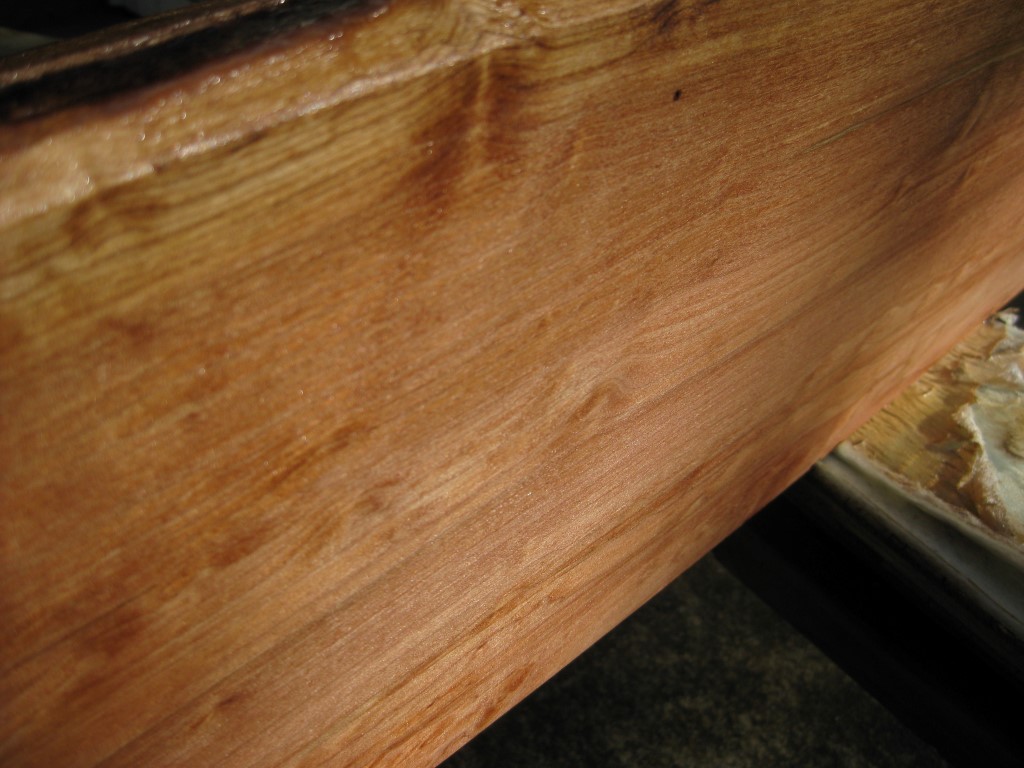
The top and bottom got power planed while the back edge was run over a jointer. A wire wheel in a drill motor cleaned up the live edge. There was quite a bit of bark and punky wood that had to be removed. This method left a rustic edge that required just a bit more sanding with 220 grit.
|
|
The support pieces were cut from the shelf scrap. After drawing a few iterations of various shapes directly on the wood, I came up with something that looked good. Mortise/tenons join the supports to the shelf.
|

PAD (pencil aided design)...
|

Using the table saw tenon jig.
|
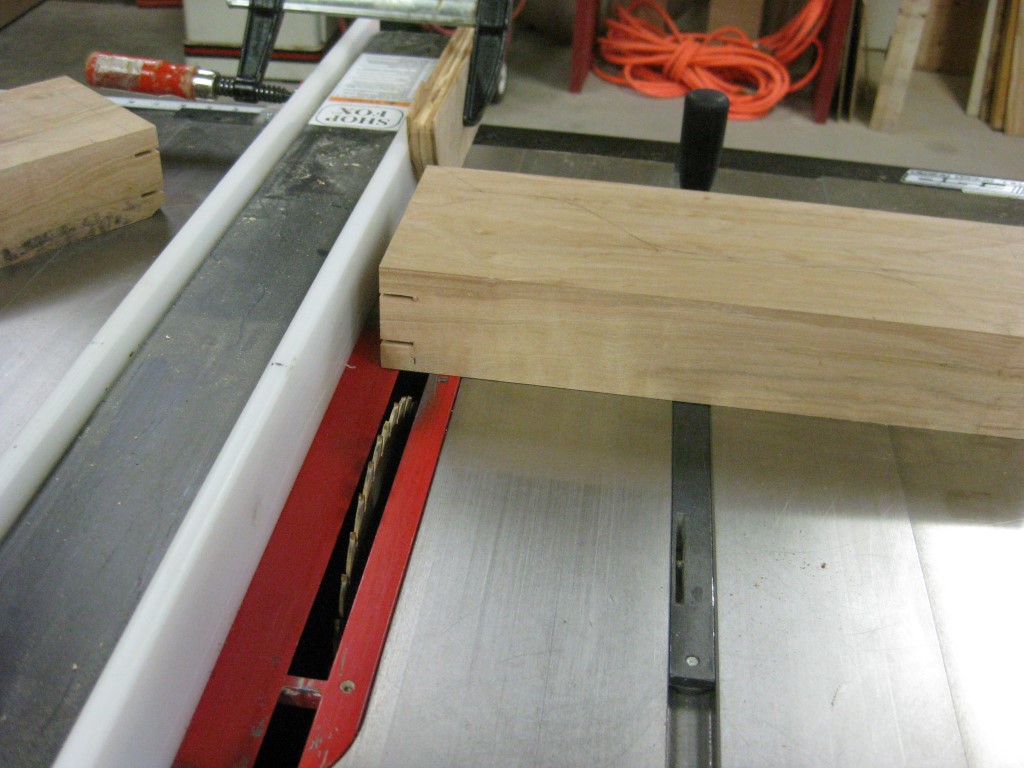
Cutting the shoulders.
|

Completing tenons on the bandsaw.
|
|
A simple fence and router cut the mortise slots in the shelf. It took 2 passes for each slot. The second pic shows the slot after 1 pass. After moving over the fence a bit the 2nd pass was taken. Then, a chisel and mallet were used to square up the ends.
|
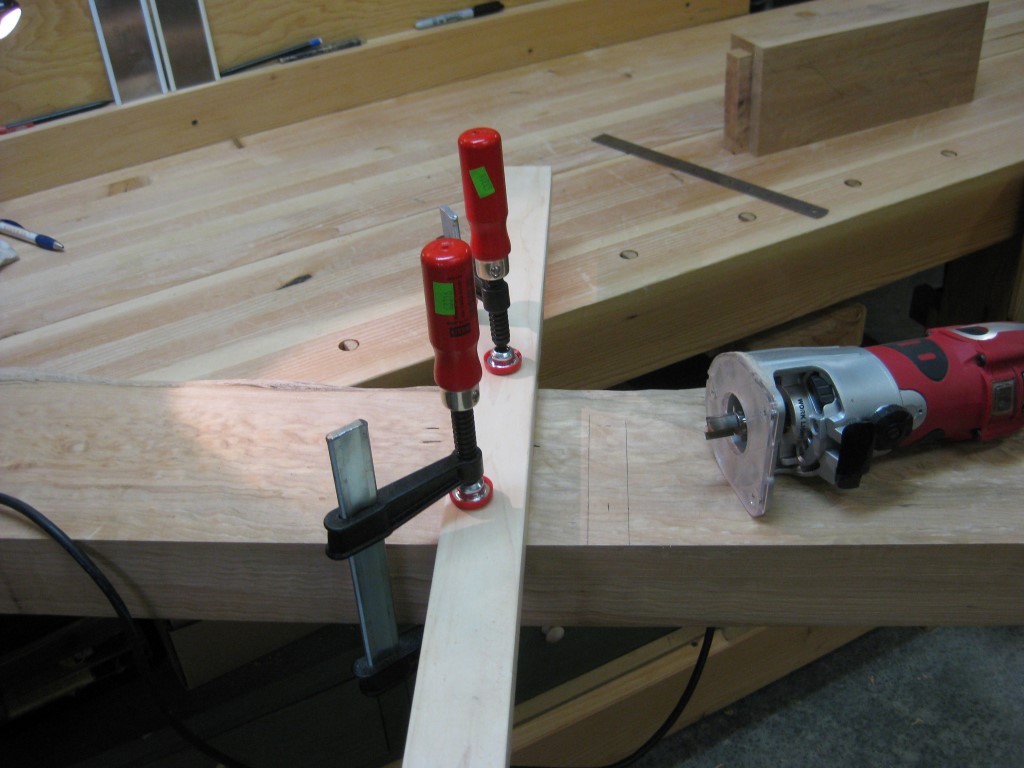
Cutting mortises.
|
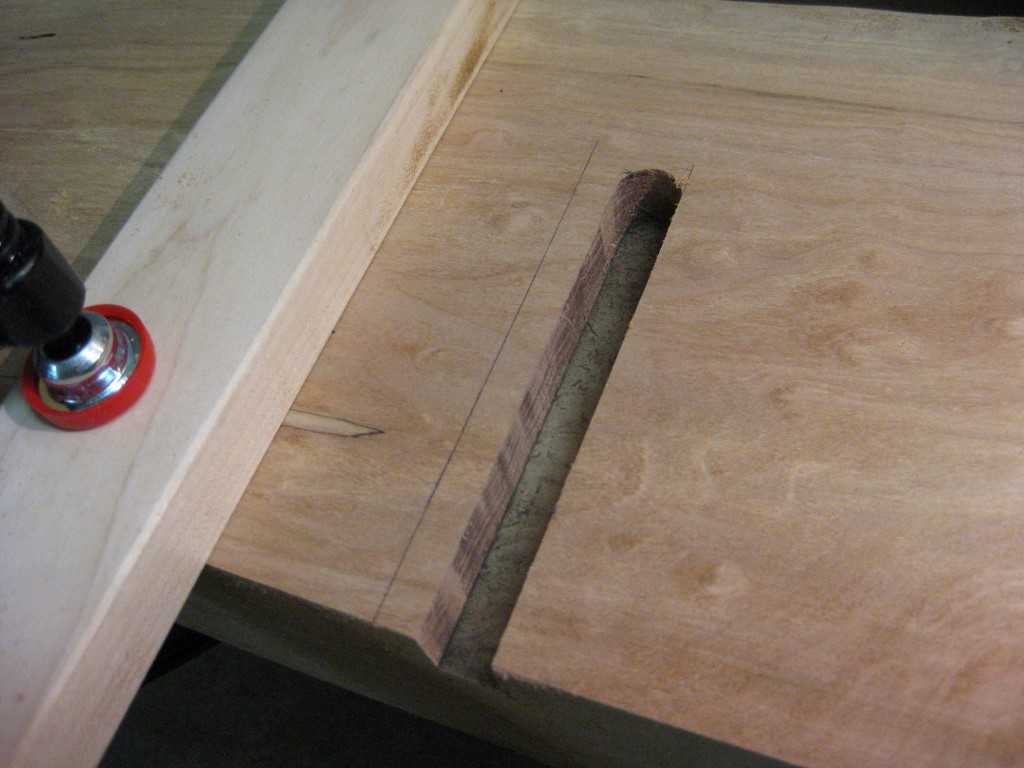
This was the first of 2 passes.
|
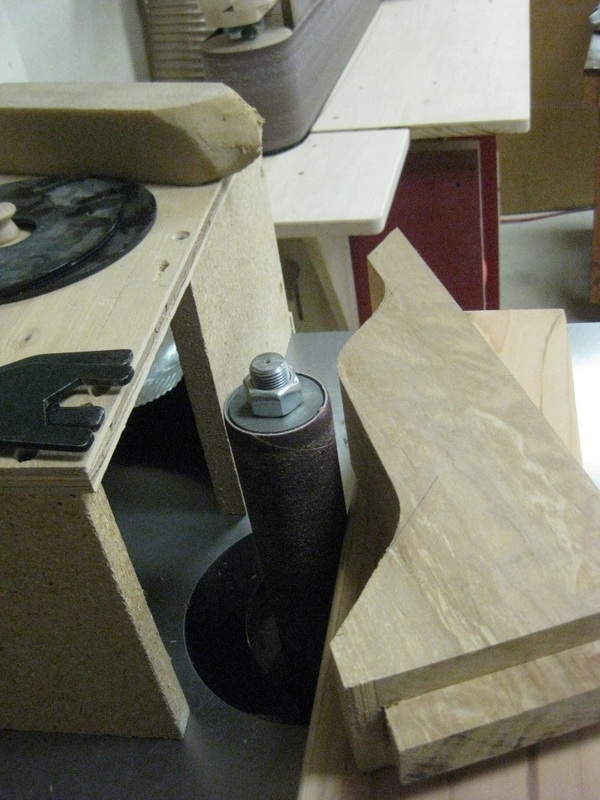
Cleaning up the saw marks after bandsawing.
|
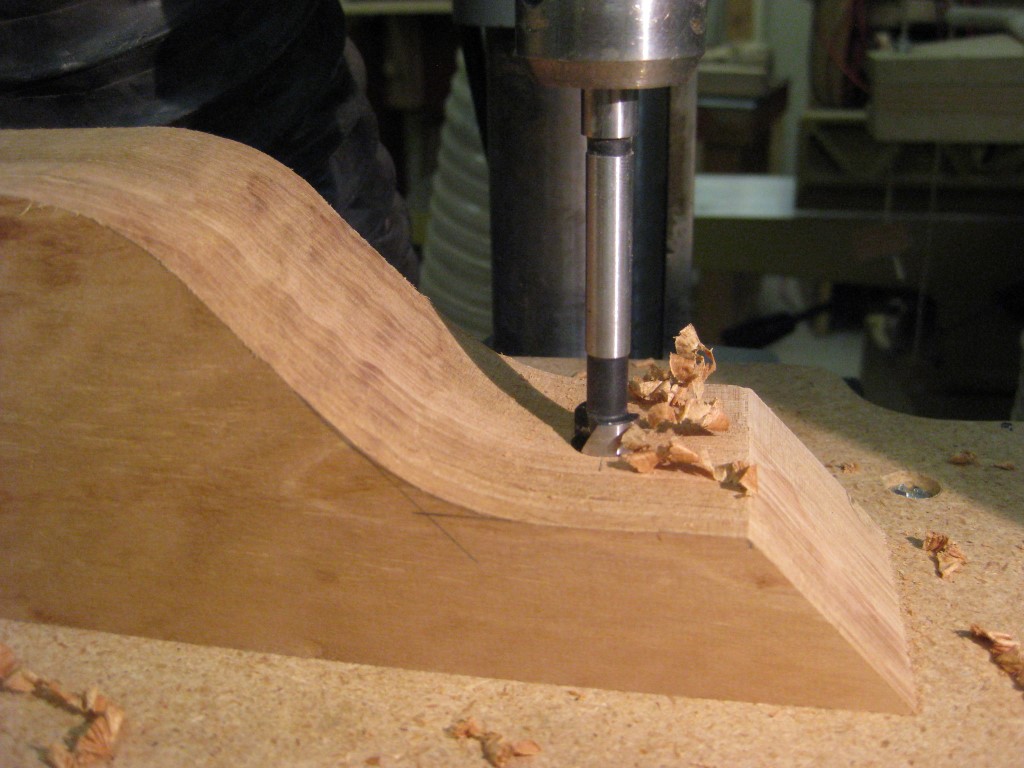
Using a forstner bit to make counterbores which were followed by a smaller bit to drill holes for the screw shanks.
|
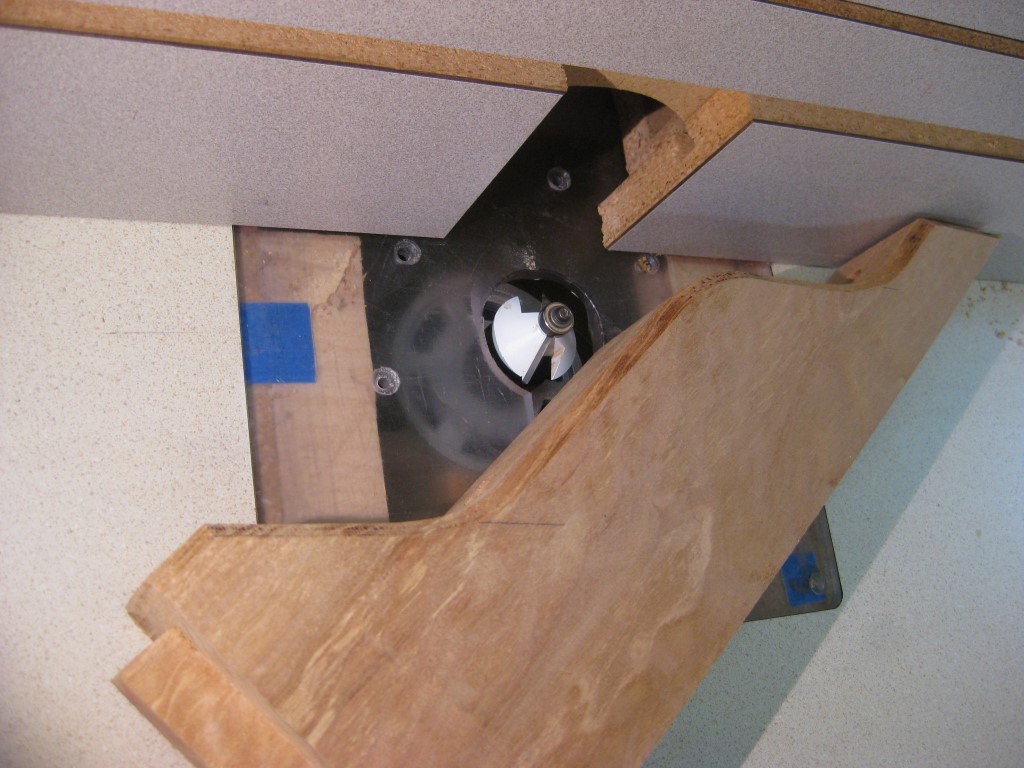
Rough chamfering.
|
For the supports, the bandsaw is the tool of choice to cut the initial shape, then an ocsillating spindle sander and edge sander cleaned them up.
Counter bores and holes were drilled for mounting screws. Nice big chamfers were roughed on the router table. |
|
Jack, block, and finish hand planes were used to prep for finish. I had to sand the contours of the live edge and supports.
Glue up for this was fast - only 2 joints. |
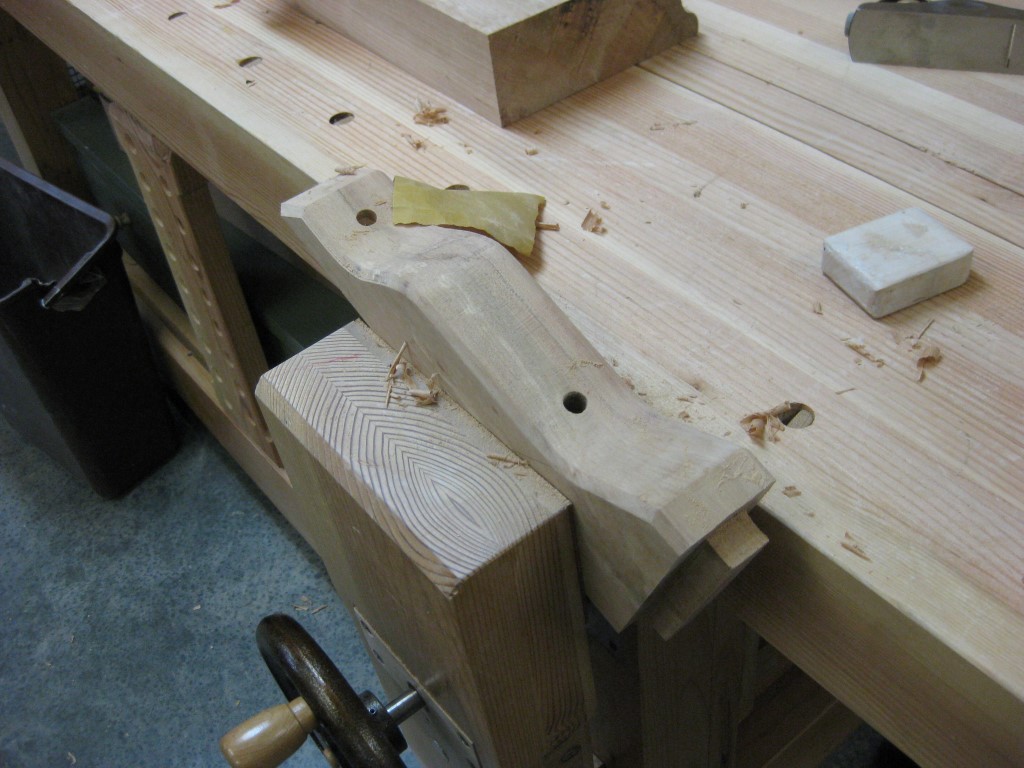
Holding a support with the dogleg vise to do some sanding.
|
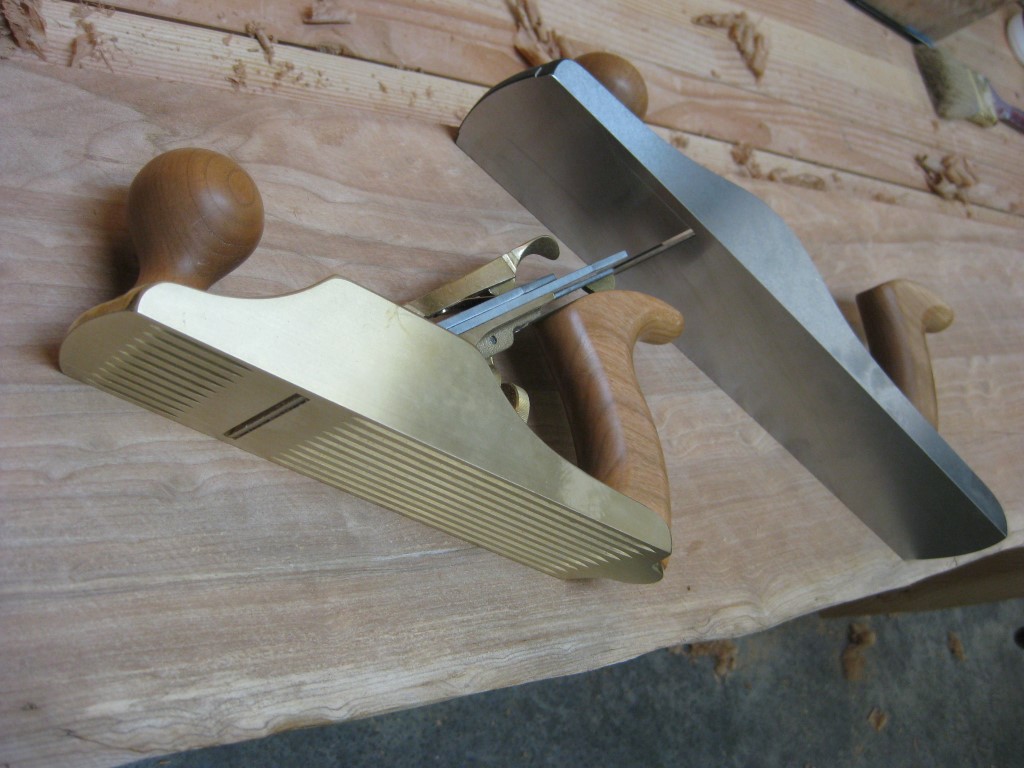
Hand planes for finish work.
|

Test fit before glue up
|

Sometimes you have to get creative with clamps.
|
Finish
2 coats of water based semi gloss poly completed this project.
|

|
|