2019 Blast gate updates
Tablesaw dust collection - NEW
Original dust collection page - useful pics of some machine hoods.
Dust shadows be gone
When my dust collection ducts were initially installed, I was told not to worry about sealing the joints. Talk about a BAD IDEA, well, this certainly qualified! Installing 6" ducts is a difficult project. I did it by myself, and loathed having to do it again, but it had to be done... Thankfully, my awesome wife was there to help out this time.
When the collector is running, dust travels through the pipes at a fairly high velocity. If there are any gaps in the duct joints, a small percentage of dust particles will find its path of least resistance via those gaps. This super fine dust gets in the air and coats surrounding walls and things which defeats the whole purpose of the system. Without properly sealing the duct joints, you'd be better off using a HEPA shop vac at each machine. Ya gotta seal those joints!
Note: This page uses links to Amazon.com of which Shigshop.com is an affiliate member.
And regarding shopvacs, here's one to check out: Festool CT48 dust extractor
I'll be providing more info about this tool on future updates.
This rebuild was completed at the end of 2019, with small improvements constantly occurring...
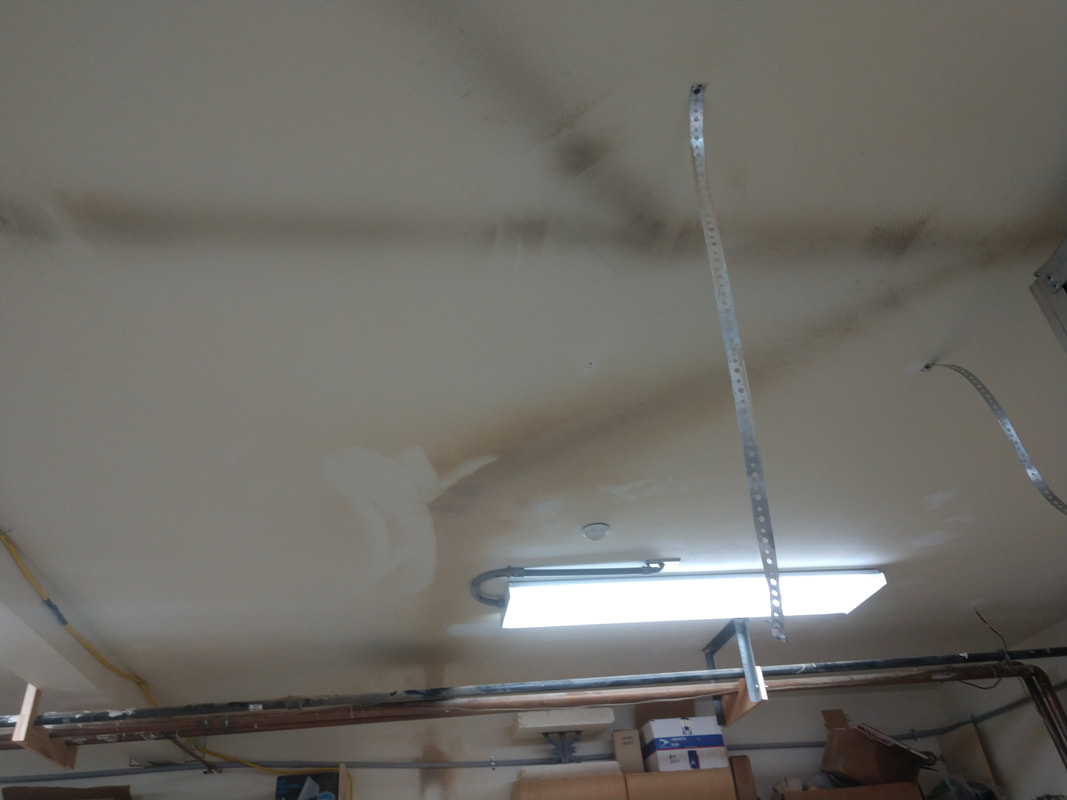
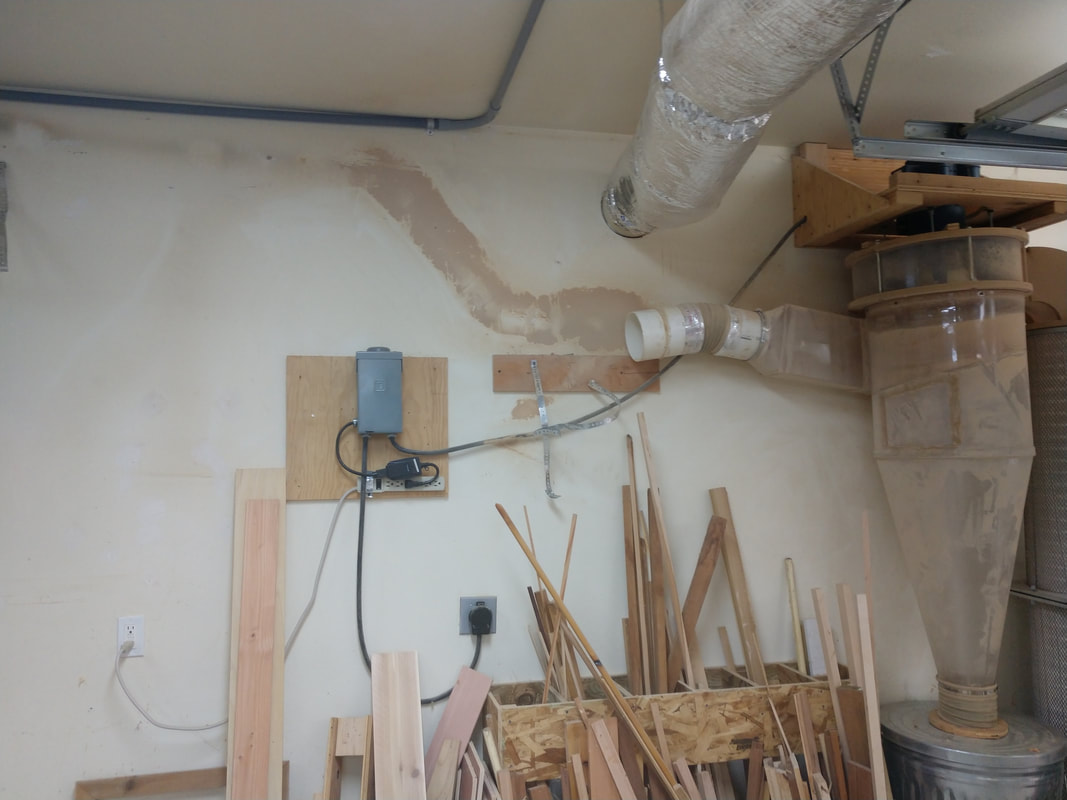
In these pictures, you can see dust shadows on the wall and ceiling. Some of that caked on dust is probably close to 2mm thick or maybe even more.
In these pictures, you can see dust shadows on the wall and ceiling. Some of that caked on dust is probably close to 2mm thick or maybe even more.
Tear it down and clean it up
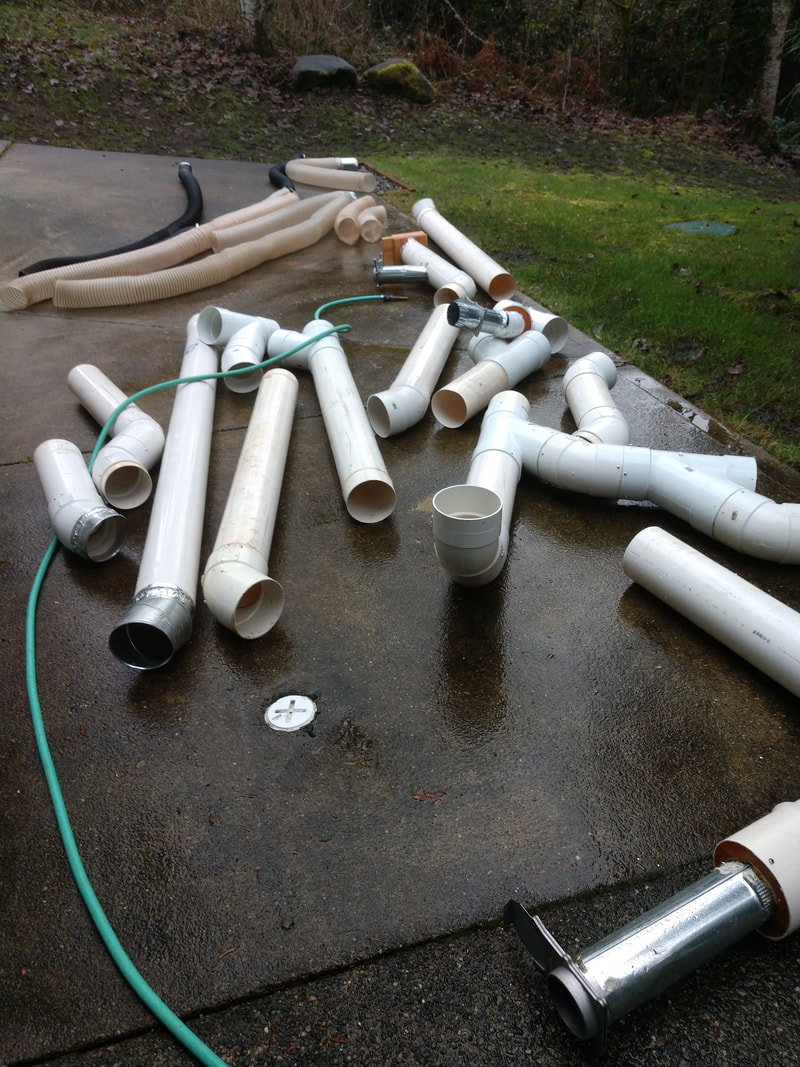
The next step was to take apart the ducts, bring them outside, clean 'em, and then clean the shop.
The piping got hosed off, wiped down, hosed again, and brought back in the shop to dry overnight. For the shop walls and ceiling, I used brooms, rags, and a leaf blower to clean it up - a good respirator was mandatory. Someday, it would be great to get a PAPR respirator (powered air purifying respirator), but that'll have to wait...
The piping got hosed off, wiped down, hosed again, and brought back in the shop to dry overnight. For the shop walls and ceiling, I used brooms, rags, and a leaf blower to clean it up - a good respirator was mandatory. Someday, it would be great to get a PAPR respirator (powered air purifying respirator), but that'll have to wait...
|
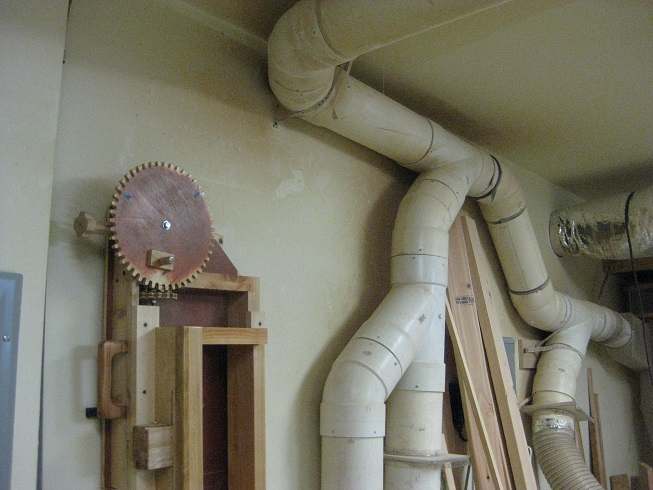
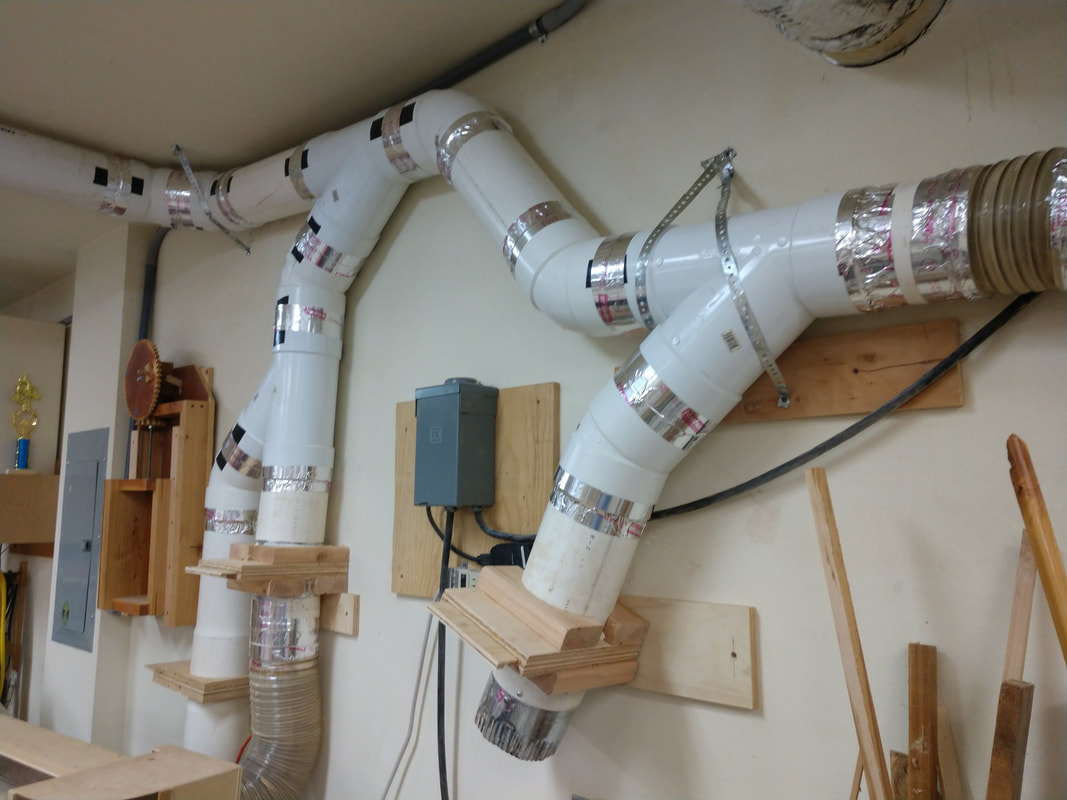
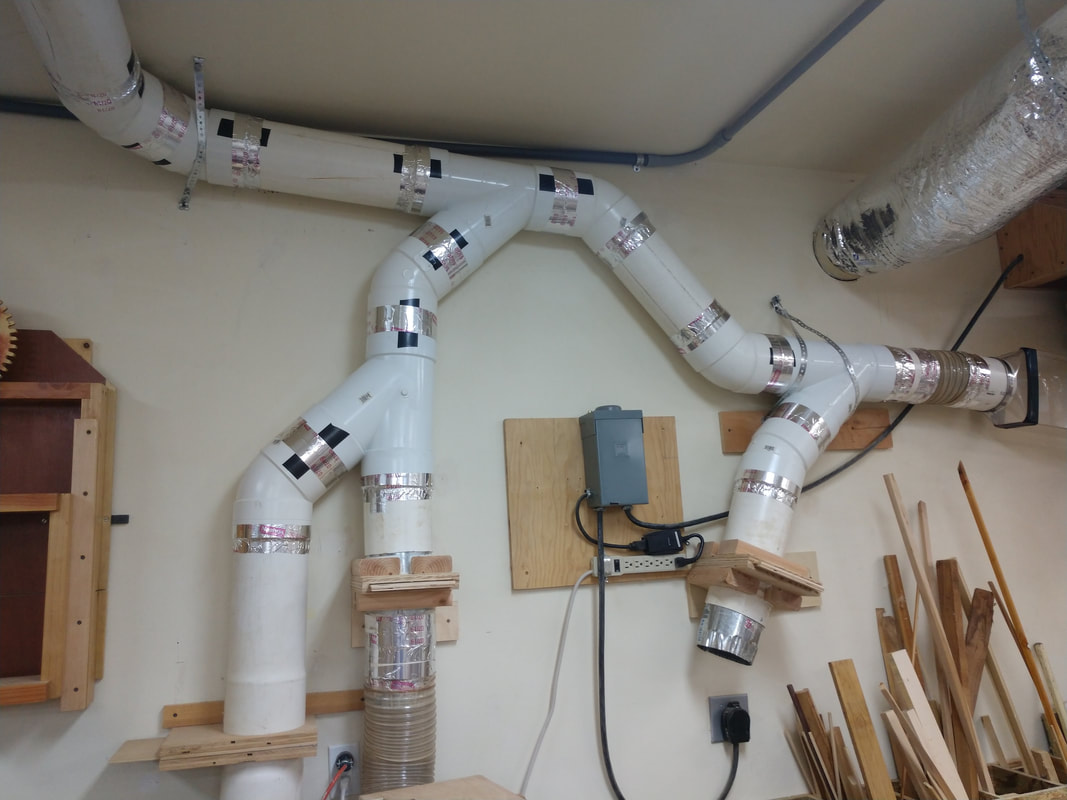
This is much better - During reassembly of the ducts, I used gorilla tape to secure the joints, then aluminum duct tape to seal them.
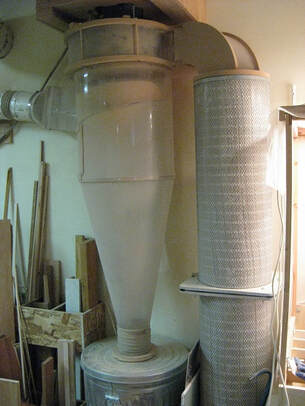
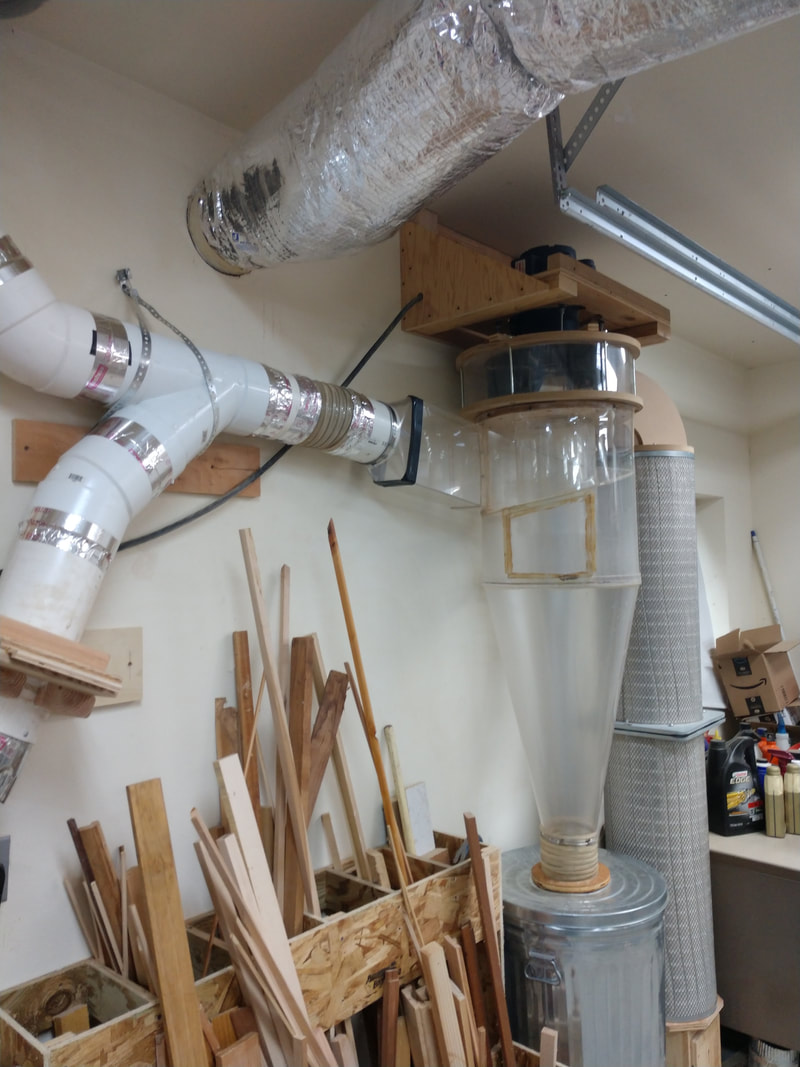
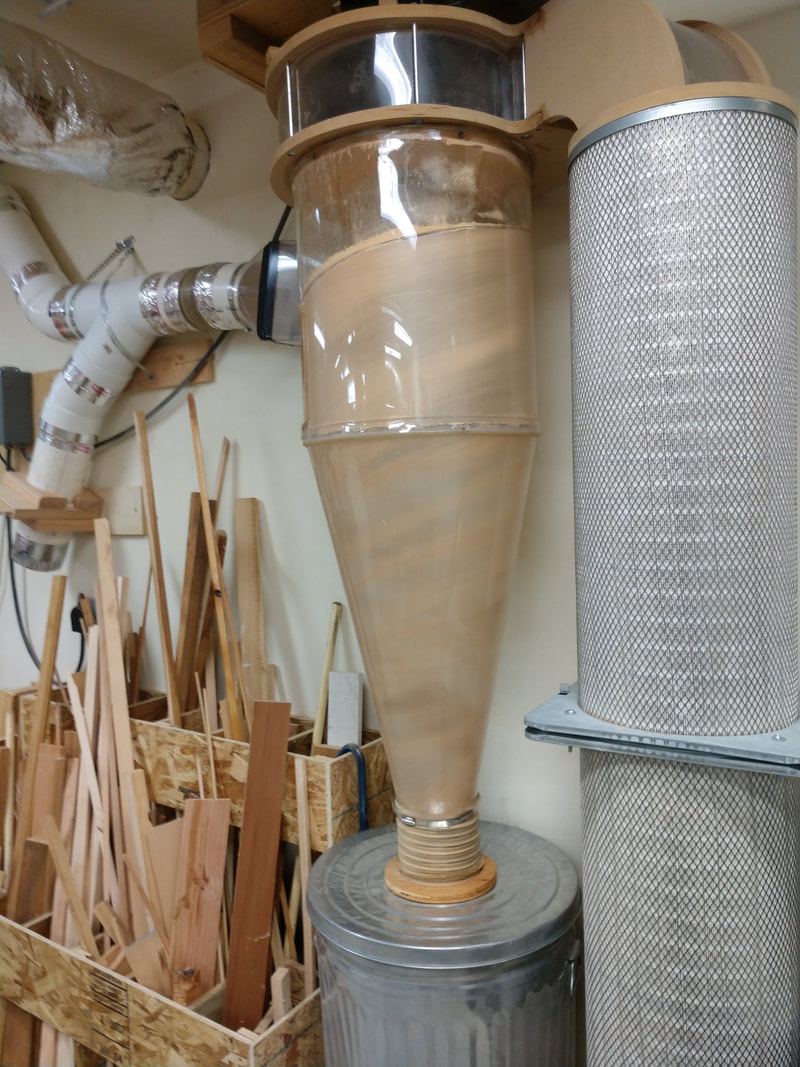
The cyclone was also cleaned up outside and sealed with silicone caulk. |
During the first assembly (years ago), small self tapping sheet metal screws were used on most of the joints. This caused a problem where sometimes a rag or other large debris might have gotten sucked up and stuck on a protruding screw. Even though those are tiny screws, they can cause these issues. Imagine a rag stuck on a screw somewhere in the middle of a duct line (this actually happened, which was discovered during the rebuild).
My advice: Don't use screws. Glue would be good, but it's more permanent and not easily coming apart. I'm hoping the gorilla/alum tape is the answer.
My advice: Don't use screws. Glue would be good, but it's more permanent and not easily coming apart. I'm hoping the gorilla/alum tape is the answer.
Final thoughts
Many years ago, it was a relief having decent dust collection, then the problems described here started happening.
Sealing the joints has made the system incredible. Only lots of use and time will tell if the problem is solved. On the old build, the accumulated effect of having small gaps throughout the ductwork caused a significant loss of suction. I have no idea how much loss occurred, but the amount of suction that has been achieved during this rebuild is nothing short of astounding. Mind you, the cyclone has a 5hp motor and a very stout steel impeller which produces a prodigious amount of CFMs. These improvements have been well worth the effort and I'm glad we took a few days to get it done.
Sealing the joints has made the system incredible. Only lots of use and time will tell if the problem is solved. On the old build, the accumulated effect of having small gaps throughout the ductwork caused a significant loss of suction. I have no idea how much loss occurred, but the amount of suction that has been achieved during this rebuild is nothing short of astounding. Mind you, the cyclone has a 5hp motor and a very stout steel impeller which produces a prodigious amount of CFMs. These improvements have been well worth the effort and I'm glad we took a few days to get it done.

