
2019 Blast gate upgrades
Decent blast gates are critical components in a shop dust collection system...
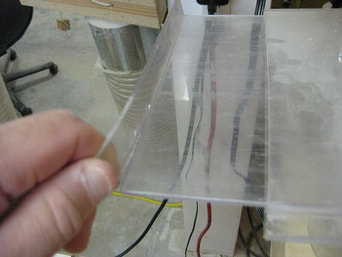
This picture shows my old design, which worked ok, but sometimes wouldn't close all of the way because of dust building up in the slot between the 2 housing pieces.
This picture shows my old design, which worked ok, but sometimes wouldn't close all of the way because of dust building up in the slot between the 2 housing pieces.
|
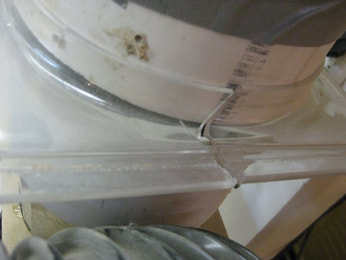
The 6" blast gates that came with my dust collector weren't the best... They worked fine for awhile, but ended up breaking... Plus, they just didn't work as smoothly as they could have.
|
|
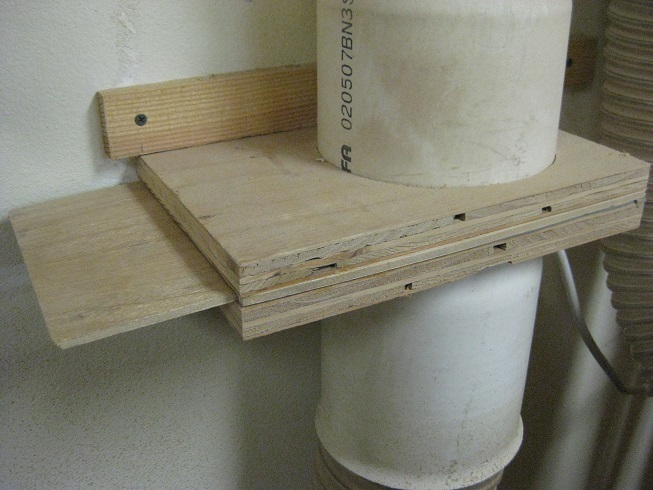
I built one of a similar design out of plywood that is still good and strong after quite a few years. This is very smooth and has never given me any problems.
|
|
|
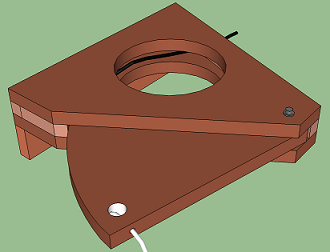
This pivot blast gate was my original design - I built 4 of them that were in use for a few years. In the end, it got a little tiring having to clean them out because of clogs.
|
2 new designs...
|
|
NOTE:
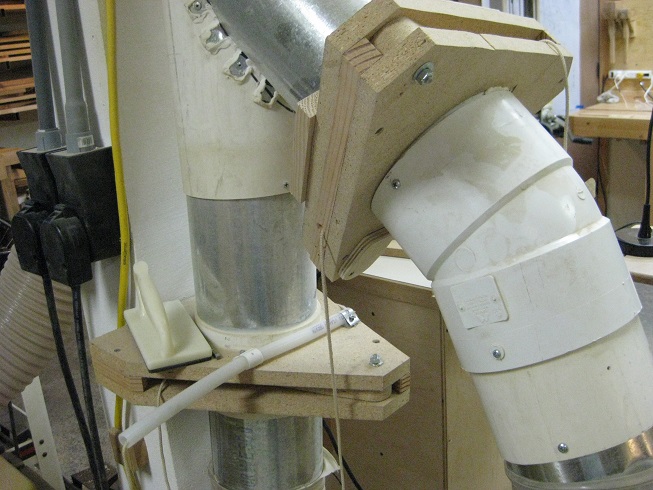
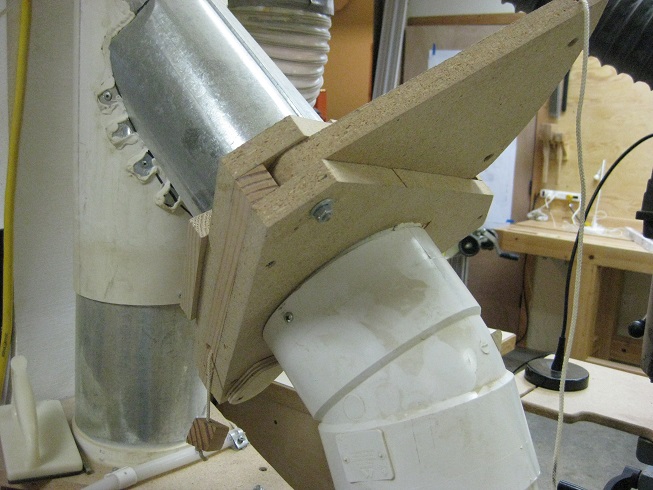
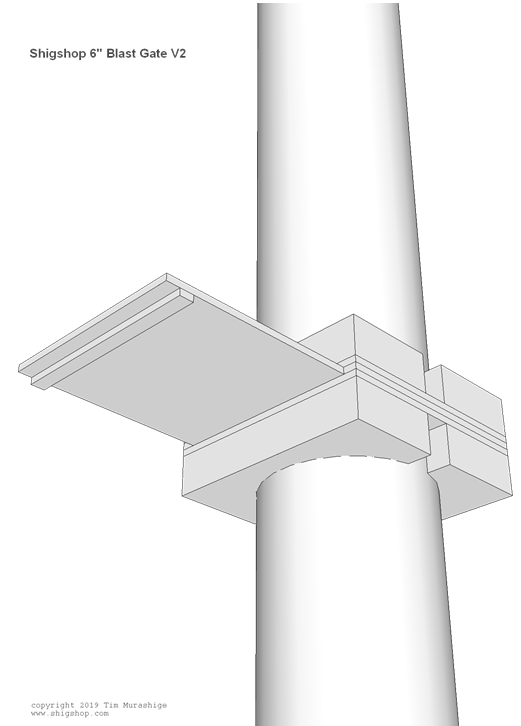
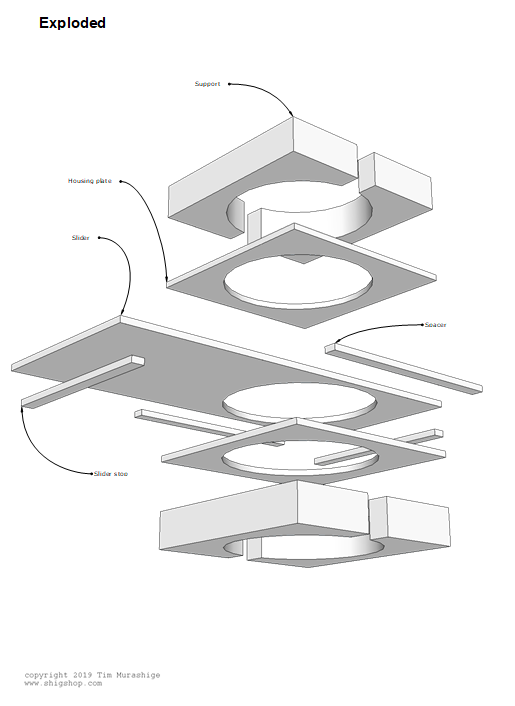
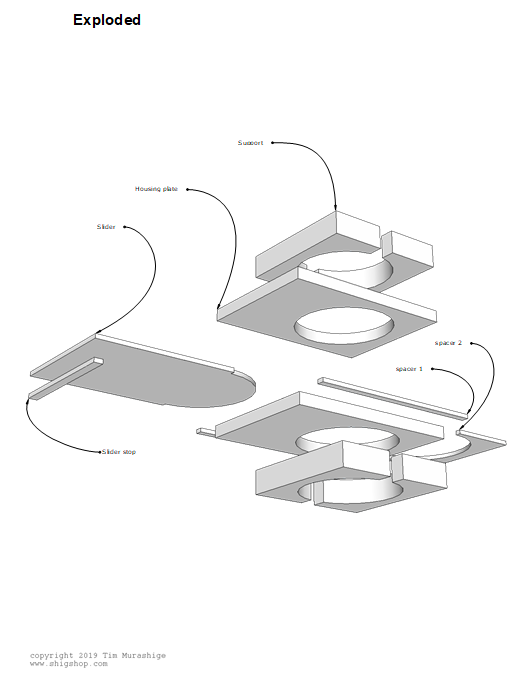
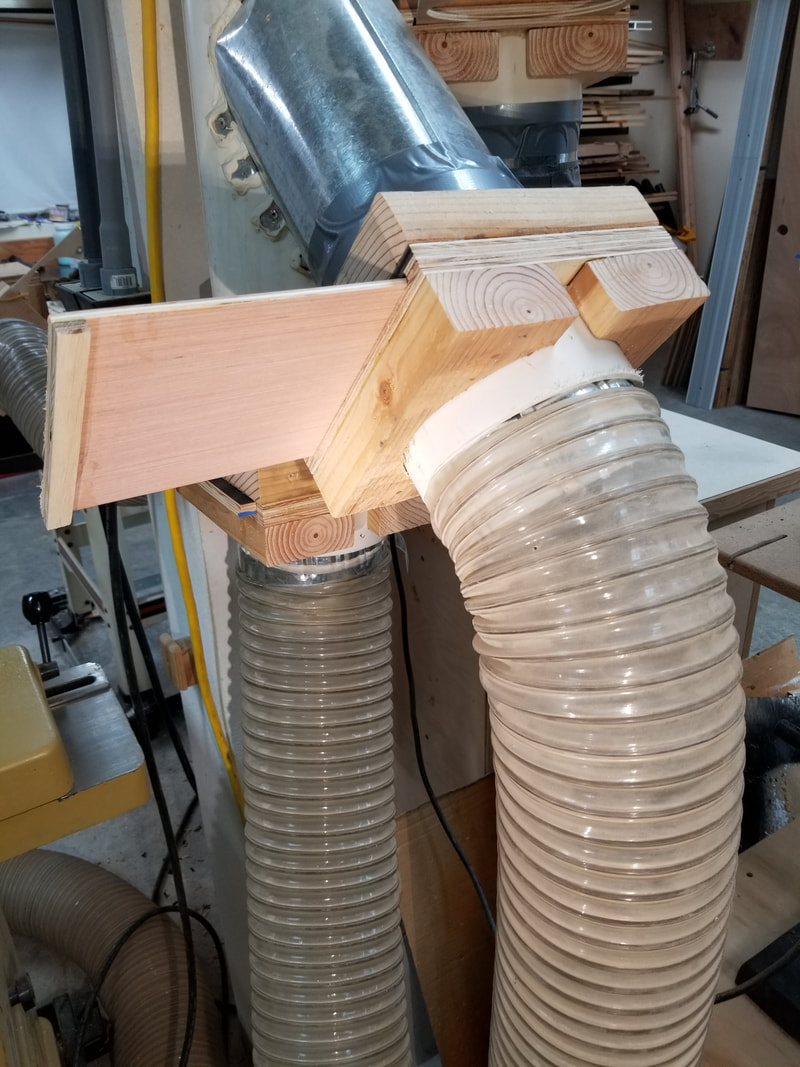
After a few months of use, V3 is the recommended design. The main problem with V2 is the slide breaks fairly easily when in the closed position because of the thin section next to the holes. I decided to replace the pivot gates with a couple new versions of slide gate designs. This V2 version has a gate that passes completely thru the housing with no chance of any clogging. A hole in the slide which is the same size as the ducts completely fills in the slot required for the slide. Support pieces on the top and bottom serve a few purposes: 1 - Stiffen the housing 2 - Provide support for a coupling 3 - Provide support to attach a cleat I'm hoping this design works well. |
|
|
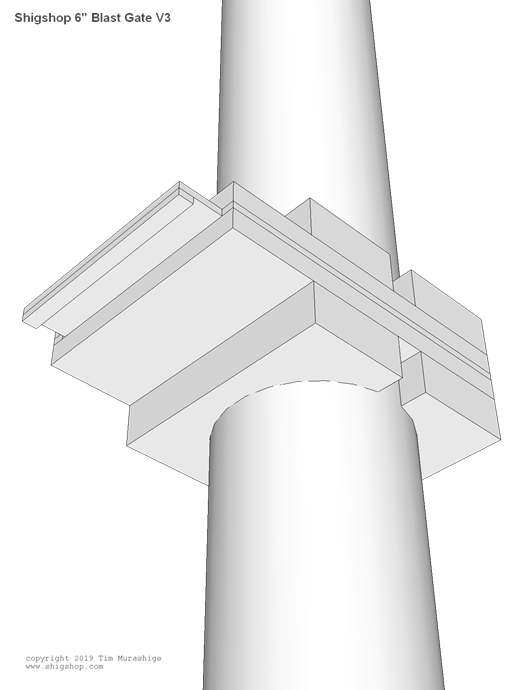
NOTE:
V3 are the best gates so far - go with those if you choose to build. The V2 gate works well if it's out in open space or if the slide can parallel a wall. If ease of use or clearance issues demand that the slide goes perpendicular (out and away) from the wall, V2 won't work. V3 solves this by eliminating the passthru slot and slide. The slide for V3 works like most other slide gates. The main difference is the, the spacer in the rear of the slot between the 2 housing pieces follows the curve of the ducts, which minimizes the chance of clogs. Pictures below should clarify this. |
Some assembly required

v3 pieces from left to right: spacers; slides, housings.
|
V3 spacers on one side of housing.
|
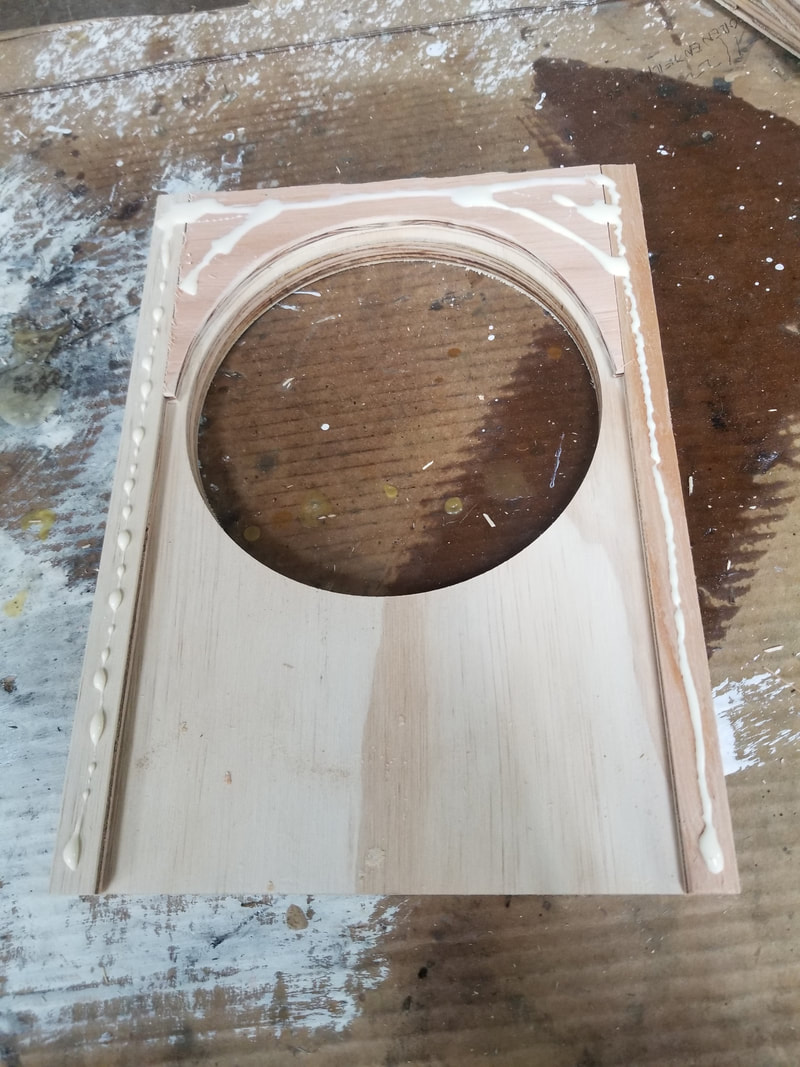
V3 here shows the spacers during glue up. Notice how the radius cut in the rear spacer is a little bigger than the radius of the hole. The radius in the slider matches the spacer radius, which will seal the gate a little better when closed. Just hoping this doesn't clog up....
|
|
|
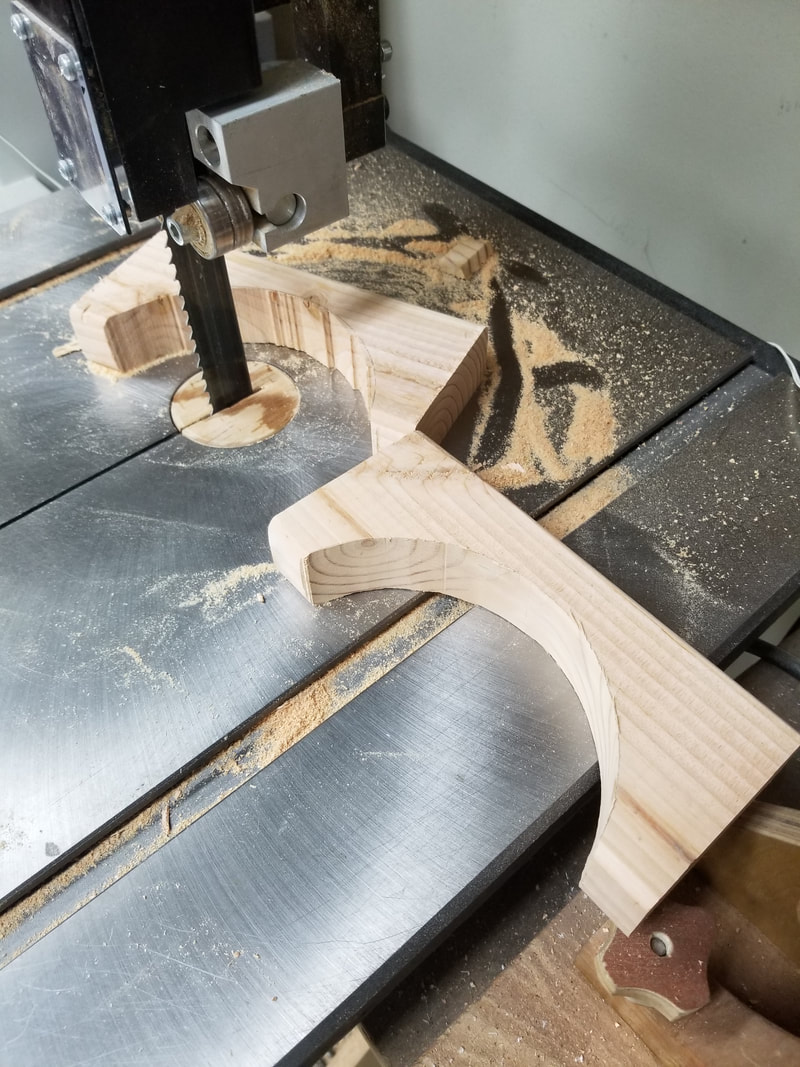
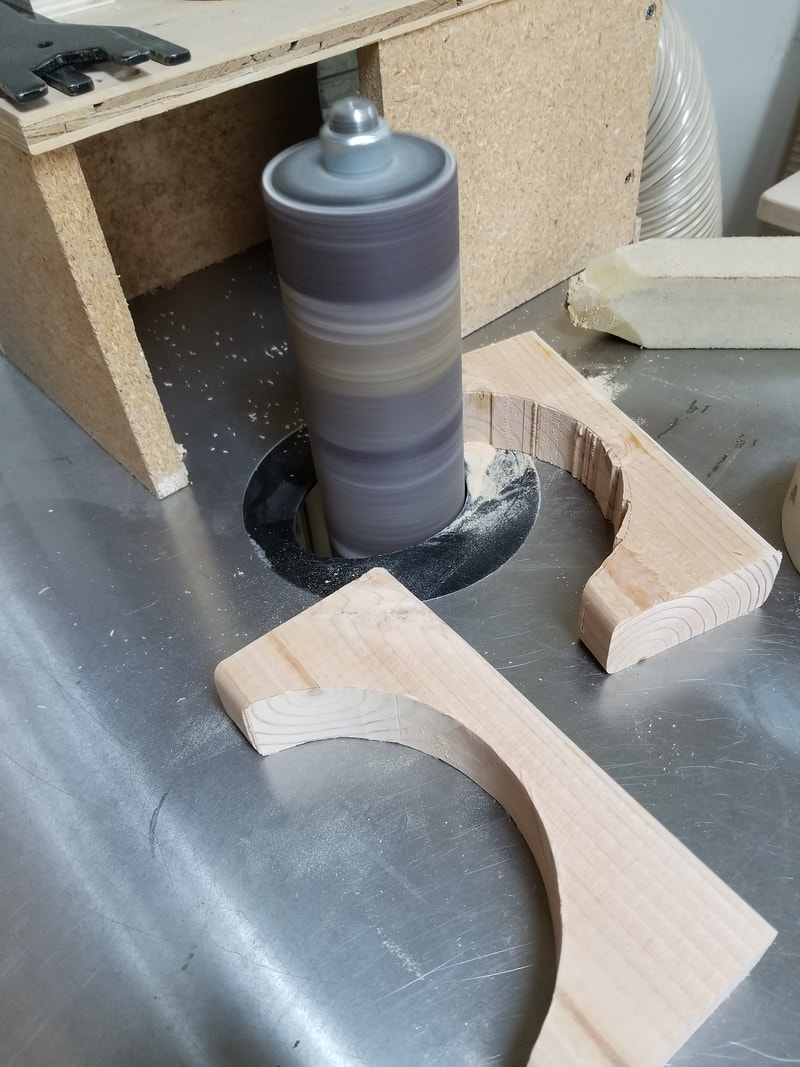
Each blast gate has 4 support pieces - 2 on top and 2 on the bottom. This design made it simple to cut the curve on a bandsaw and spindle sander. These just have to be functional - this isn't fine furniture....
The big resaw blade on the bandsaw made for fast work - it didn't follow the curve and required some relief cuts, but because of the aggressive blade, it was a quick way to get it done. 60 grit on a big spindle finished it them up. |
Completed gates

V2 blast gates
V2 closed
V3 closed
|
V3 blast gates
V2 open
V3 open
|
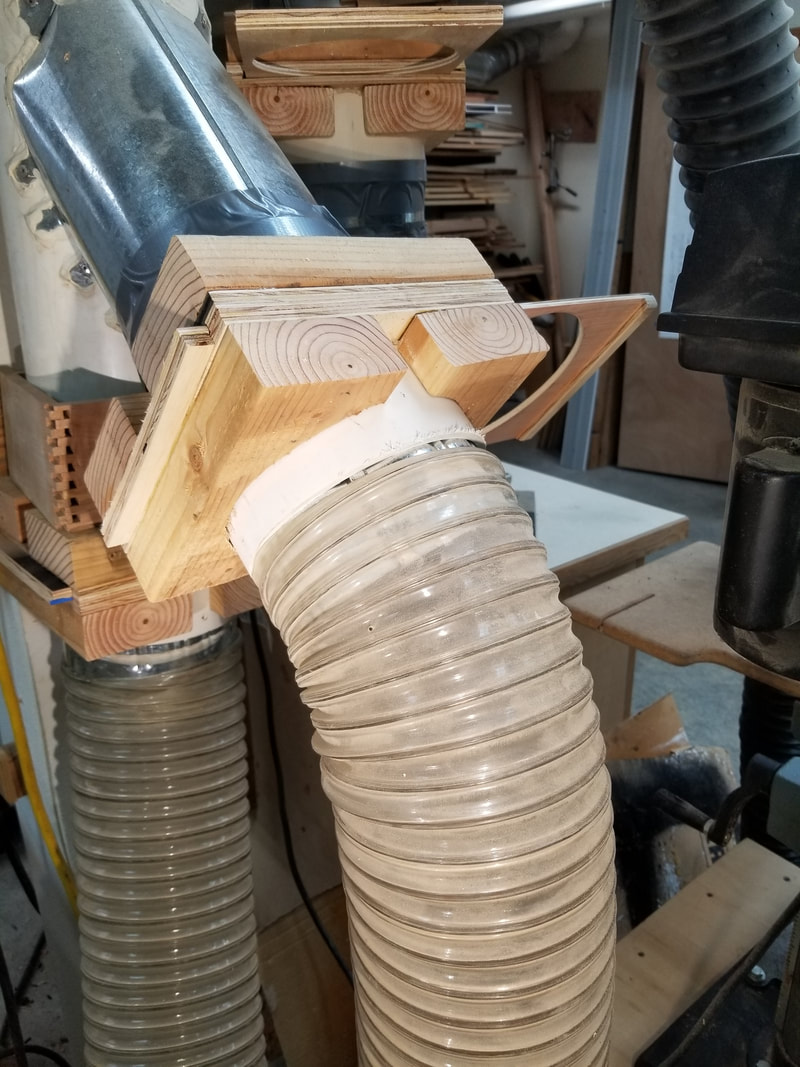
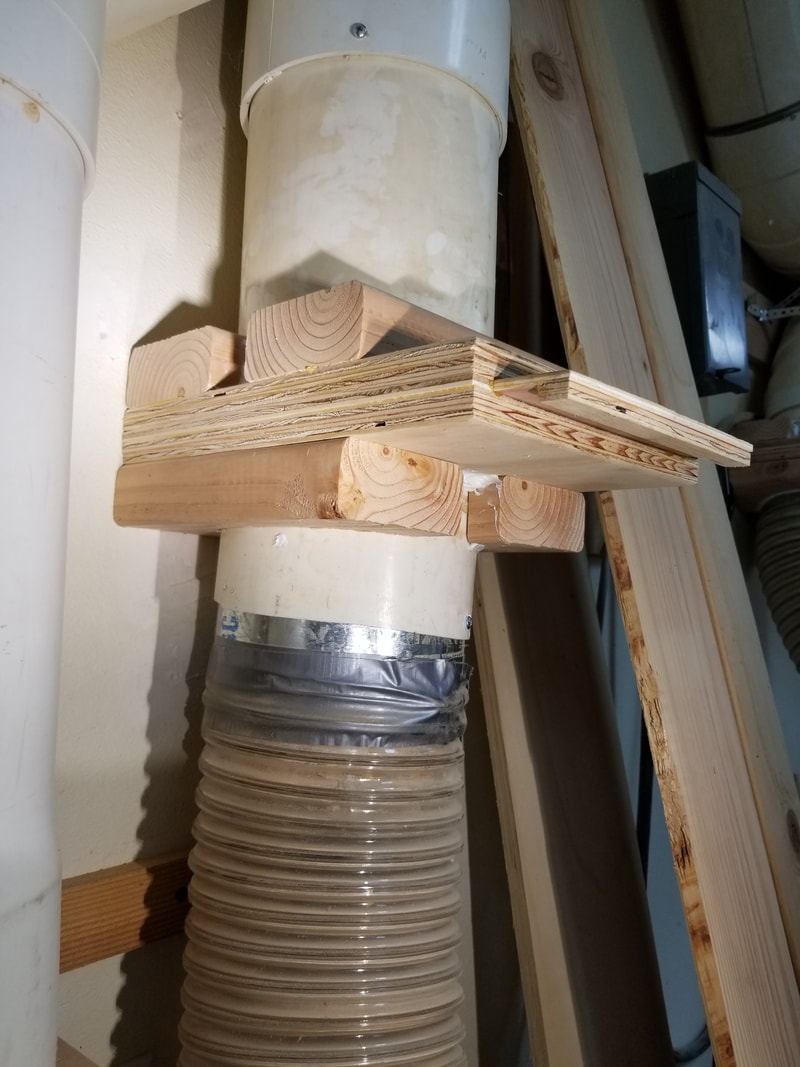
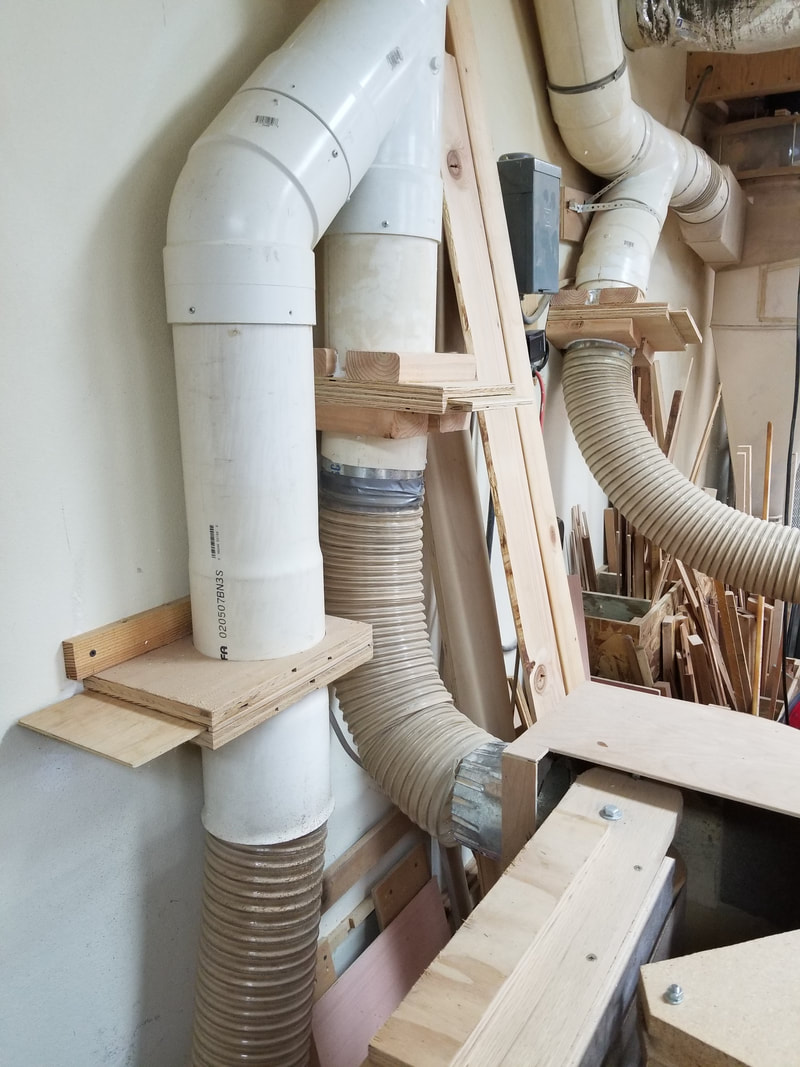
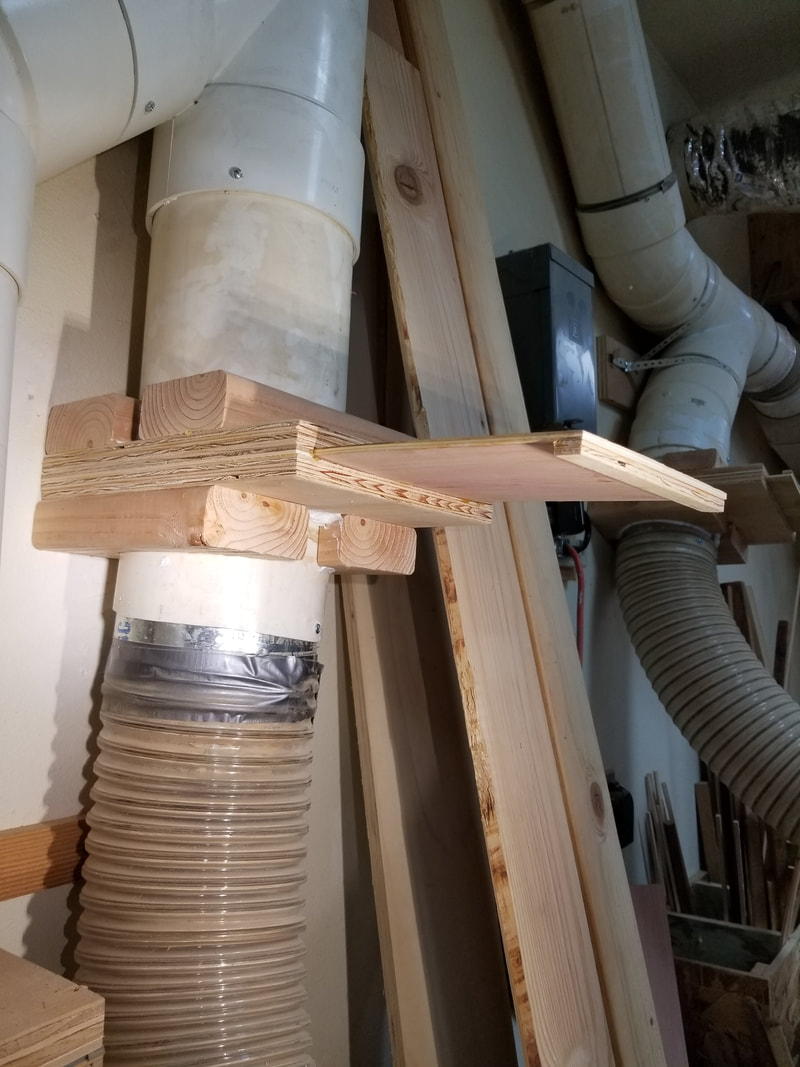
During assembly, various coupling pieces were attached so I could mount the gates near their respective machines.
|
Machine hoods
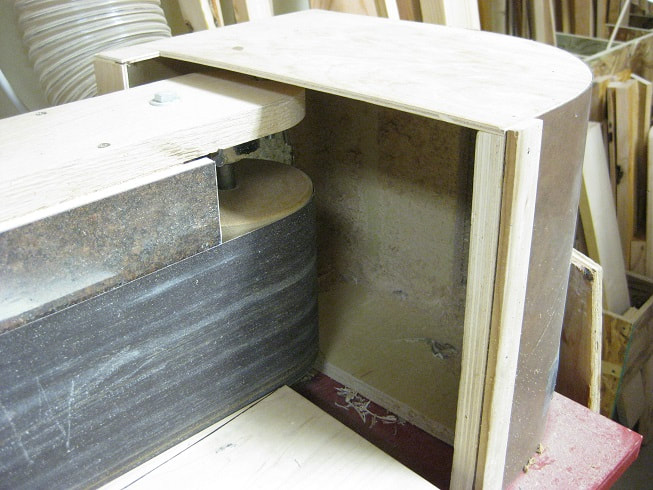
Here are some hoods I built for various machines...
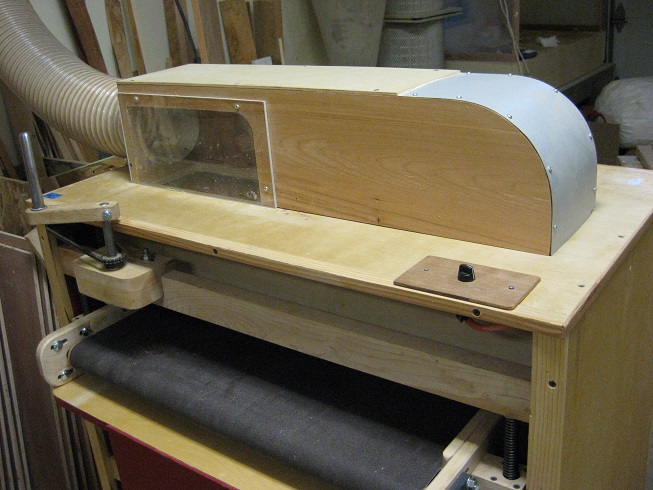
Shigshop Thickness sander
|
Edge sander
|
Router table
|
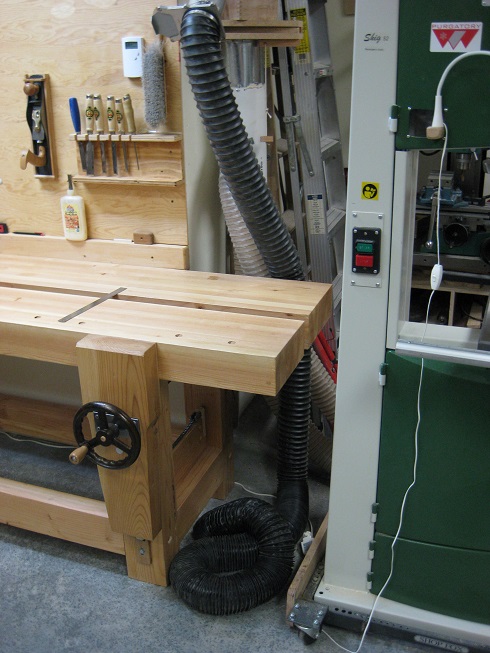
General purpose hose
|
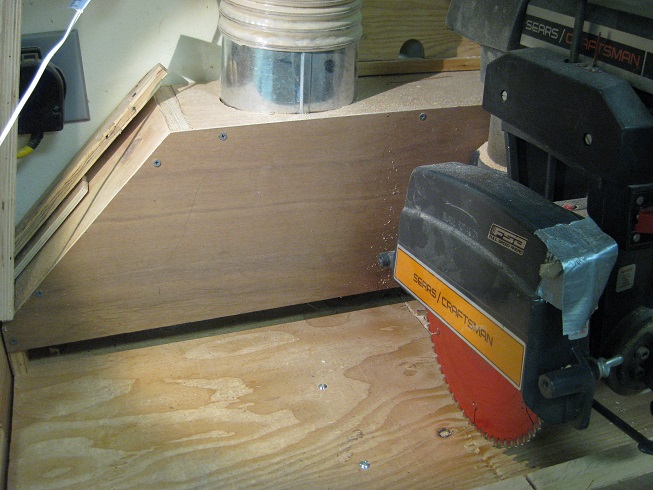
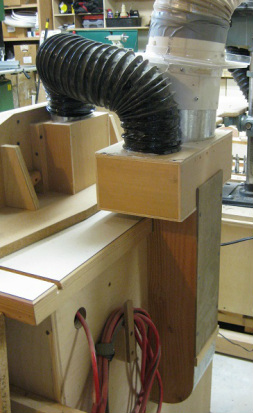
Radial arm saw
|
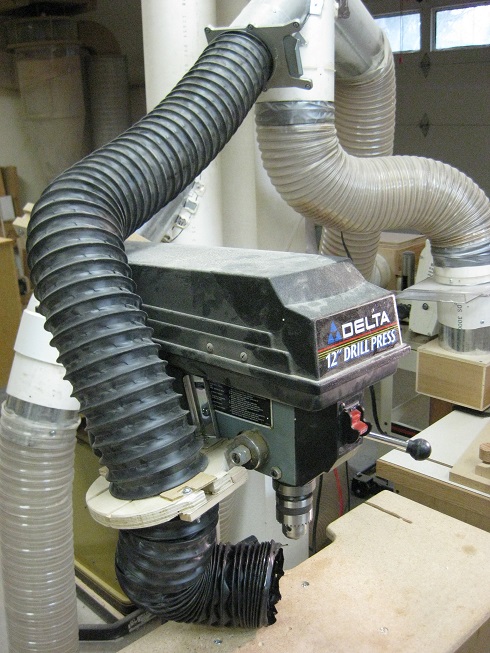
Drill press
|
