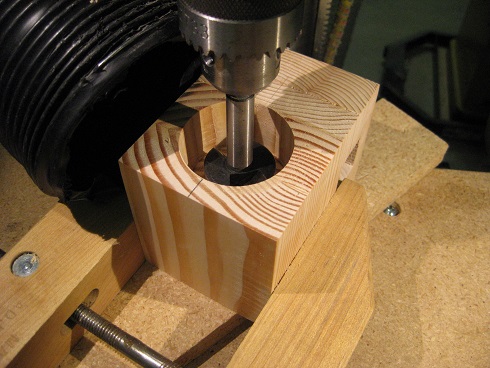
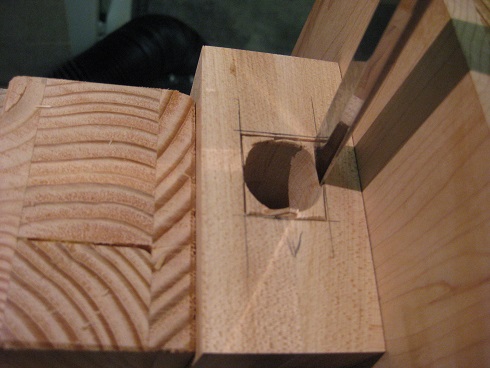
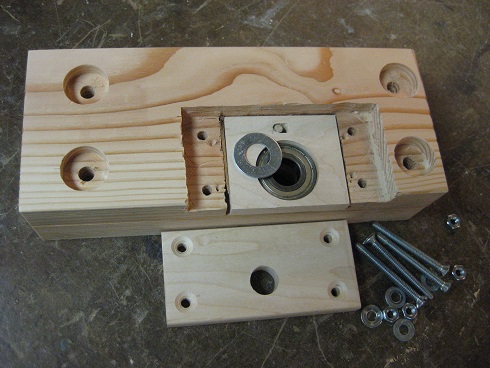
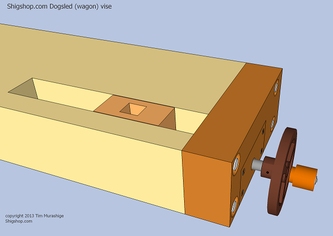
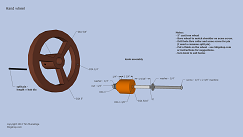
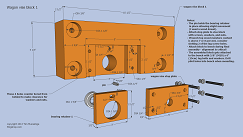
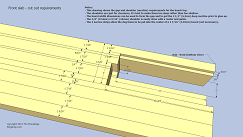
Dogsled wagon vise plan preview.
About the plansThe Shigshop plans are downloaded and easily navigated via a browser.
Included are easily printed 2d drawings (via a .pdf file) The plans were developed via a CAD program called Sketchup. The Sketchup model is included along with some basic instructions on how to navigate within the Sketchup program (a free download is available). If you just want to build and not mess around with CAD software, just use the 2d drawings - Sketchup isn't required to build this vise. Also included are a material list, a supplier/parts list, and browser based instructions that have many photos and descriptions stepping you through the complete process to build your vise. |
More info on the vise
Why pay hundreds for nice useful wagon (tail) vise? This is a comprehensive set of plans and building instructions for a powerful and attractive little wagon vise. It's a simple and inexpensive way to get a very nice wagon vise which costed about $50 in parts - very inexpensive by some standards.
The vise is designed for a bench top that is 4.25" thick, but you can easily reduce the chop height if your top is thinner - about 3" would be the minimal thickness.
Included are instructions on how to navigate the Sketchup models, and a supplier list for the acme screw, sealed bearings, and hand wheel.
The bench and leg vise plans are also available.
Roubo bench plan preview
Leg vise plan preview
A complete set of bench and vise plans are also available at a discount.
Buy Shigshop plans
|
The heart of the vise is the chop. It contains the acme nut, guide runner, a dog hole, and the leading edge that allows clamping in the vise gap.
The acme screw requires some shoulders to be turned or ground on it. I used a small metal lathe, but have done similar shoulders on a bench grinder. Were you to build this vise and didn't have a way to make these shoulders, you could find a local machinist, shop, or online service to do it. Of course a friend with a metal lathe is always a good choice ;). Using a bench grinder is a good option. I have some free plans to build a bench grinder table that can be used to make these types of shoulders. Click here for details on that. For the rest of the vise, typical woodworking machines were used such as a table saw, band saw, drill press, cordless drill, hand plane, etc. Although various other tools could have been substituted. |
|
An important feature of the vise is the incorporation of sealed bearings on both ends of the acme screw. These make the vise run true and smooth. And just as importantly, once built, it makes final alignment easy.
Click here to go to the roubo style homepage where there is a video that shows the vise in action. Click here to buy Shigshop.com plans. |

