Bench grinder base/table plans
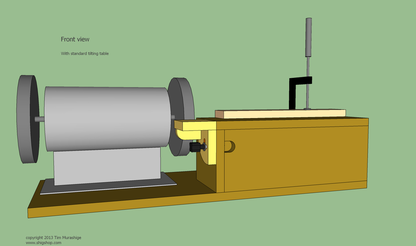
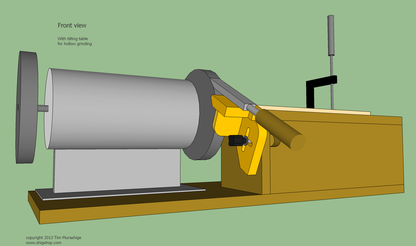
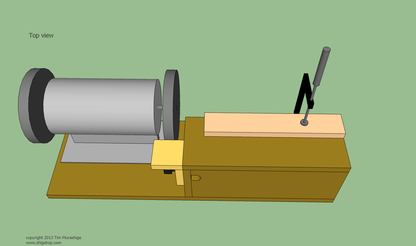
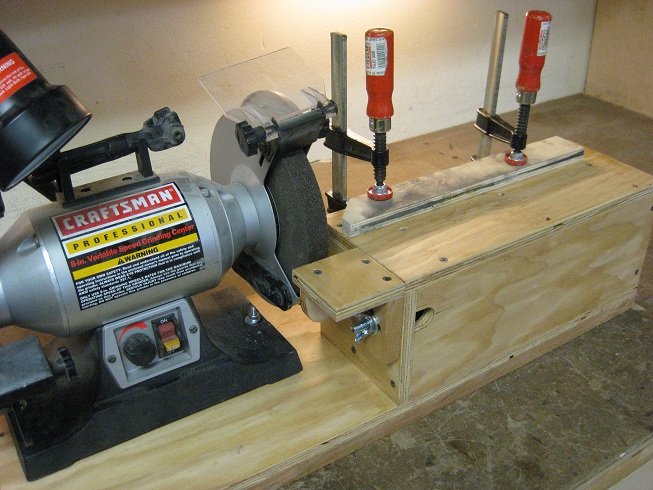
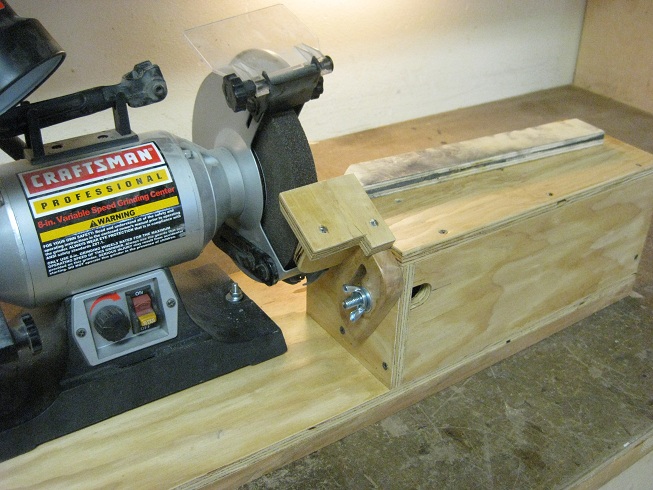
This page contains plans for an improved version of a bench grinder base/table. The base is very simple to build and is an upgrade over most of the tiny tables that come as accessories on 6 and 8" bench grinders. My grinder is an 8" model with a grinding wheel on the right and a wire wheel on the left.
Build one for yourself and let me know how it goes - you can send me an email using the form at the bottom of this page.
Please don't copy and publish these plans on any other website - linking to them is fine.
More information and pictures of the stand are here: Bench grinder base/table.
Build one for yourself and let me know how it goes - you can send me an email using the form at the bottom of this page.
Please don't copy and publish these plans on any other website - linking to them is fine.
More information and pictures of the stand are here: Bench grinder base/table.
Material list
- 31" x 22" piece of 3/4" plywood (I cut 31" off a 4' x 8' sheet).
- 2" x 5" piece of 1/2" plywood - for mini table supports, but 3/4" would more than likely be ok.
- 8" x 3" x 3/4" piece of hardwood - for mini table brackets - I used some cherry scrap.
- 3/8" x 2" bolt (hex or carriage).
- 3/8" washer
- 3/8" thumbnut - I used a wingnut
- a couple dozen or so 1 5/8" wood screws
- pva glue
Bench grinder base/table plans
Click on the drawing images for a larger view. You can then copy and paste these into another program, such as wordpad for printing.
There are a few notes on the drawings as well as dimensions.
This is a very simple project. I find butt joints to be fine for something like this - but there's no harm in doing fancier joinery.
The height of the table and location of grinder is based on my grinder. There are some notes below and in the drawings regarding this. For a larger grinder, the 31" base length might not be long enough - likewise, you might be able to use a smaller piece for a 6" grinder.
The nice thing about building your own is you can make changes as you see fit.
|
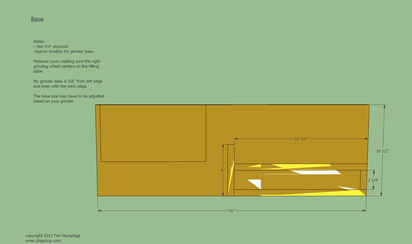
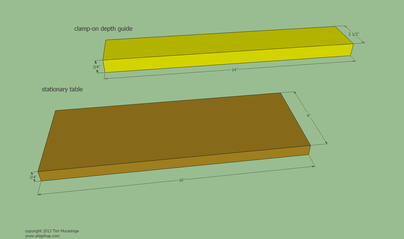
This drawing has the base dimensions with stationary table and grinder locations.
The length of the base and location of the grinder is for my grinder - measure yours to check - you might need to change the size of your base. I did not include the grinder mounting holes as yours might be different than mine, and these are very simple to locate. Counterbore the grinder mounting holes from underneath. I didn't do this because I added cleats to the bottom on the front and rear edges. You can see those in pictures below. |
|
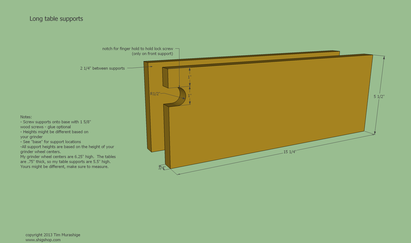
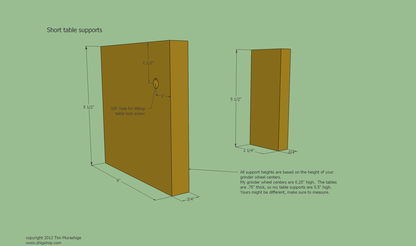
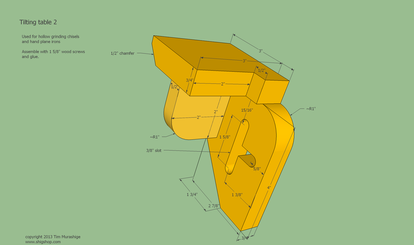
These are the drawings for the table supports.
The heights of these supports need to be cut to match your grinder. Use this formula to calculate it: Center of grinder wheel to base height minus stationary table thickness equals support height My grinder wheel centers are 6.25" high and my table thickness is .75". So on mine: 6.25" - .75" = 5.5" support heights. |
Some assembly photos and notes...
|
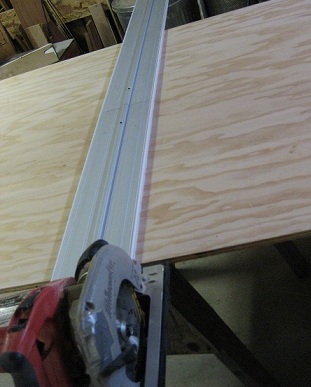
I started by cutting a 31" length off a full sheet of plywood with a track saw. Then, I cut the 10.5" base piece from that. The remaining piece was used for the supports and tables, which left me with a 26" x 31" piece for future use.
The 31" x 22" piece in the materials list provides the longest piece for the base with the grain running in the right direction, and the rest of that piece can be used for the other 3/4" plywood pieces. |
|
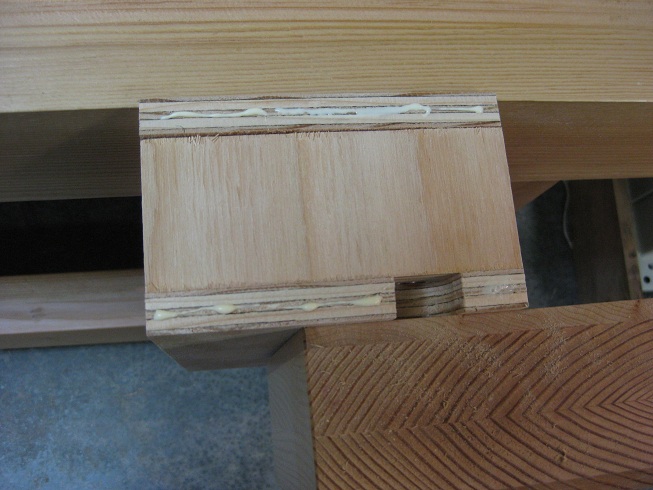
There are 4 supports under the stationary table - 2 long and 2 shorter supports.
I used the smaller of the 2 short supports (the one from the right side) as a spacer to attach the left support to the 2 longer pieces. After that, I slid the "spacer" to the right edge of the longer supports and screwed it on through the long supports. Note: It's good practice to always drill and counter sink before putting in screws. In this pic, the right short support is being used as a temporary spacer between the 2 long supports. The partial assembly is in a vise and a little glue has been applied to the ends of the long supports. This made it pretty easy to attach the left support. |
|
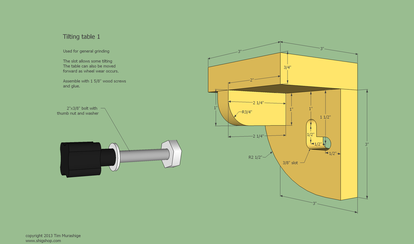
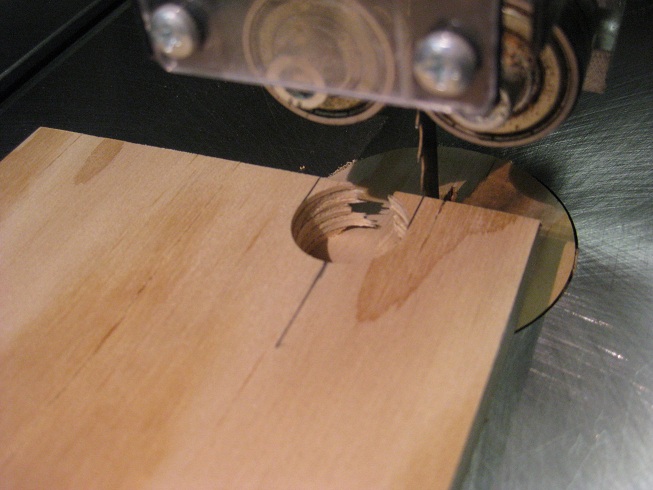
To make the 3/8" slots in the brackets for the tilting tables, I first drilled holes at the ends and corners, then used the slot mortiser - probably could have skipped drilling, but the holes made it pretty easy to line up the mortiser.
I also left the pieces a little long for this procedure, which enabled easier clamping to the slot mortiser fence. Without a slot mortiser, you could simply drill a series of holes, then finish the slot with files and sandpaper - or drill a hole and use a scroll saw. |
|
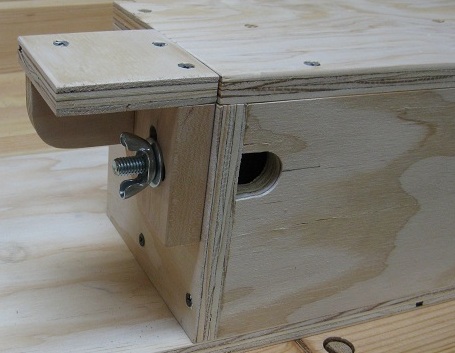
The 2 completed tilting tables.
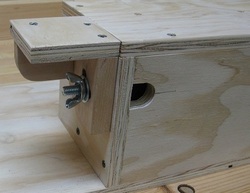
I used hardwood for the bracket pieces to make them rigid and a smooth operation - could be overkill - plywood should work. Oversize the screw holes that go through the hardwood brackets for the support pieces so that the screw threads don't bind during assembly. That way, you'll get a nice tight fit between the bracket and support. I also glued that joint. |
After a few quick hours in the shop, a new tool! Put a finish on it - without one, it will quickly get dirty and not wear as well. I put on a couple coats of water based polyurethane.
If one were to build a table like this for a busy production shop, consider using 1018 steel for the table tops. To make an ultimate table, use steel for all pieces and weld it. For my occasional needs, I expect this wood table to outlast me and building out of wood is 10x faster (well, at least for me).
If one were to build a table like this for a busy production shop, consider using 1018 steel for the table tops. To make an ultimate table, use steel for all pieces and weld it. For my occasional needs, I expect this wood table to outlast me and building out of wood is 10x faster (well, at least for me).
Disclaimer...Upon the purchase or use of Shigshop.com plans, please do not distribute or copy them in any manner - they are only for the personal use of the original purchaser or user. Shigshop.com does not authorize the manufacture of products for sale using these designs without consent by Shigshop.com.
Although a big effort has been made to ensure these plans will produce a good safe machine or other shop accessory, Shigshop.com cannot assume any liability as a result of any usage of the plans or machines/shop accessories built with them.
Building with these plans should only be attempted by those experienced with the tools and techniques necessary to produce the machine or shop accessory described in the Shigshop.com plans and instructions. When using woodworking and metalworking machines and tools, always ensure safety devices are properly functioning and appropriate clothing, glasses and ear protection are worn.
Be careful and proceed at your own risk - adhere to standard safety practices and you should be ok.
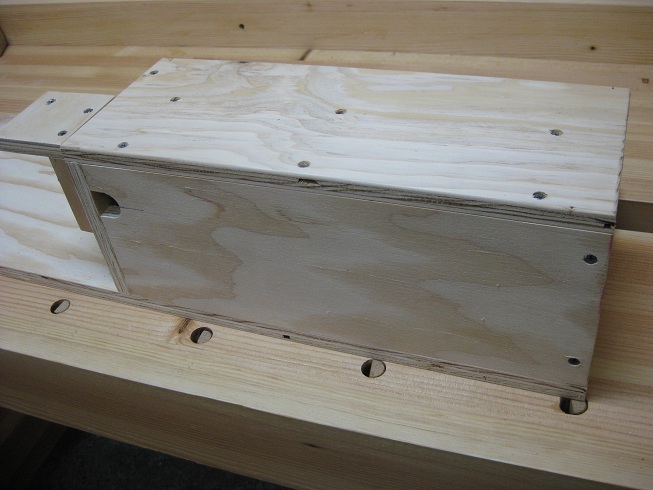
And some pics of the completed bench grinder base/table
Here is a link for the grinder I used for this base:

