Simple Shelf boxes
Years, no decades ago, my wife got a nice little box built by her grandfather as a gift. Some might call this design a "crate", but I'm sticking with "box" just because it doesn't sound quite as crude (at least to me :).
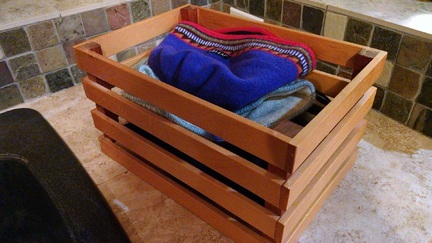
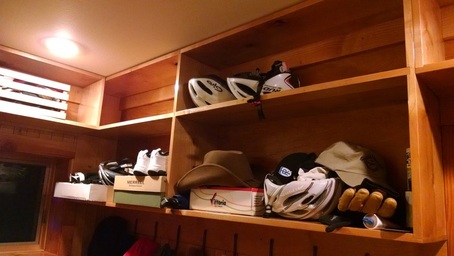
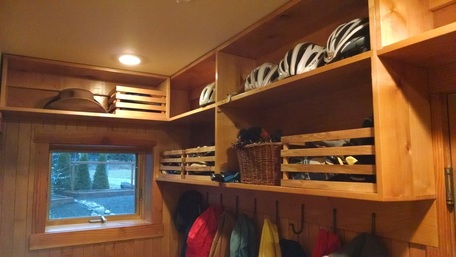
We have that box sitting up on a shelf in our mudroom area - it collects various gloves and hats. Trouble is, it's kind of small and all of our other gloves and hats end up in cardboard boxes. So, this year, she asked for an addition to our little shelf box collection - well, it wasn't a collection at the time, but it is now.
Last year, my son and I made the little wine rack as a Christmas gift. This year, we made boxes. These little Christmas eve projects are starting to become a tradition!...
The design
|
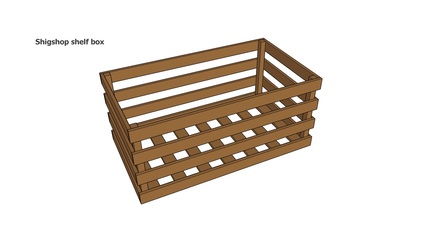
Christmas eve morning - a little Sketchup plan is whipped up.
These simple little boxes gave me an opportunity to use some maple scraps - my last project was the wall light fixture, which also emerged from similar stock. The boxes are sized so 2 can sit on 1 shelf with plenty of room to easily get them on and off. They are light weight, and when sitting on a high shelf, you can pretty much see what's in them before deciding to take one down. |
|
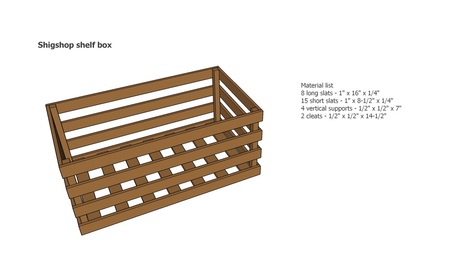
Here's the material list and the plans, which will build 1 box. I printed this and used it in the shop - that was overkill. The only thing required was that little list of materials. All the joints are super simple glued butt joints with no other fasteners.
These boxes are so easy to make they don't require any plans - with minimal organization skills, you don't even need a material list. Seriously! The horizontal slats are glued to 4 vertical corner supports. A cleat is attached to the long bottom slats and 7 shorter slats are used for the bottom. The horizontal slats have a 1" gaps between them, while the bottom ones have 1-1/4" gaps. Only 2 size slats are used. I'm not sure if a simpler design is even possible - it's really cool. If you want to do something similar, these plans are all you need. |
The build
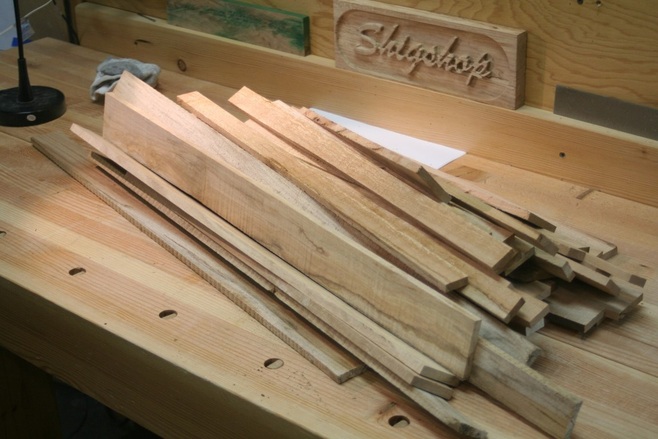
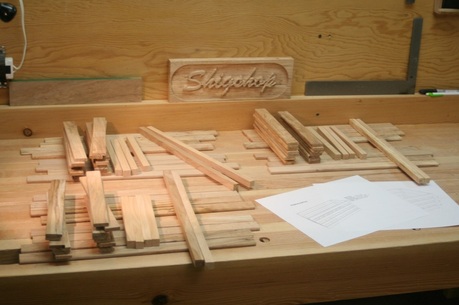
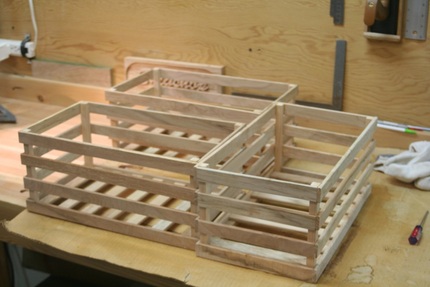
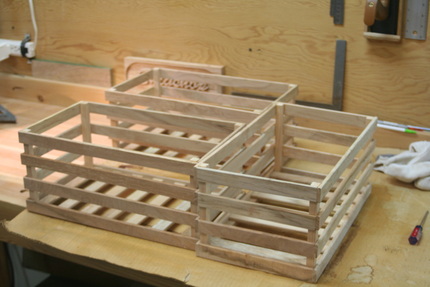
I collected a bunch of scraps and decided to build as many boxes as possible from the pile - turned out to be three.
|
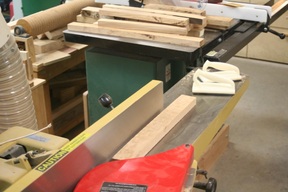
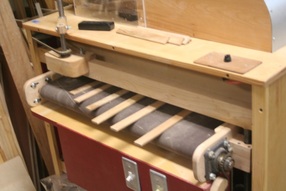
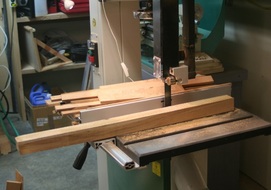
The jointer, tablesaw, bandsaw, thickness sander, edge sander, and radial arm saw were used to make all of the slats.
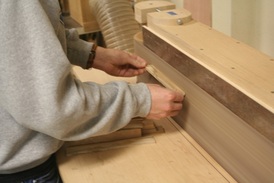
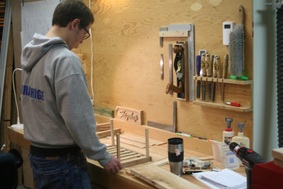
After an hour or so in the shop, the college kid showed up and began helping - college kids needs lots of sleep ;). It's cool he does this stuff with me once in awhile. And on this particular project, there are so many little pieces that I certainly appreciated the help. Sanding 1/4" thick slats on the edge sander is a bit tricky. It appears to be such a benign machine, but the paper is sharp - touching it with a knuckle or finger tip usually results in a trip to the first aid box and a band aid ;). Seems to be a common thing with me. For edge sanders, I'm not sure which style is better (or safer) - the kind I have, or one where the belt lays on the horizontal plane. I suppose like anything else, there are pros and cons to each style. |
|
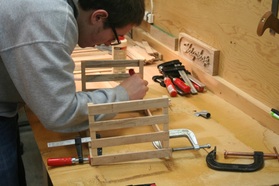
For glue up, we first assembled the short box sides using glue and clamps. After all 6 sides were built, we removed the clamps from the first 2 and glued on the lower row of long slats. Working from the bottom to the top, we did one row at a time. As soon as one level was glued and clamped on all 3 boxes, we started on the next level. This gave the glue a few minutes to set prior to removing the clamps, which was plenty.
|
The shelf boxes
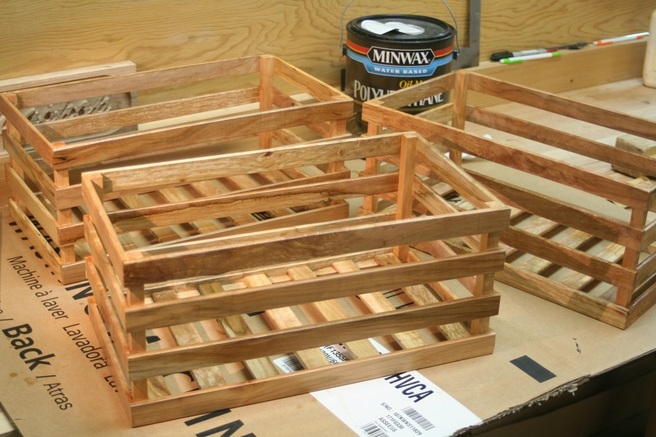
After brushing on a couple coats of water based poly, the nice shelf boxes are complete! Good job Buddy, and Merry Christmas, Honey!

