Hacksaw upgrade
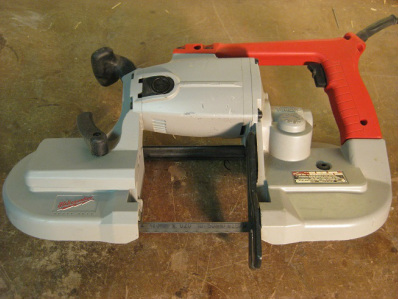
After using my trusty old hacksaw for many years, I upgraded to a portable bandsaw - my only regret is I waited too long. In the years since, I don't think the hacksaw has been used. I keep this bandsaw handy and use it on most metal projects.
Sawing very small parts, such as a screw, requires some way of securing the part. A metalworking vise is the obvious answer, but I didn't (until recently) have one set up in my shop. There was also an issue of having to cut a piece of metal that required more finesse than I was capable of delivering while holding the saw.
My interest is building with wood and usually do metal working to make specific parts for wood working machines - there isn't a desire to devote a large amount of shop space to metal working machines. There are a few portable bandsaw stands available, and I considered a few of them, but wanted something small and lightweight that could be stored in the same drawer as the saw and set up quickly, I ended up designing and building a pretty simple one.
On the bottom of this page, there is a link to free plans.
|
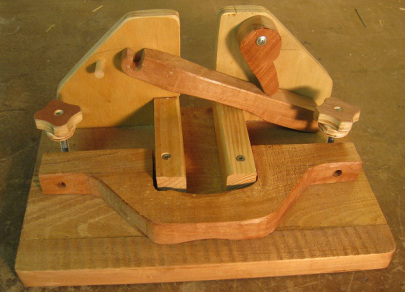
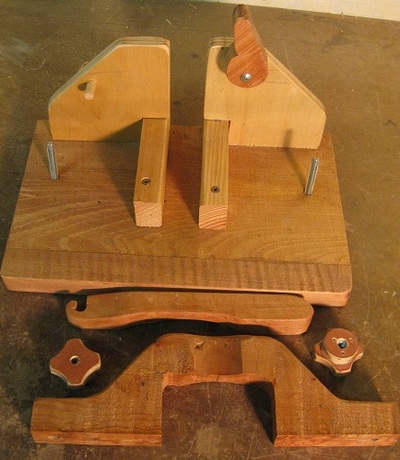
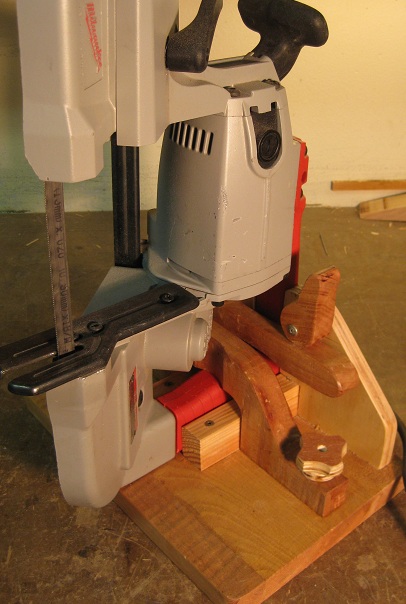
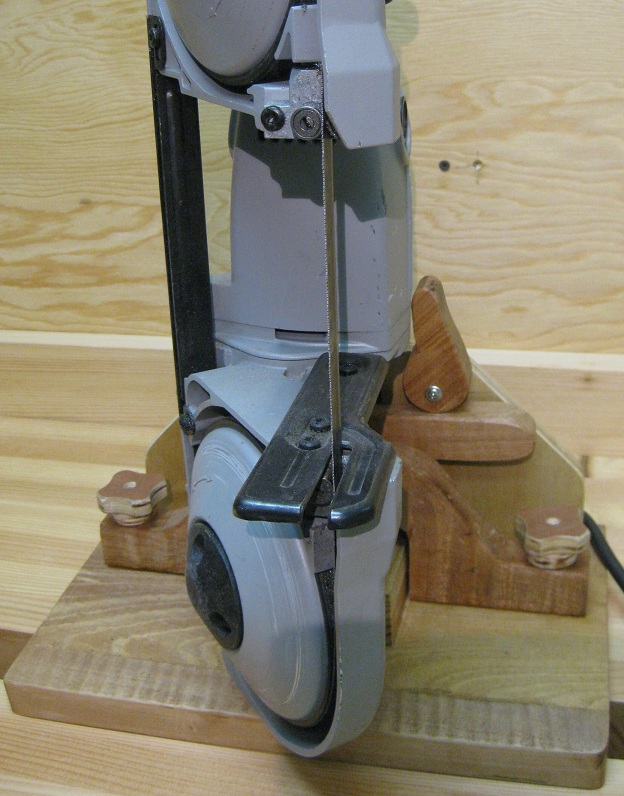
This is the stand - it's very simple and consists of a base with a couple vertical supports, a couple horizontal stabilizers, a clamp, and a trigger control.
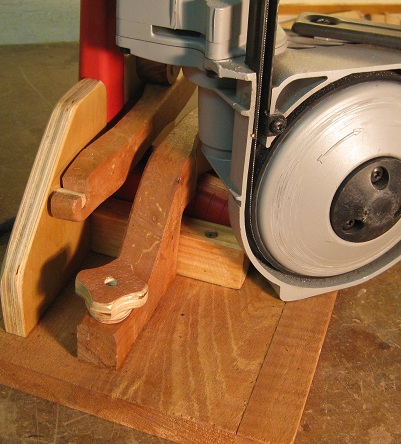
The trigger bar slips over the dowel sticking out of the left vertical support. Turning the cam then presses down on the trigger bar which in turn, presses the bandsaw trigger. The saw has variable speeds which are easily controlled via the cam. |
To use, it usually gets clamped onto my bench top. Note in the above pictures you can see an additional piece glued to the base front edge. This was to make it wider for easier clamping to the bench. The plans available in the link below take this into consideration
This is a very convenient, inexpensive, and easy to use stand built with just a few scraps. I should mention, the plans and dimensions of the stand are for this particular Milwaukee bandsaw (model 6230).
Click here for more pictures and free plans for this portable bandsaw stand.
This is a very convenient, inexpensive, and easy to use stand built with just a few scraps. I should mention, the plans and dimensions of the stand are for this particular Milwaukee bandsaw (model 6230).
Click here for more pictures and free plans for this portable bandsaw stand.
Here is a link to the saw I use in this base.

