Shigshop Dining Room Table
This one was on the back burner for a few years.
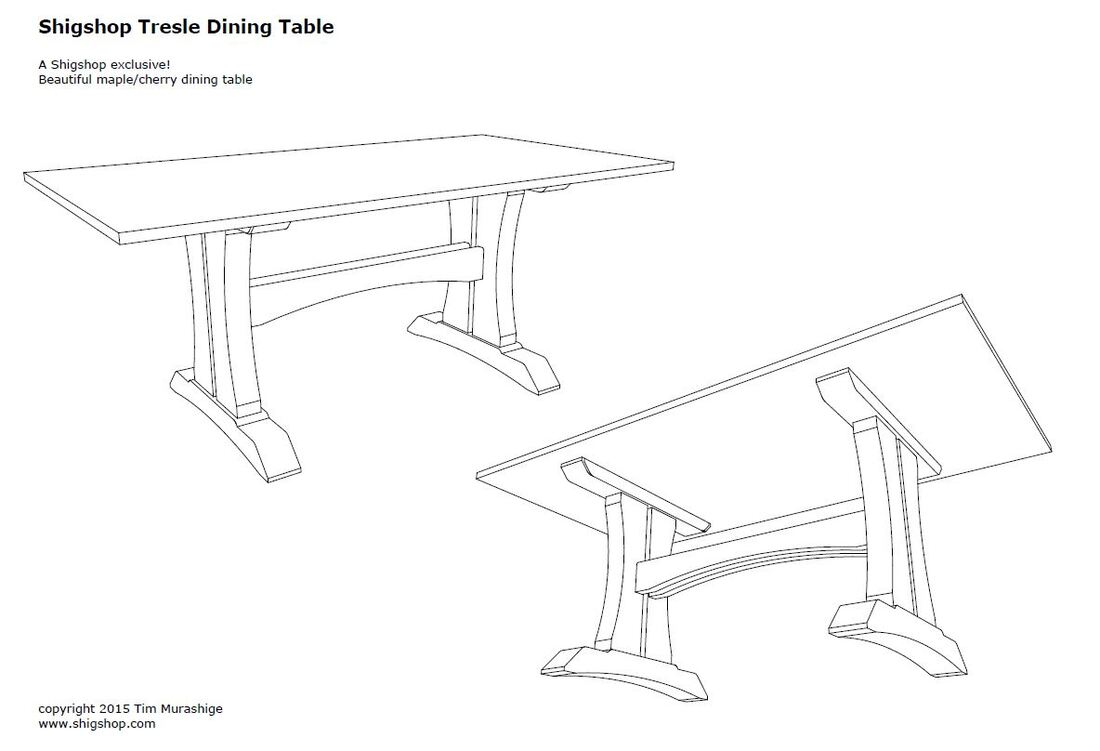
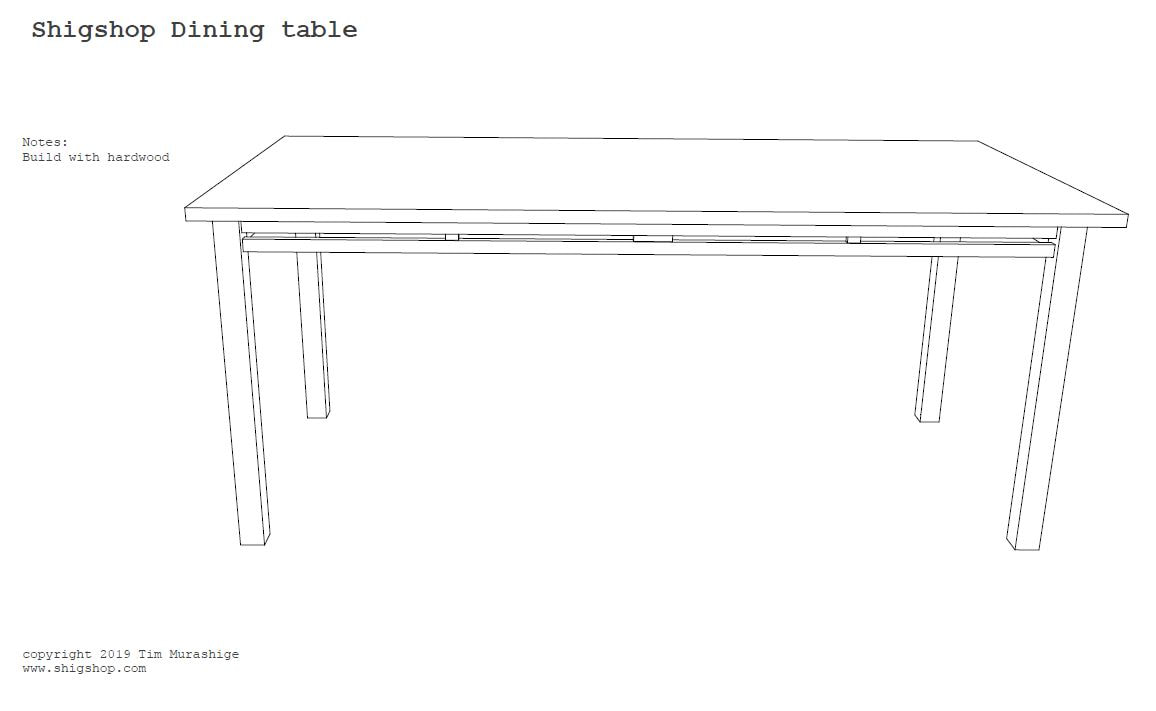
The original design was going to be a trestle table. Recently, I came to the conclusion that accidently stubbing my toes on that trestle while eating might ruin an otherwise enjoyable meal. Well, that and it's a bit bigger and harder build - maybe someday... :) In the end, the final table design became much simpler....
Here's the original design from 2015:
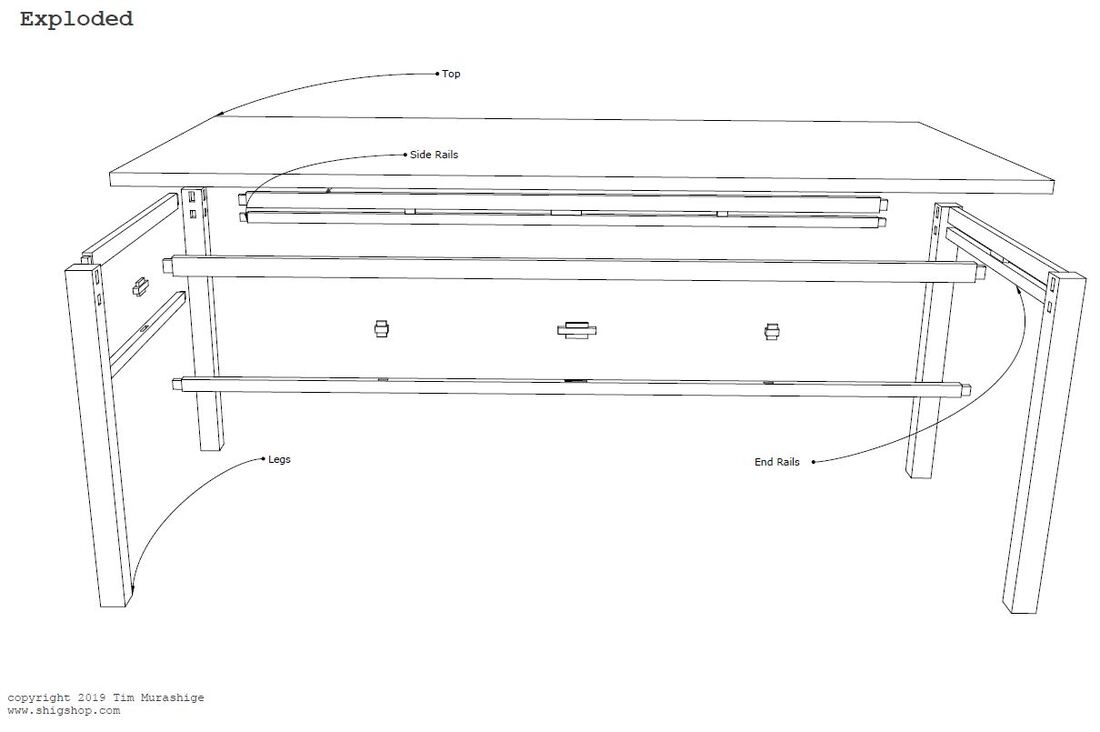
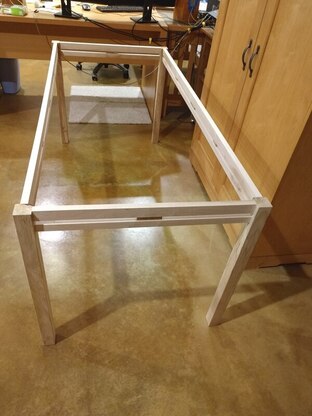
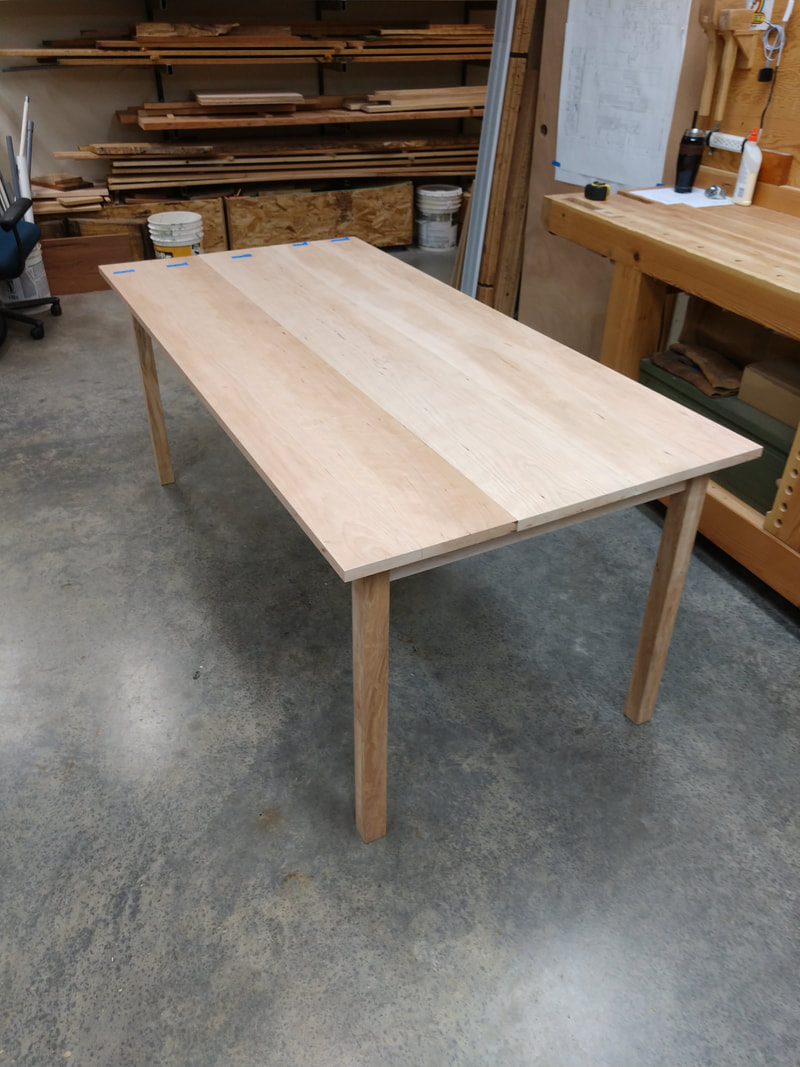
The new design
The build
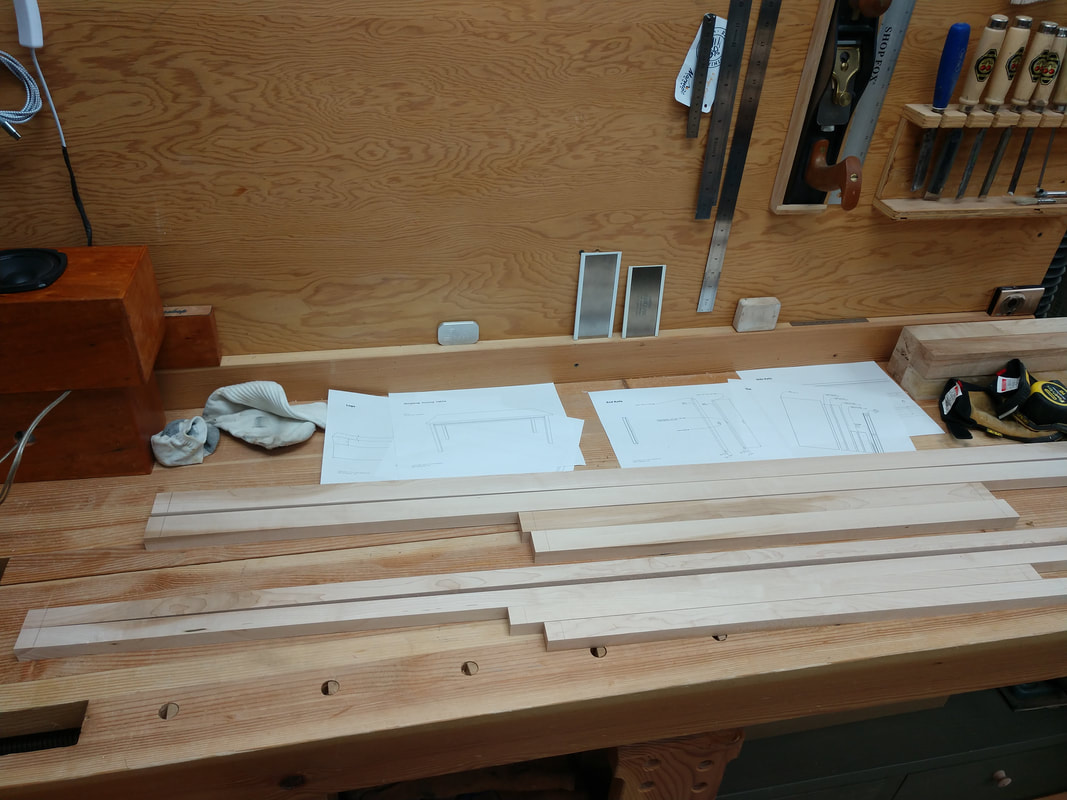
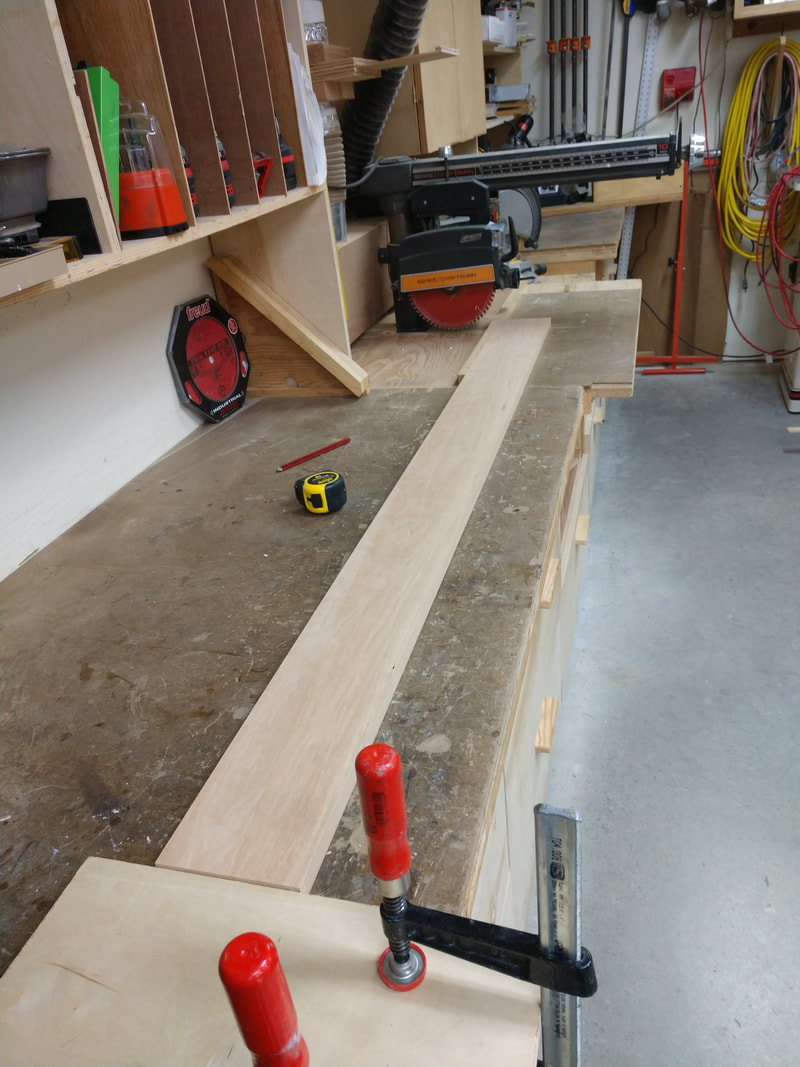
The base was built first. After selecting some maple, it got dimensioned via the jointer, planer, tablesaw, and radial arm saw. No pics of those operations - very typical for most wood shops. I suppose each of us has our own unique ways of doing these things, but it's really just a matter of milling the wood to accurate dimensions before doing the joinery work. Having solid, well tuned machines is the key for me.
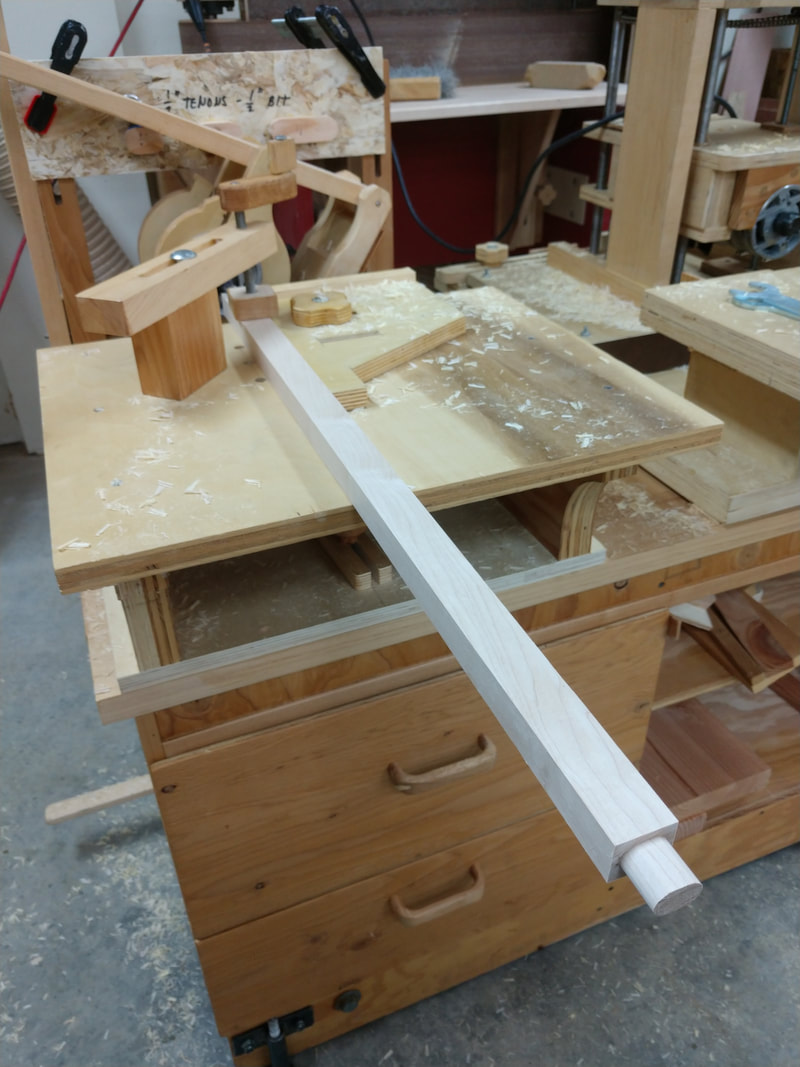
Joinery for the base pieces is next. For this dining table base, I used my mortise/tenon mobile station.
I like these machines, but there are a couple caveats:
I like these machines, but there are a couple caveats:
- They take awhile to set up - especially if you have to make a template for the pantorouter.
- They make a ton of sawdust that isn't easy to collect because of the difficulty to create a decent dust hood for the machines.
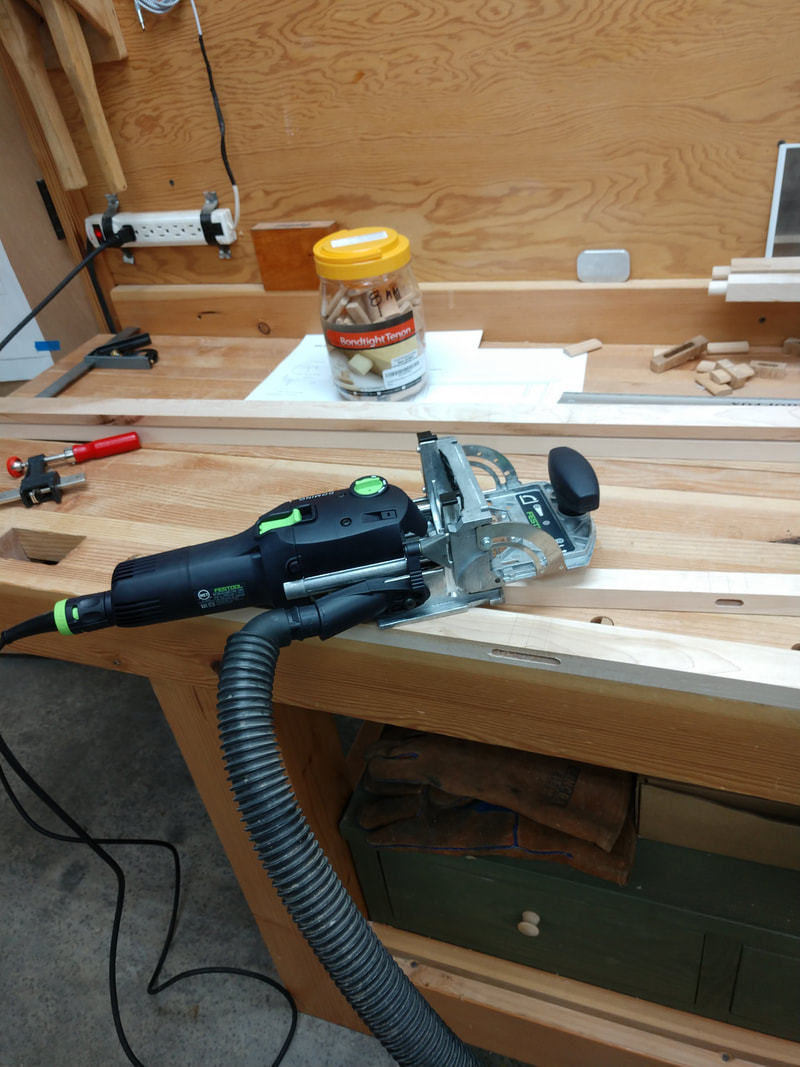
As such, these good old machines have a limited amount of future use in my shop. Especially so, since I splurged and bought one of these:
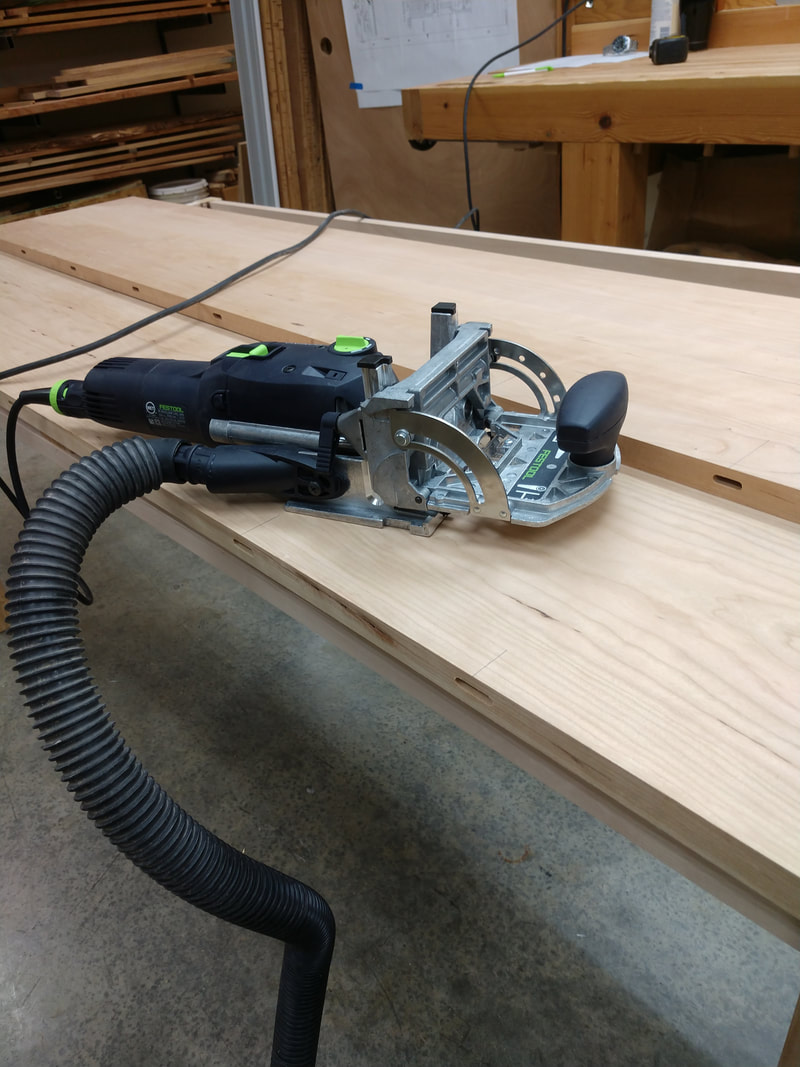
Yes, that's a Festool domino cutter (Amazon link). Very high quality, fast, dust free (while attached to a dust collector), and super accurate. It is expensive though, which is the major issue for most of us and why I didn't buy one for a long time. I don't regret waiting, but am glad the tool has been added to the shop. The mortise/tenon station will still be available, but it's going into a temporary storage location.
|
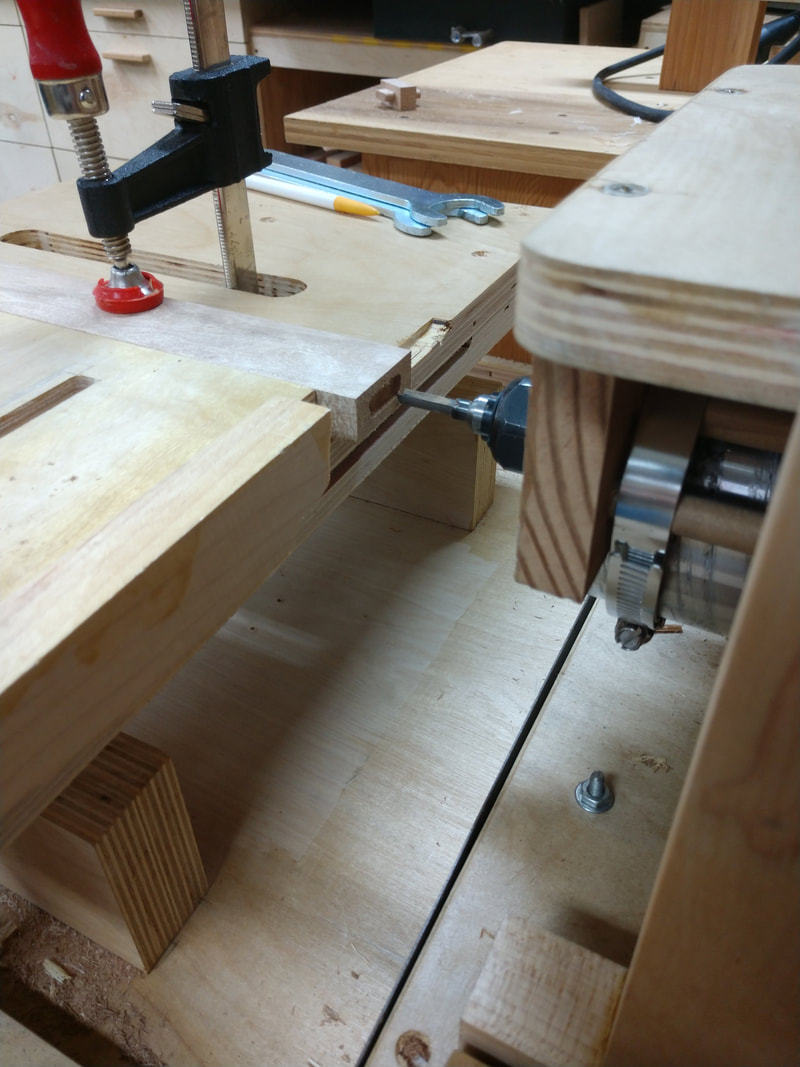
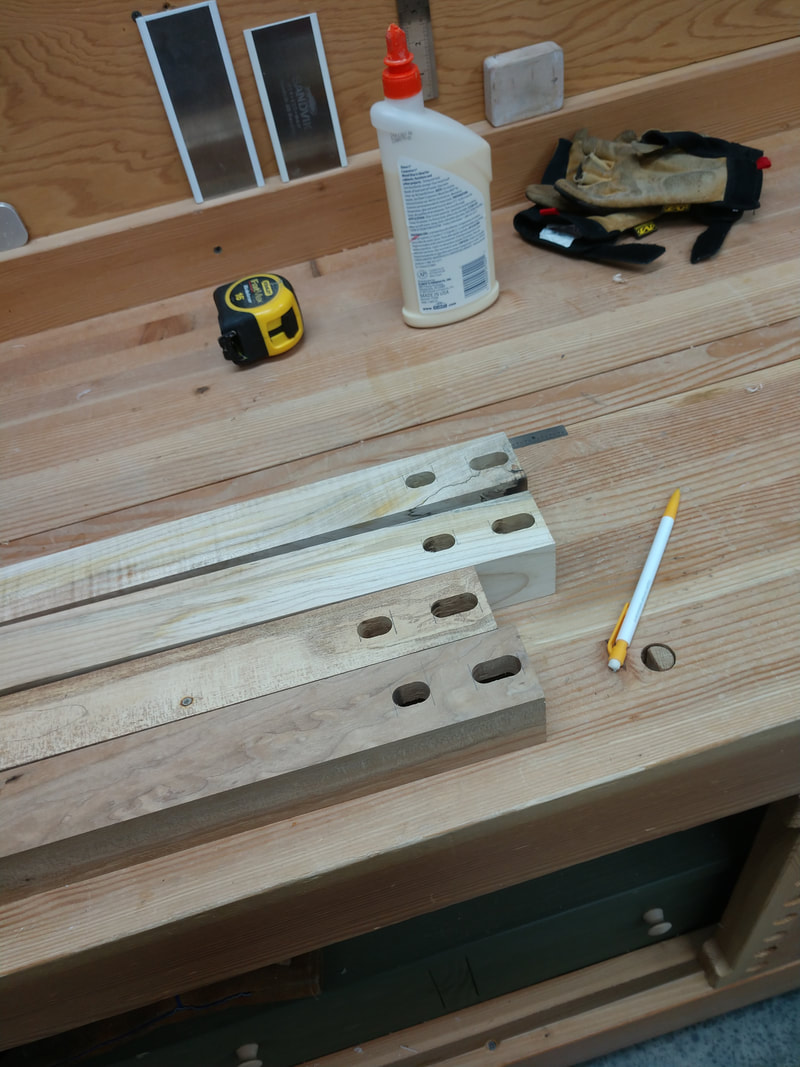
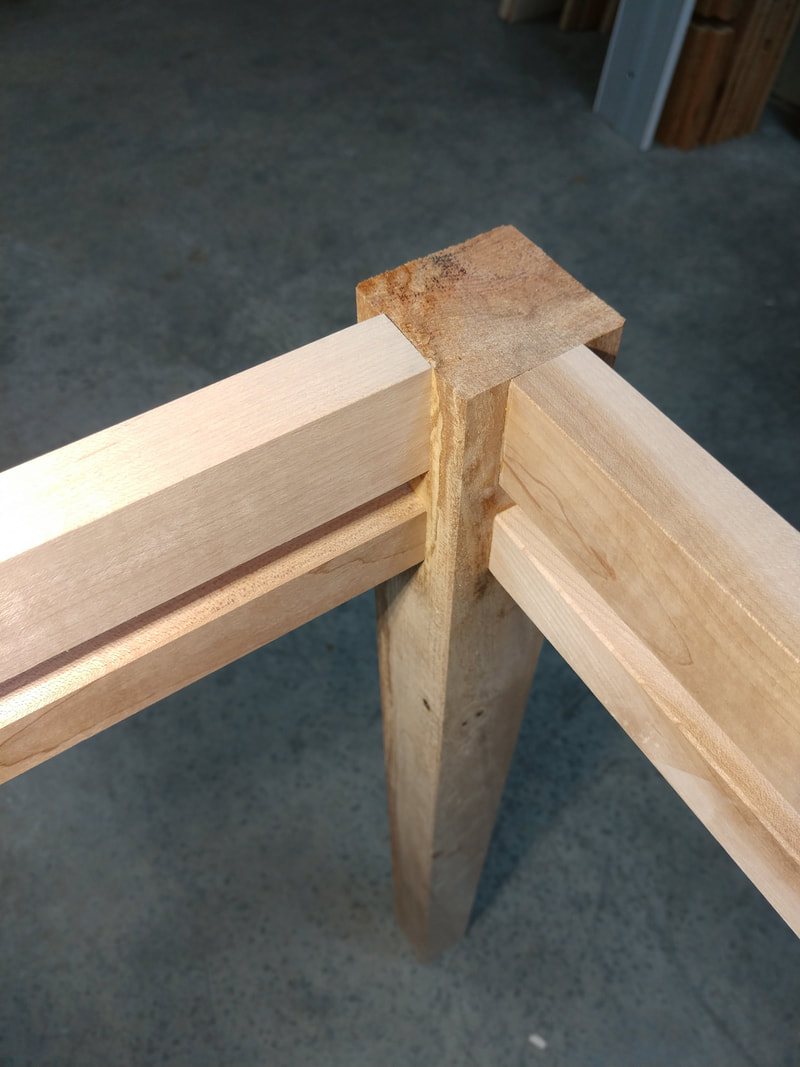
Mortises are cut on the rail spacers. These are the short pieces that are between the upper and lower rails. After the mortise is cut, the spacer is cut to length on the radial arm saw.
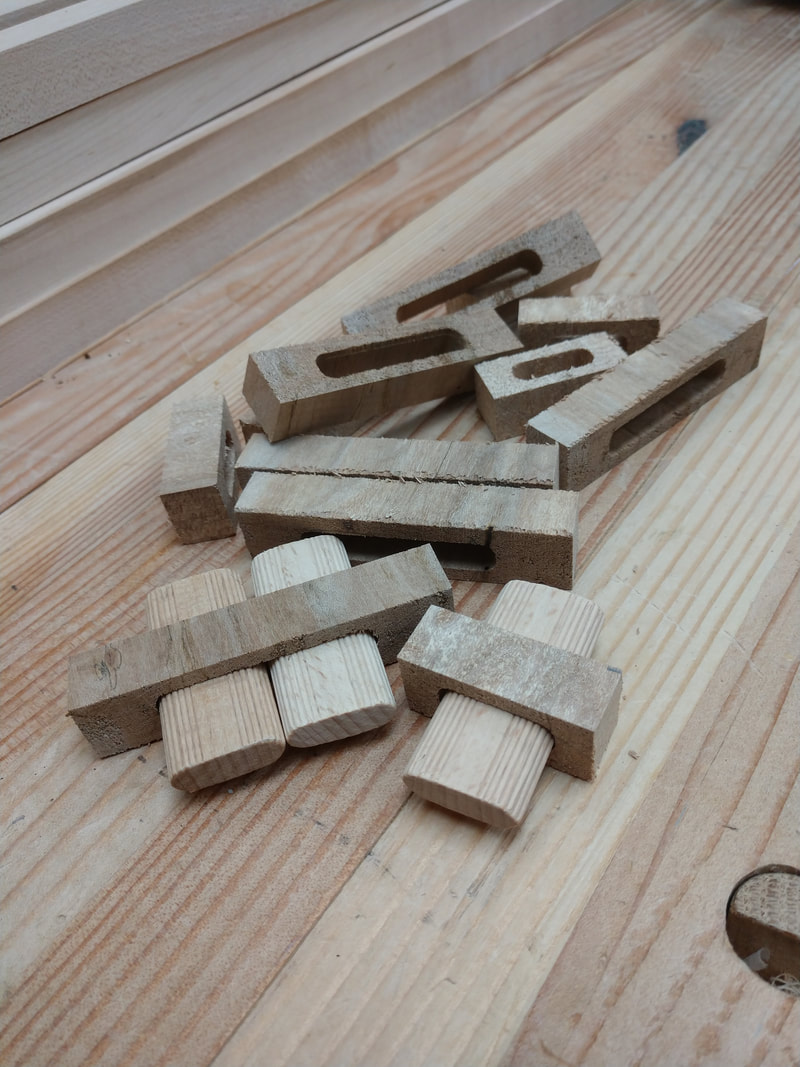
This operation could have been done with the domino cutter, but I didn't yet have it at the time. I did have some dominos though, which were used for the tenons. |
|
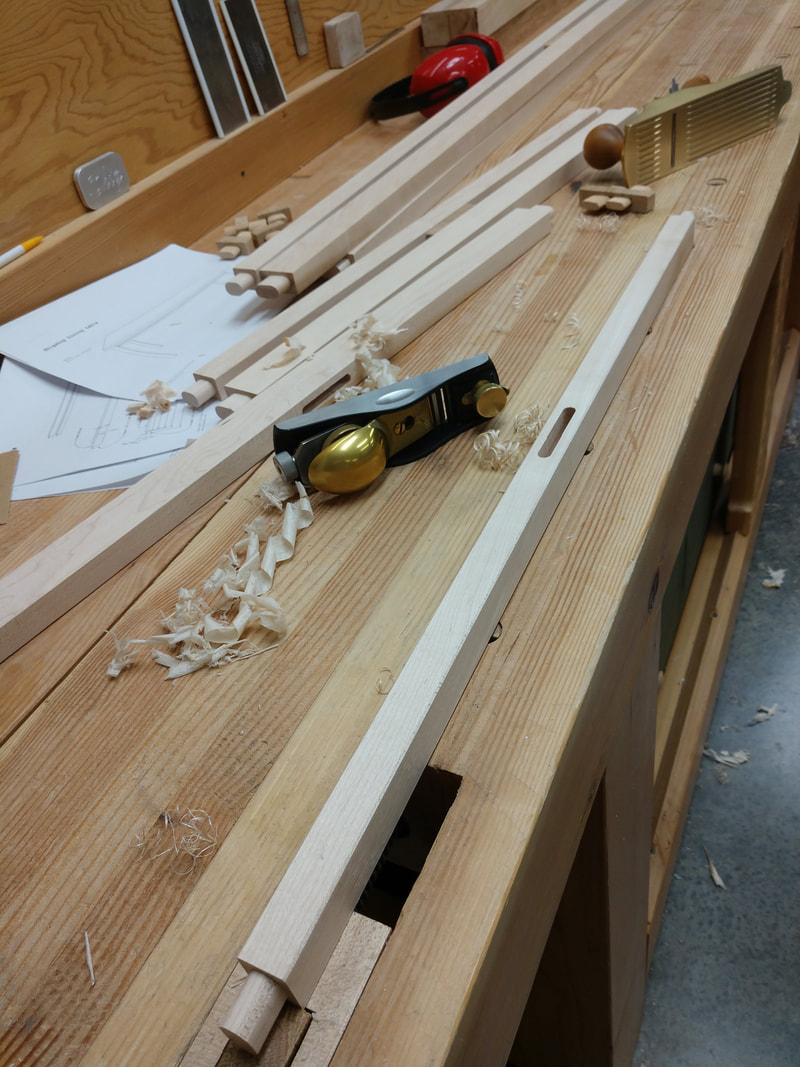
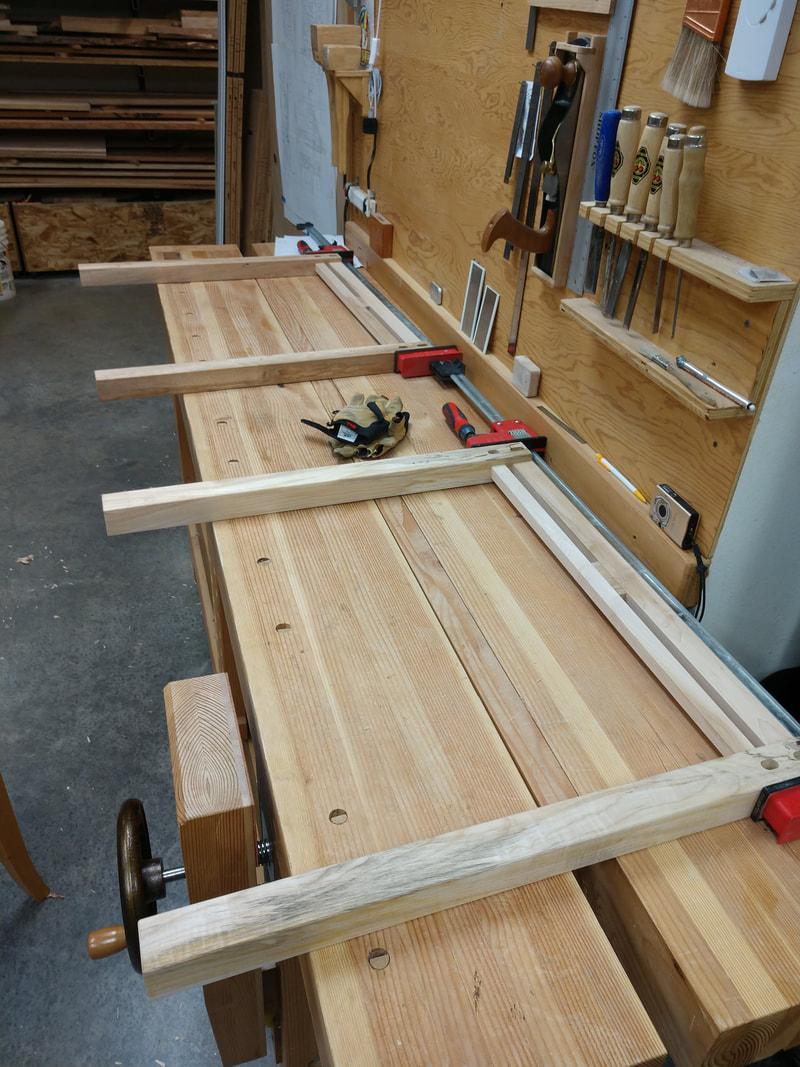
After machining the joints, a little finishing work via hand planes cleaned up the surfaces and quickly made some chamfers on the sharp corners.
A little note about using hand planes: Between cuts, you'll see me lay them down on their side or sole - usually on their side (keep reading). Seems like most woodworkers have opinions on the correct way to set them down. Many years ago, in high school shop class, we learned to set them down on their side. Paul Sellers always sets them down on their sole because he feels they are less likely to get tweaked out of adjustment. BTW, I like the way he sharpens - check out his videos. |
I am going to adopt setting them down on their sole between cuts. Why? for one, I tend to agree with Paul Sellers. For another reason:
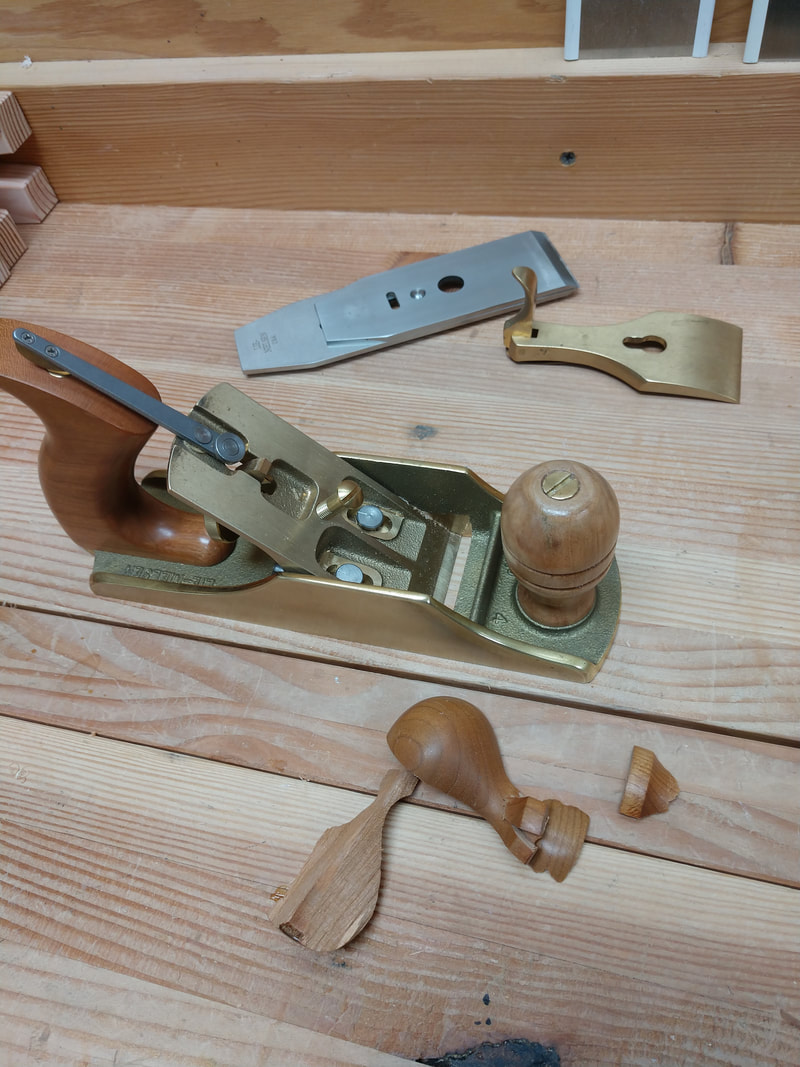
I dropped my #4 Lie Nielsen. After picking it up from it's side, it slipped out of my hand and landed on the concrete floor breaking the knob. Had the plane been on it's sole with the handle upright, not a problem. As such, I spent an hour making a new knob.... Never again! I made the knob from maple and added a couple grooves for grip. Sheesh!
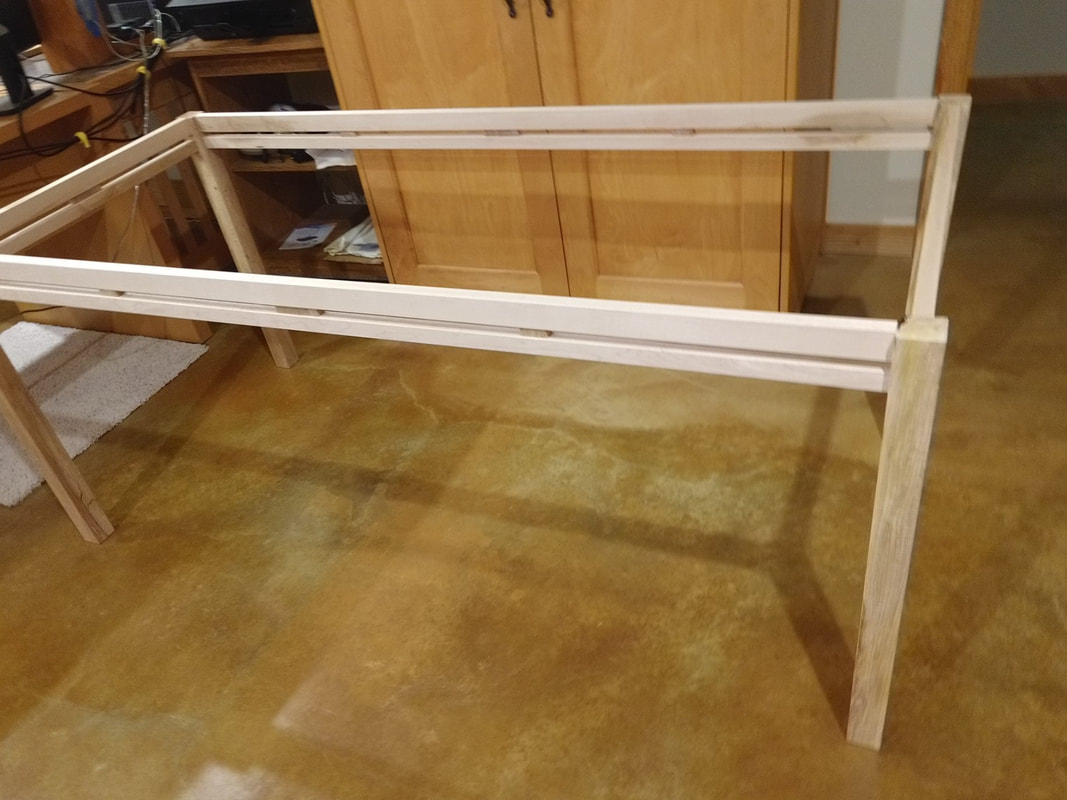
The base glue up
|
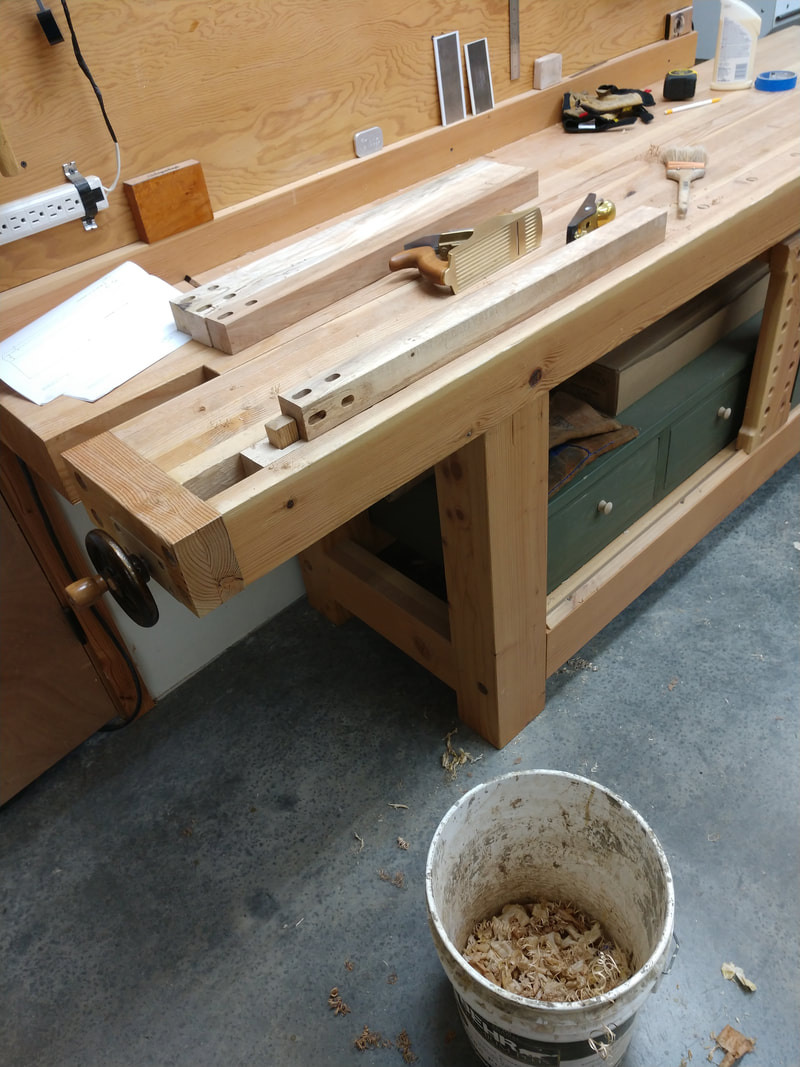
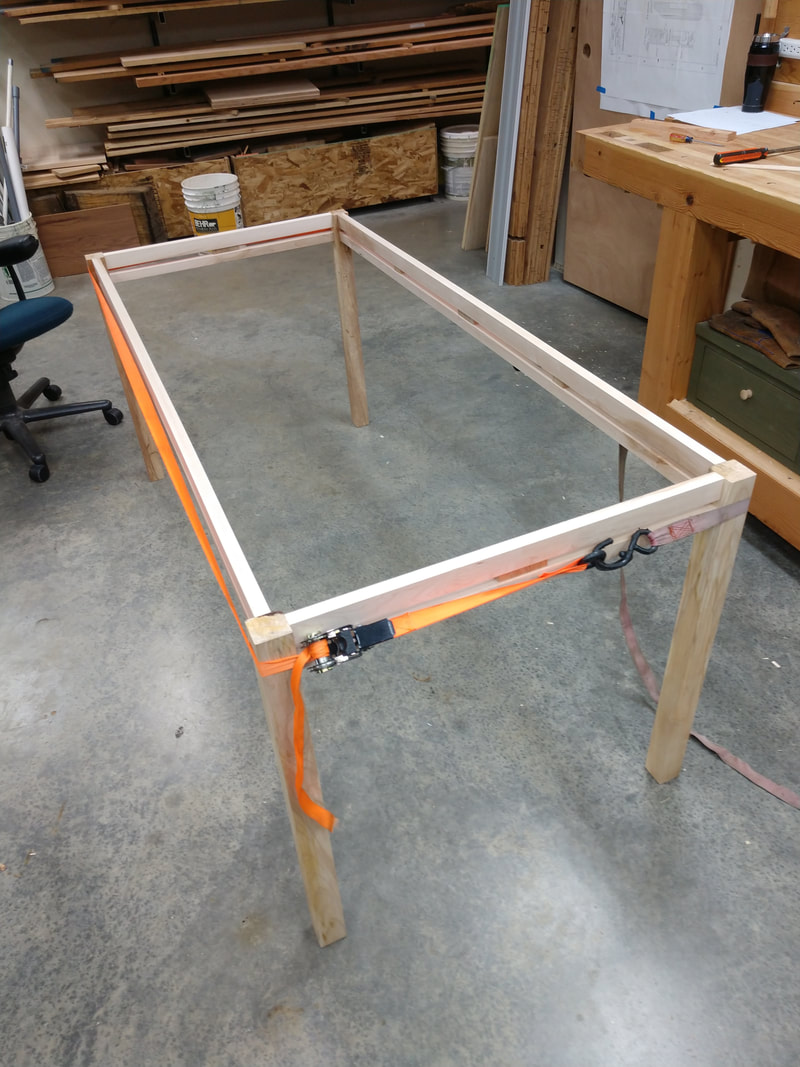
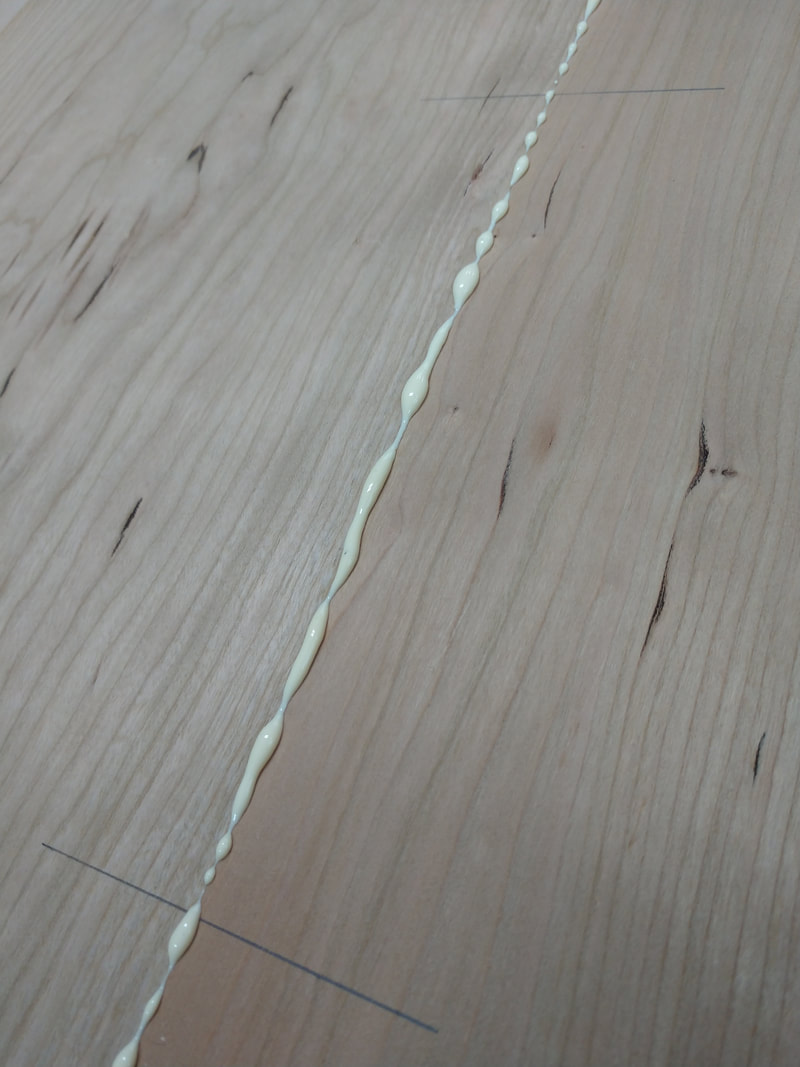
The short sides were glued up first, then the long rails were glued on the next day. A rachet strap was used for the long rail glue up because I don't have clamps long enough and didn't really see the need to use clamping cawls, altho that would have worked just as well. The straps were easier and drew the joints tight.
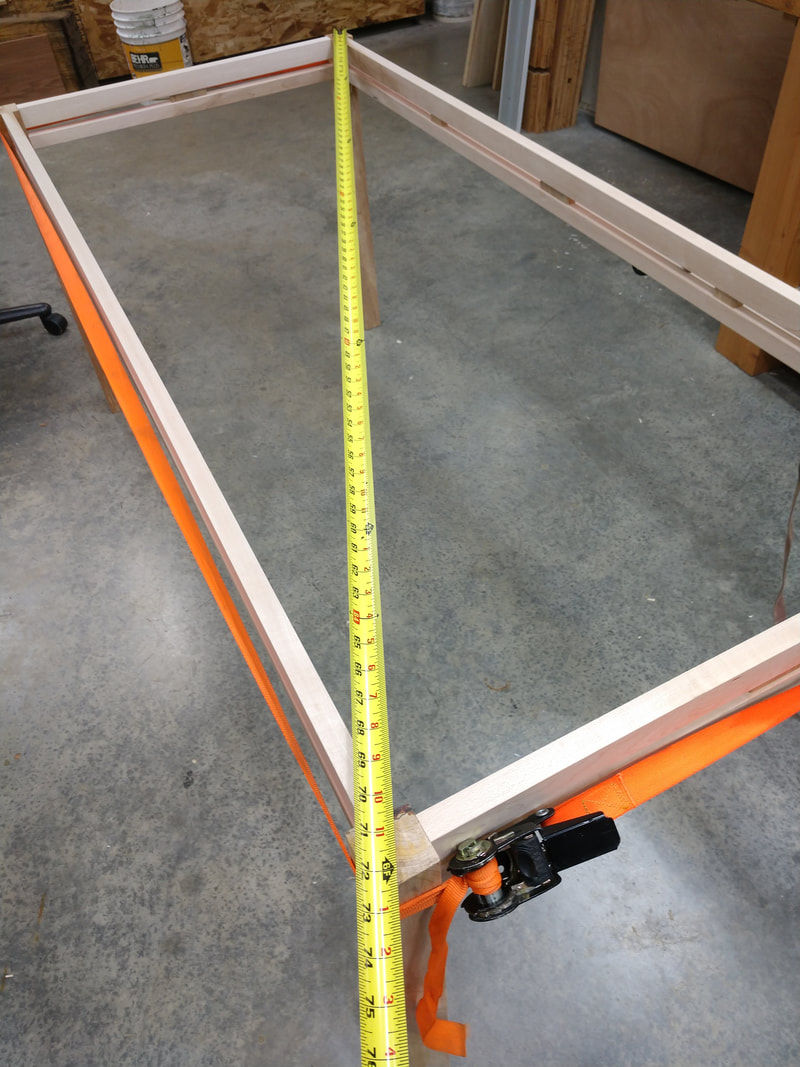
Diagonal measurements were exact, always nice to see. |
The Top
|
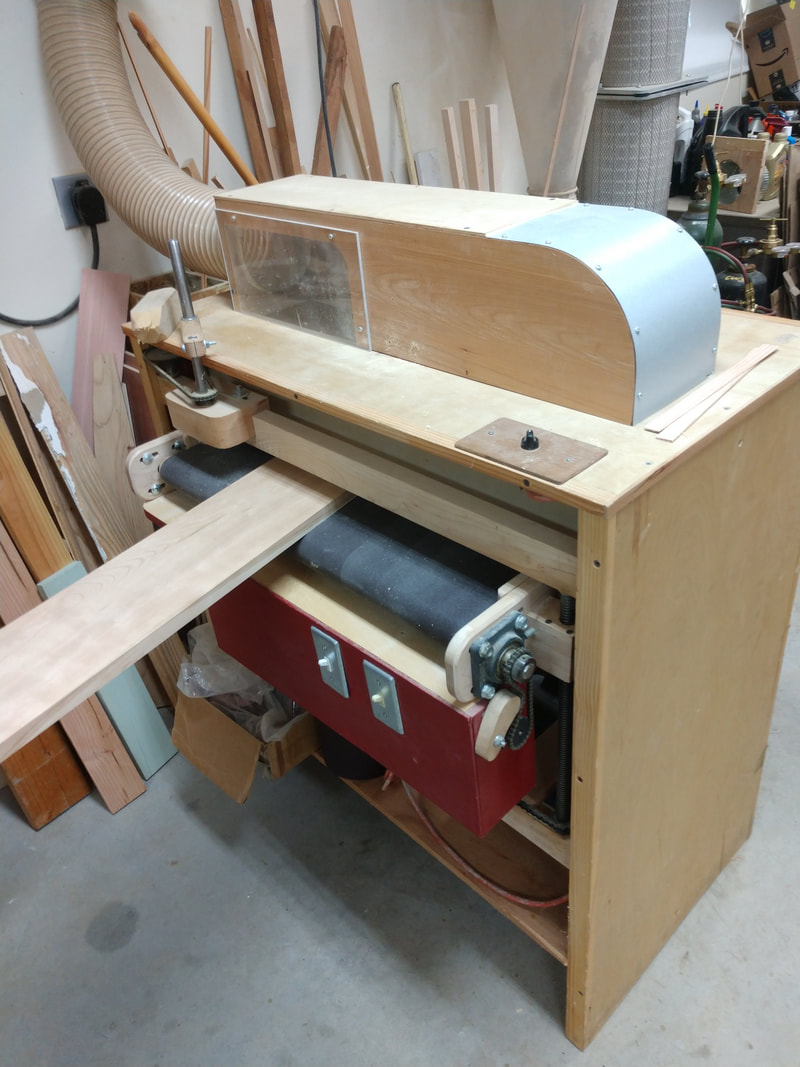
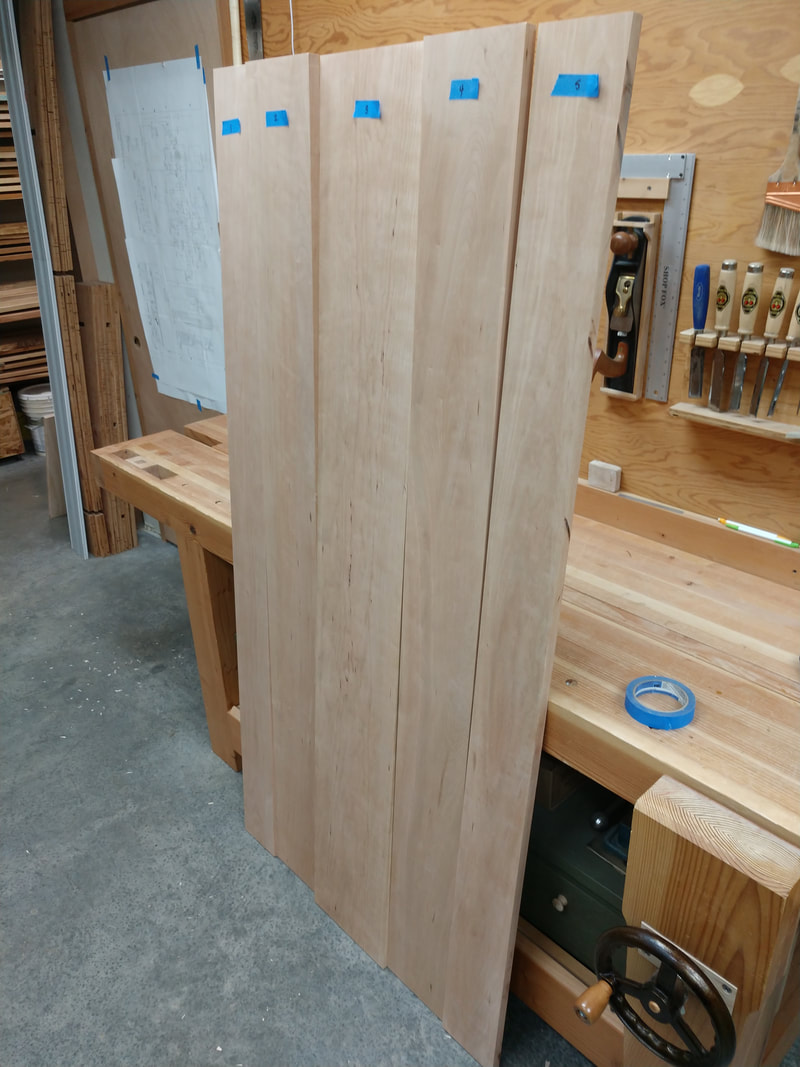
I had a nice stack of planed cherry, out of which I chose some planks to make up a table top. These only required jointing, ripping, crosscutting, and thickness sanding as they were already planed.
More info on my thickness sander. |
After laying them out on the base to get the best orientation, labels are put on them so they don't get glued up in the wrong sequence.
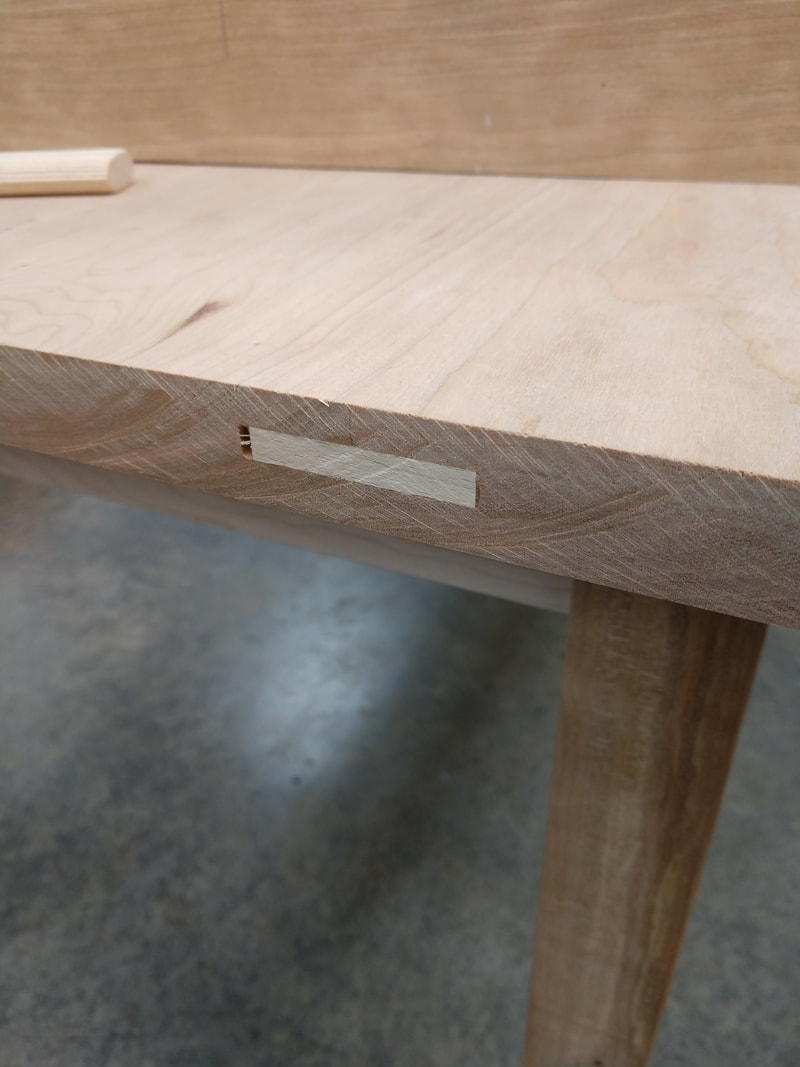
Dominos were used to glue up the table top. Thickness sanding was completed before the glue up. The dominos are so accurate that the joints required very little clean up after glue up.
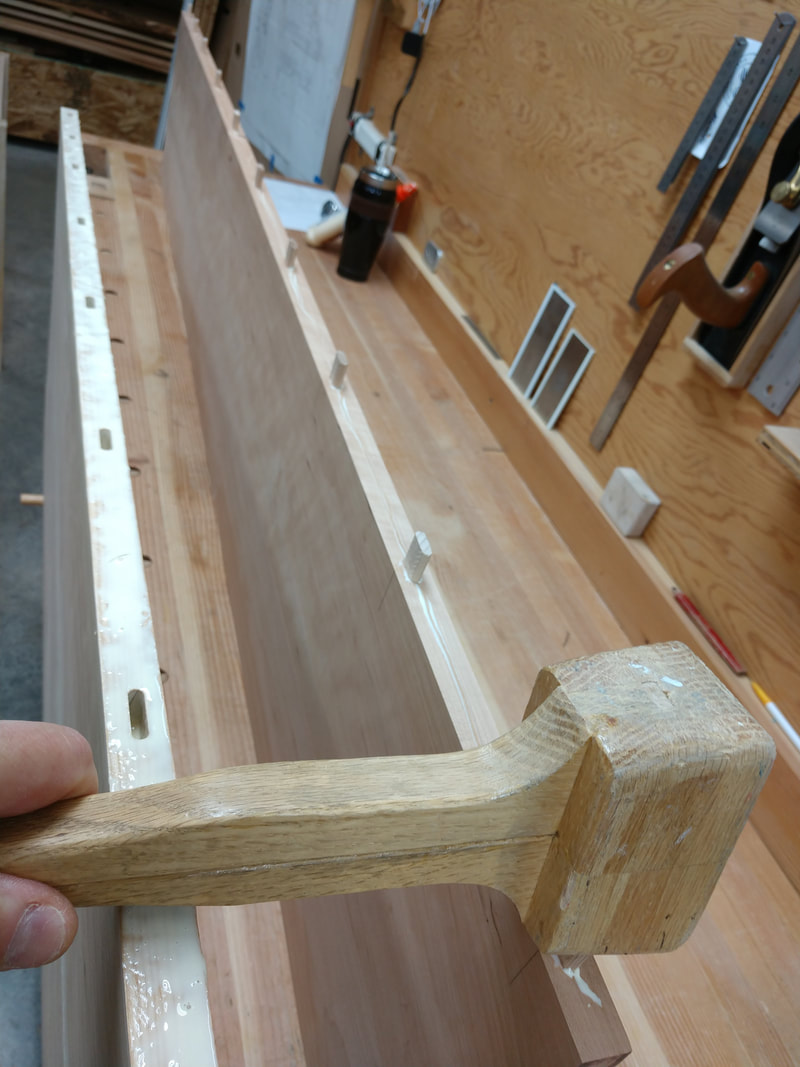
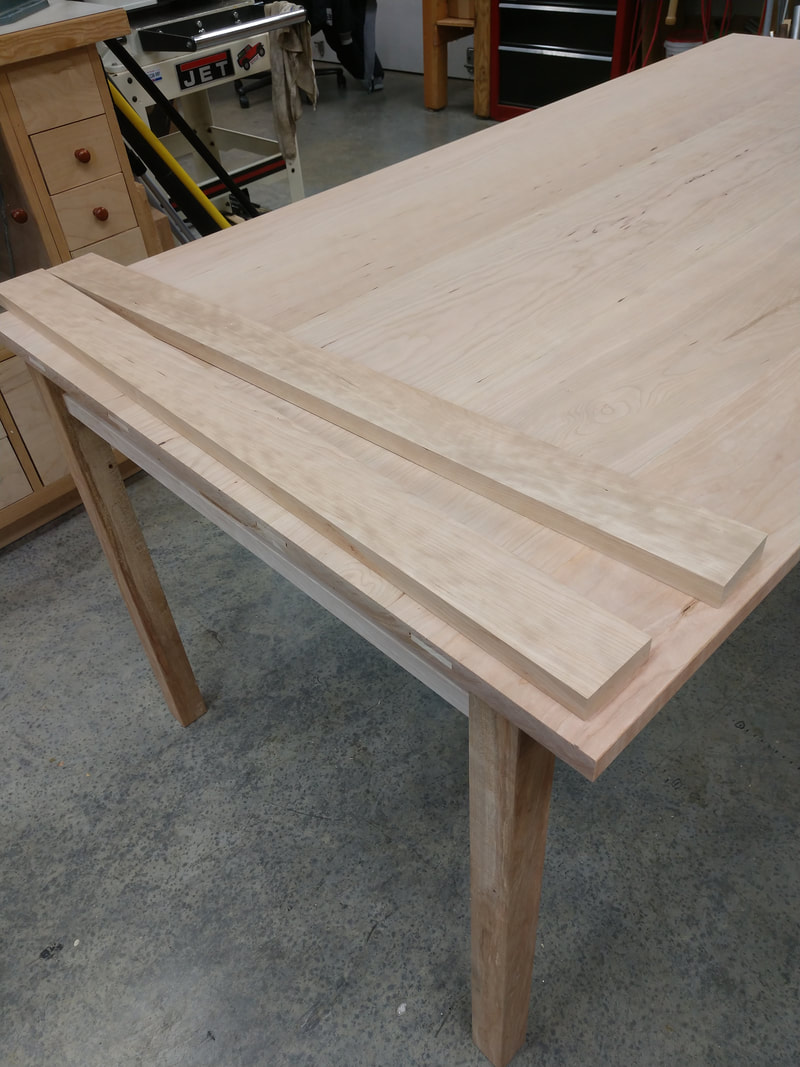
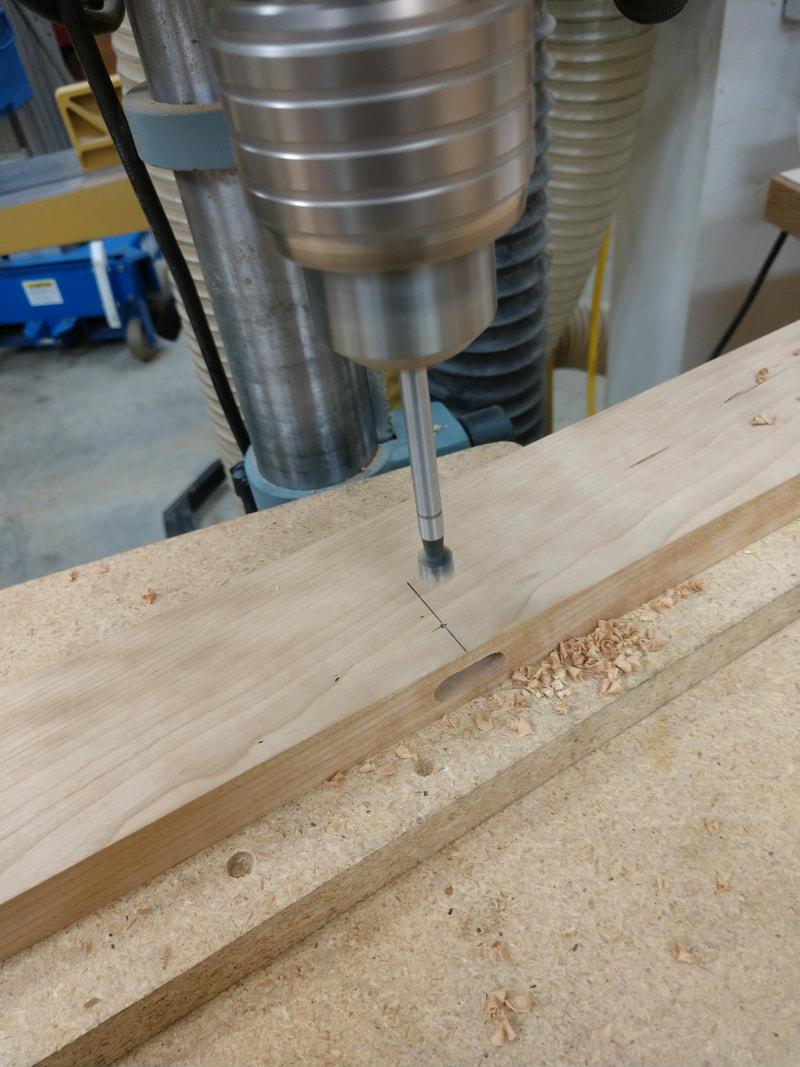
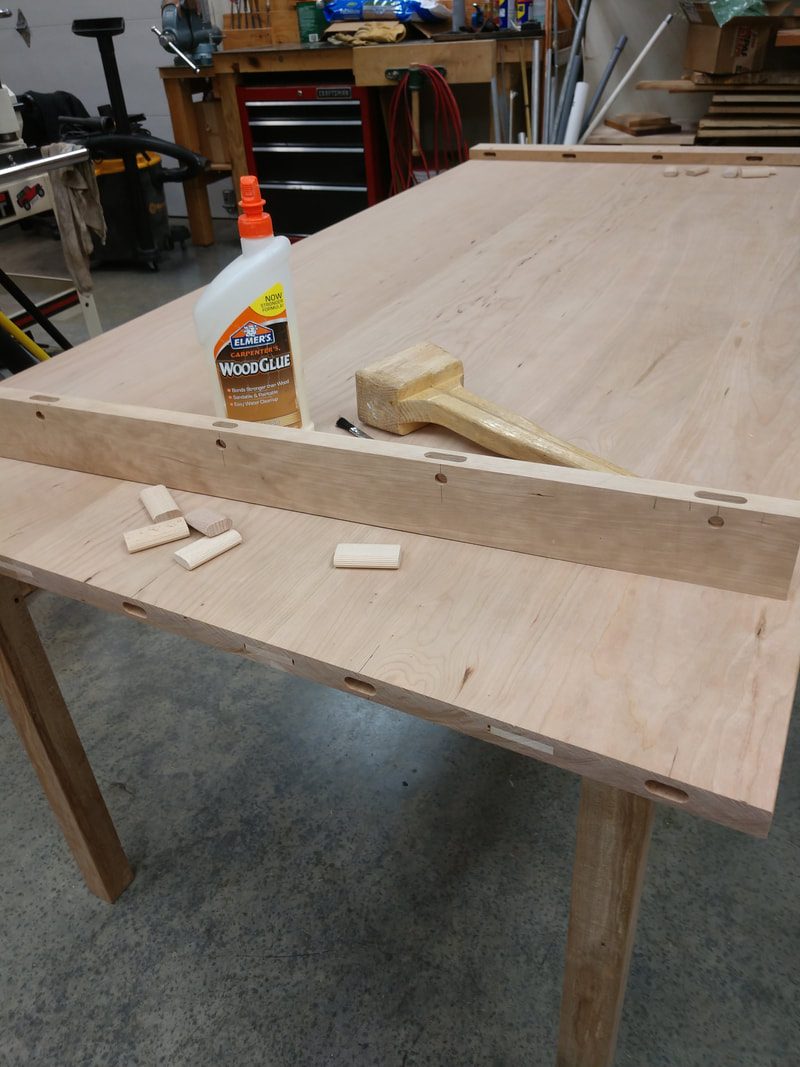
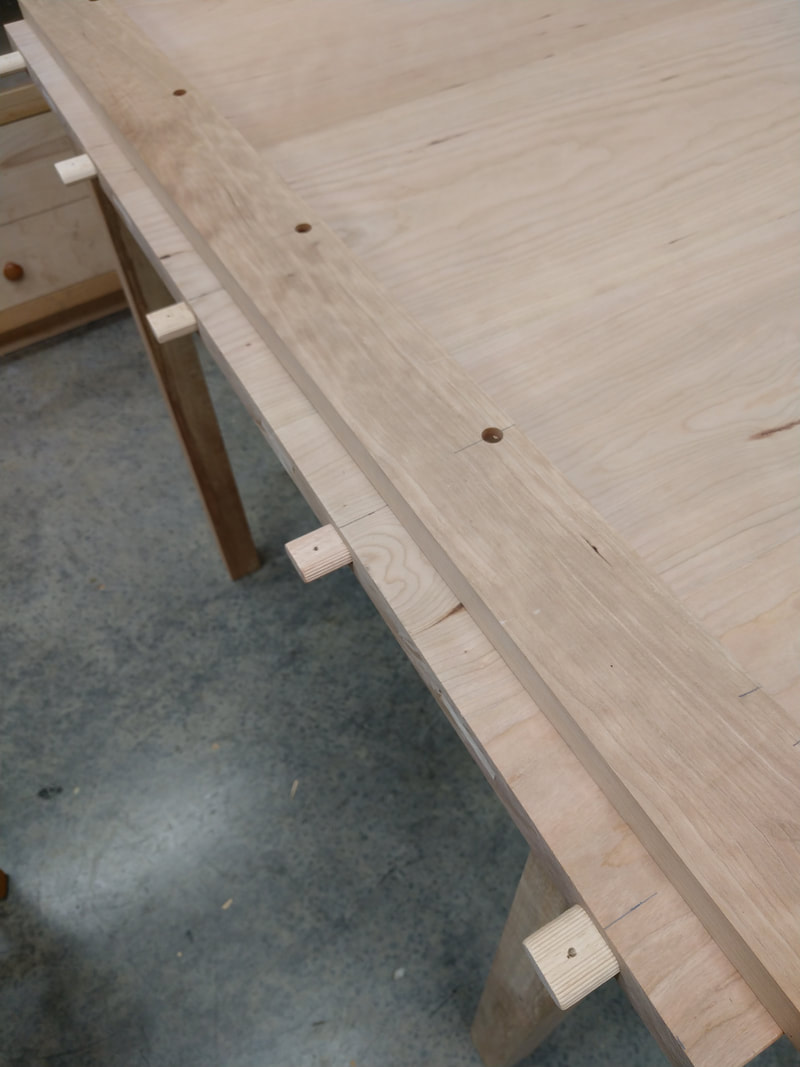
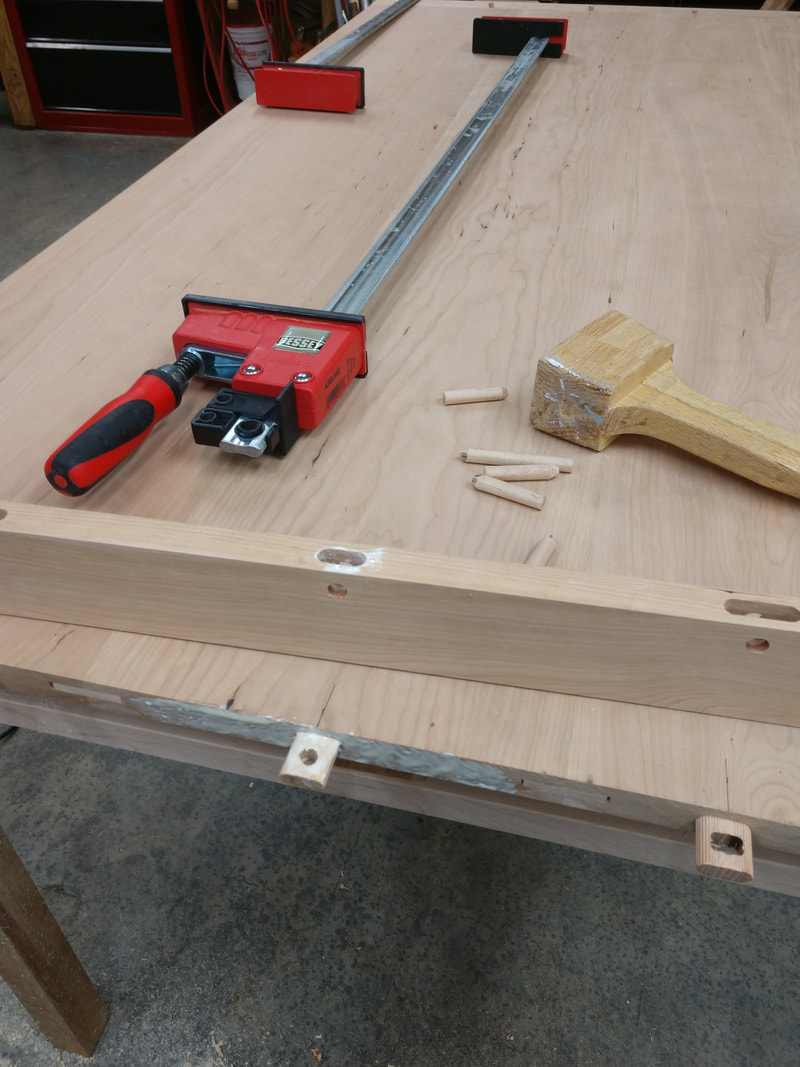
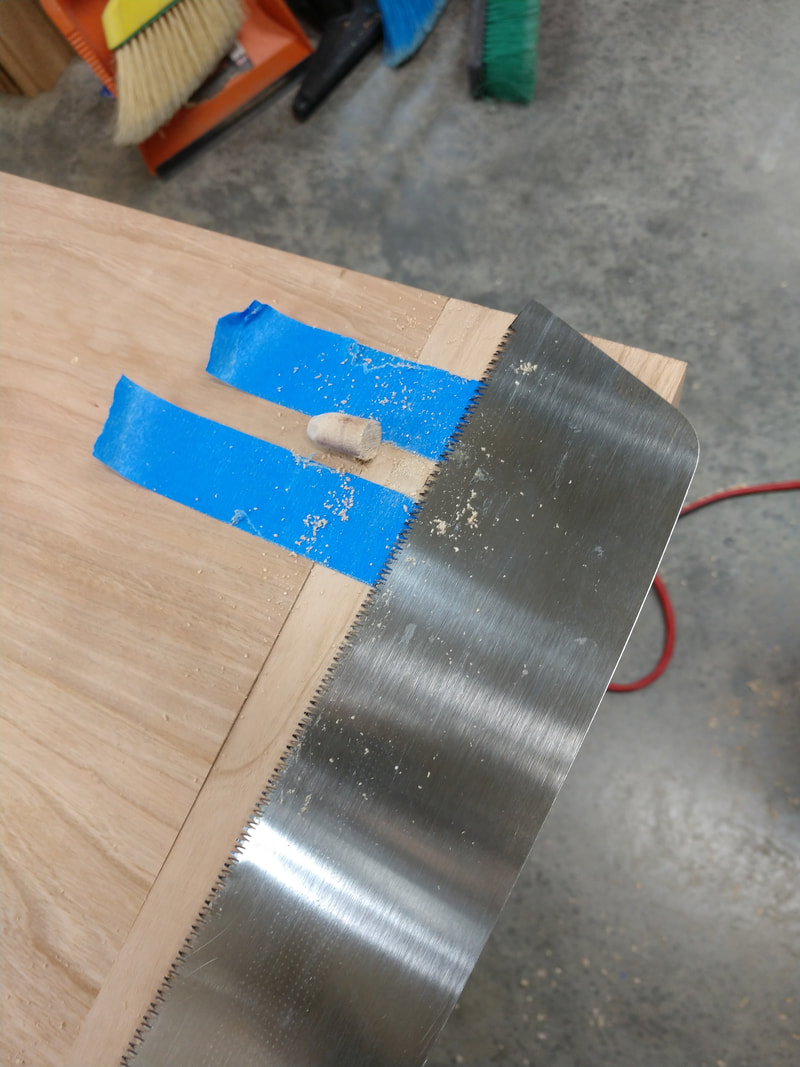
Ok. This is going to be an heirloom piece that will be with us til the end (doncha know) and hopefully passed down. Gotta add some breadboard ends... The Festool Domino cutter certainly made this easy (Amazon link).
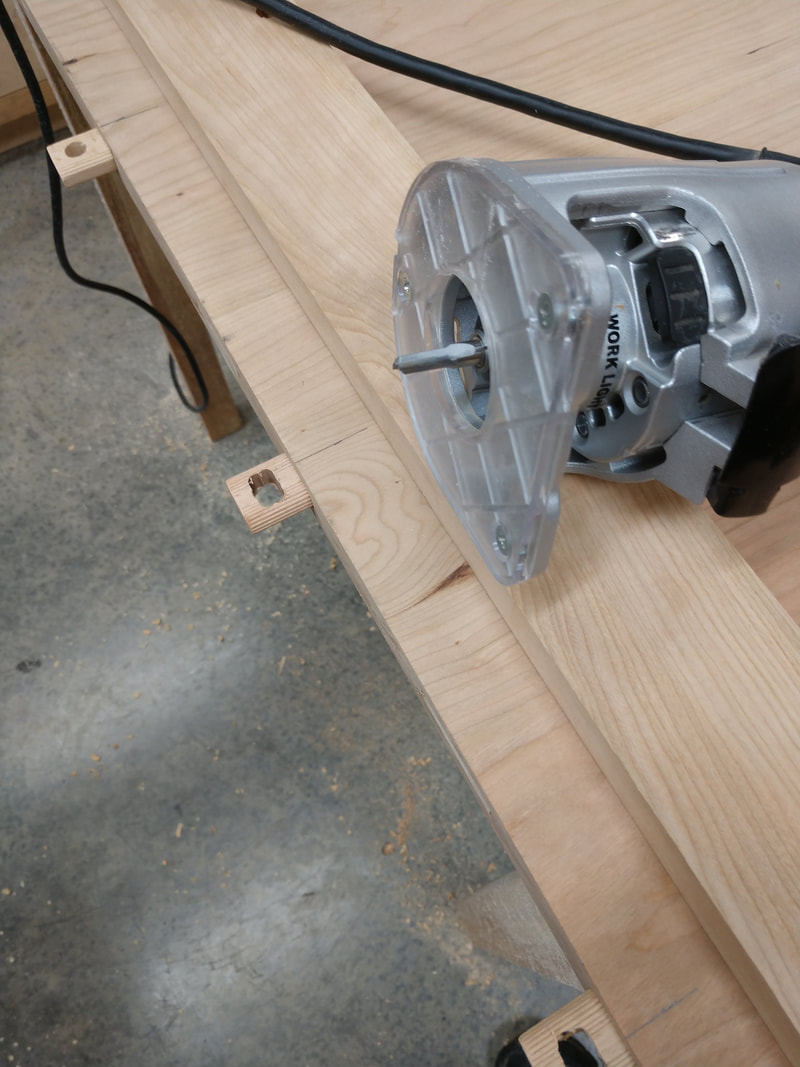
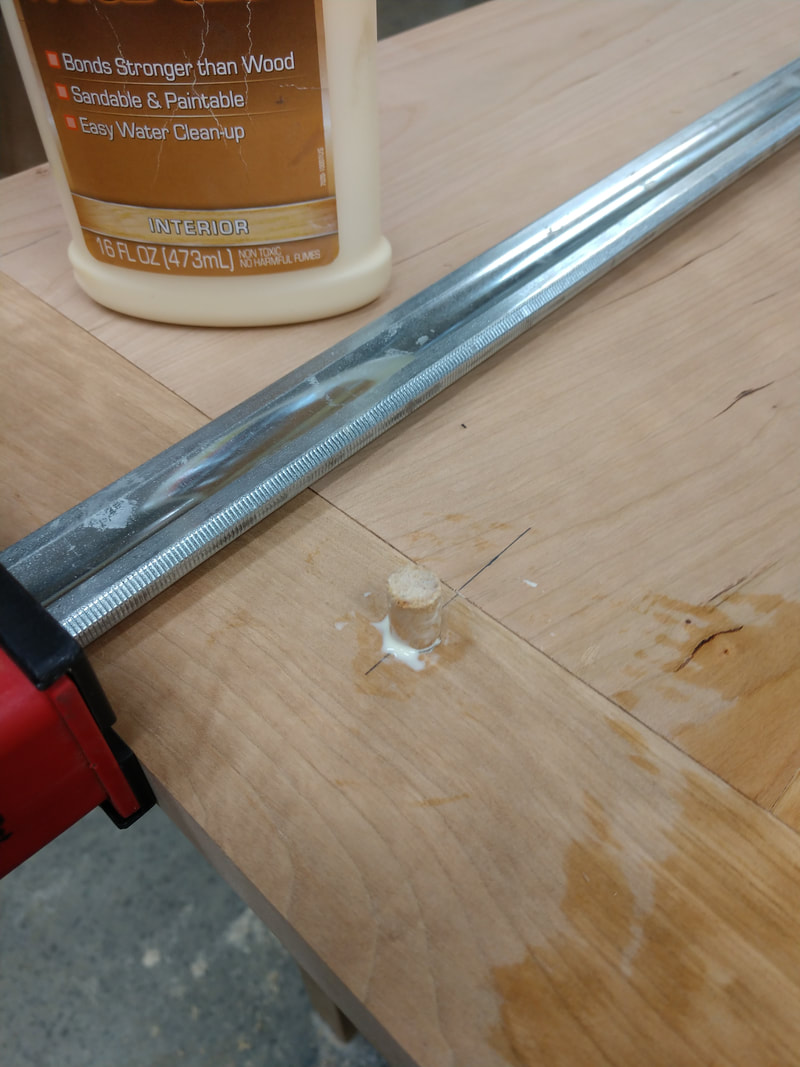
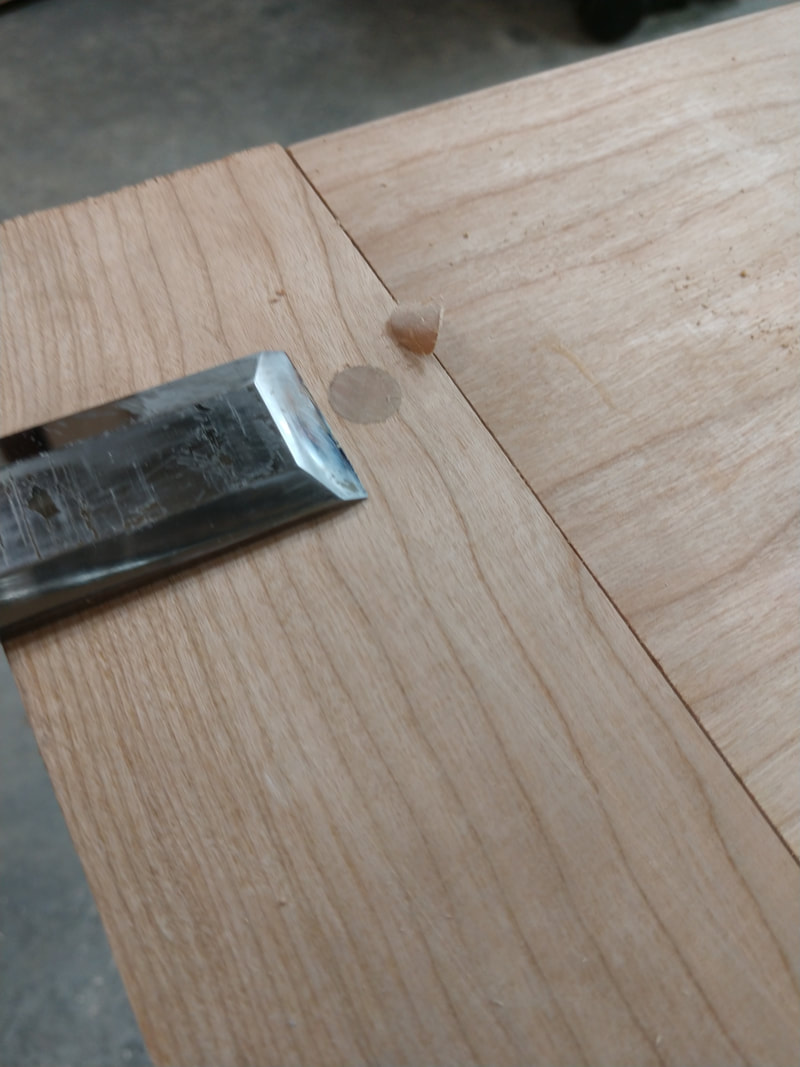
Domino floating tenons and dowels were used to make the draw bores. The dowels were made from cherry using a shop made simple little dowel cutter. For this, I used Izzy Swan's method, which worked great.
Domino floating tenons and dowels were used to make the draw bores. The dowels were made from cherry using a shop made simple little dowel cutter. For this, I used Izzy Swan's method, which worked great.
|
|
Finish it up
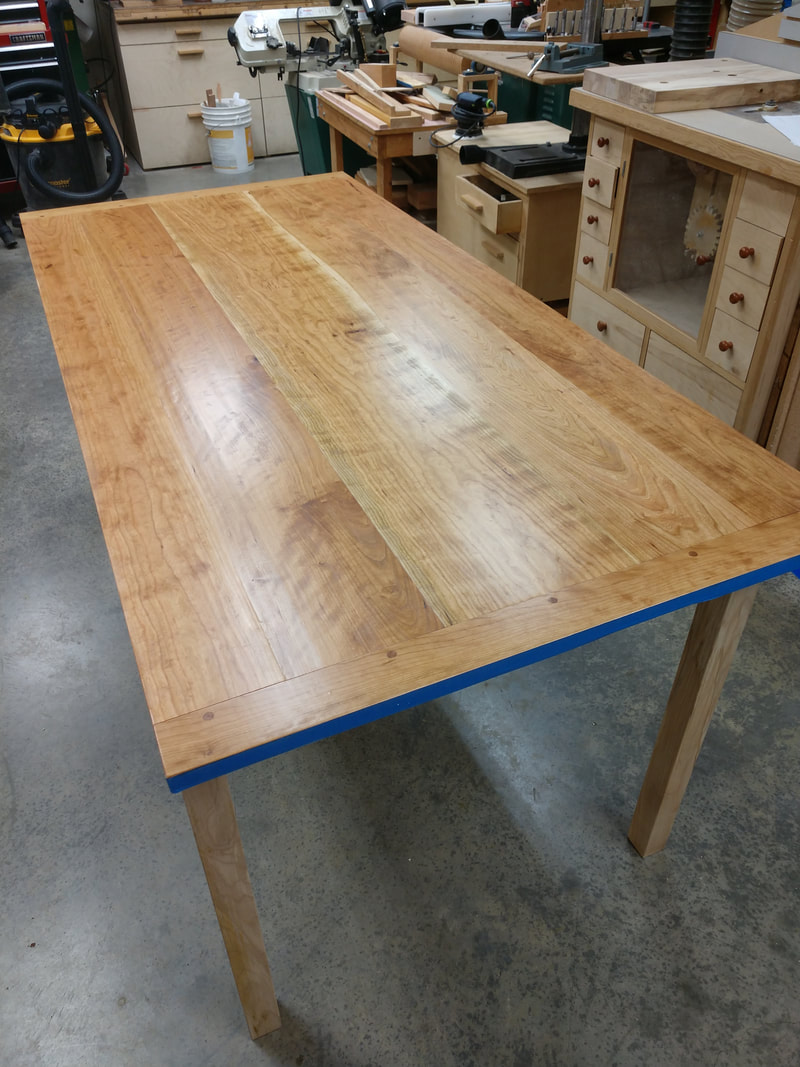
The bottom was finished first. A couple coats of epoxy, then one coat of satin poly.
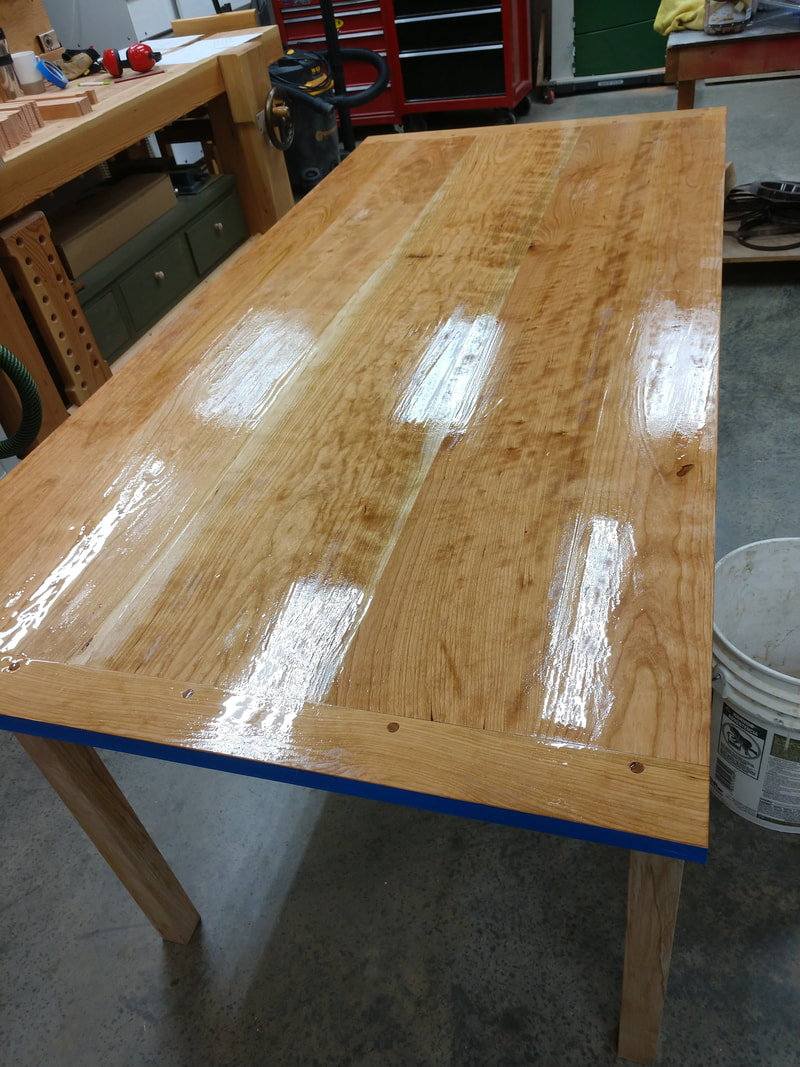
The top gets the same, but three coats of poly. The base gets two coats of poly.
Three cleats were added to each side rail used to attach the top with screws. On one side, the cleat holes were elongated to allow for seasonal wood movement.
The top gets the same, but three coats of poly. The base gets two coats of poly.
Three cleats were added to each side rail used to attach the top with screws. On one side, the cleat holes were elongated to allow for seasonal wood movement.
Final thoughts
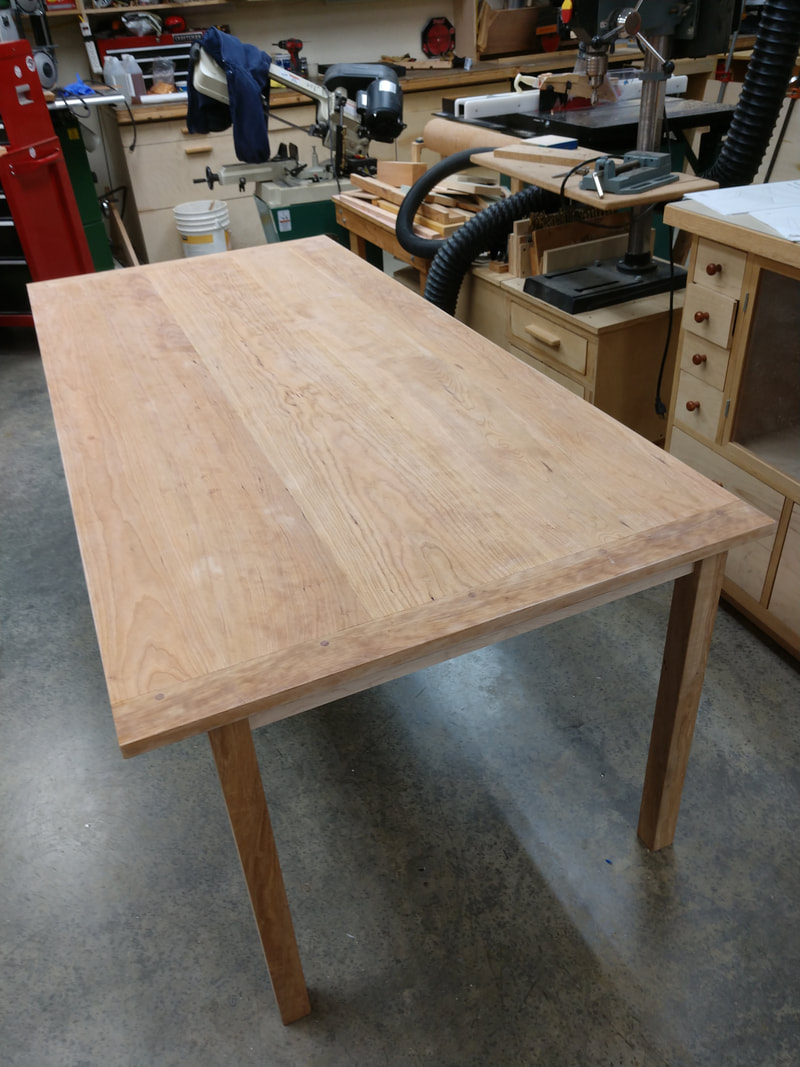
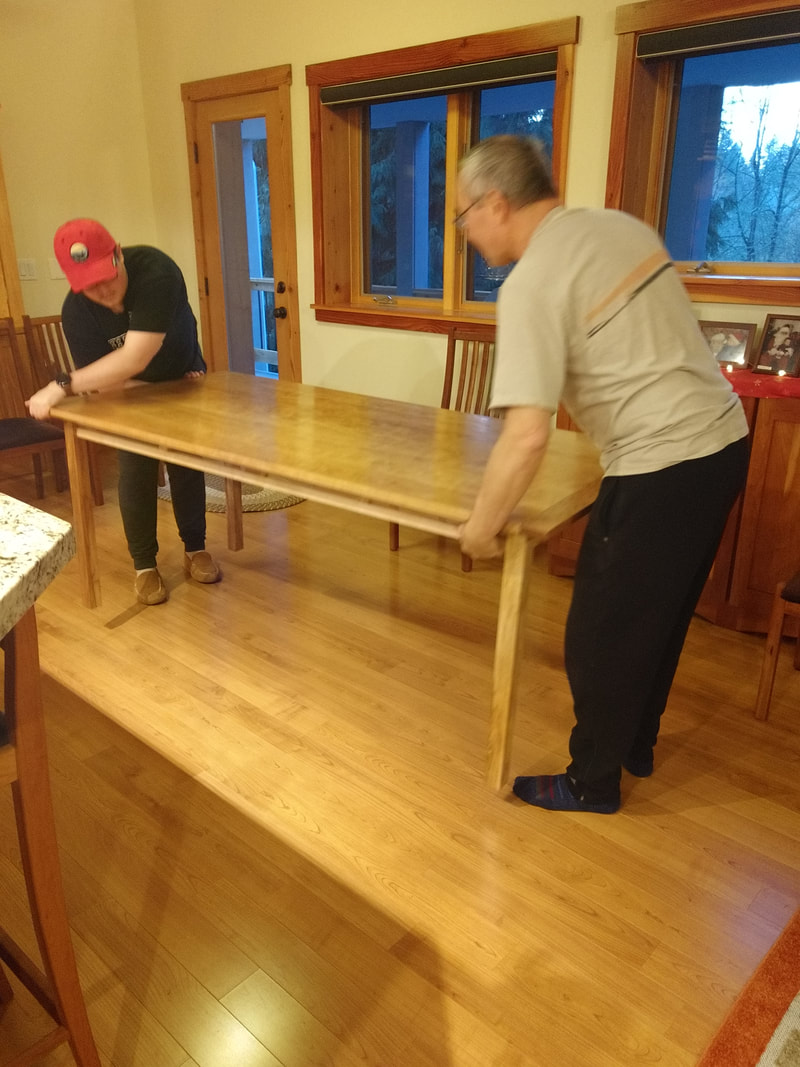
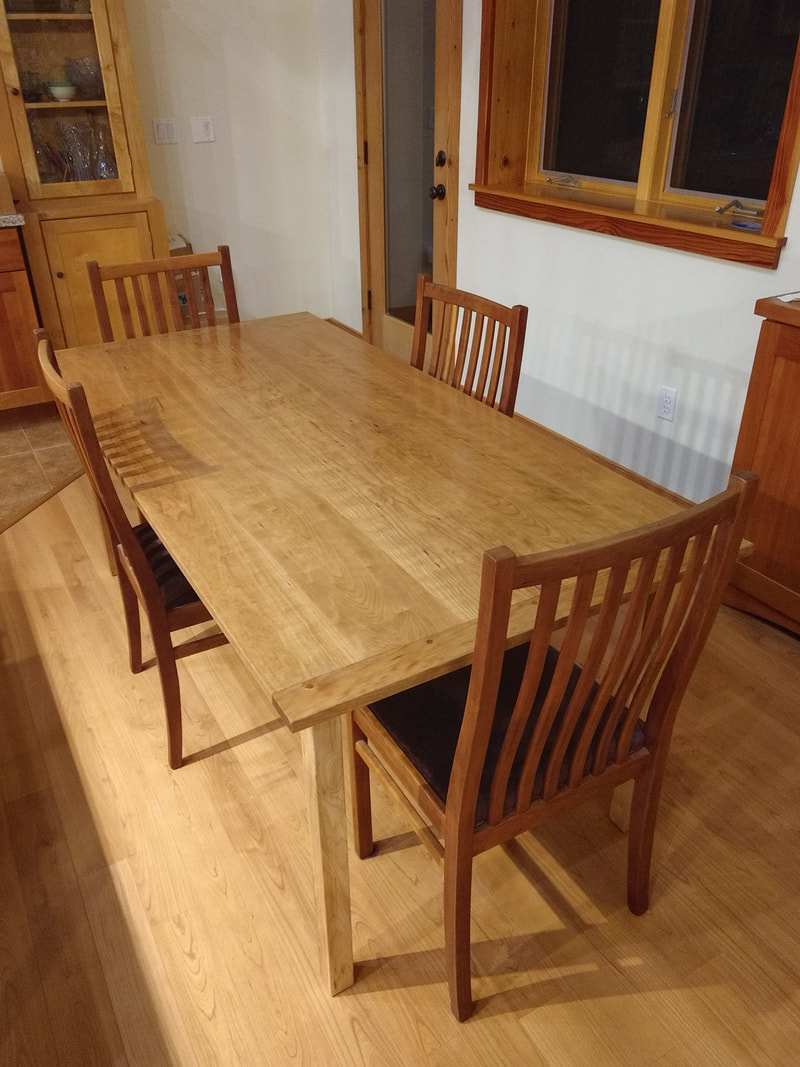
This turned out exactly as we had hoped. Having the Festool domino cutter made the top a breeze to build. The table is very sturdy, yet fairly lightweight. The dual rail design adds shear strength while keeping it light. The top turned out to be a little over 7/8" thick. Being cherry, it will darken significantly over the years.
On the top, a marine grade epoxy was used as the initial coats. This is great for filling any cracks or voids. After the initial coat, voids caused by tiny knots and other small imperfections were filled. After those cured a block plane was used to knock them down, then a complete sanding before a second coat.
I was planning on using a Waterlox finish, but was concerned about the outgassing and odor, so opted for water based poly for now. Later, if water spots or stains become an issue, I might try Waterlox, but that will have to be in the summer months so it can cure longer outdoors.
Let me know what you think.
And, for a limited time, here are some free plans:
| shigshop_dining_table.pdf | |
| File Size: | 94 kb |
| File Type: | |
Disclaimer...
Upon the purchase or use of Shigshop.com plans, please do not distribute or copy them in any manner - they are only for the personal use of the original purchaser or user. Shigshop.com does not authorize the manufacture of products for sale using these designs without consent by Shigshop.com.
Although a big effort has been made to ensure these plans will produce a good safe machine, other shop accessory/project, Shigshop.com cannot assume any liability as a result of any usage of the plans or machines/shop accessories/projects built with them.
Building with these plans should only be attempted by those experienced with the tools and techniques necessary to produce the machine or shop accessory/project described in the Shigshop.com plans and instructions. When using woodworking and metalworking machines and tools, always ensure safety devices are properly functioning and appropriate clothing, glasses and ear protection are worn.
Be careful and proceed at your own risk - adhere to standard safety practices and you should be ok.

