
To learn to play, you need a guitar
Wanting to learn to play guitar, I decided to first build a couple, and set about building a right as well as a left handed tele style guitar. The righty was the first, built from a kit, and went to my son for his high school graduation. The lefty was built from scratch and was for me. Both turned out very nice and playable.
There's a plethora of websites devoted to guitar building. Here are a few of my favorites:
Ron Kirn was extremely helpful during my builds. I had a couple questions via email that he graciously and quickly responded to - I really appreciated his help. If you want to see how a custom luthier builds a beautiful guitar, click here to check out his site.
This page is the first of more to come on guitar builds.
The following are a few pictures of both tellys during various stages of their builds.
There's a plethora of websites devoted to guitar building. Here are a few of my favorites:
- tdpri.com - this link brings you to the "tele home depot" forum on the tdpri site - many nights have been spent over there...
- ron kirn - incredible luthier - he builds top shelf guitars and writes great tutorials (see the "details" link on his homepage).
- stew mac - all the parts you need to build a guitar
- luthiers mercantile - another supplier
Ron Kirn was extremely helpful during my builds. I had a couple questions via email that he graciously and quickly responded to - I really appreciated his help. If you want to see how a custom luthier builds a beautiful guitar, click here to check out his site.
This page is the first of more to come on guitar builds.
The following are a few pictures of both tellys during various stages of their builds.
The telly builds
|
The kit guitar came with the body and neck ready for sanding after first shaping the headstock.
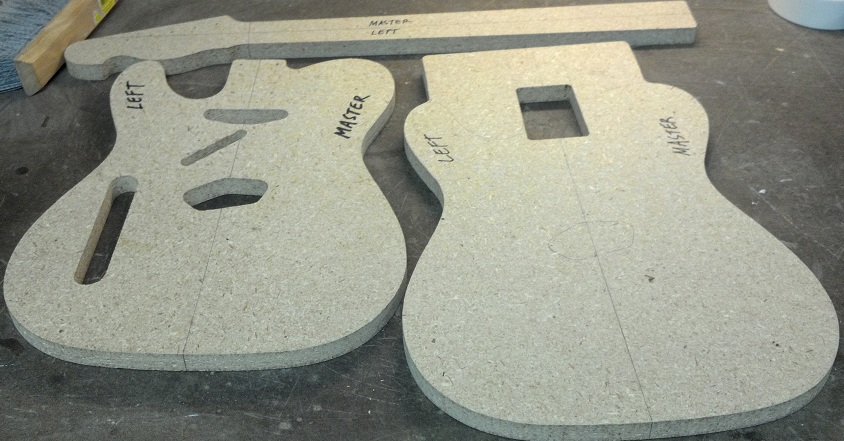
This photo shows the templates I made for the 2nd guitar. 2 body templates are required. One for the overall shape as well as pick up and control recesses and other holes, and one for the neck pocket. These templates are made from particle board, and are labled 'master'. If you were to do a pick guard, you'd need a template for that as well. |
|
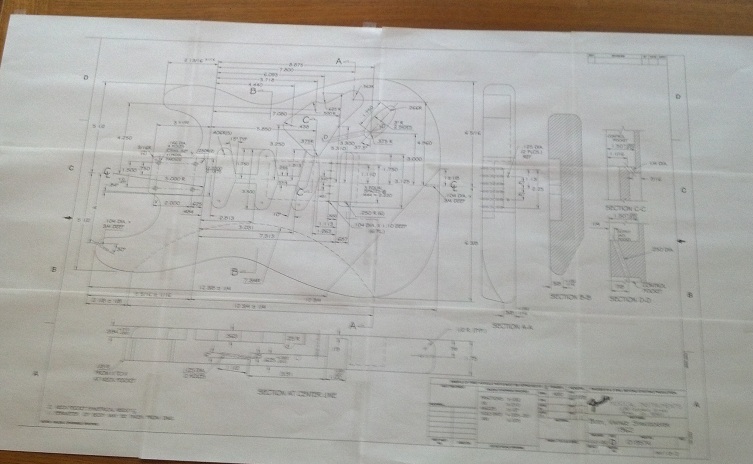
I know this pic is hard to see - it's a full scale plan of a strat style guitar. To make the templates, the guitar outline is cut out of the plan and pasted to mdf or particle board. It's then rough cut with a bandsaw, holes drilled and/or routed, it gets finely sanded, and a good sealant.
It's a lot of work to build accurate templates, and very easy to build duplicates. Therefore, the first set of templates get marked as "master" and don't get used during the actual build - you just use them to make some "build" templates. A similar process was used for the neck template. These techniques can be used to build templates for most electric guitars. |
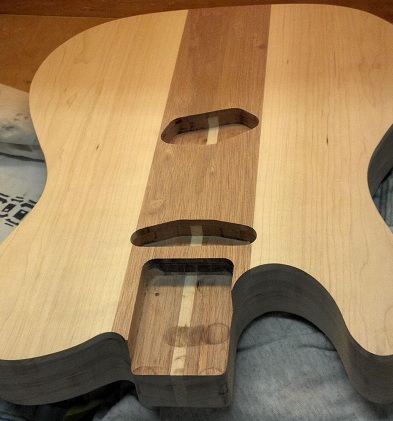
The build templates were used to cut out the body and neck from some nice telly wood. The bandsaw, edge sander, spindle sander, drill press, and router table were used for those steps. I might document that stuff during some strat builds I'm planning, although that kind of thing has all been thoroughly covered by many others.
The neck for the lefty required initial shaping on a bandsaw, following by rasps, files, and sandpaper.
The neck for the lefty required initial shaping on a bandsaw, following by rasps, files, and sandpaper.
|
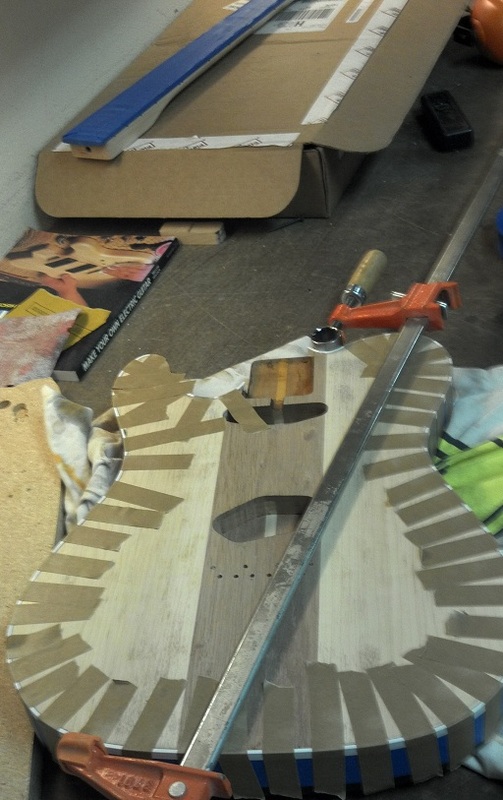
This is the lefty body ready for a binding rout. The top edge gets the rout with a bearing guided straight bit. I used gel super glue to attach an acetate binding, some people use acetone, others use special binding glues - quite a few options here - the super glue seems to be working fine.
This guitar body is also chambered, so it's very light. |
|
Here is my binding clamping method - lots of binding tape, which is a paper based tape that does not stretch and has a fairly strong adhesive backing. It can also withstand some good pressure. The bar clamp is pressing a rachet socket into the small radius next to the neck - got that from Mr. Kirn.
|
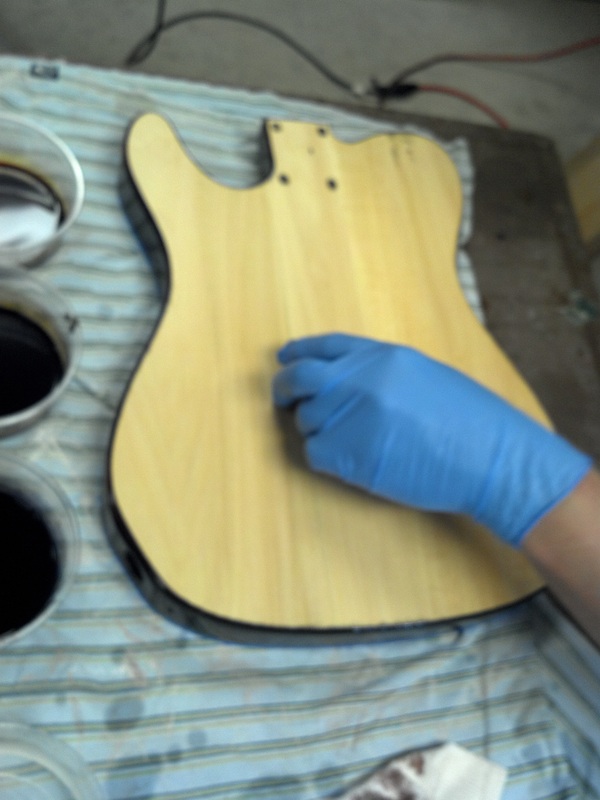
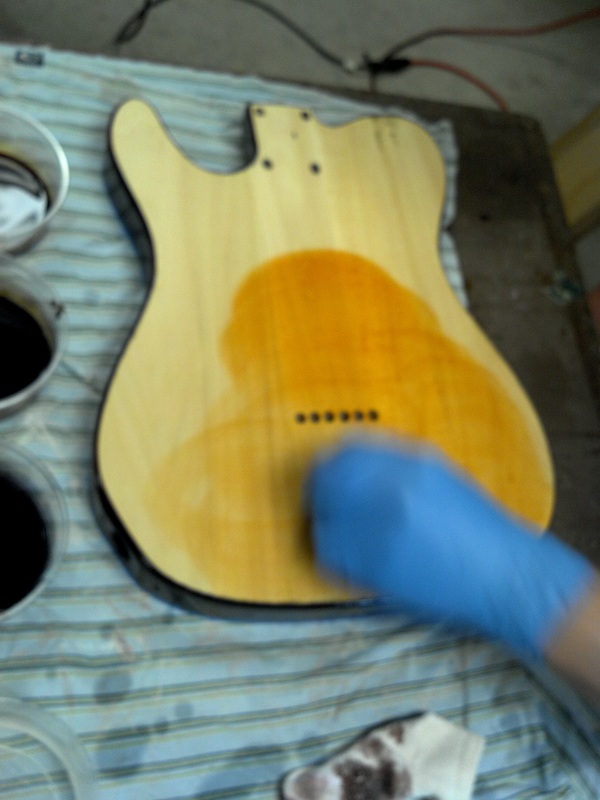
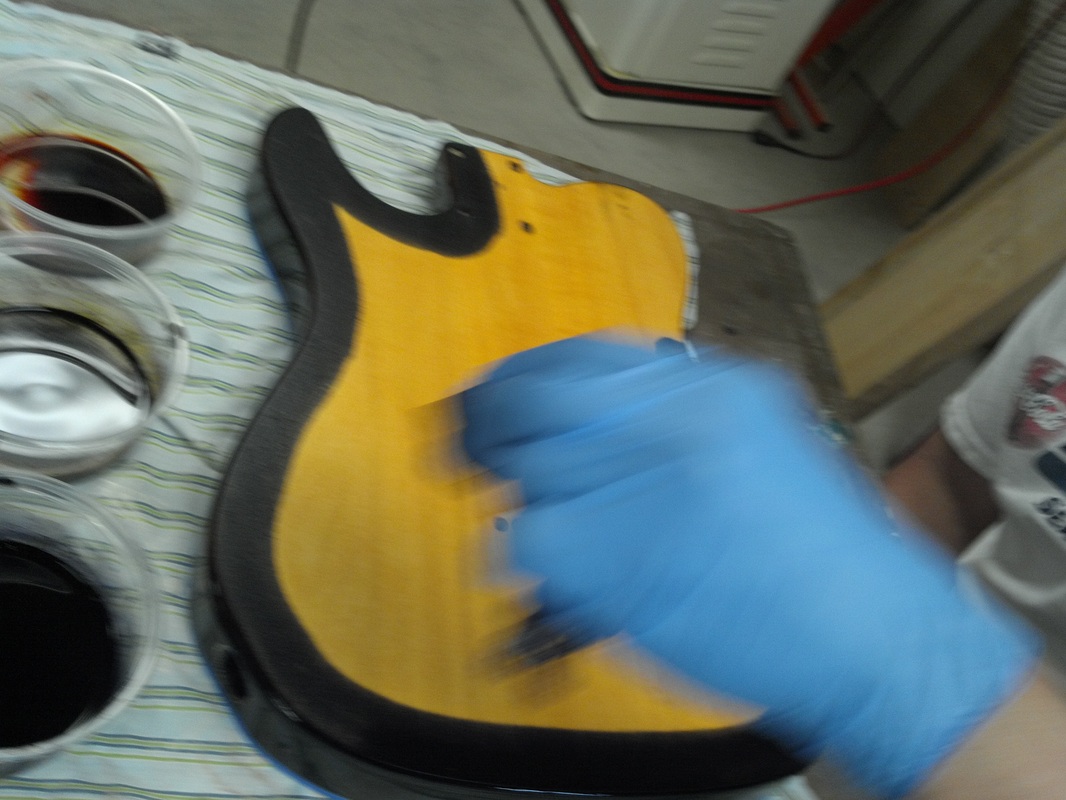
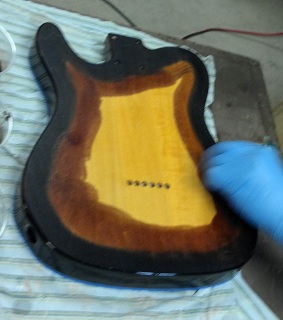
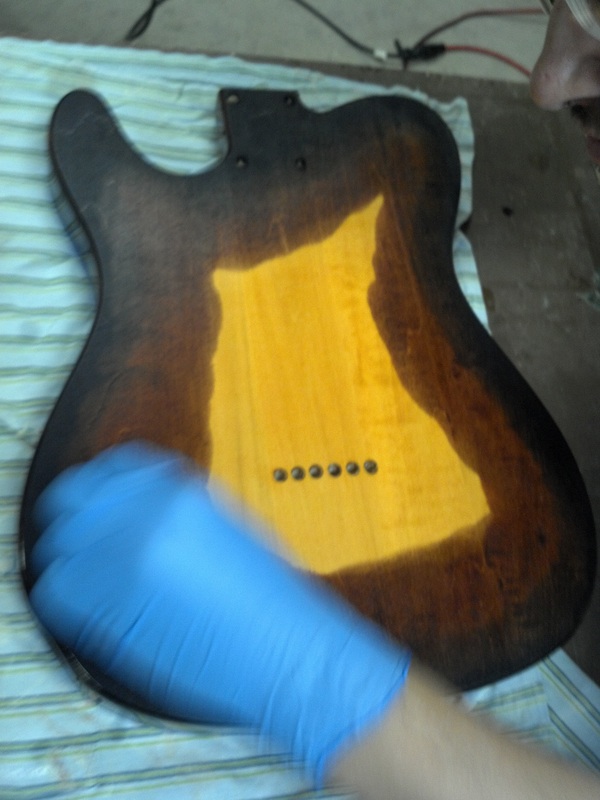
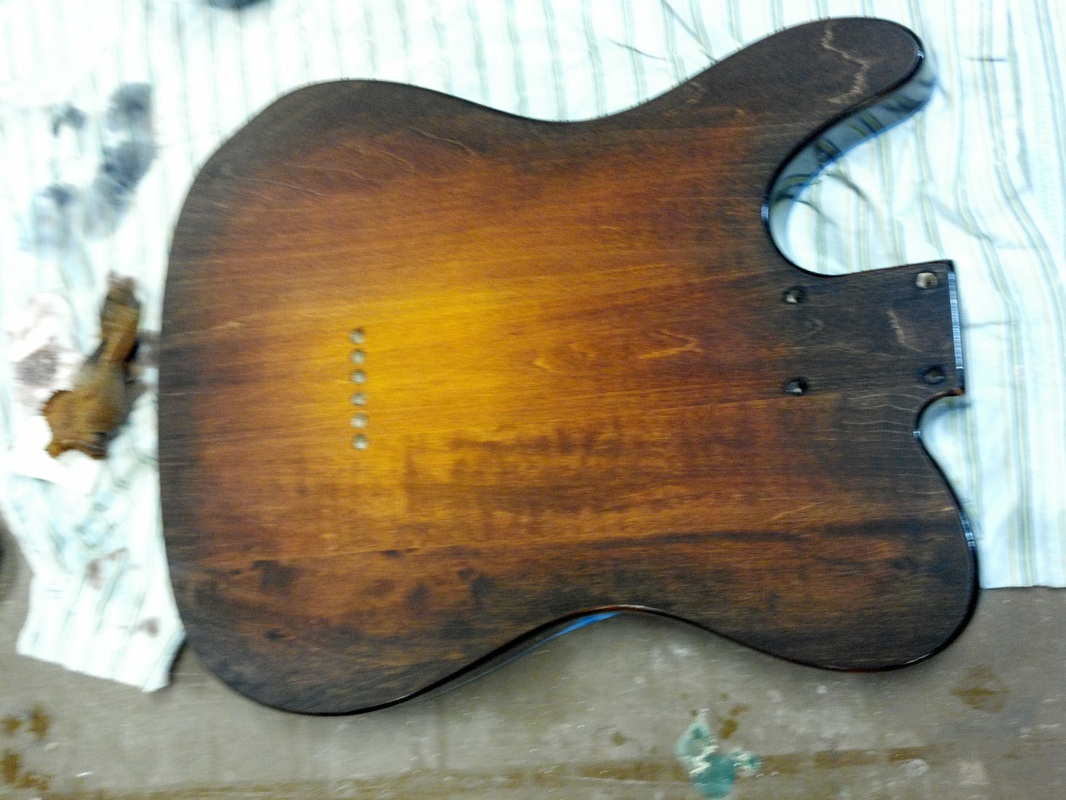
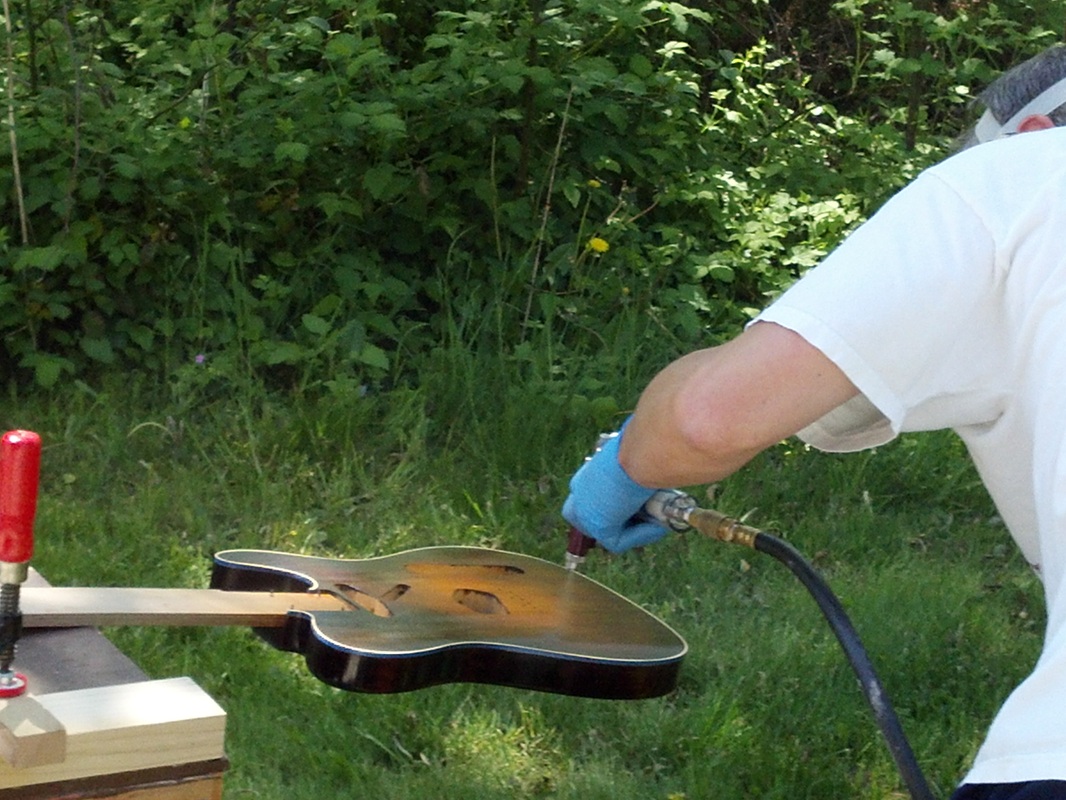
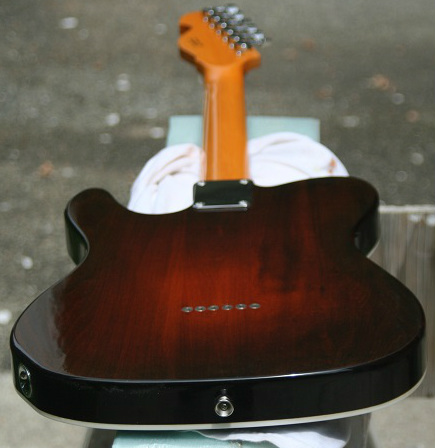
The following series of pictures show me using aniline dyes to create the burst on the back of telly number 1. Upon completion, it looks kind of splotchy and dull, but after spraying on a nice laquer, the finish really pops. Many coats of laquer are required - I lost count - 15-20 I'm guessing. After finish, the guitars get assembled and tuned. For that, I refer to Ron Kirn's excellent instructions - he explains in detail on how to set up a guitar to professional standards.
|
|
|
|
|

|
|
|
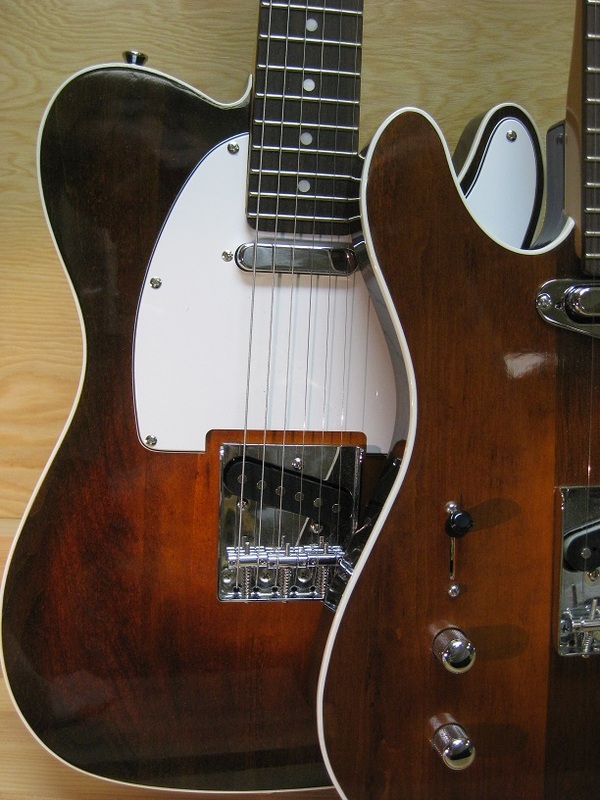
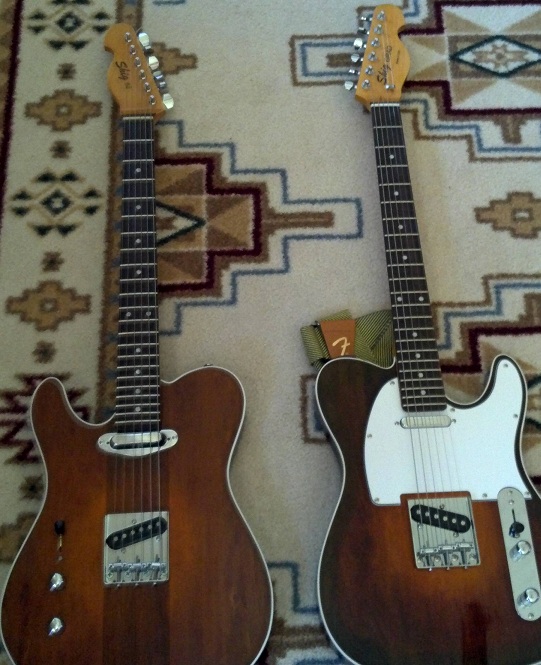
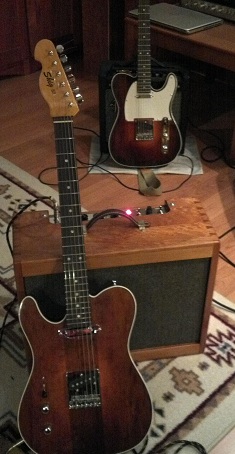
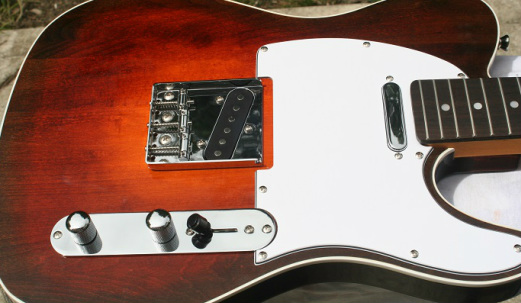
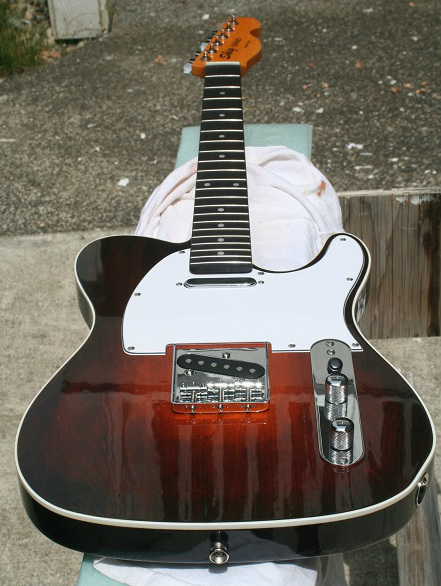
Some pics of the finished guitars...
|

|
|
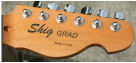
I designed my own headstock - took a few iterations, but I like it.
|
|

I built that too - it's a tweed deluxe built from a kit
|
|
|
