
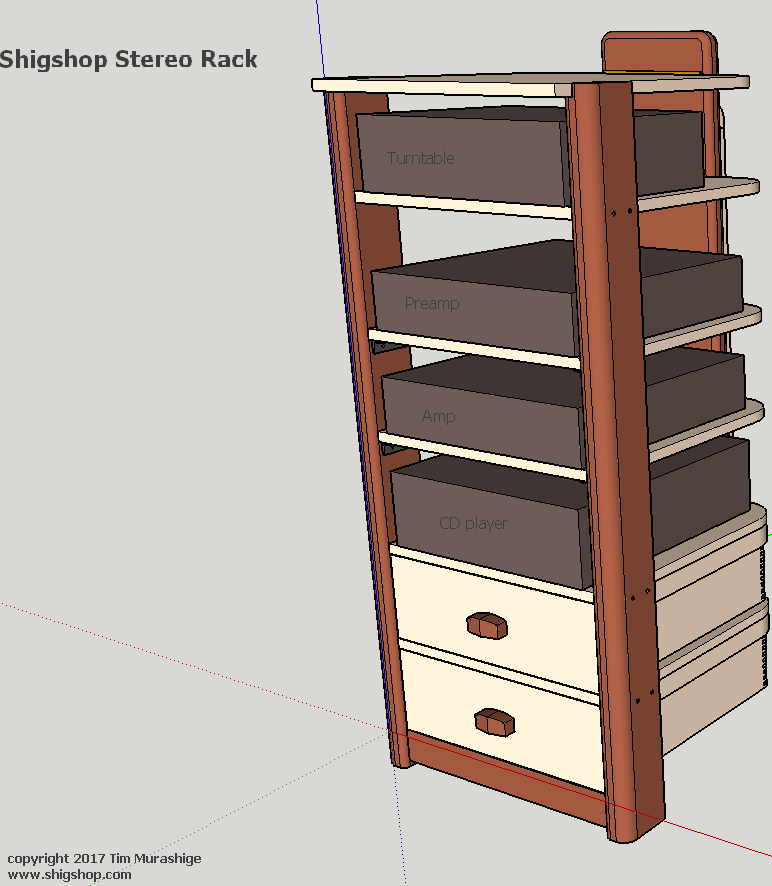
Shigshop Stereo Rack
Yes, other priorities get in the way at times, but getting in the shop has to bubble up sooner or later.
No more letting those "other priorities" completely interfere with shop time - a new signature piece must come to be - a stereo rack.
No more letting those "other priorities" completely interfere with shop time - a new signature piece must come to be - a stereo rack.
The design
CAD plans
|
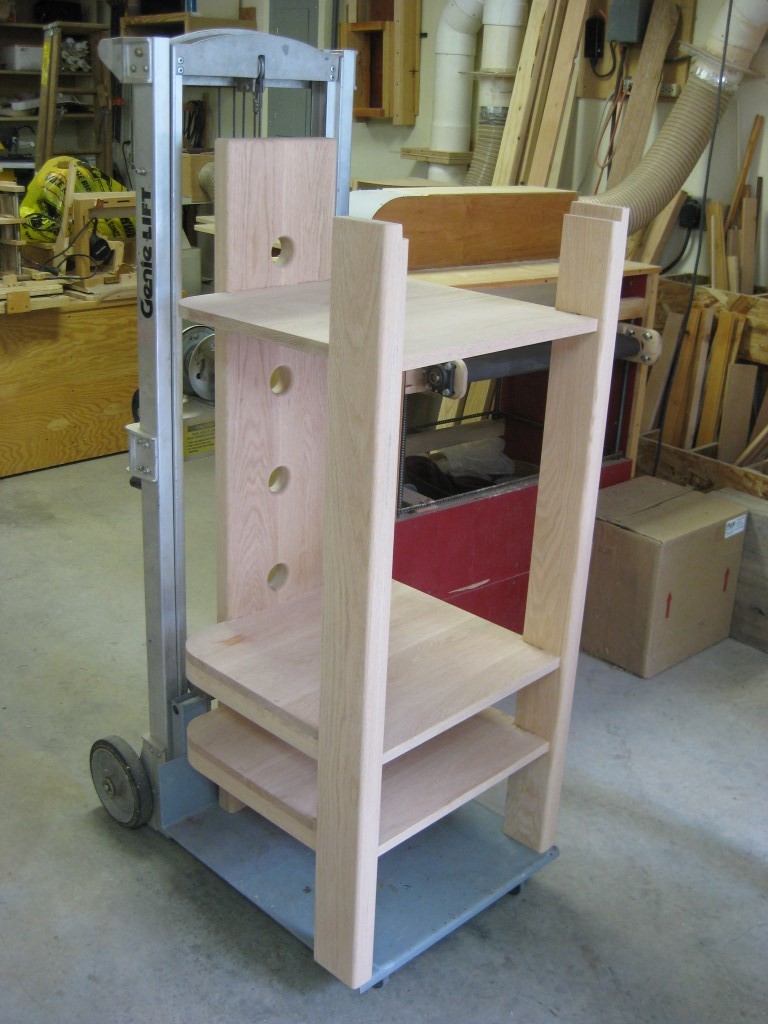
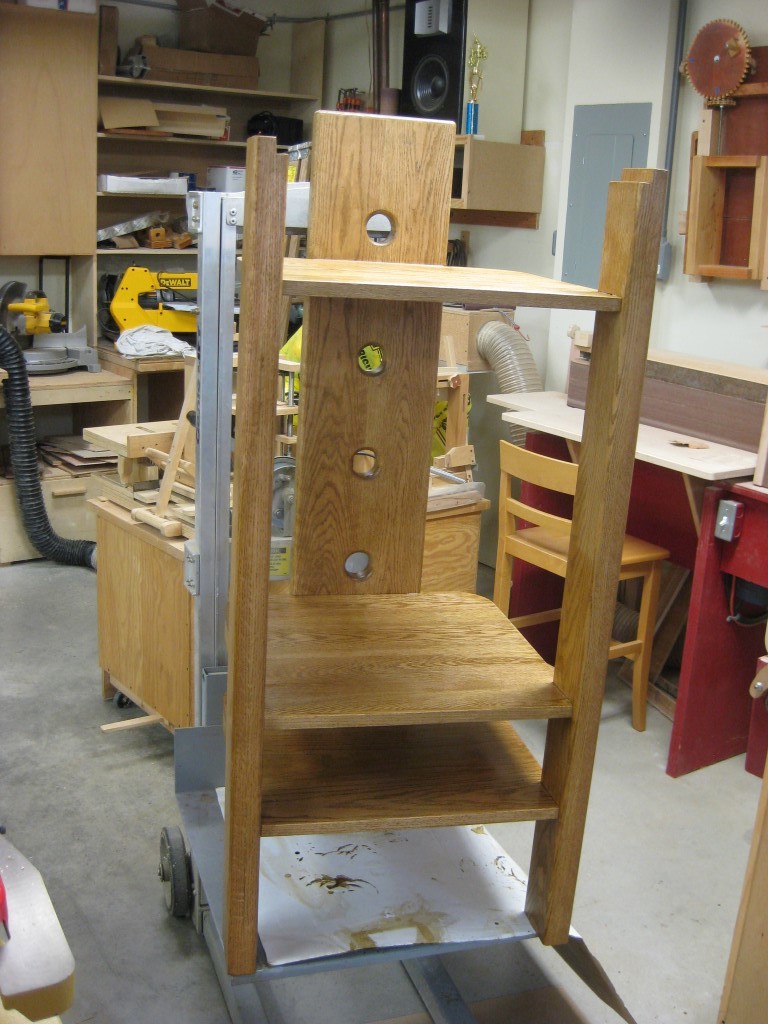
The rack features 4 shelves and 2 drawers. The top is hinged enabling access to a turntable as well as providing a good spot to put a music loaded laptop. The middle 2 shelves are somewhat adjustable, while all others are permanently mounted. The back board has holes for cables to pass thru and there's a chase to keep those pesky cables contained.
|
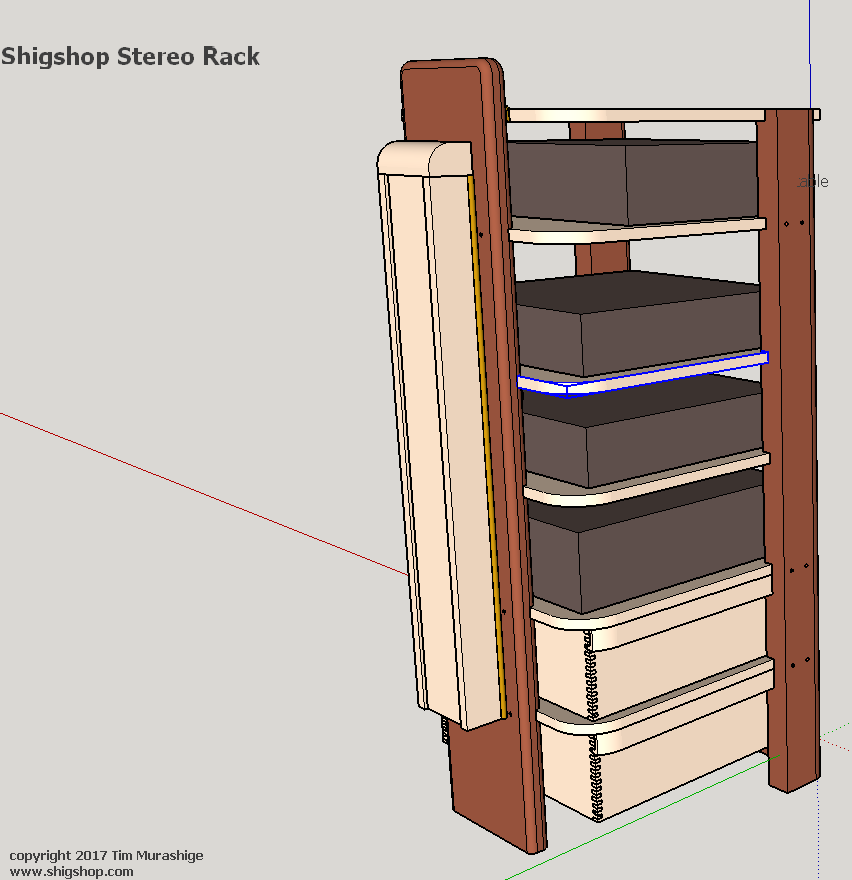
Chase in back
|
The chase keeps things nice and tidy.
|
The build
A year passed between when I drew up the first draft of the plans and when the build was started.
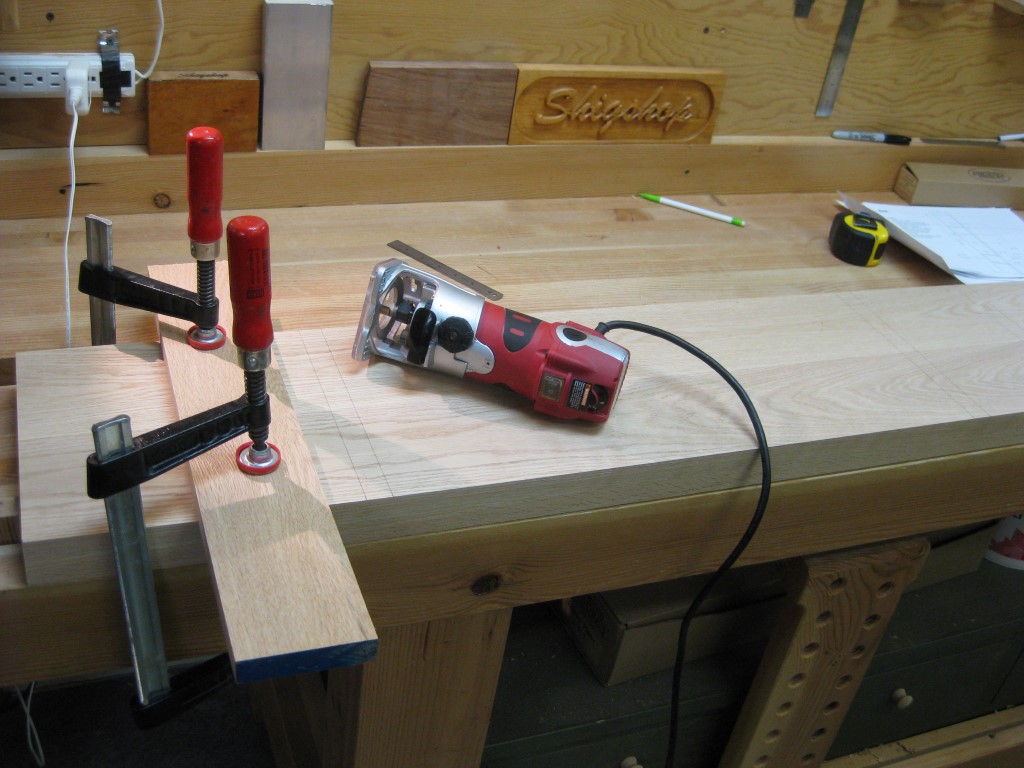
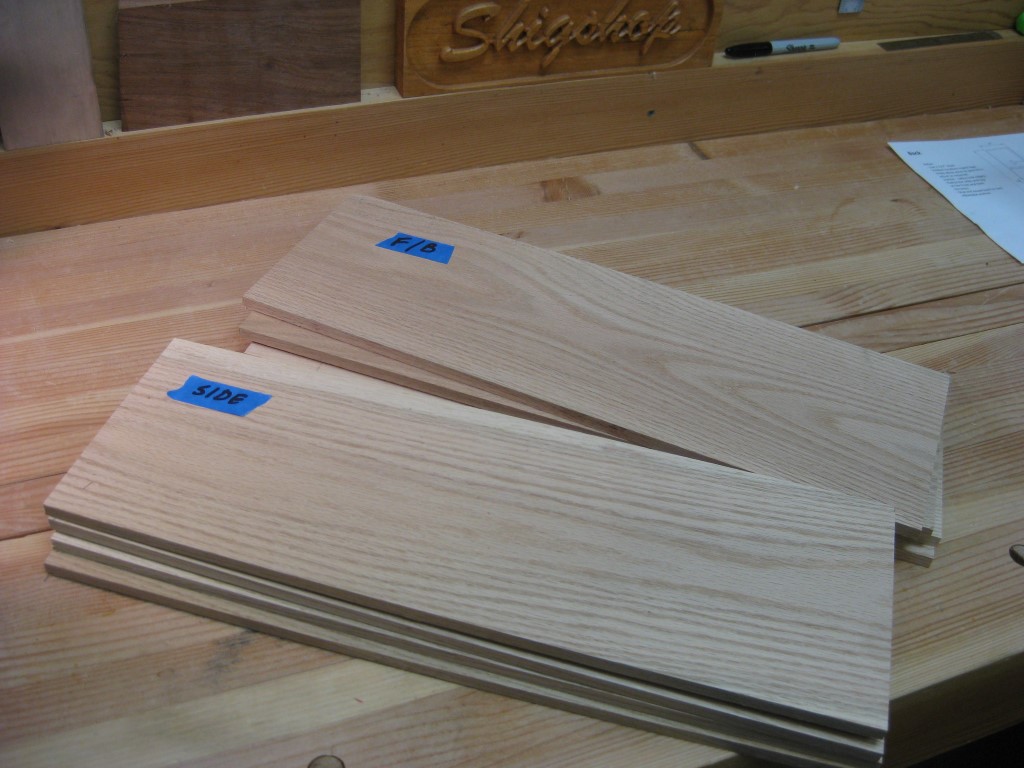
Some nice oak boards were selected from my stash - just need to figure out a way to coax a nice stereo rack from them.
I love getting back into Shigshop mode!
Some nice oak boards were selected from my stash - just need to figure out a way to coax a nice stereo rack from them.
I love getting back into Shigshop mode!
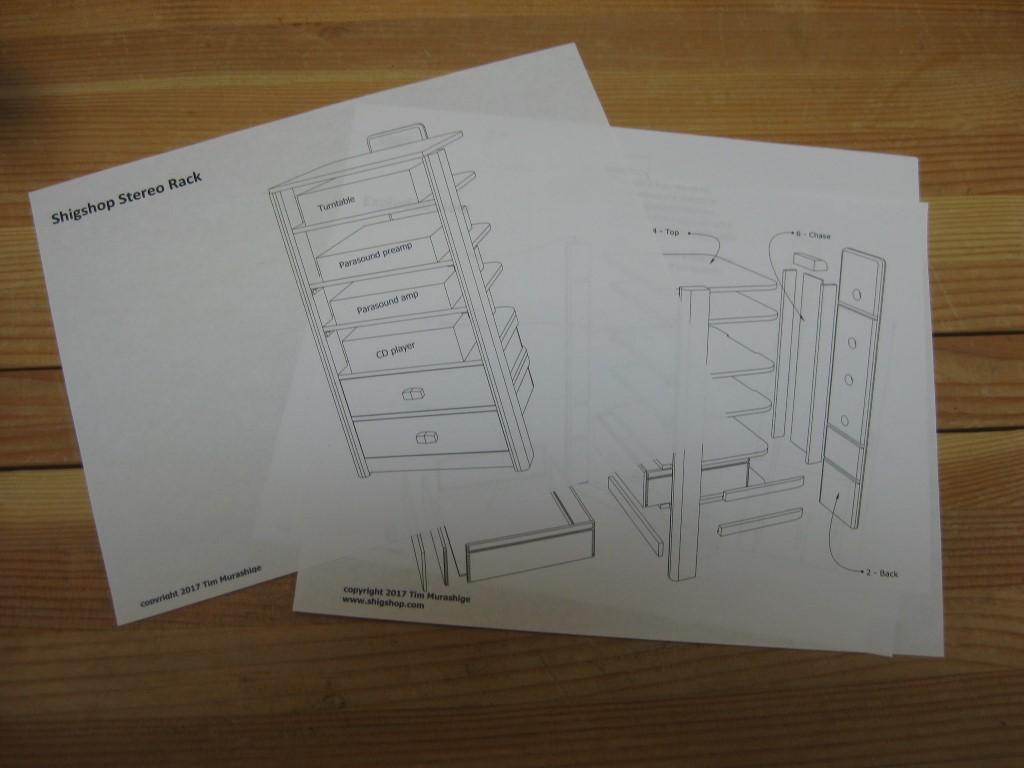
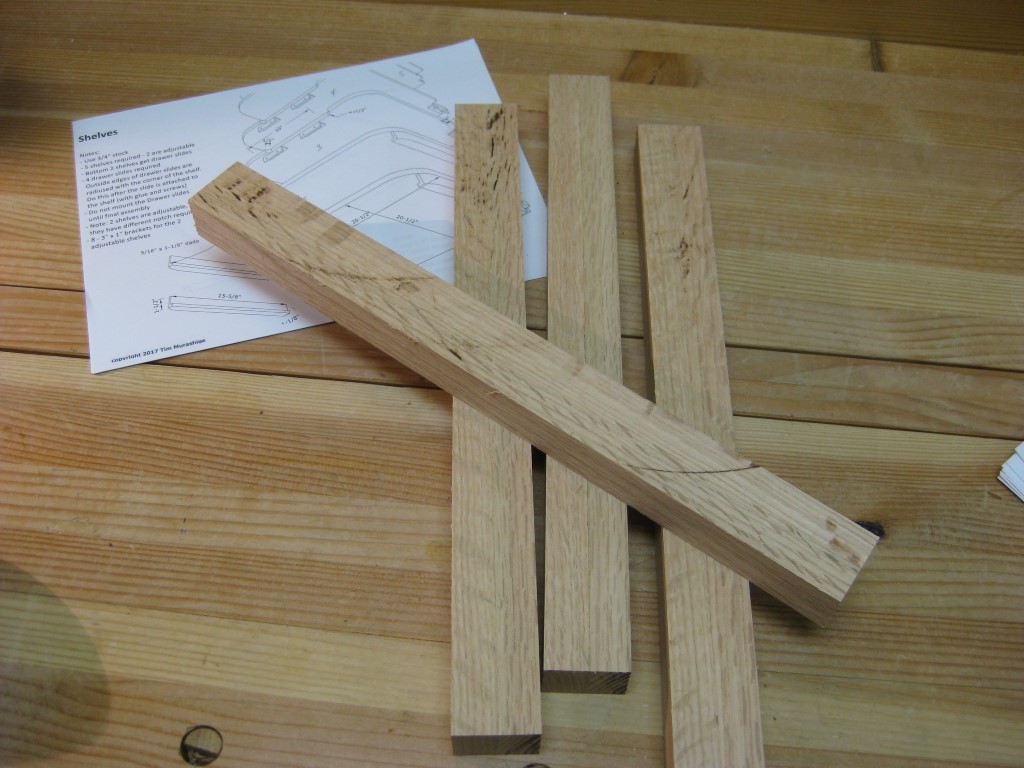
Plans printed for shop use. Much easier than trying to work with a laptop in the shop.
|
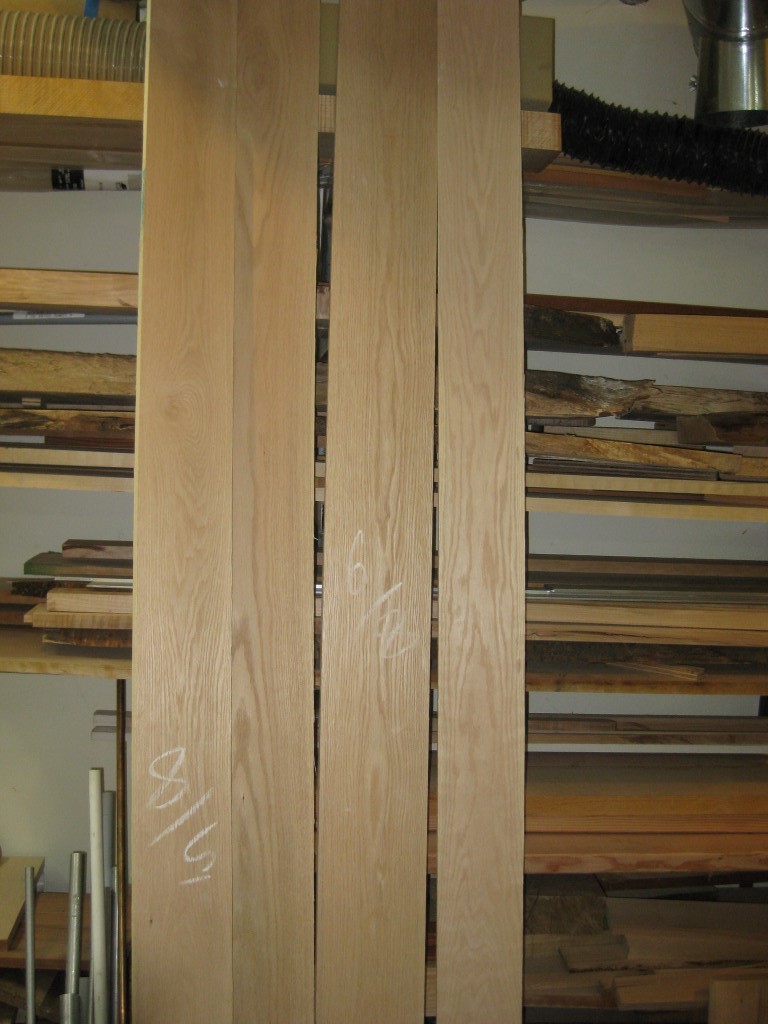
These are just some of the oak boards that will be required.
|
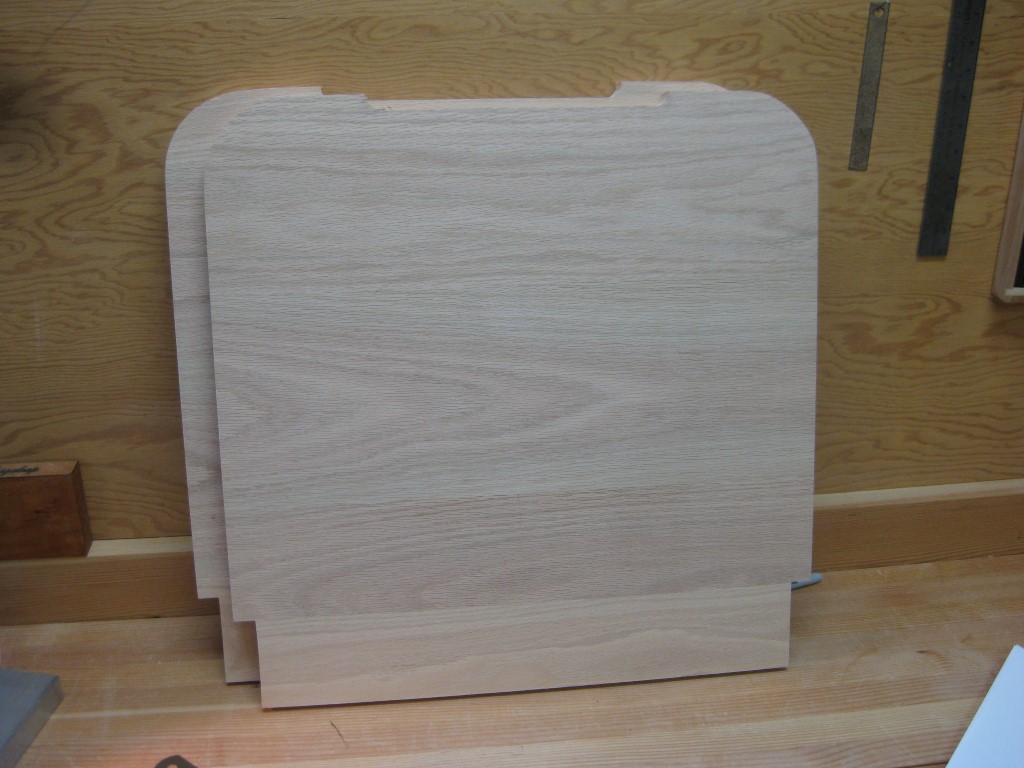
Shelf panels
|
|
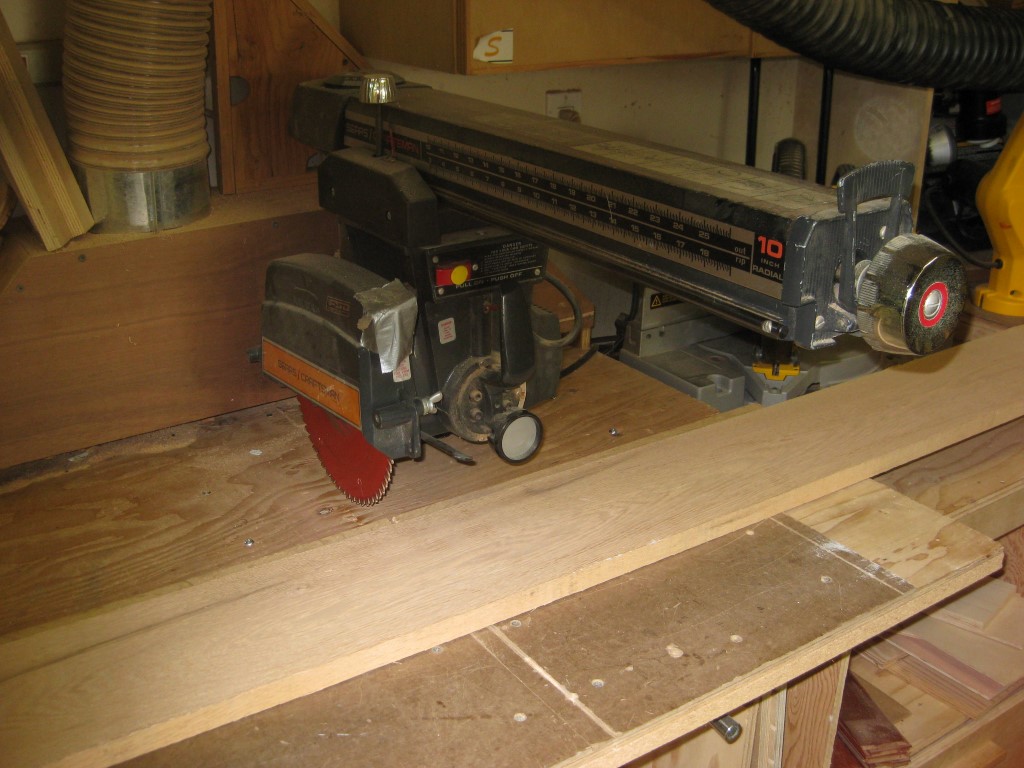
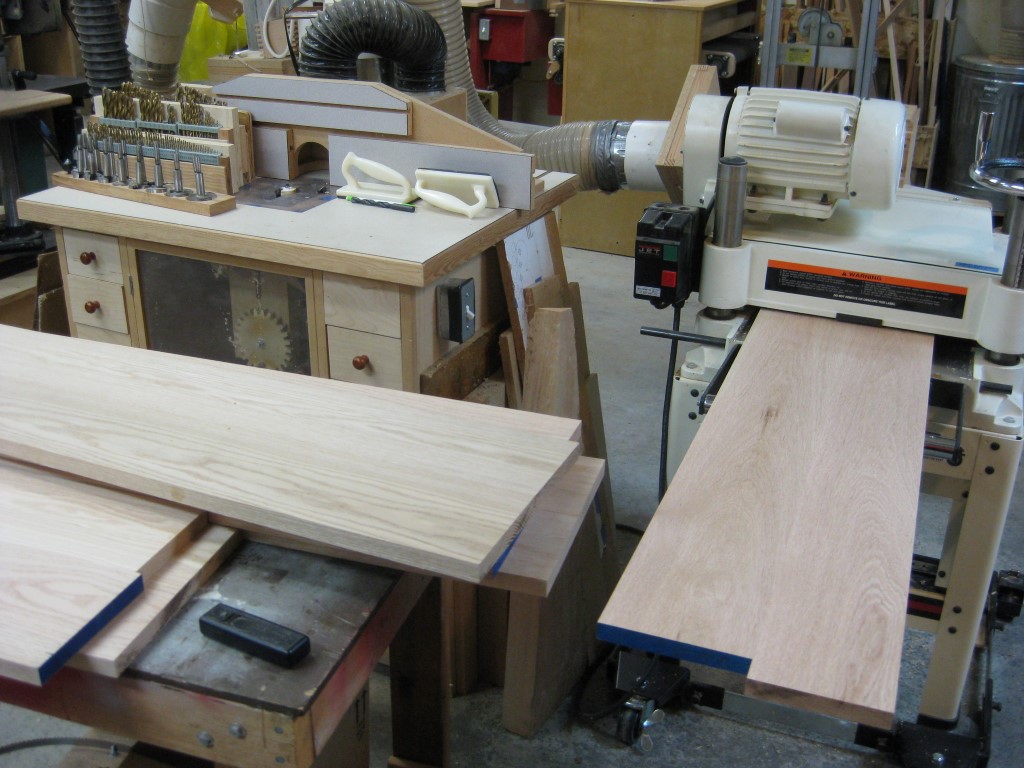
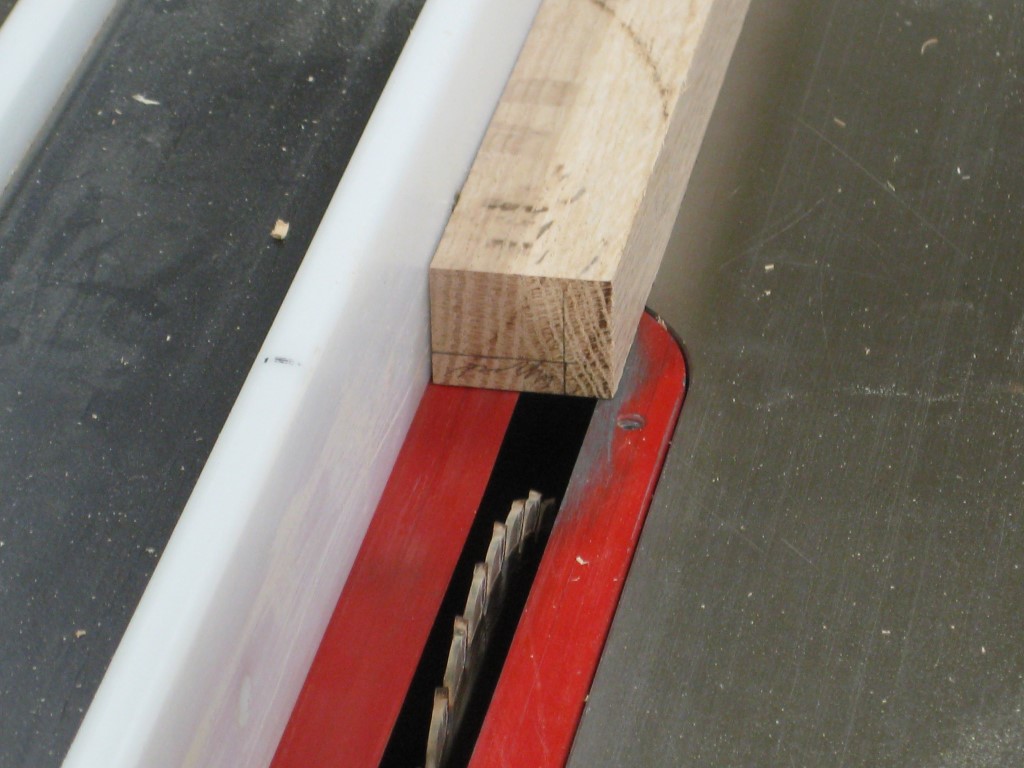
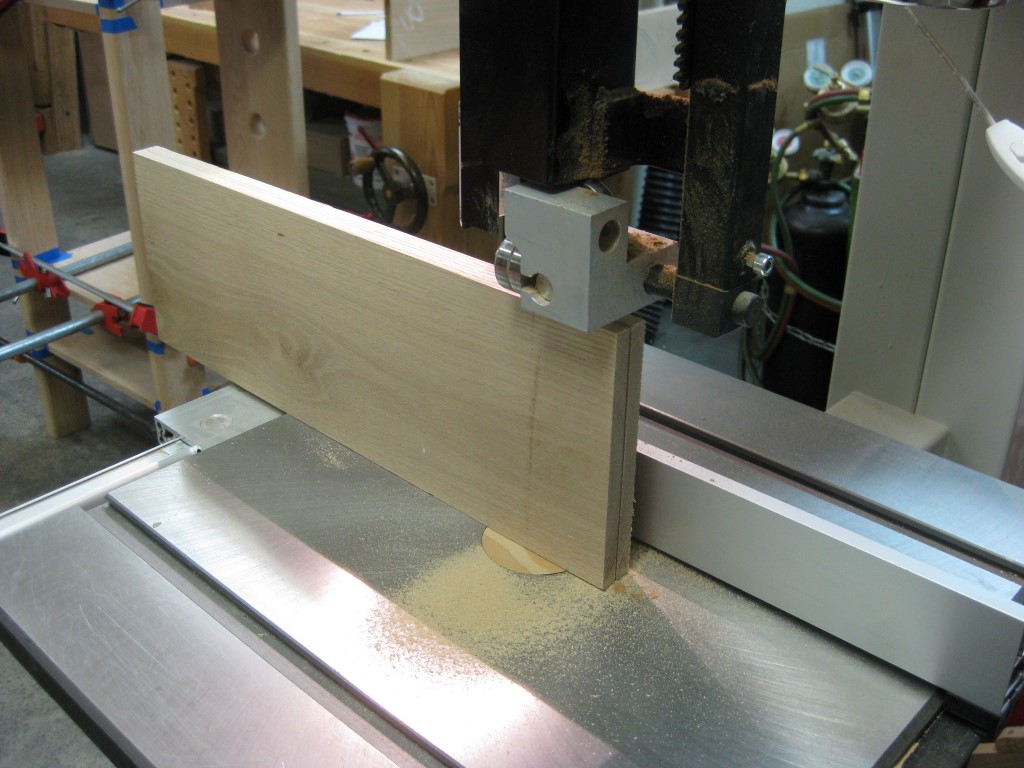
Starting with the shelves - sawing, jointing, and planing make the first piles of sawdust. Board widths weren't important at this stage, so ripping on the tablesaw was not required.
|
|
|
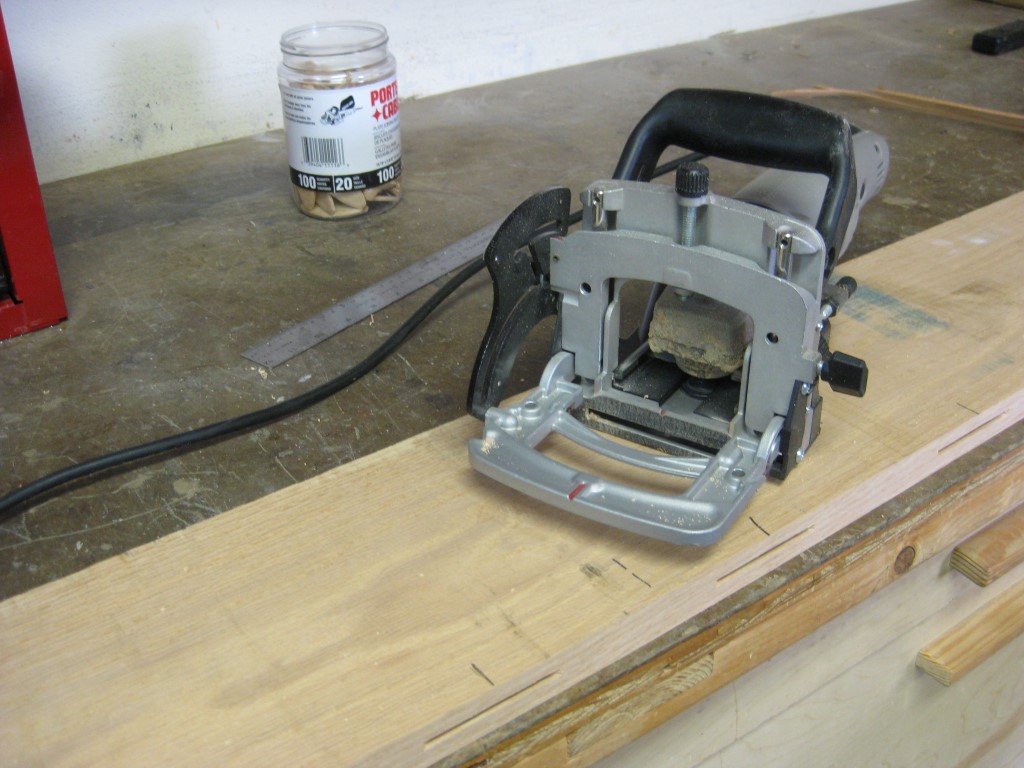
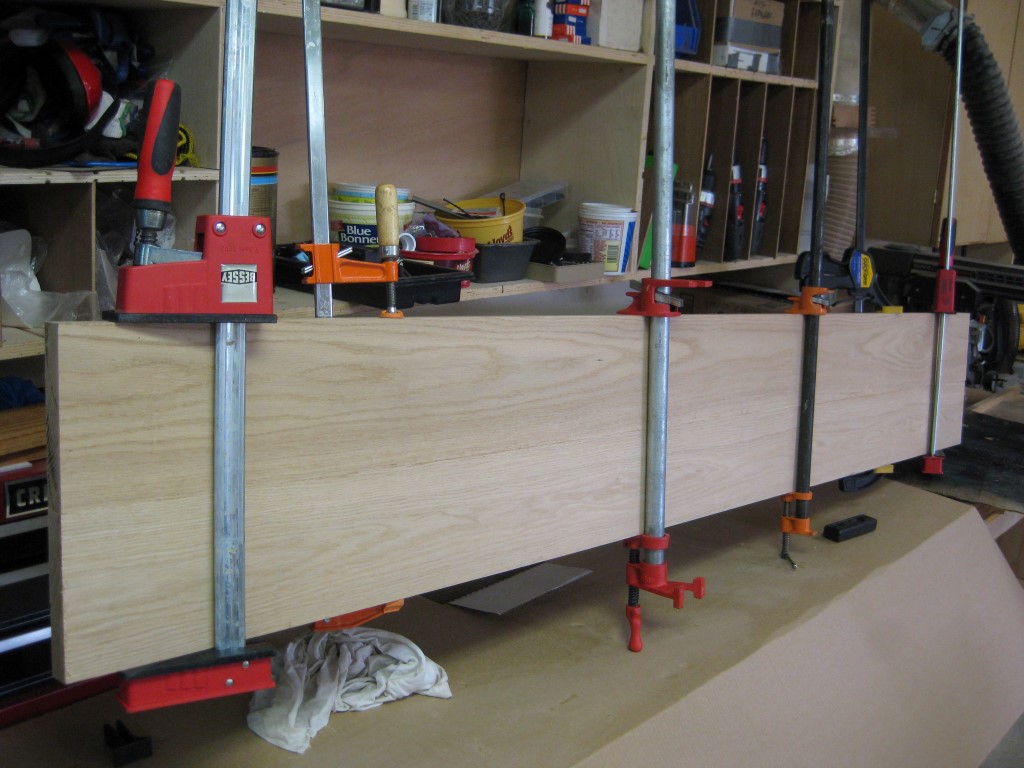
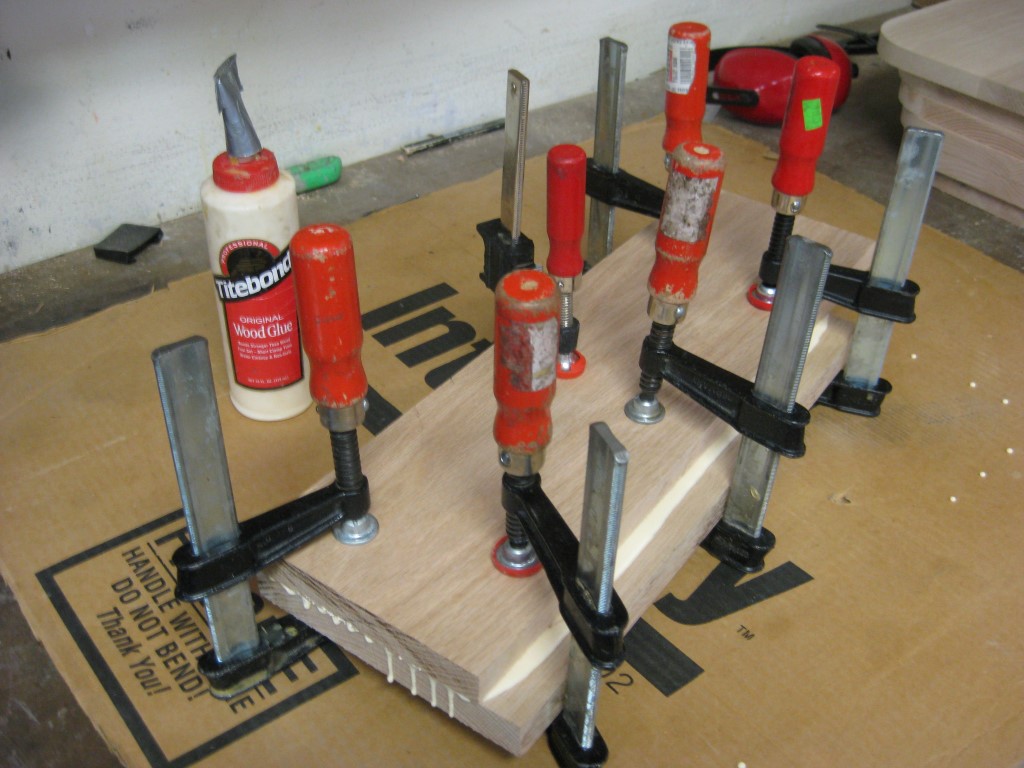
After the widths and edges are made right, a bisquit jointer is used to begin building up the panels. The first glue up makes boards about 1/2 of the final width for the shelves.
|
Ready for glue up!
|
|
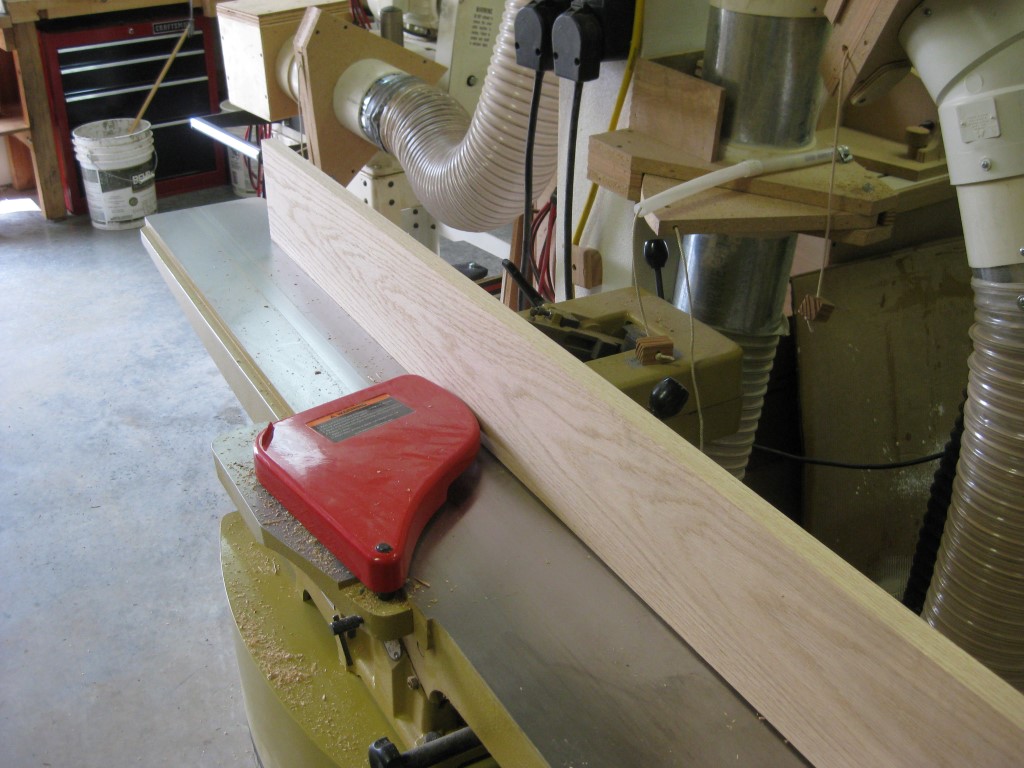
The boards are still narrow enough for my thickness planer, so that is next.
Then, I set up a stop on the radial arm saw and cut all of the panels to their final width. Next, panels wide enough for the shelves are glued up (with biscuits). It was important to locate the biscuits so that I would not cut through one and expose it on the finished shelves - a bit of careful planning and measuring required. Even then, I ended up ripping thru some and had to cut that shelf down a bit and glue on a new edge. Honestly, I didn't think about the ripping - crosscutting thru a biscuit was my concern. Live and learn... |
In all, 6 panels are required.
Shelf panel details
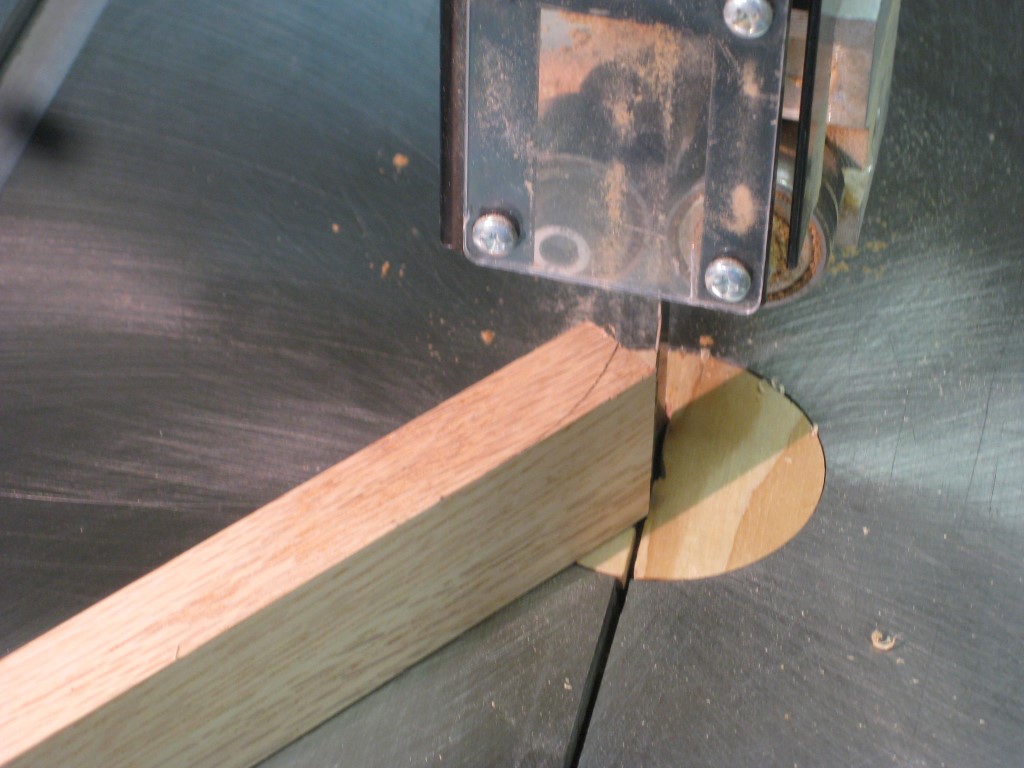
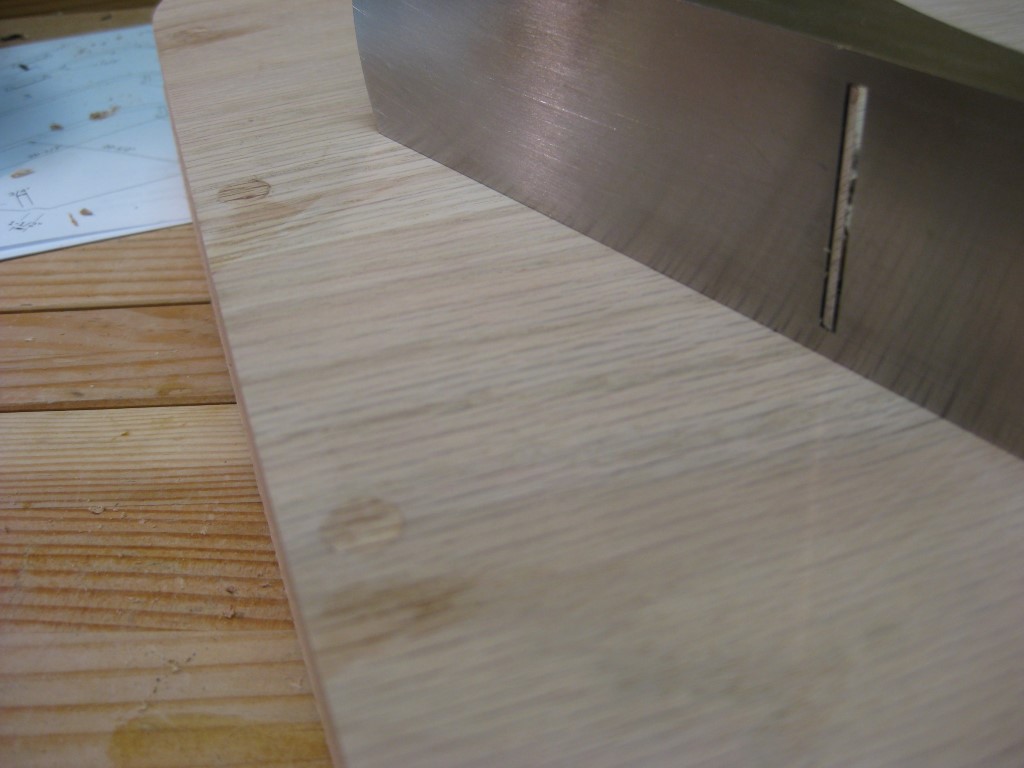
Cutting radius for the adjustable shelf notch.

The edge sander quickly cleaned up the rounded corners after the bandsaw.
The 2 adjustable shelves.
|
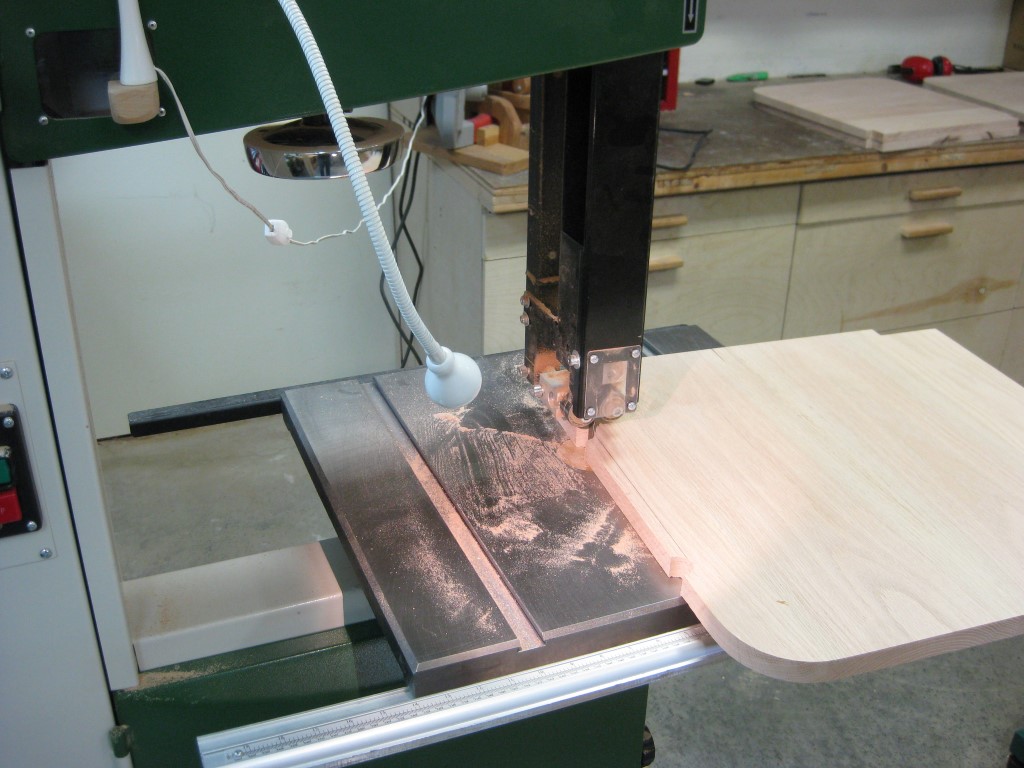
The bandsaw did most of the notch and rounded corner work.
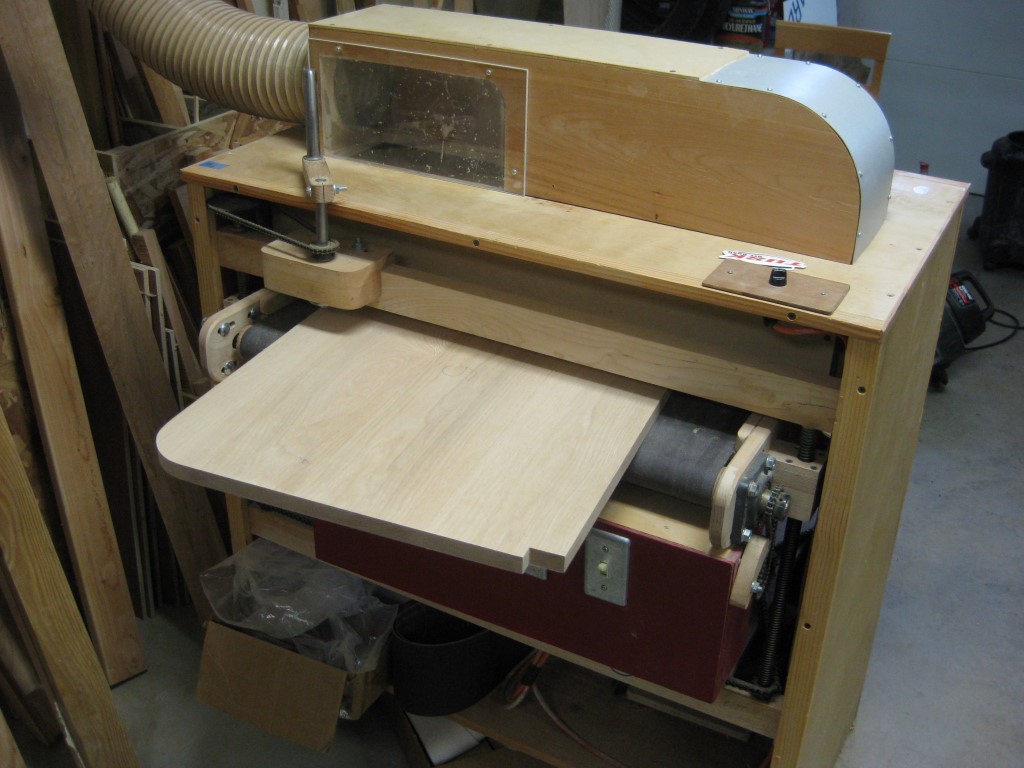
After the notches and corners were complete, my thickness sander finished the main panel work.
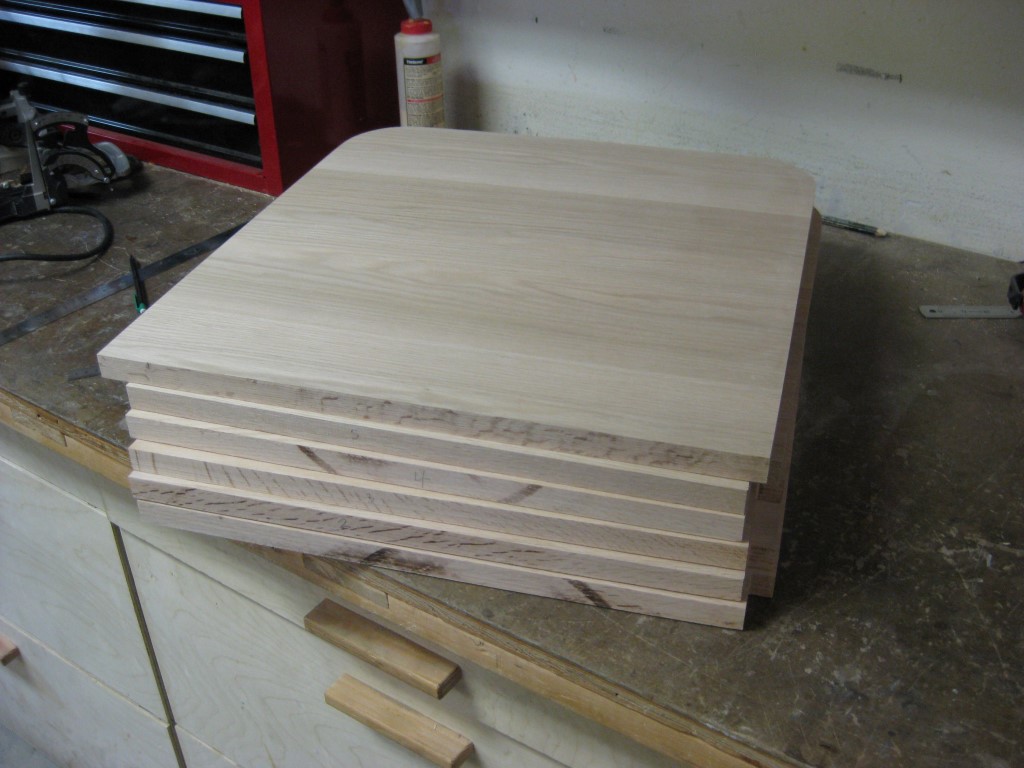
5 shelves and 1 top.
|
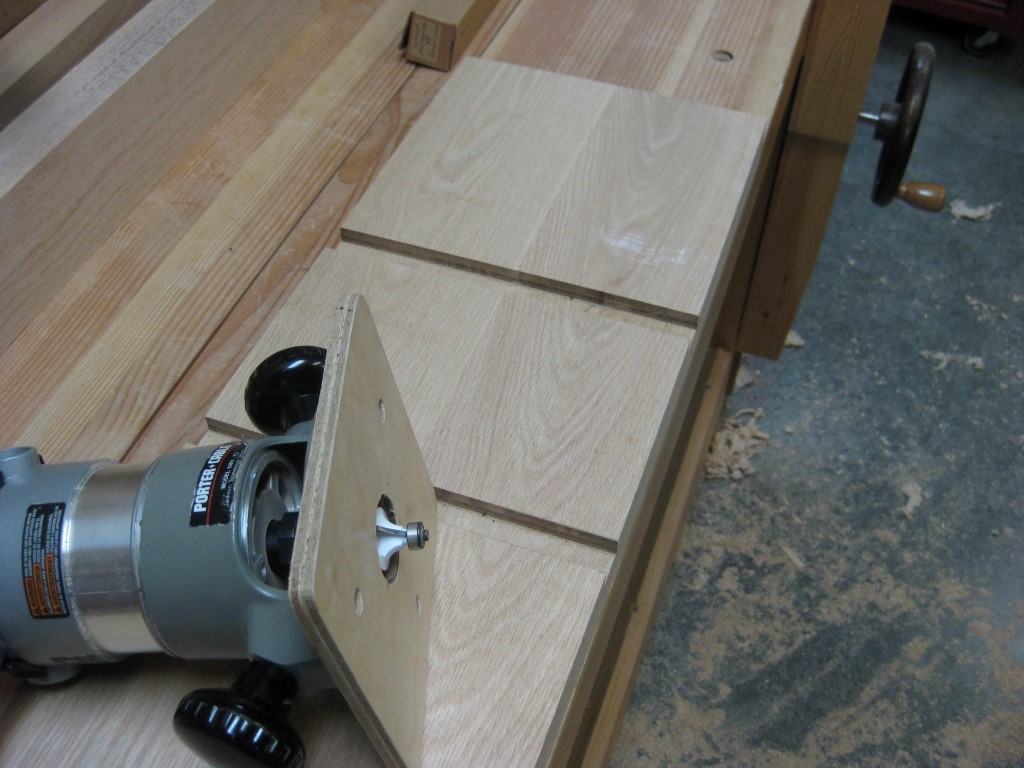
Various notches and rounded corners are next. Most of these were done on the bandsaw, but the 2 adjustable shelves have a notch on the back with radiused corners. I made those corners with a forstner bit in the drill press. For that to work, a sacrificial scrap was clamped and the radius' were cut.
After a couple glue ups and some machining, 6 nice panels emerged. The Shigshop thickness sander worked very nicely to just about get the panels ready for a finish. Just a bit of work left on these babies. Two of those panels support the drawers. And for that to work, some drawer slides were required... |
Drawer slides
|
4 dimensioned drawer slides.
|
The whole rack is made with red oak, including the drawer slides. I had to do a glue up to get stock the right size. Then I ripped and cross cut it to proper dimension.
|
Cutting the drawer slide rabbets.
|
|
The slide rabbet was rut on the tablesaw. They then were cleaned up on the Shigshop bench with hand planes.
|
Rough cutting the rear outside edge of the slides. Later cleaned up on the edge sander.
|
Drawer slides are glues and screwed on to the drawer panels.
|
The rear outside edge of the slides follow the curve on the back corners of the shelves. I cut part of that off on the bandsaw. After these are attached to the shelves, they go over to the edge sander to clean 'em up.
|
The slides were glued and screwed onto the shelves.
Plugs are made to cover the screws.
|
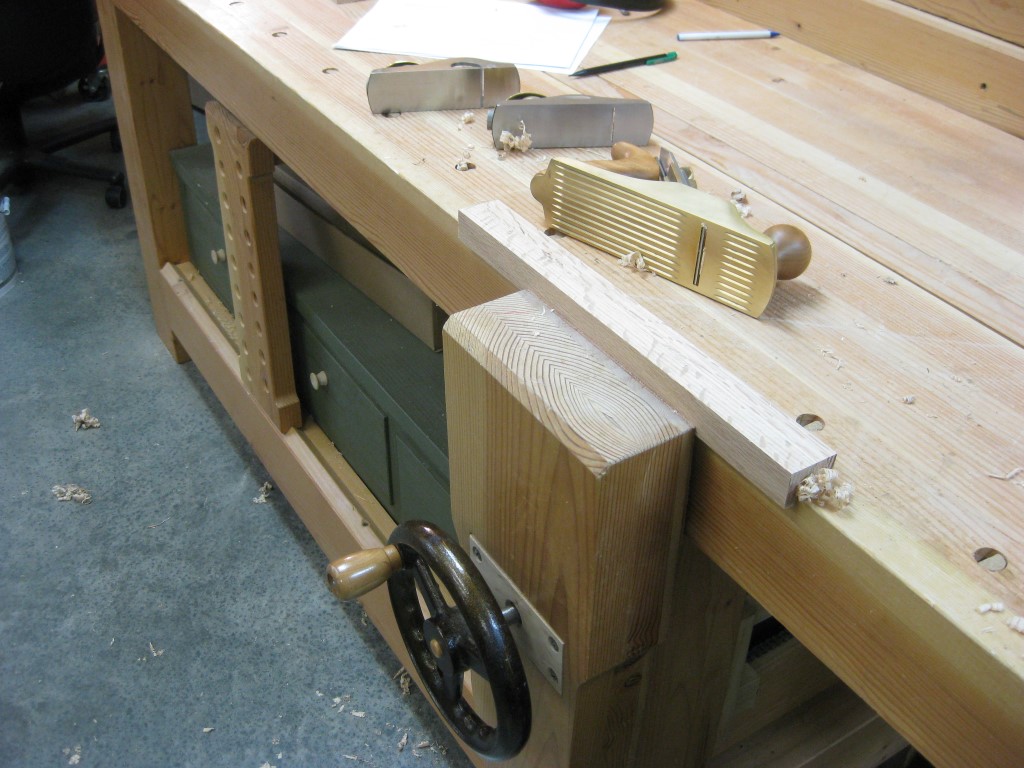
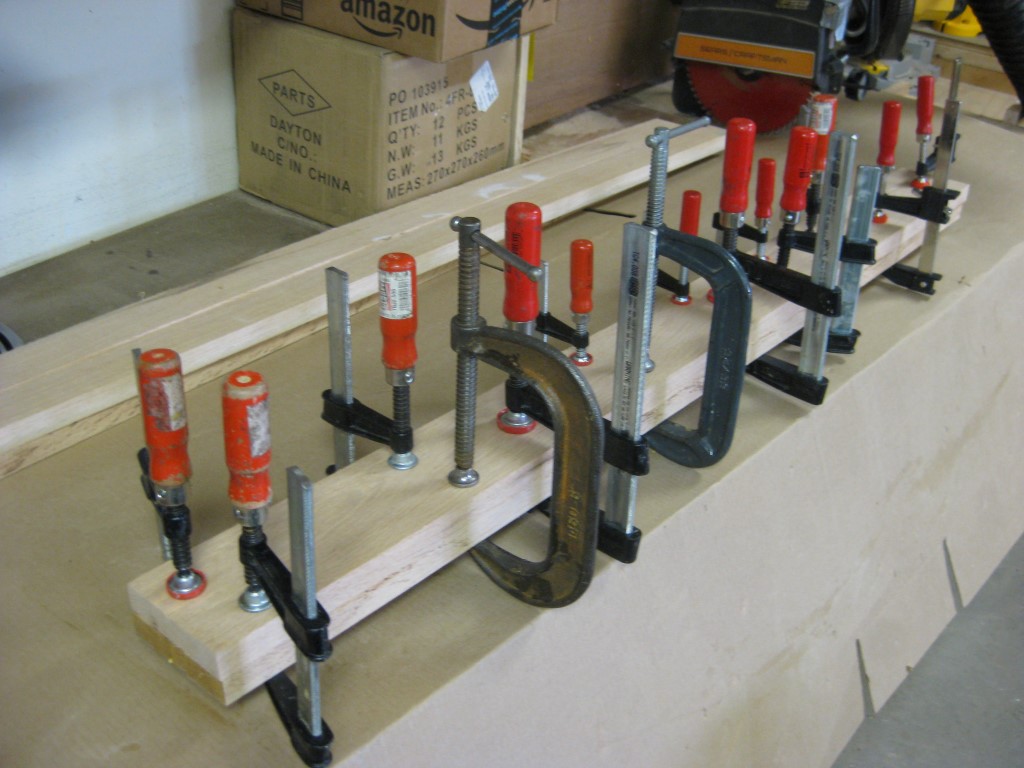
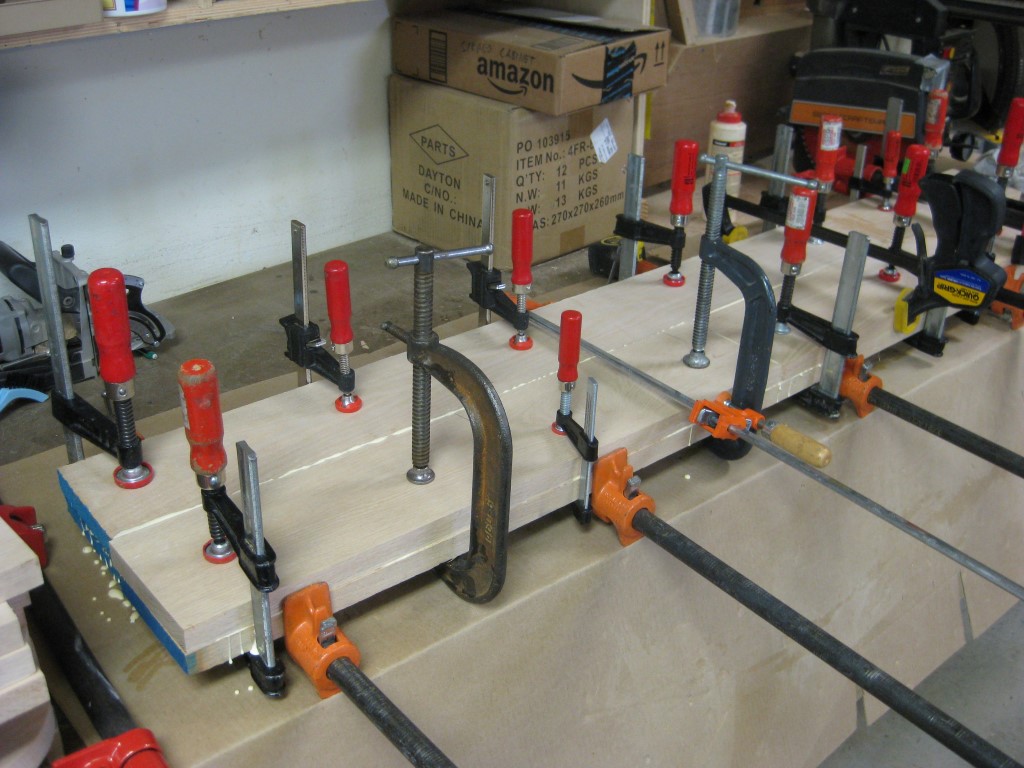
Tools to get this done right.
|
Trying to keep the plug grain similar to the base grain. Here, they are all cleaned up and looking nice.
|
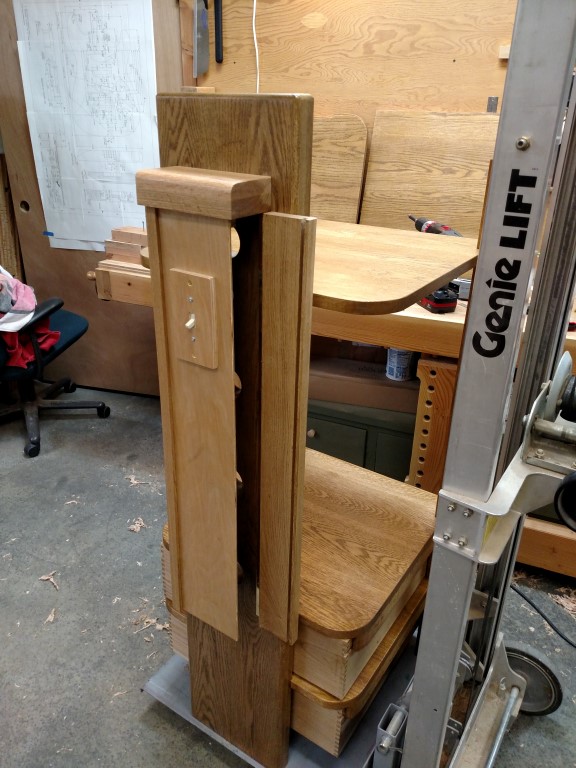
Legs and Back
2 leg glue ups were required.
|
I patched a few pieces of wood together for the back.
|
Next, I tackled the legs and back. Since all of my stock was 4/4 and these pieces are thicker than that, I needed to do some glue ups
|
Machining mortises and edges was next. I wanted to do them a couple different ways (for fun more than anything else)...

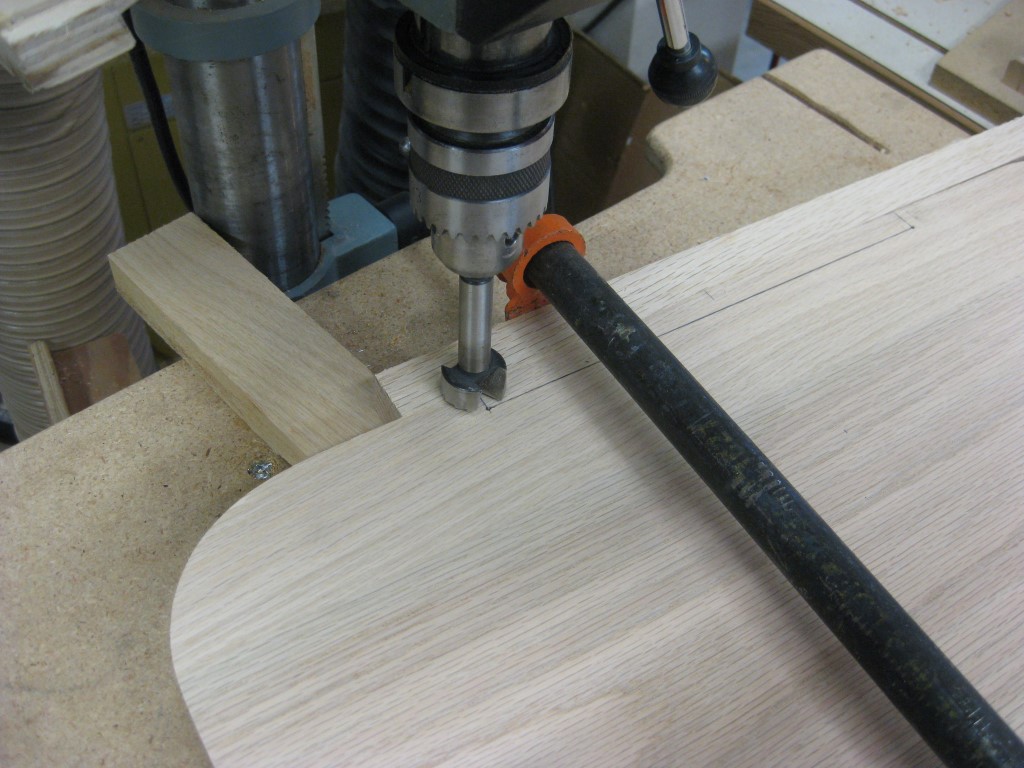
Leg mortises started.
|
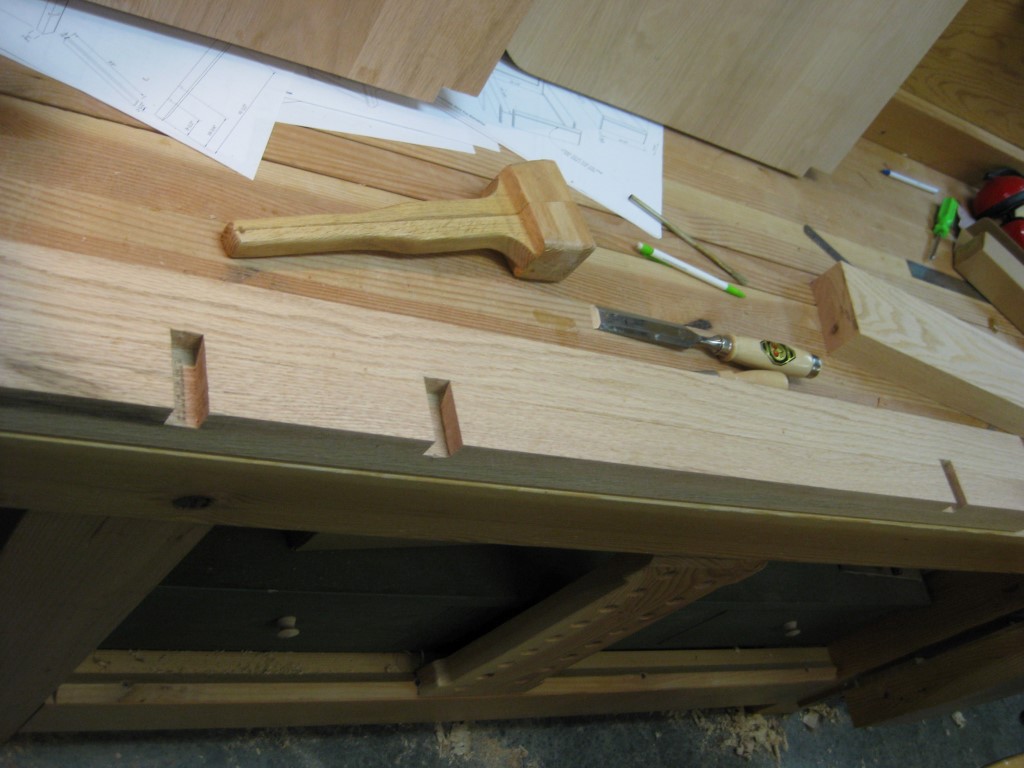
Chisels and a mallet finished the leg mortises.
|
The leg mortises were started on the drill press with a forstner bit, then finished on the Shigshop bench with hand chisels and a mallet.
|
Routing the dado on the back - proved too difficult for this router - my old bit didn't help.
|
the dadoes were finished with a bigger router, then I setup for the edge round overs.
|
Rounding over the back edges on the Shigshop bench.
|
For the back mortises, which is really just a dado, a guide and router setup was used. With the guide just being a straight board clamped down. These were started with a small router, but it was a little too wimpy for the oak, so they were finished with a standard size router. I kept going with that one to do some round overs.
|
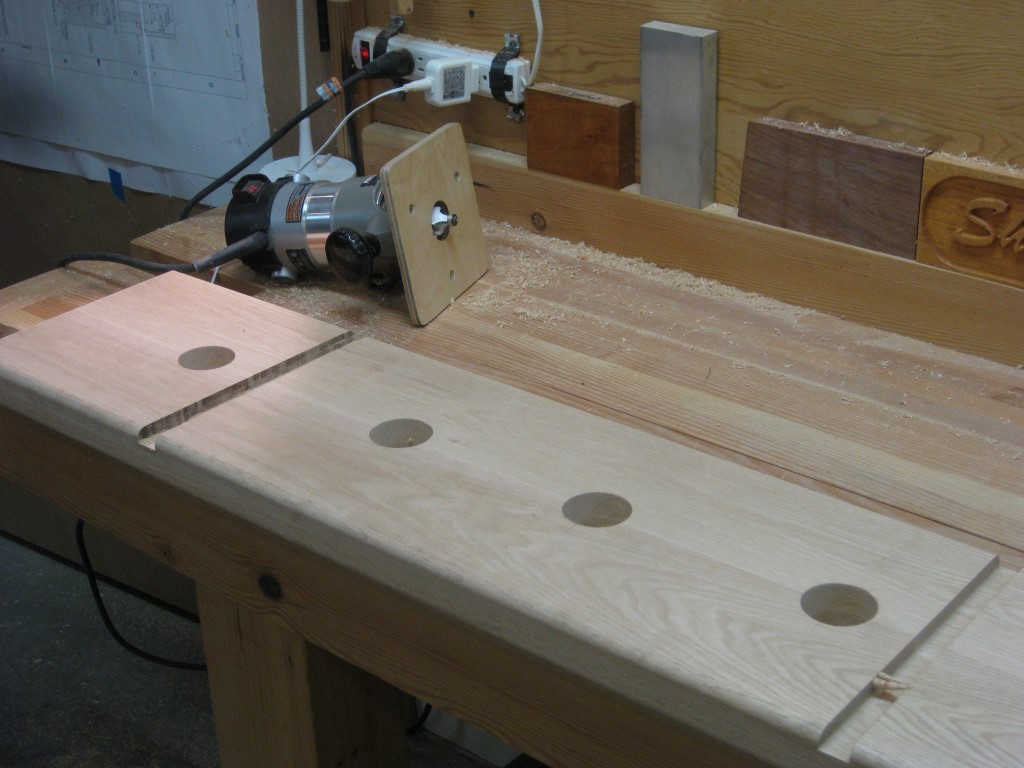
Component cable holes in the back.
|
Round overs turned out sweet. I love working with oak!
|
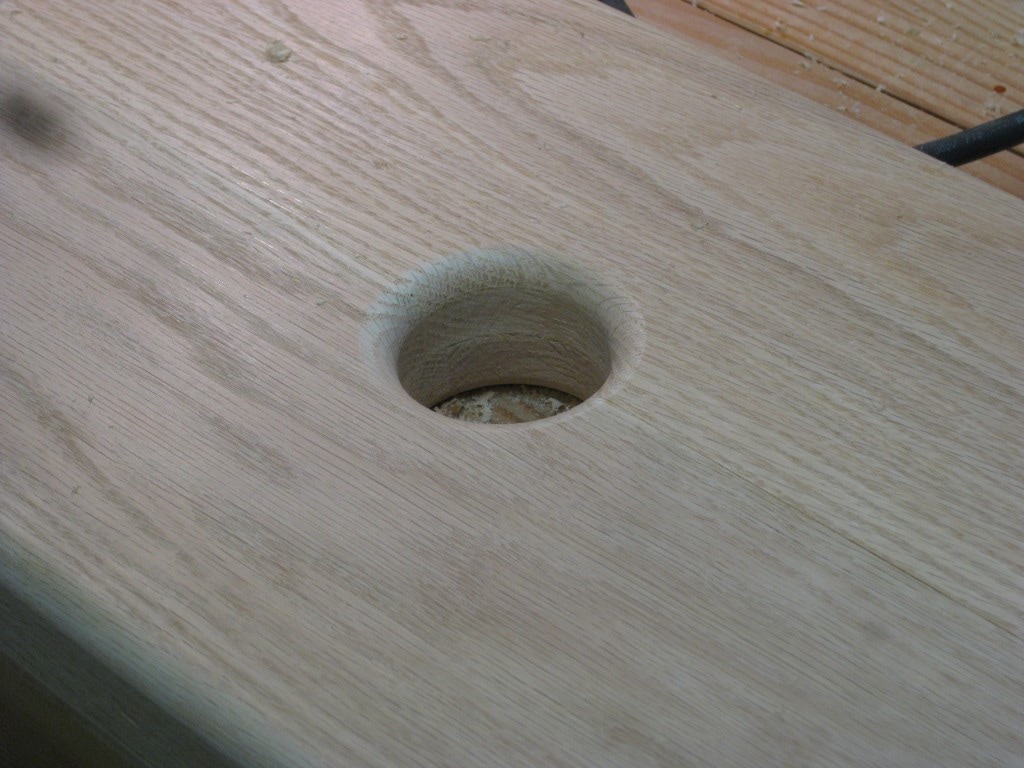
Holes in the back are for component cables to pass thru. These were drilled with a forstner bit on the drill press and rounded over with the same router and bit used on the edges.
|
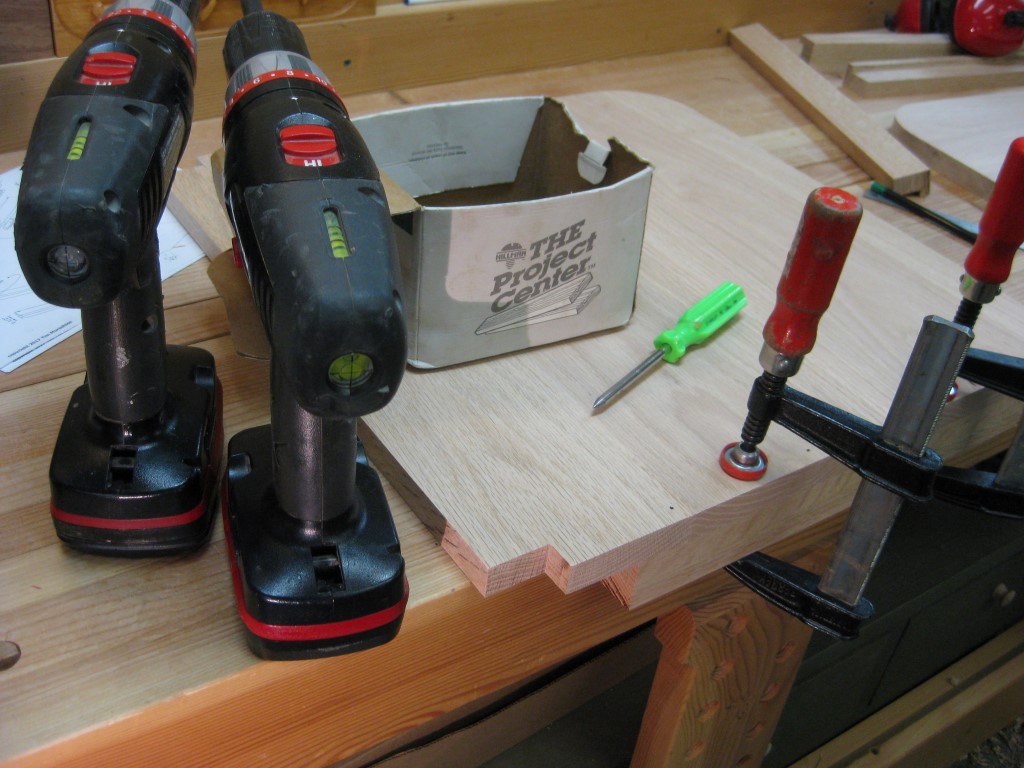
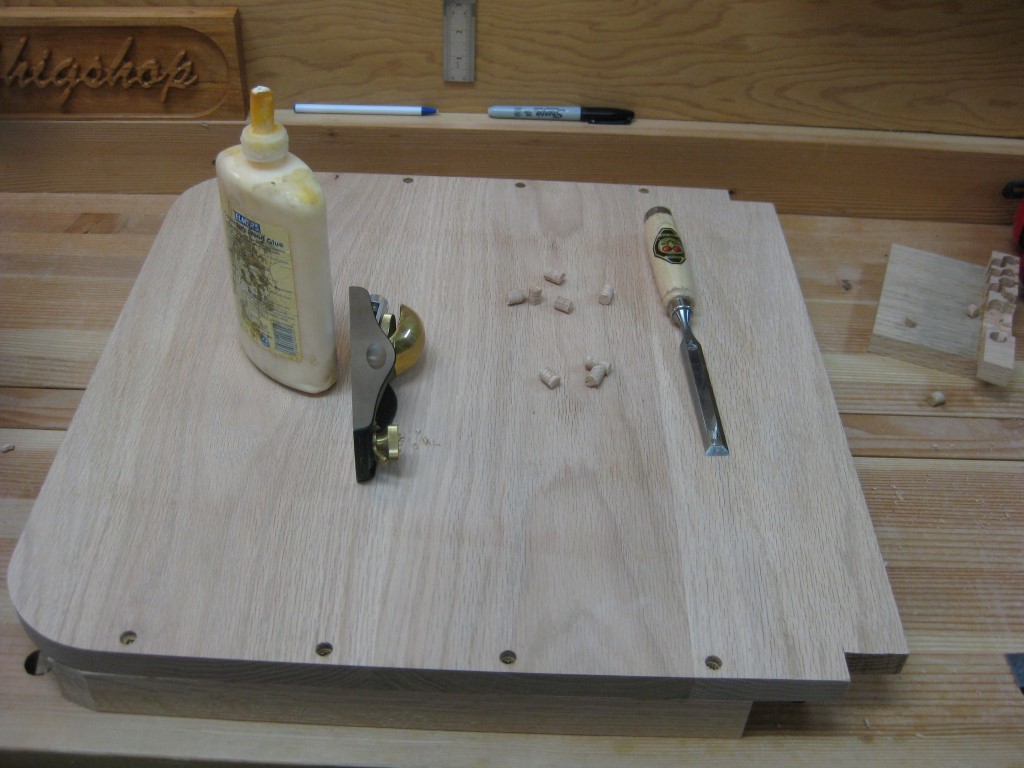
A little cleanup before glueup.
Puttin' it together
|
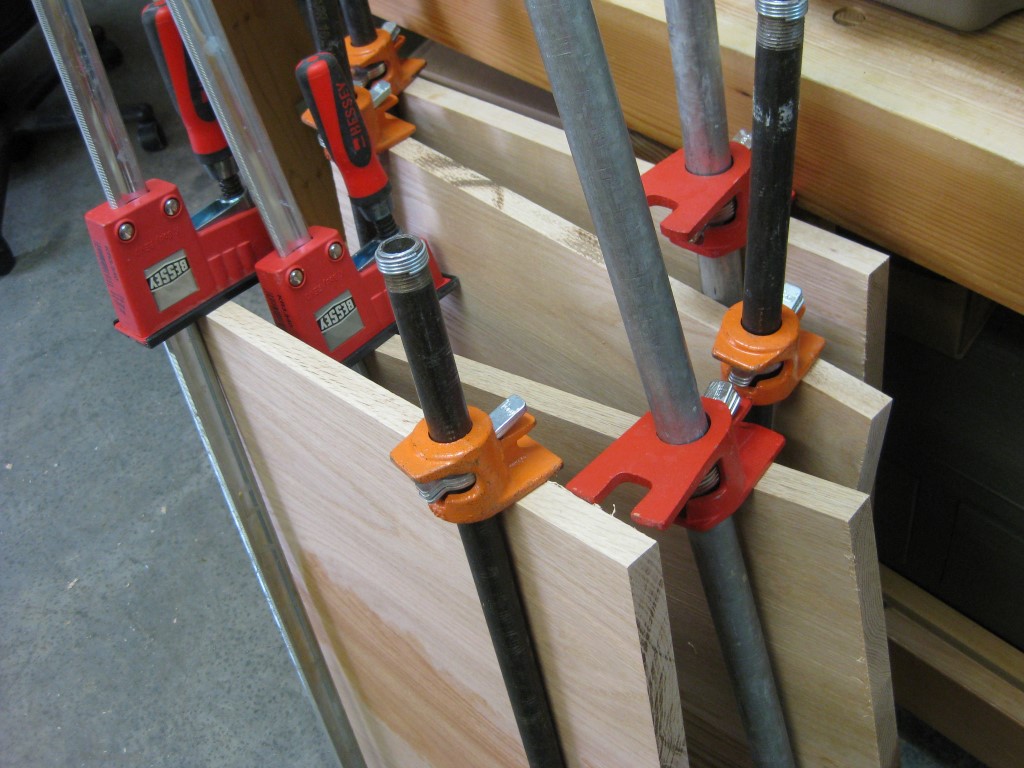
I decided to use epoxy in the main joints. To ease cleanup, I dry fit it all together with clamps and masked around each joint.
In case you're wondering, those rabbets on the top of the legs are for the top and were cut on the bandsaw. |
At this stage, everything was masked and my epoxy mixed. The plastic bag has wood flour, which would be used to thicken the epoxy to fill any gaps (only possible with epoxy - IMHO). :)
|
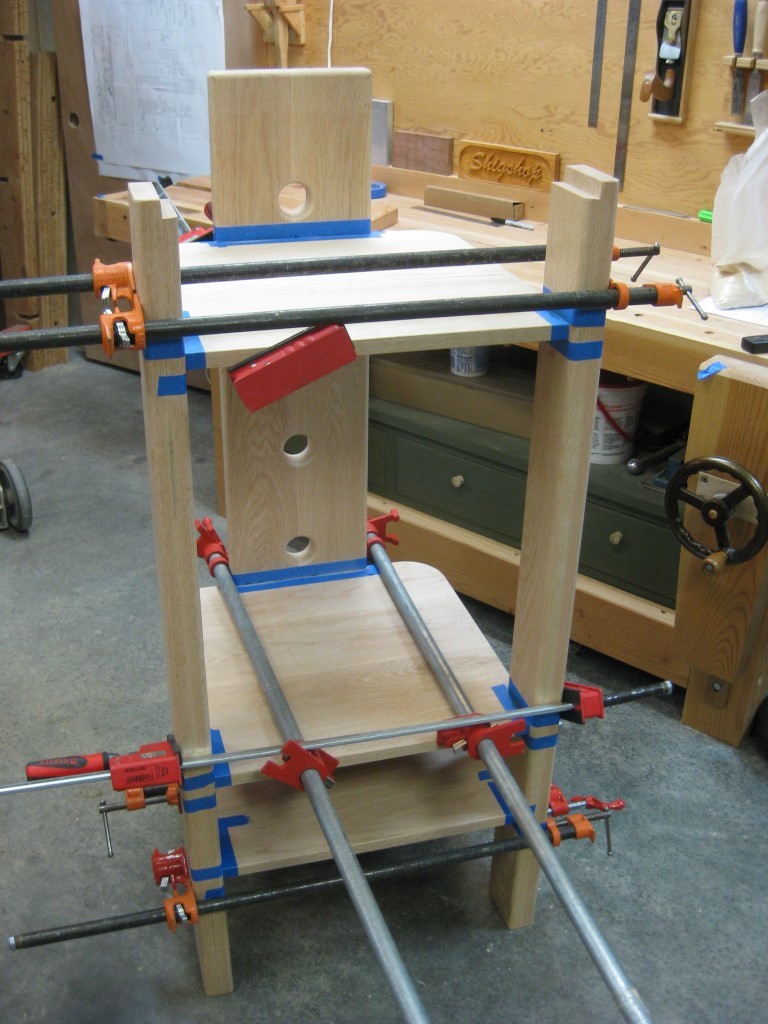
All epoxied and clamped up. A square confirmed it was, well, square.
|
Drawers
|
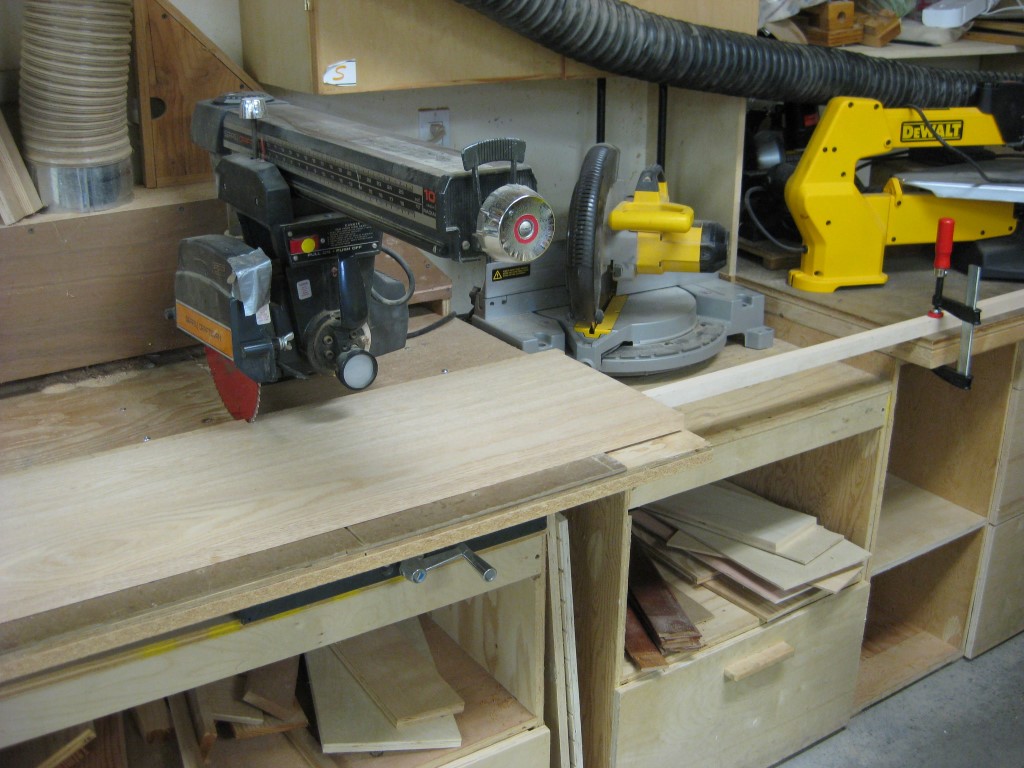
The drawers are made from the same 4/4 oak as the rest of the rack. Pieces were dimensioned with the jointer, tablesaw, and radial arm saw.
Before I had decent resawing capabilities, I would plane it to the thickness required. It was a painful thing to do - seeing all that nice wood go to waste. Decent resawing equipment was in my future - an 18" bandsaw with a 1" resawing blade is a wonderful thing! So... Resawing was done on the bandsaw to economize on the stock and get it to correct thickness. A couple passes thru the power planer cleaned those pieces up. |
For 2 drawers, 4 sides, 2 fronts, and 2 backs are required.
|
Resawing drawer pieces.
|
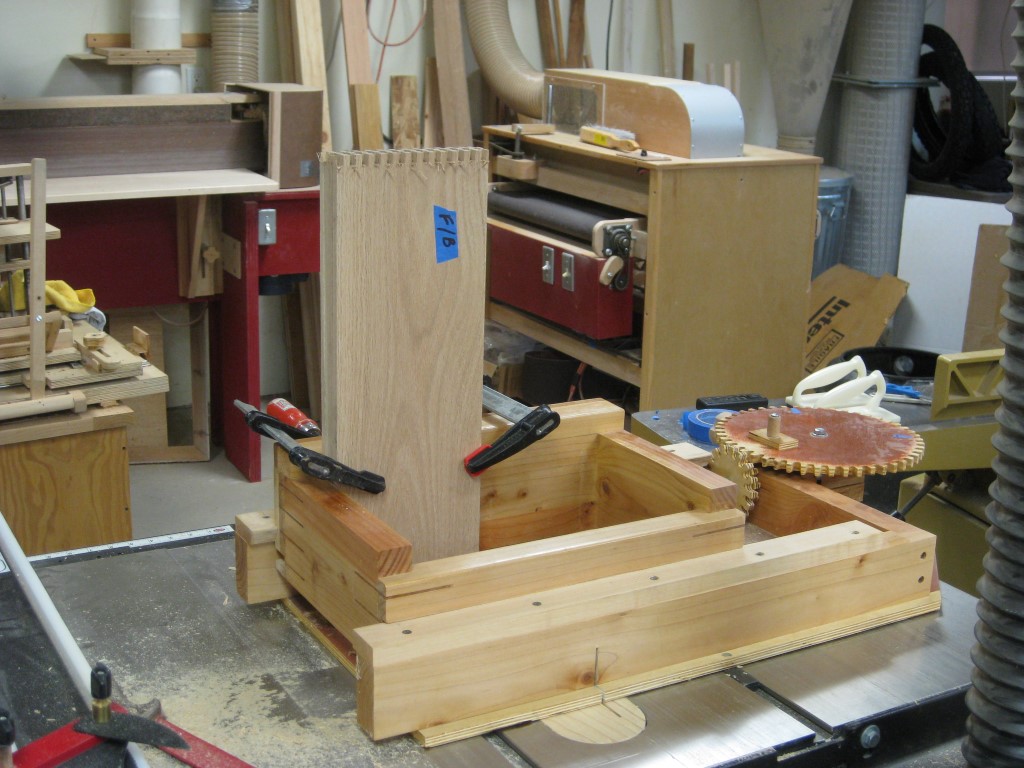
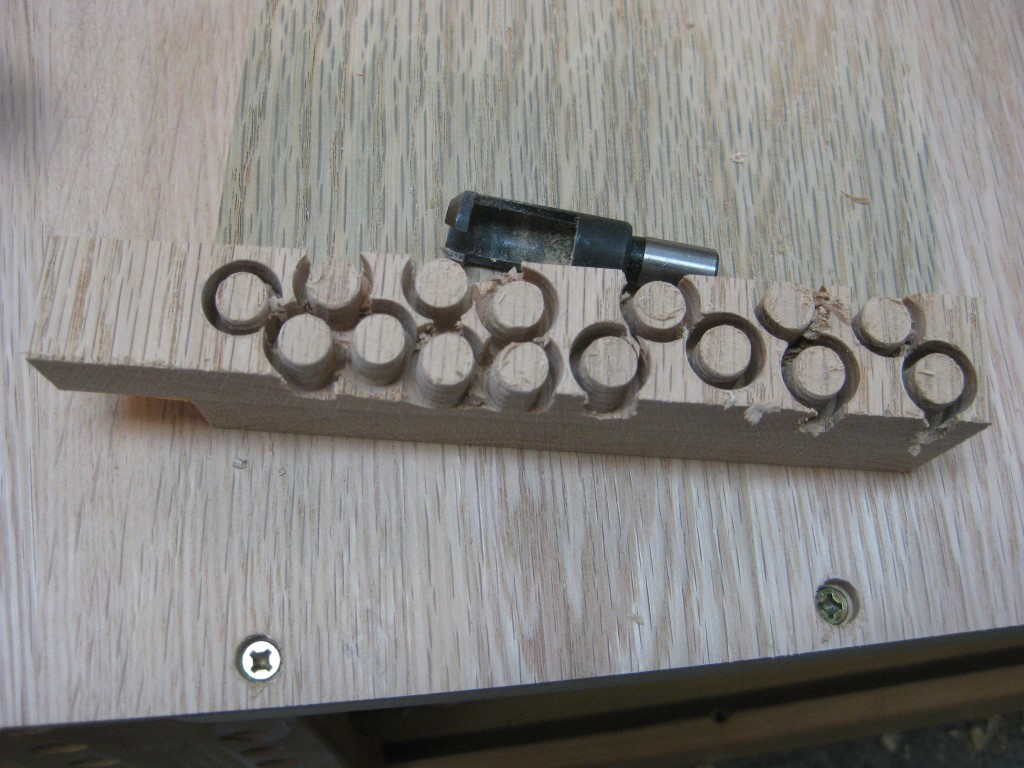
The Wandel box joint jig was used for the drawer joints.
|
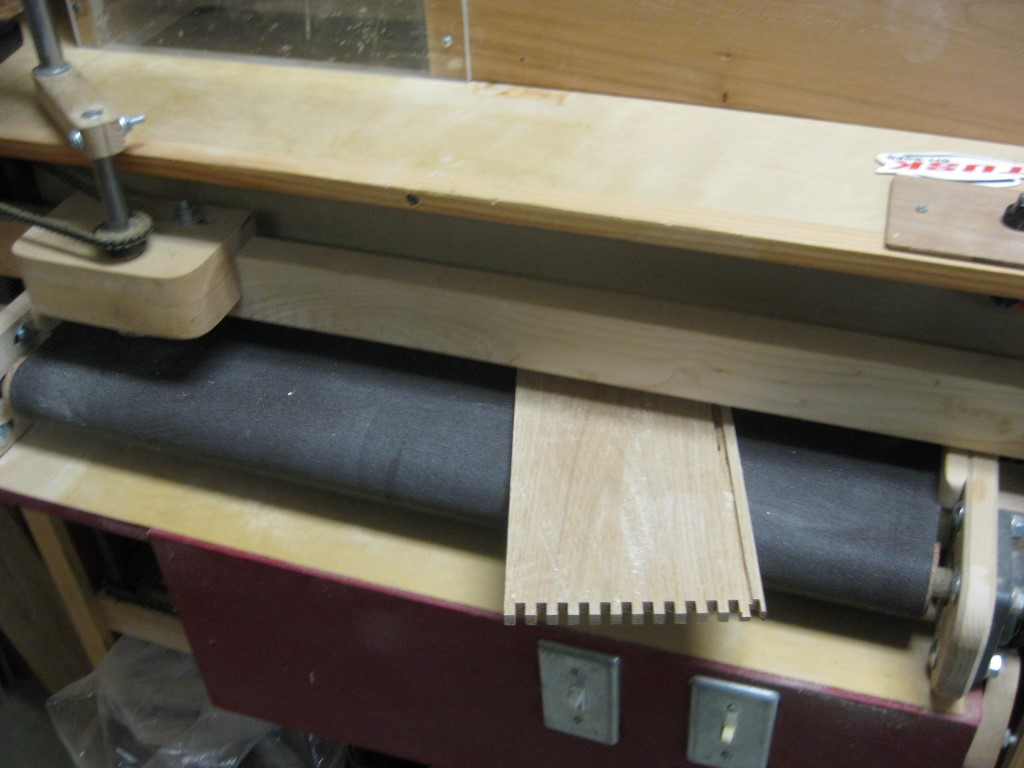
Then, the dadoes for the drawer bottoms were cut on the table saw, then sanded on the thickness sander.
|
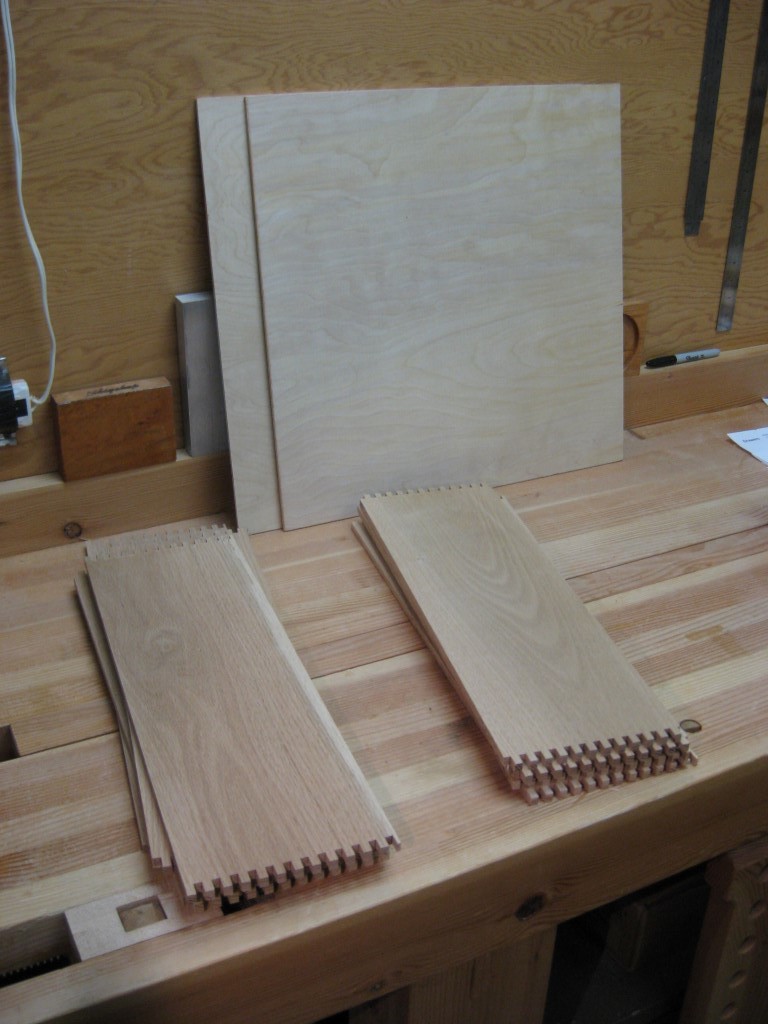
All of the main drawer pieces.
|
Matthias Wandel's box joint jig is a great tool for making perfect drawer joints. It's simple and effective (plus very fun and cheap to build).
Once all of the joints were cut, a trip to the thickness sander got the pieces ready for glue up. |
|
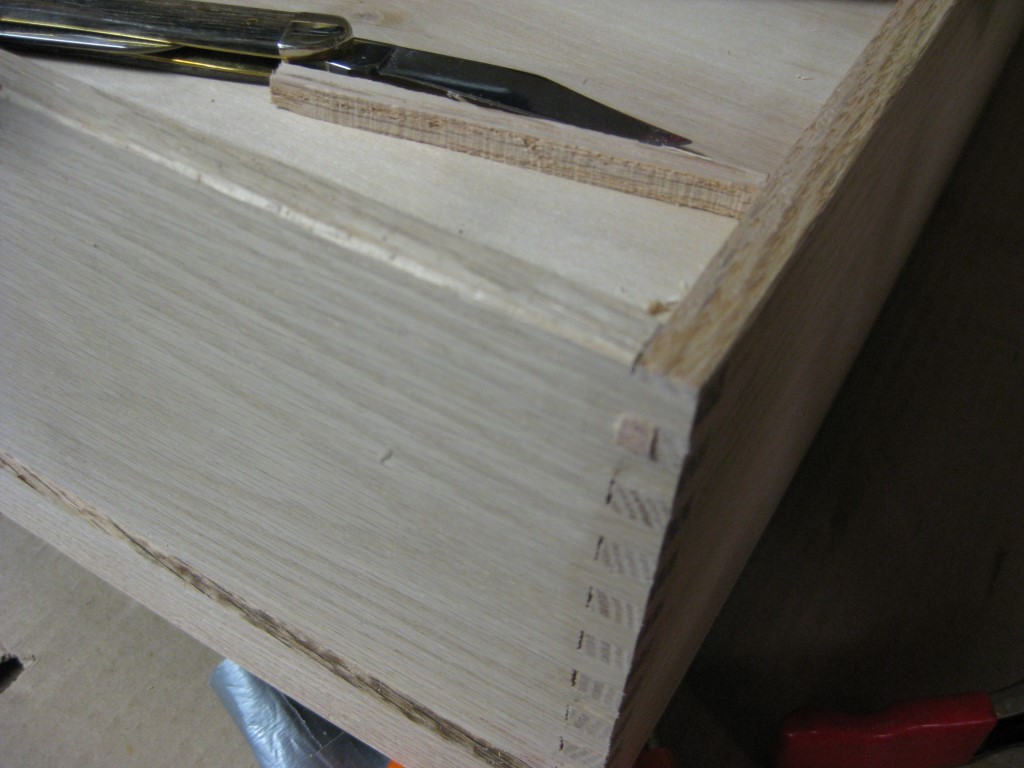
The dadoes for the bottoms leave little gaps in the joints. Since these will be exposed on this piece, I whittled down some little pieces of oak and glued them in.
Later, dadoes for the slides were cut on the table saw, some fronts were cut that were glued and clamped on before a finish was applied. The final drawers have a couple shop made pulls - those are always fun to make. I try to come up with unique designs. |
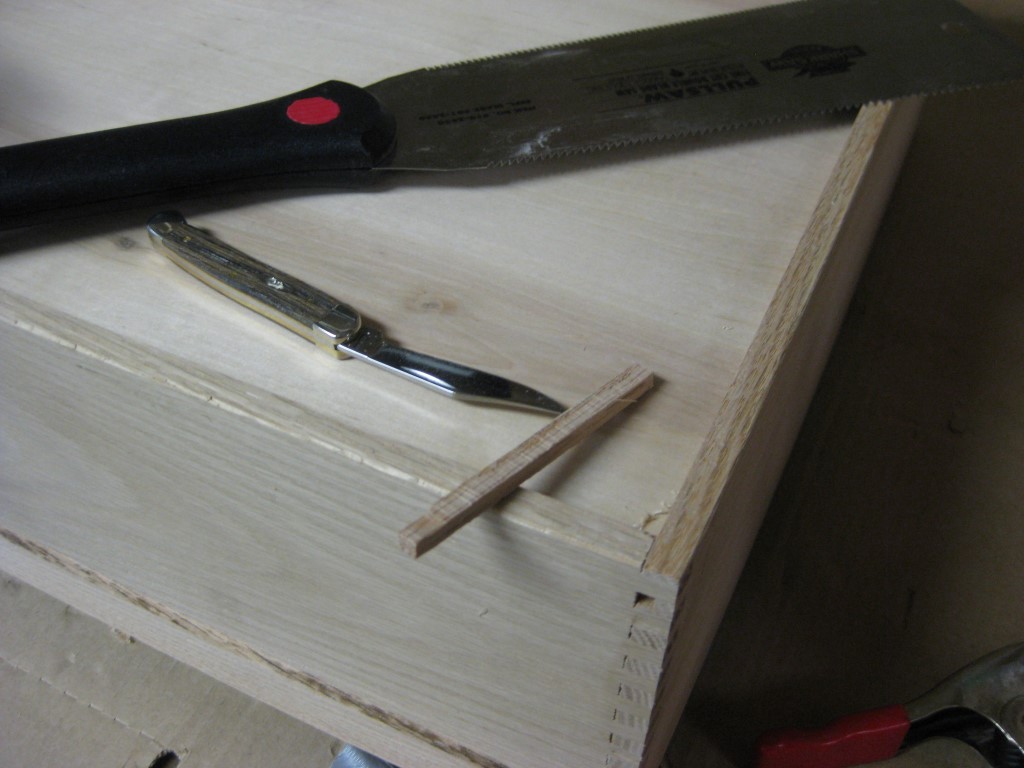
Drawer bottom dados leave little gaps that got filled.
|
|
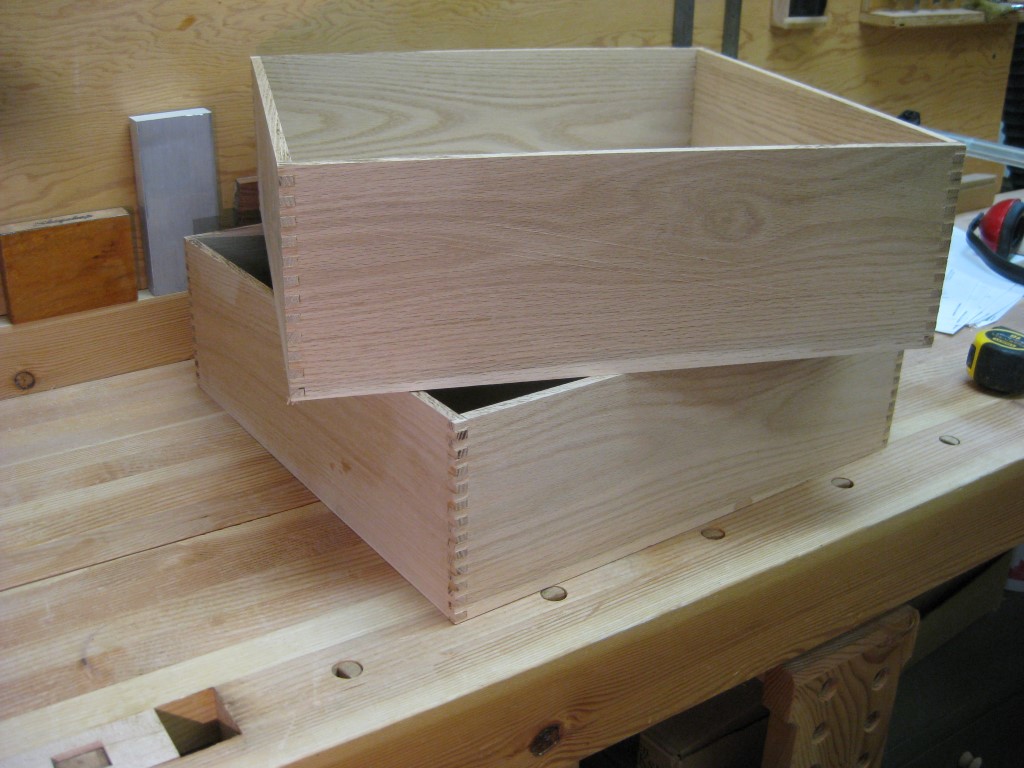
Basic drawers in a couple of hours.
It's beginning to look like the picture in the plans.
Let's finish this
I hadn't started the chase yet, but enough of the project was completed for me to get a finish on. Plus, the chase was going to get a lighter finish than the main pieces, so that could wait.
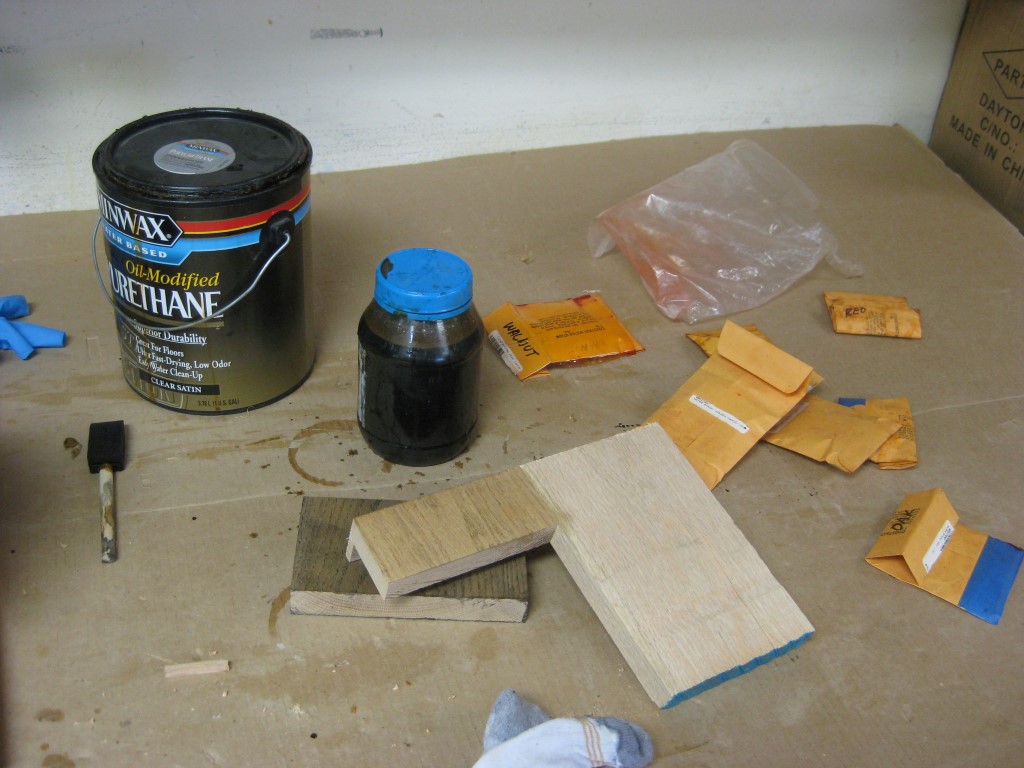
Water based poly with Analine dyes were used as the base coat.
|
|
This finish was brushed on, but it was to be a little darker than just the satin poly, so after testing a couple mixes, one was chosen and brushed on. To keep this coat even, I wiped behind the brush with a rag. Water based poly dries very fast - after 30 minutes or so, I sanded with 220 and brushed on a clear coat.
|
Being finished didn't mean it was done
Still had the chase to do. Super simple for this. I made it easily removable with cleats and screws holding it on.

|
|
Not many pics of the chase build - its 4 pieces - a top (cleated to the back), left side (cleated to the back), right side (mounted on a piano hinge), and back (ply fit into in the side dadoes).
Some electrical parts were installed - all pretty simple, but it makes for a nice clean look when all of the cables are contained in there. The drawers as well as the chase pieces just got a couple clear coats of the satin poly. |
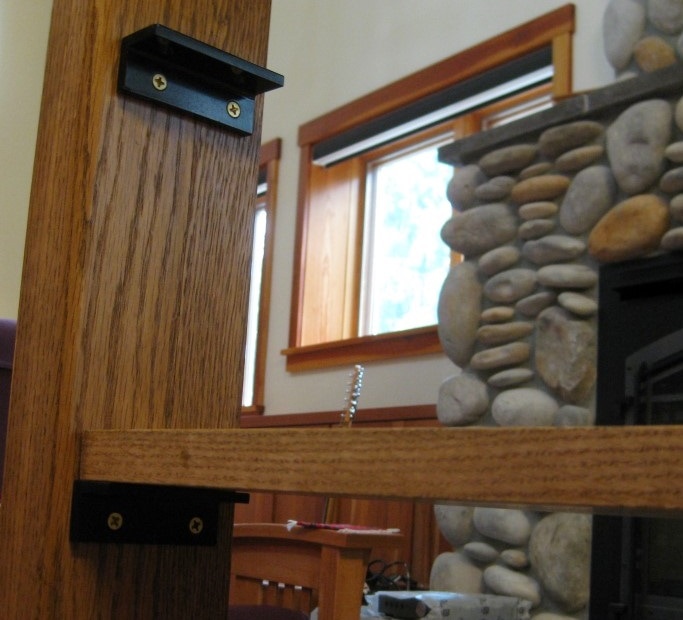
Aluminum brackets with brass screws.
|
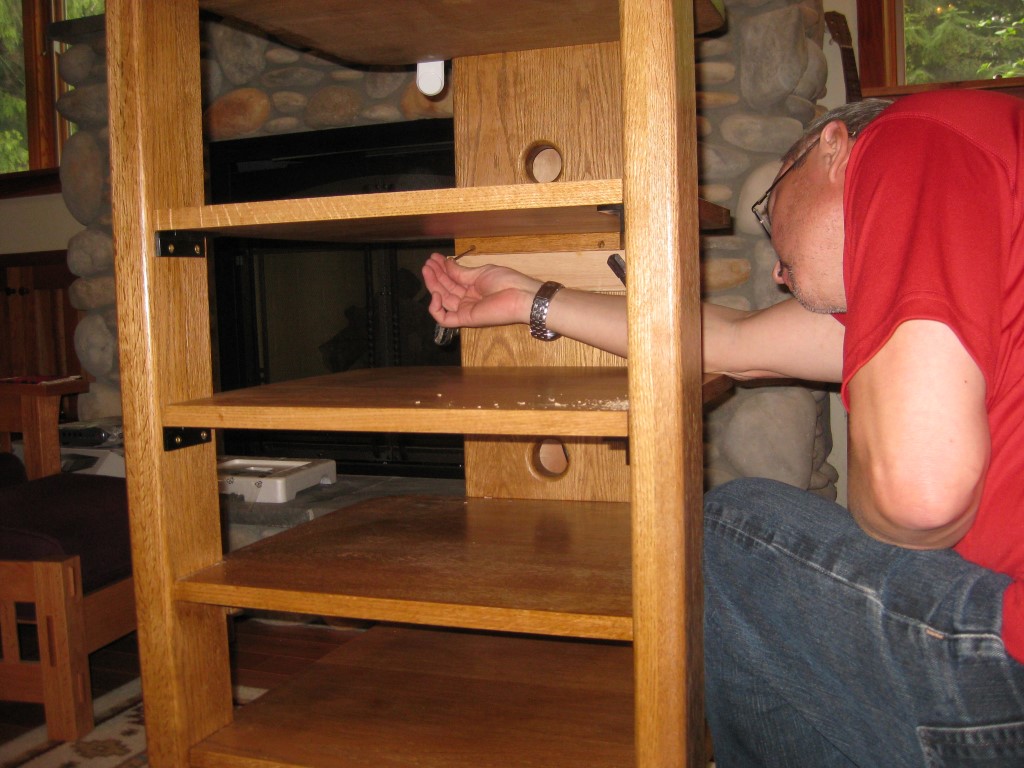
It's a tight fit! Here, I'm installing the screws for the adjustable shelves. They have a wood cleat that was screwed to the back.
|
For the adustable shelves, I had a block of 1" x 3" aluminum that was used to make brackets. These could have been wood, but the aluminum painted black looks cool - more so with brass screws. My little milling machine was enough to make these brackets. I call them adjustable, but they really aren't "easily" adjusted. Plus, if they are moved, new holes will need to be drilled and the old holes filled.
I didn't have enough aluminum for the rear mounts, so oak cleats were glued to the shelves - that was perfect because you can't even see those. |
It's complete
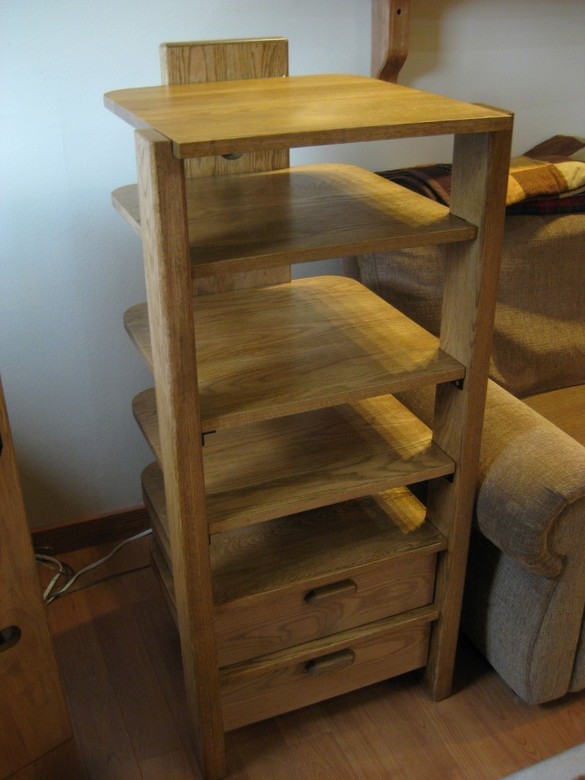

That was a very fun, rewarding project. More to come!
