
Speakers in a day
I talked my college age son into some nice, but inexpensive speakers. It was a short talk... Yo, do you want to build some new college speakers? YES!
This design incorporates full range drivers with simple particle board cabinets and a couple sealer coats of water based poly. We wanted to build them in an afternoon. Later, after his college days are over, the plan is to apply a nice paper backed veneer with hard wood edges.
This design incorporates full range drivers with simple particle board cabinets and a couple sealer coats of water based poly. We wanted to build them in an afternoon. Later, after his college days are over, the plan is to apply a nice paper backed veneer with hard wood edges.
|
|
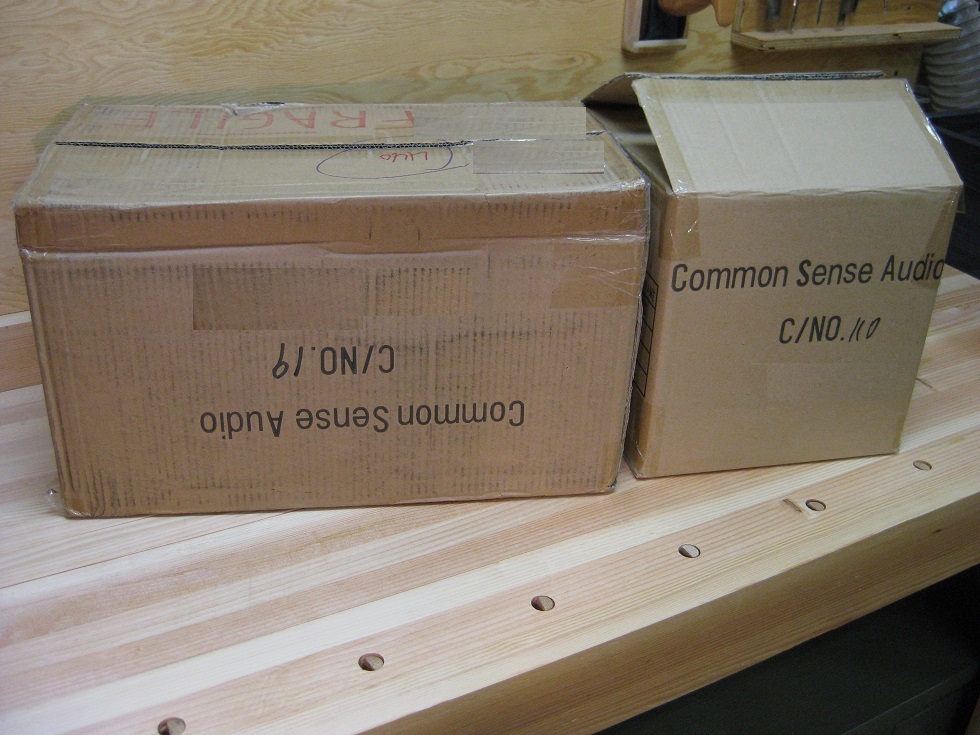
It's an exciting day when boxes with speaker drivers show up at the door. These are from Common Sense Audio, who produce a fairly inexpensive, but highly rated line of full range drivers.
|
|

|
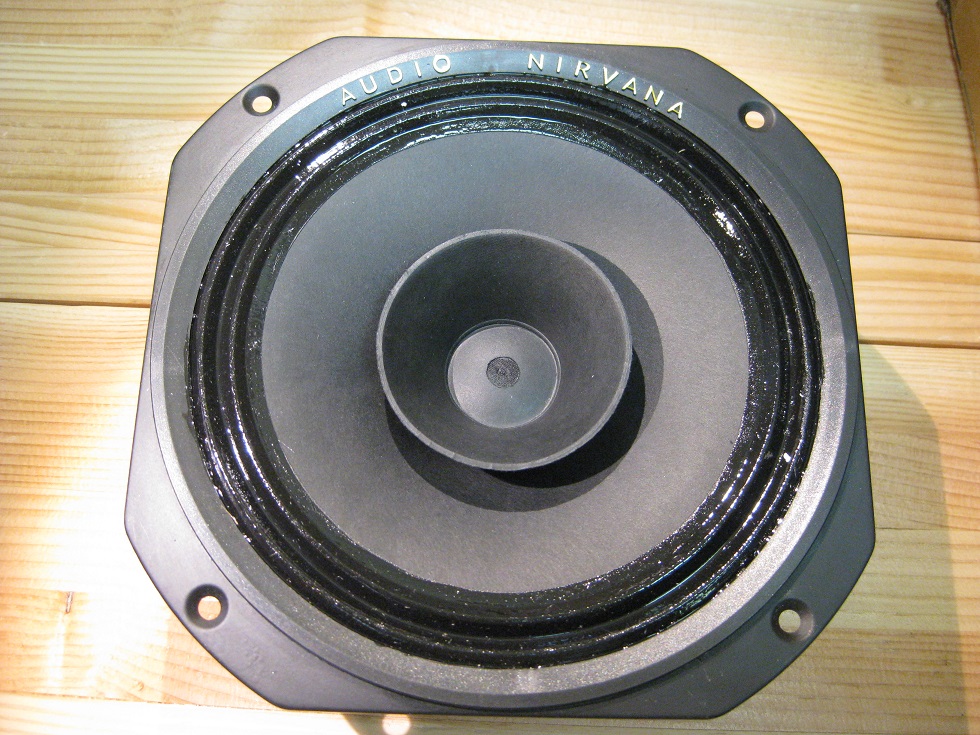
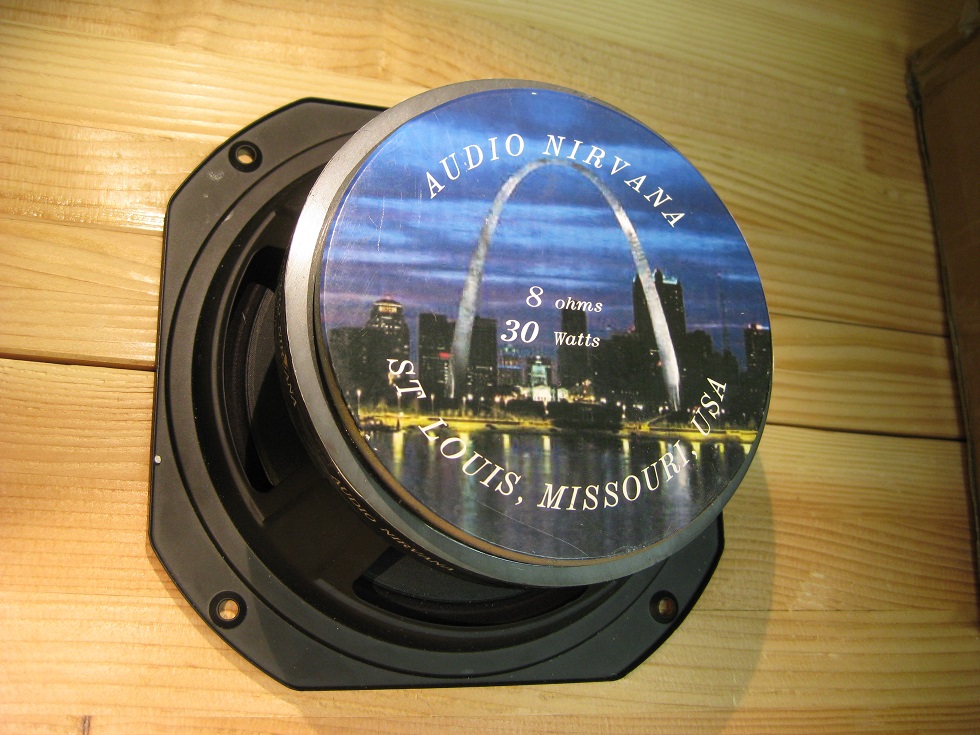
A couple more shots of the drivers.
|
|
|
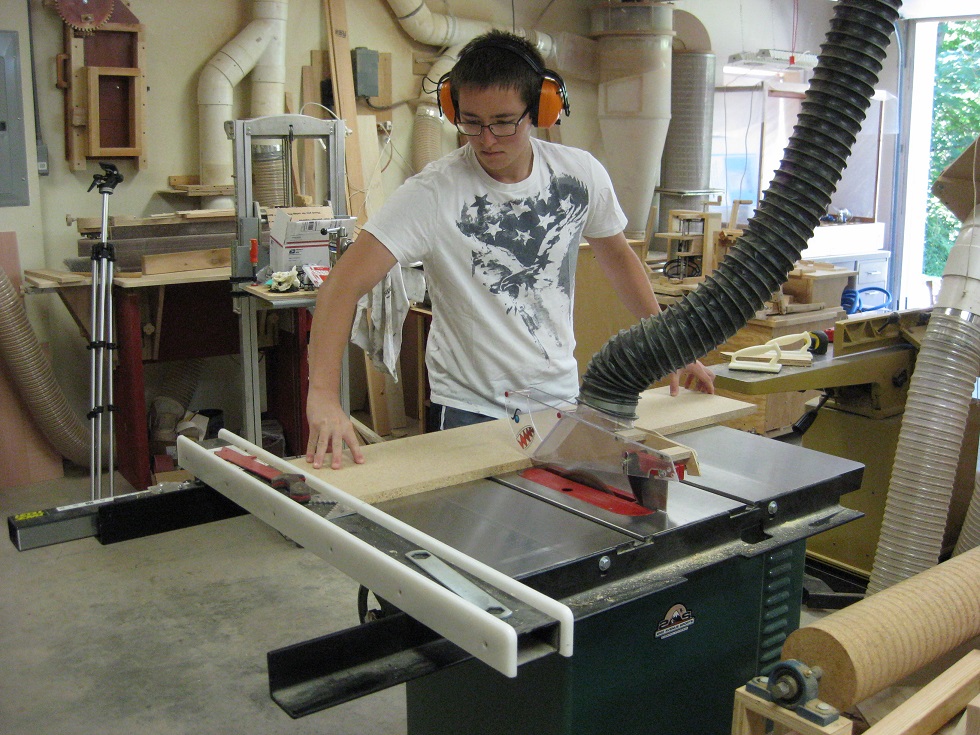
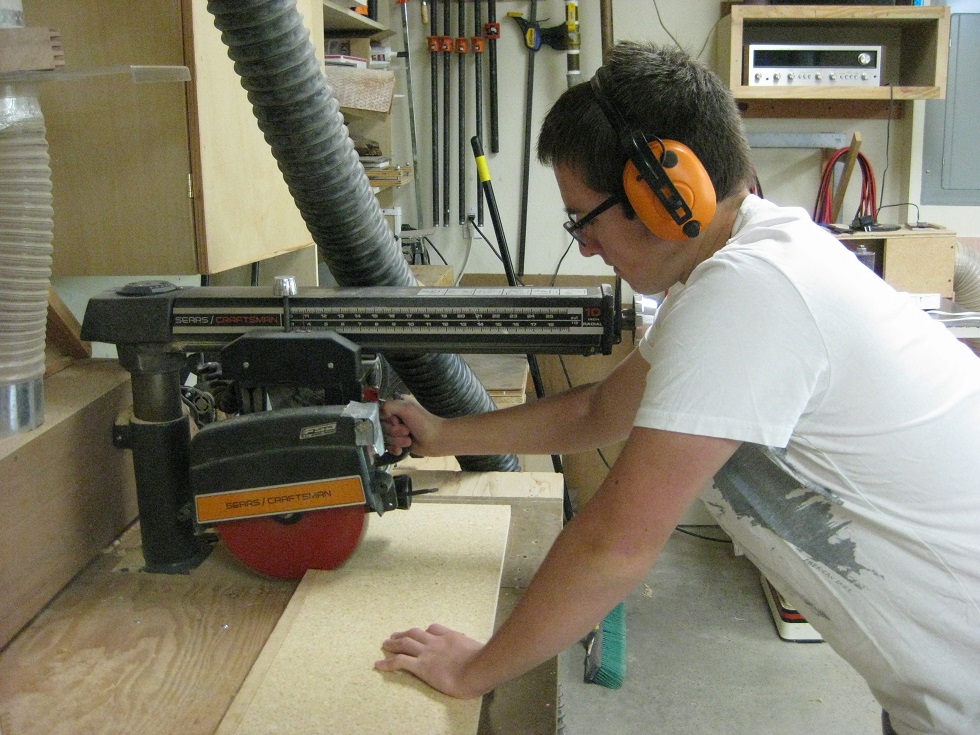
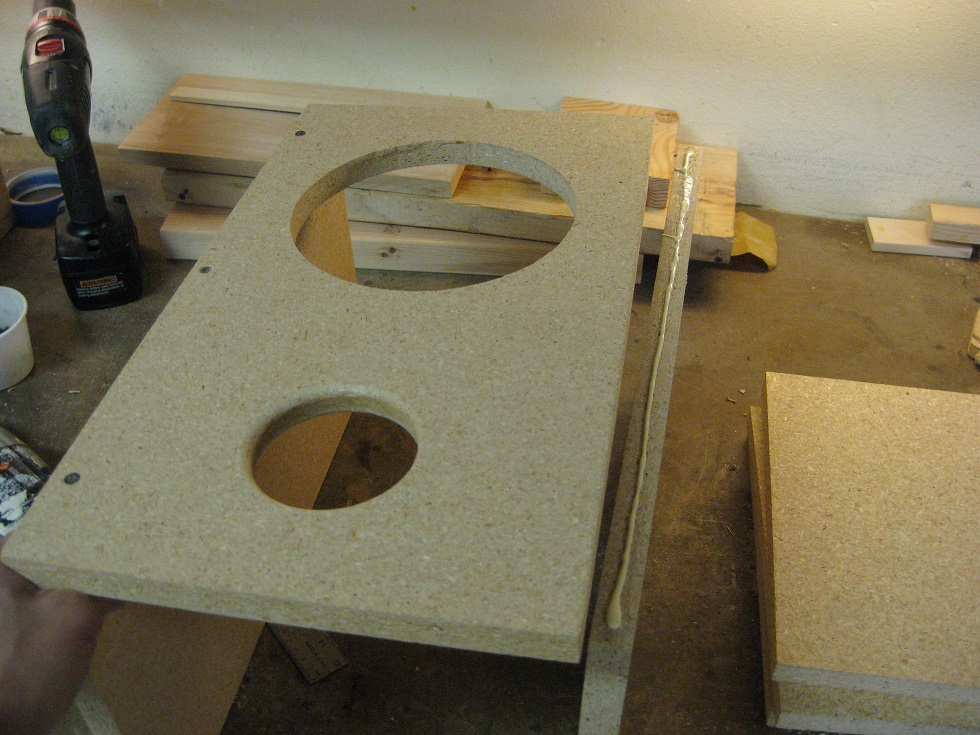
The cabinets are simple boxes with a port on the front. Using the table saw and radial arm saw, my son cuts all of the panels to size for the 2 cabinets;.
|

|
|
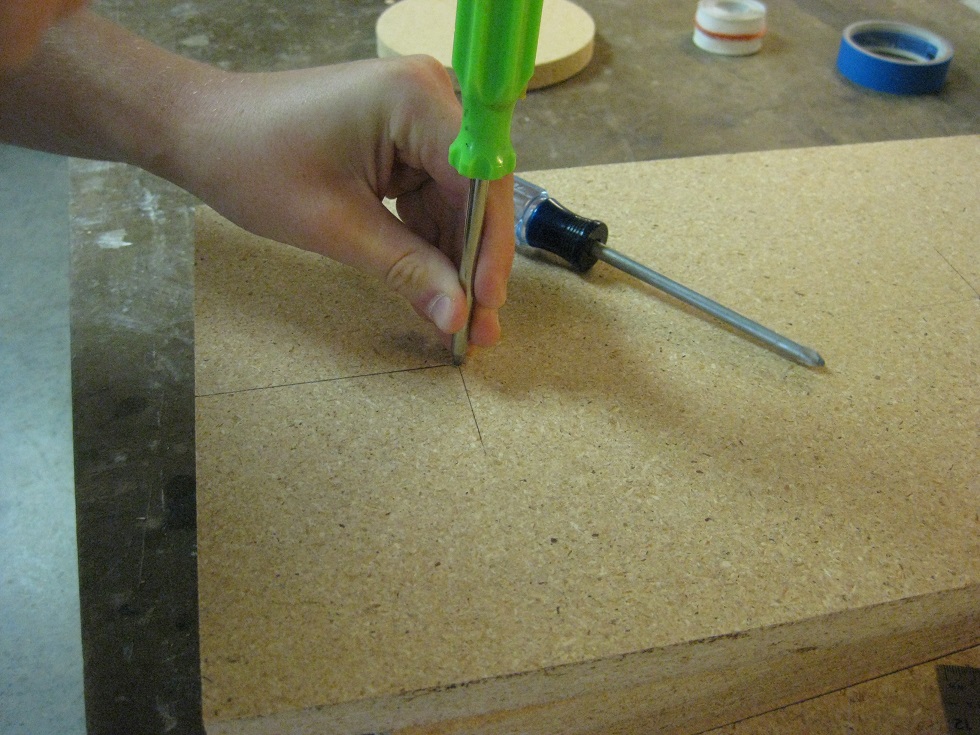
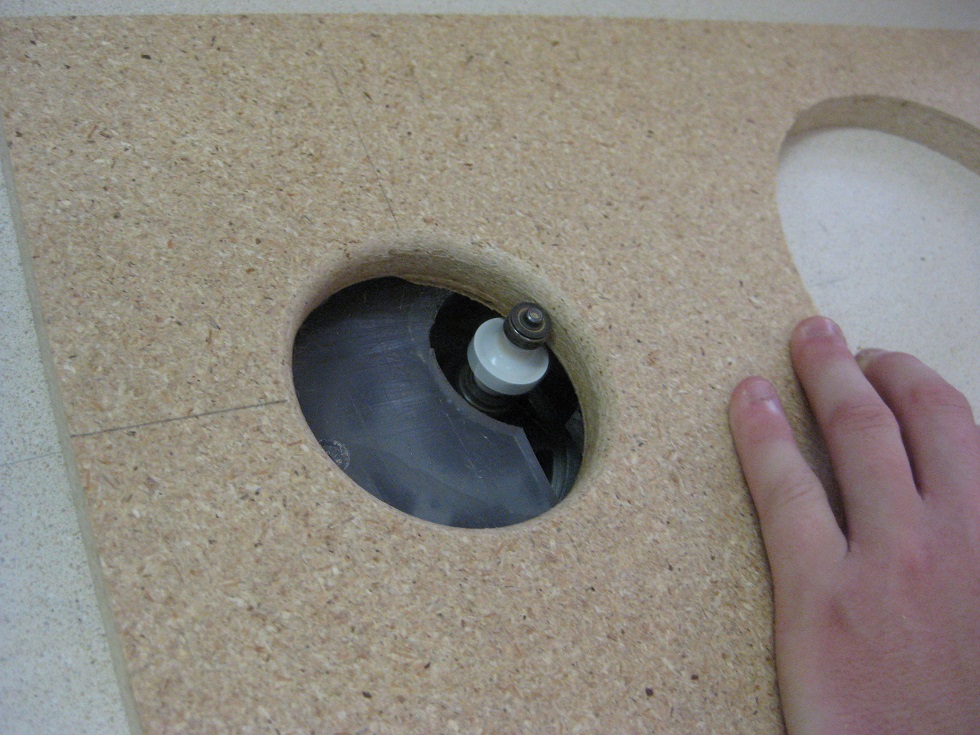
The fronts need a hole for the speaker and port. After the hole centers are measured, he uses a center punch to locate a small drill bit to provide a pilot hole.
|
|
|
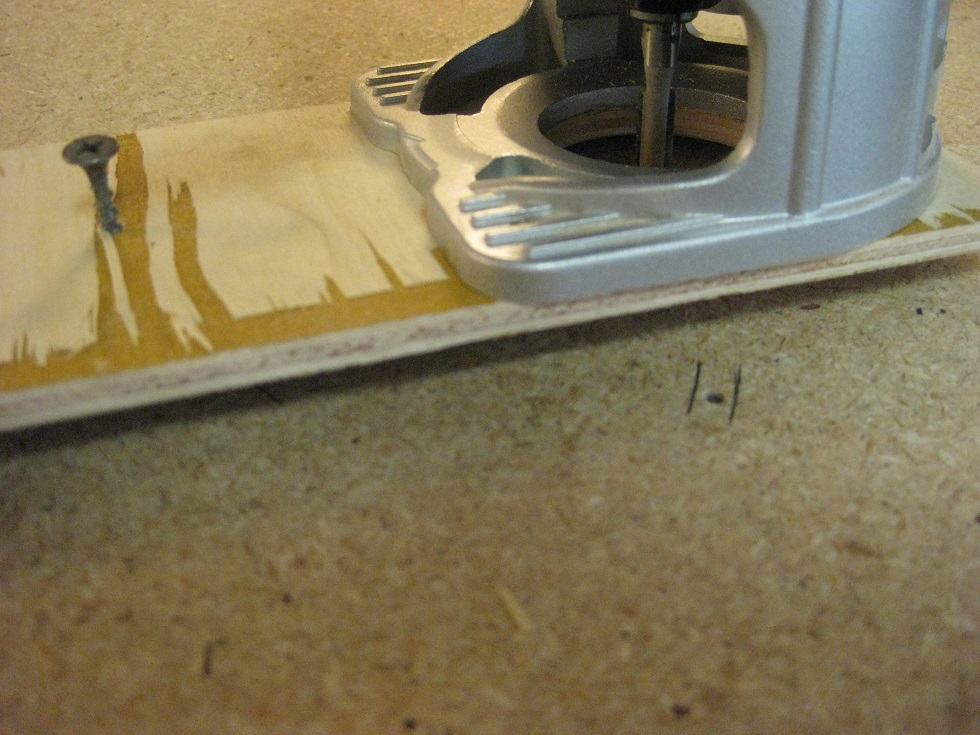
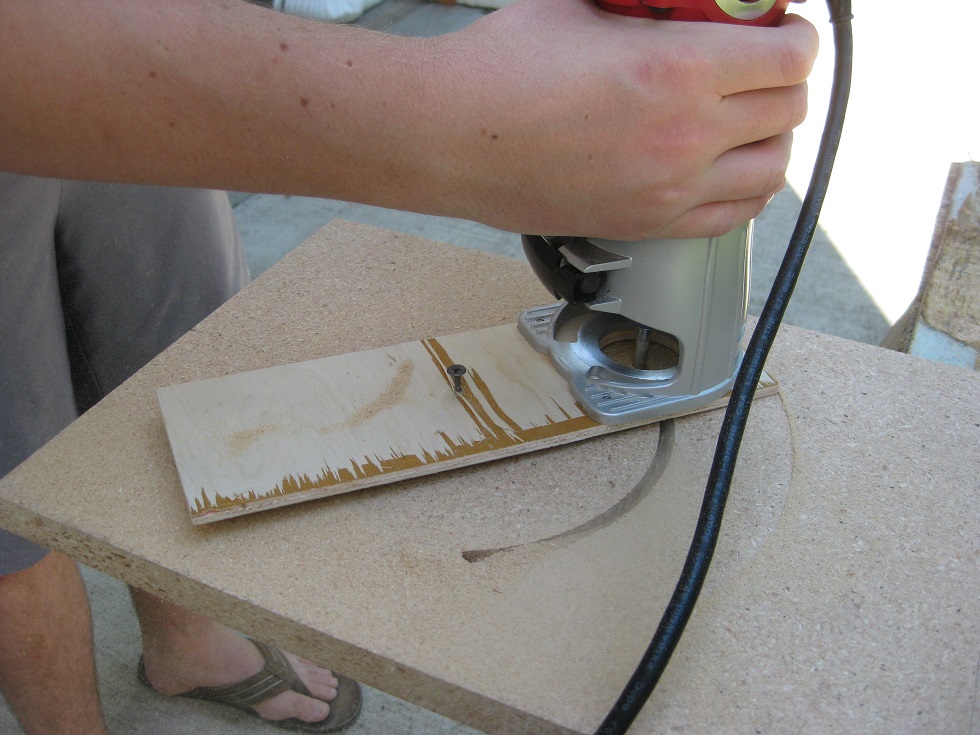
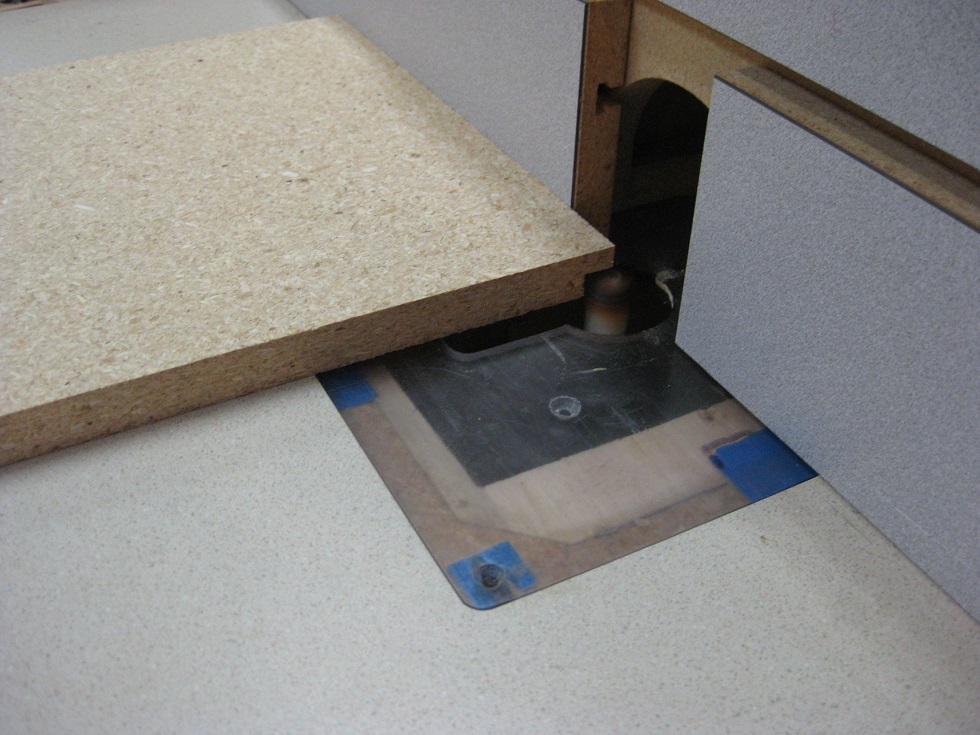
We whipped up a quicky hole cutting jig for the router. A jig like this is simple to make. I use a router base plate to locate the mounting holes.
After figuring out the radius for the speaker hole, we used a screw for a pivot point. The router we used didn't have a plunge mechanism, so we needed to locate the cut and drill a pilot hole for the 1/4" router bit. Then, we simply cut the speaker holes in 2 passes. |

|
|
He then used a hole saw to drill the 3" port hole. Those got a 1/4" round over on both sides of the panels.
|
|
|
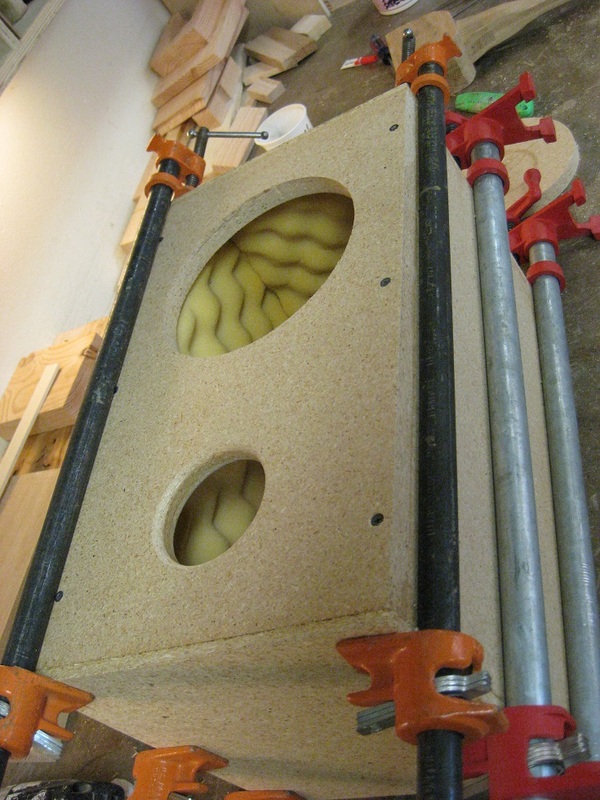
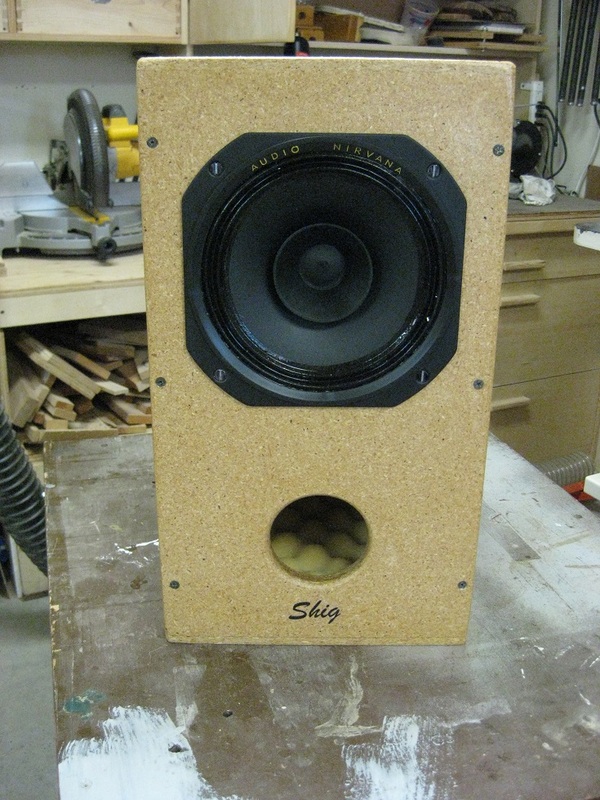
In Shigshop, speakers in a day require simple joints. Glued and screwed butt joints are fine for these little guys. I almost always do rabbets for this kind of project and am curious to see how these will hold up. College life should be a good test!
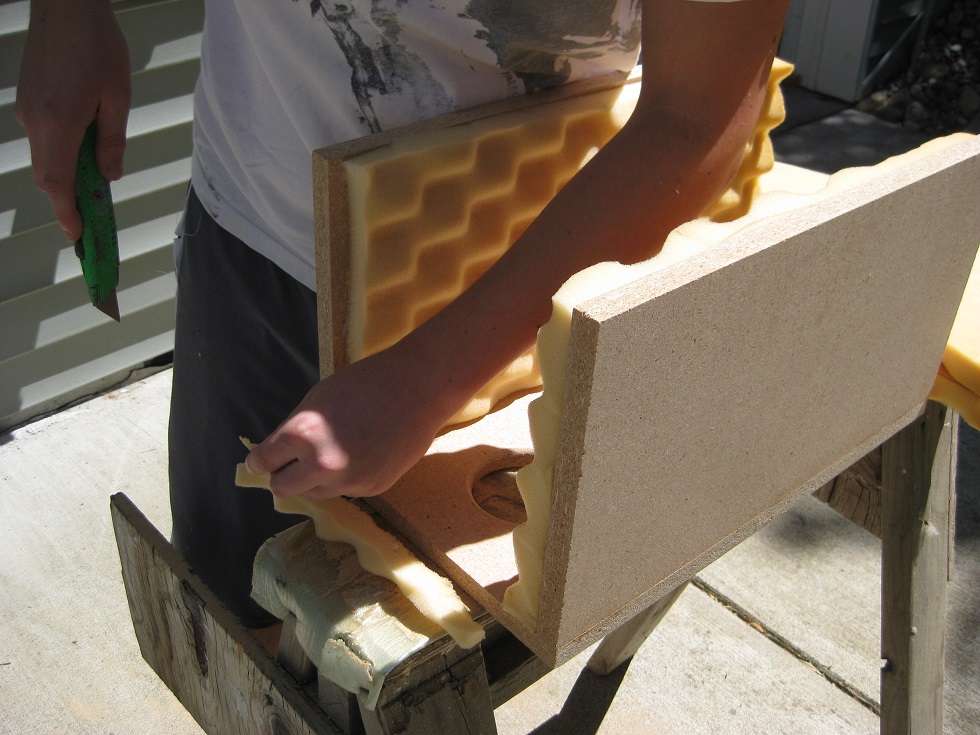
The sides were attached to the fronts, then foam applied using spray adhesive. Note: David at Commonsense Audio recommends fiberglass insulation. We settled for stuff we had (a speakers in a day requirement!). |
|
|
The tops and bottoms did get a rabbett. I suppose this will help keep them square. We made those rabbetts so they fit nice and tight, then, just glued and clamped both the top and bottom at the same time.
We only kept the clamps on for about 20 minutes before moving to the next step which was sanding. Being a nice summer day, we moved outside to avoid the nasty particle board dust that generates off a random orbital sander. Sorry, no pics of the sanding... Yawn. |
|
|
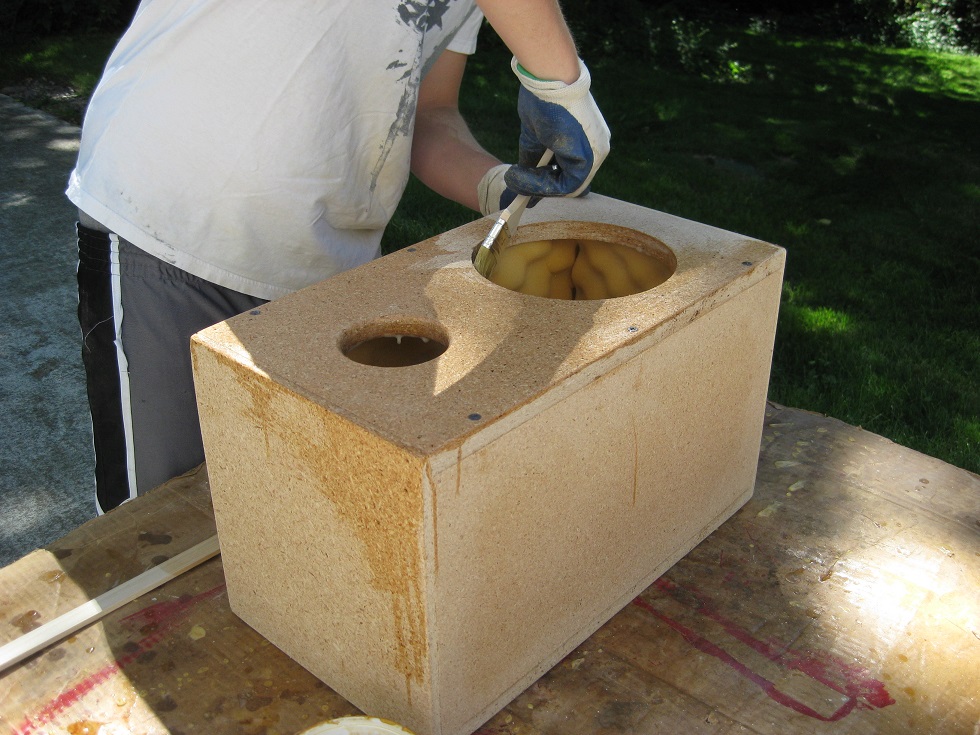
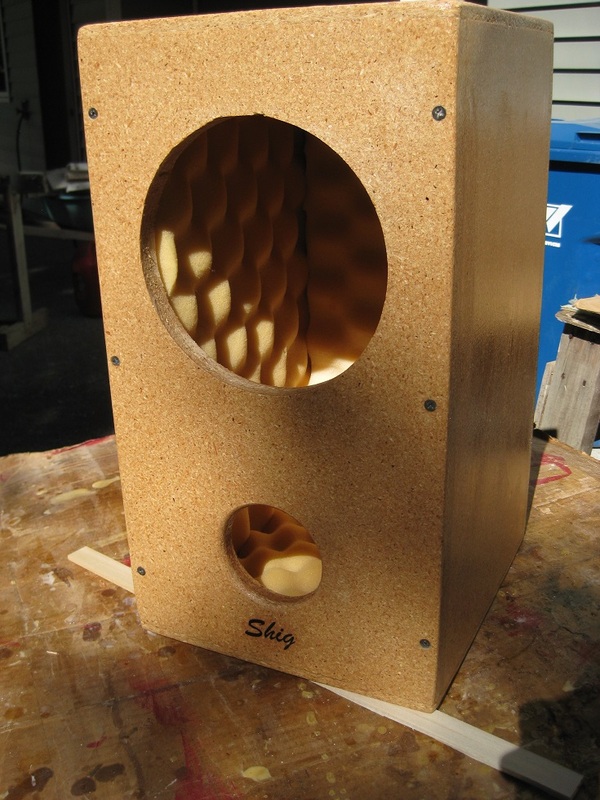
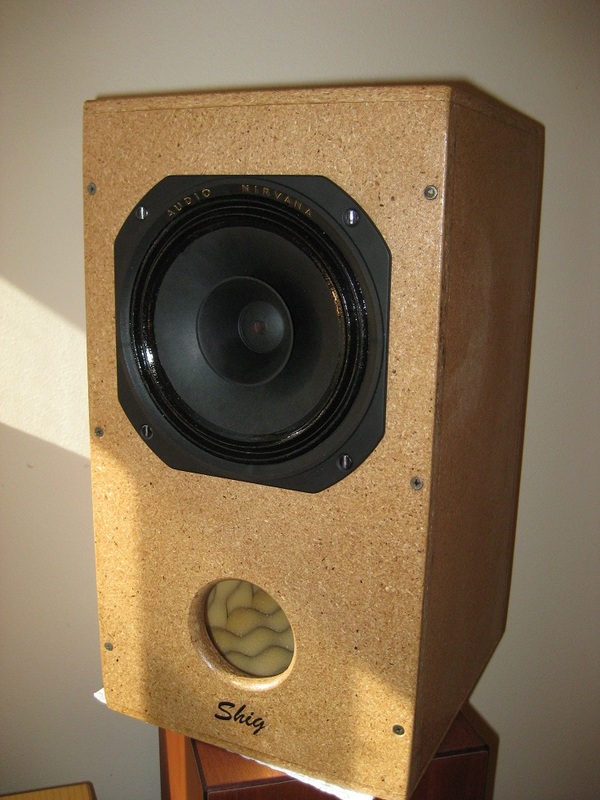
A quick drying finish is mandatory, in this case, we brushed on a water based poly. Doing it on a nice warm summer day, the poly was dry to the touch less than 10 minutes after application.
I whipped up some quick "Shig" decals which we applied under the 2nd and final coat of poly. And no, we didn't sand between coats. Speakers in a day don't require it! |
|
|
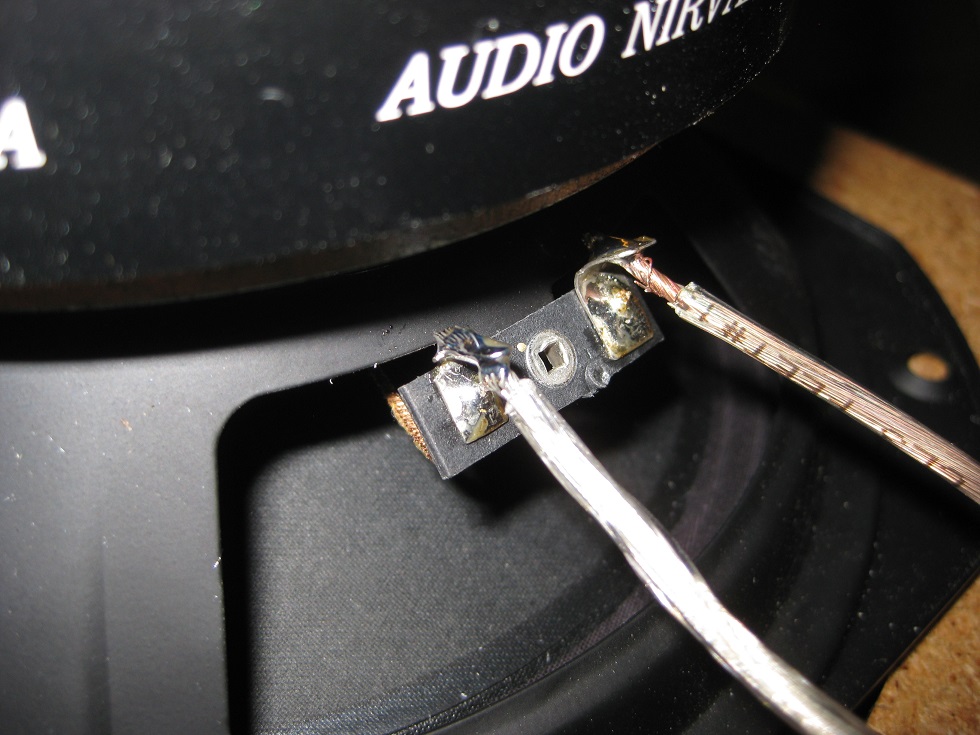
Usually, you want some nice wire terminals on the backs. We didn't have any so a couple of holes were drilled in the back for wires that go straight from the speakers and out the holes. We can add nice terminals later. For now, wire nuts will do.
|
|
|
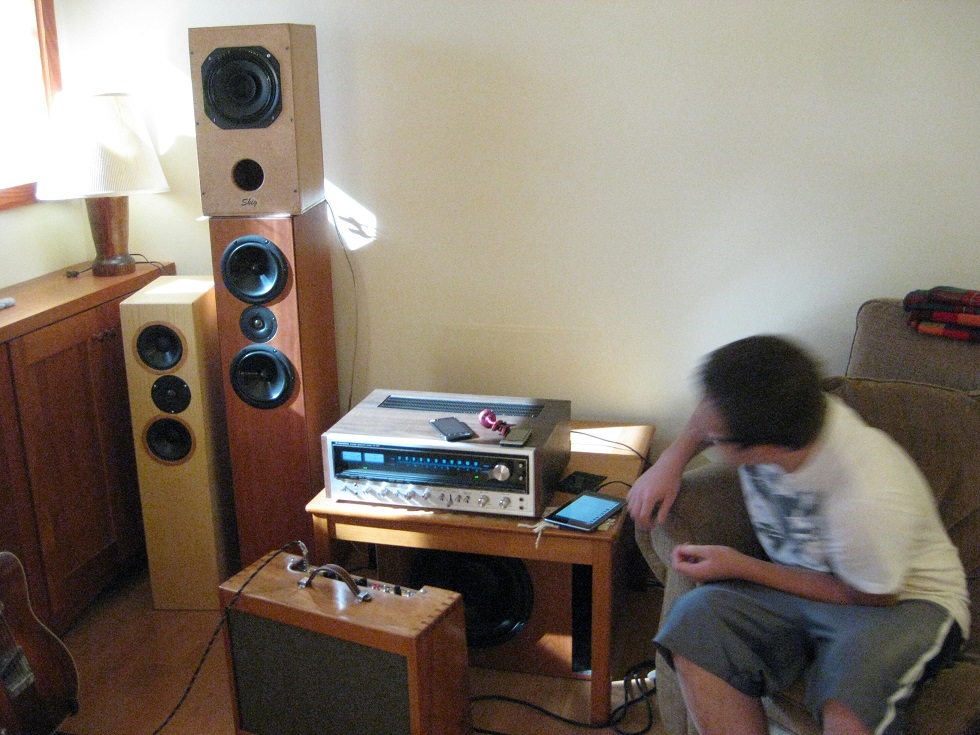
For them to truly be speakers in a day, they must go from the shop to the listening room in the same day.
Here, the glue isn't even dry..... These are incredible sounding speakers. Highly efficient with imaging and clarity that has to be heard to be believed. Did these 2 little 8" speakers come in both of those boxes in the first pic??? No! heehee... More coming.... |
