
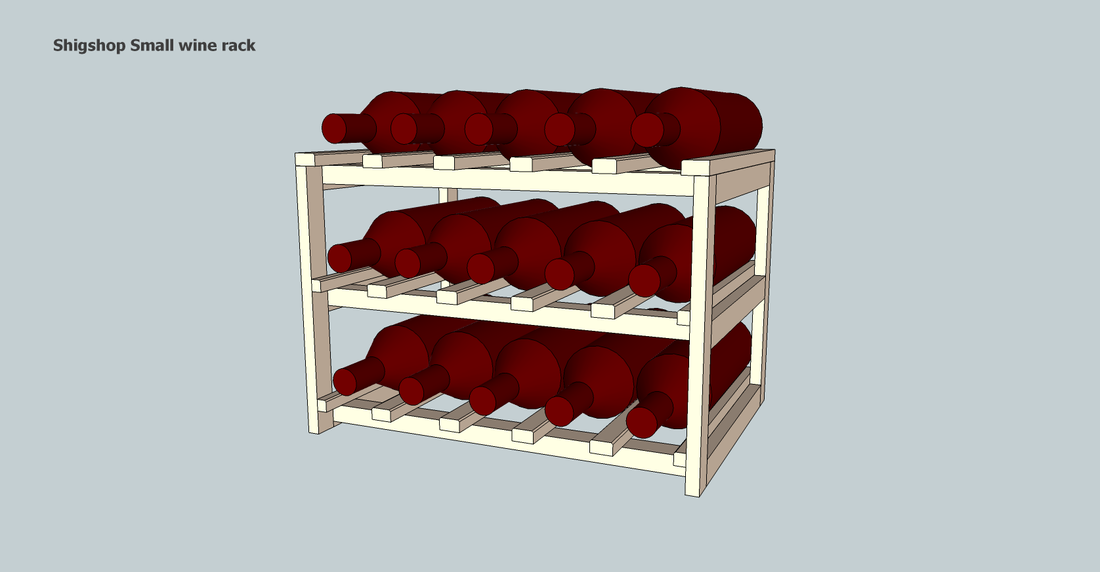
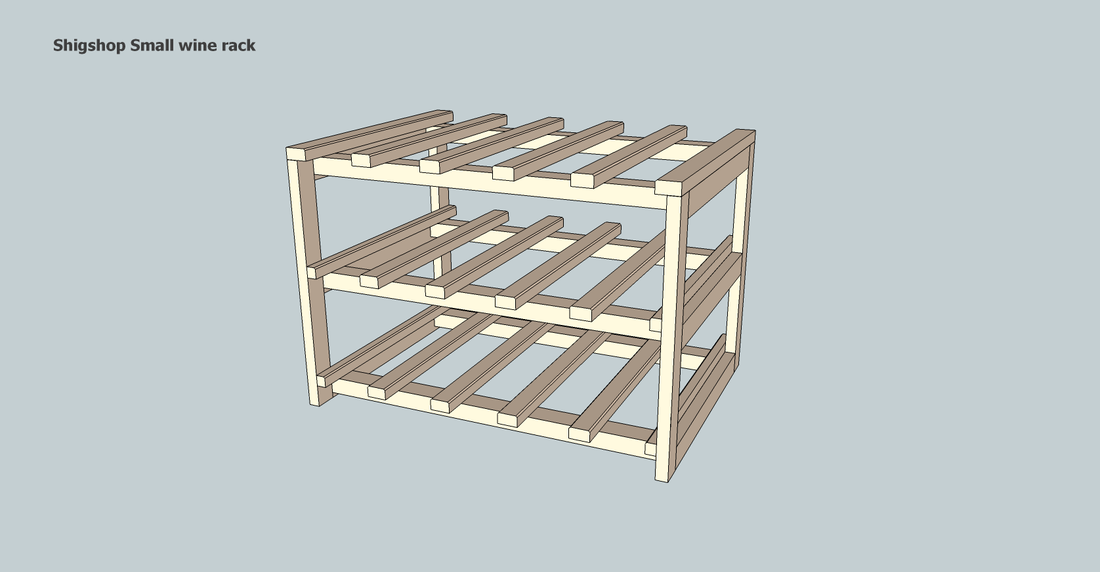
Title
text
The design
|
text
|
|
text
|
The build
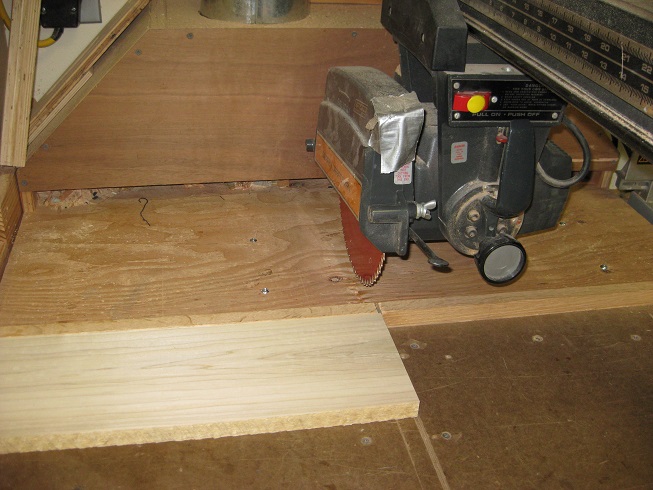
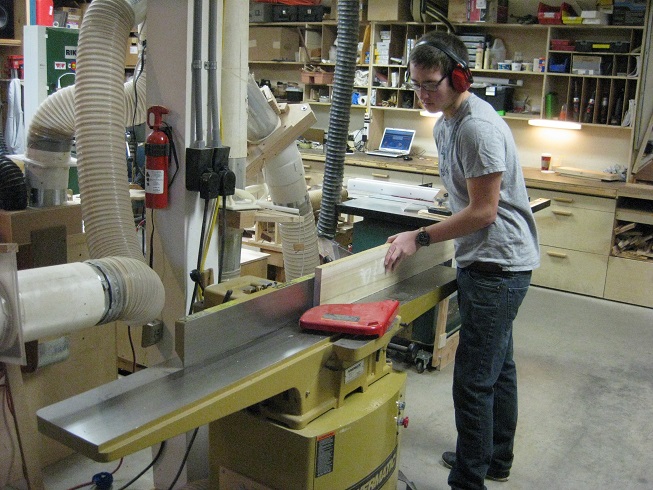
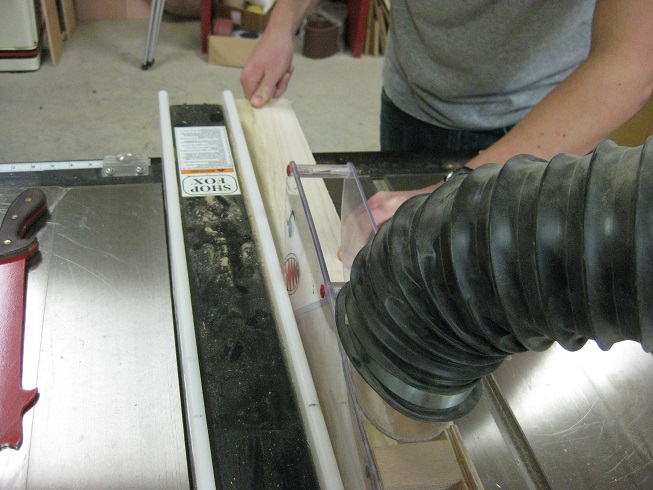
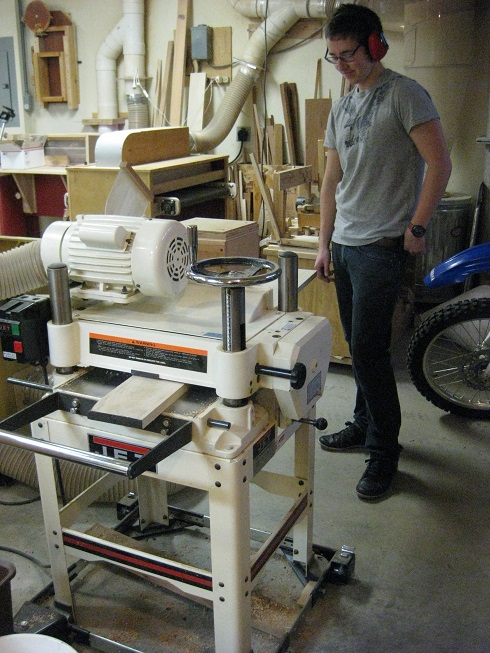
We start by jointing, crosscuting, ripping, and planing the pieces to final dimensions
|
|
|
|
|
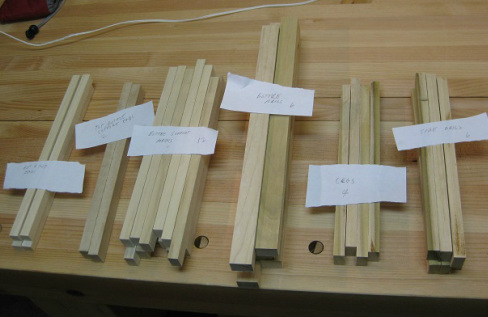
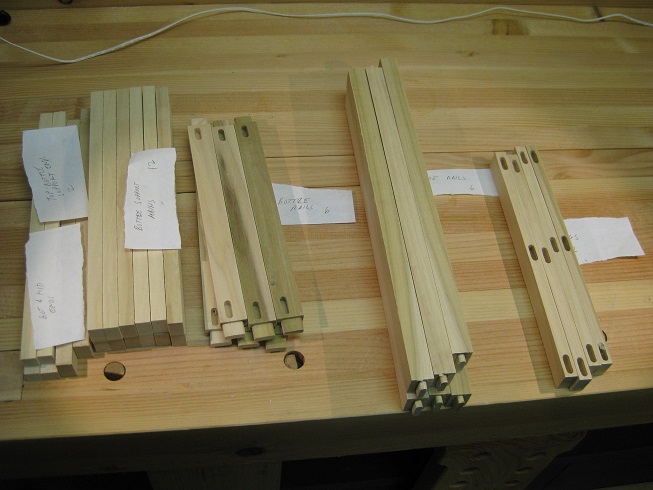
And we end up with a few stacks of wood - we label each stack, otherwise, we'll lose track. There's quite a few little pieces - some with very similar, but different dimensions. I've learned the hard way to keep track of the pieces for this kind of project. Sometimes, I put a piece of tape on the piece and write it's name on it. On other projects, I might just write something in an inconspicuous spot, like on a tenon. In this case, I keep the stacks separated and put a tag on each stack.
|
|
|
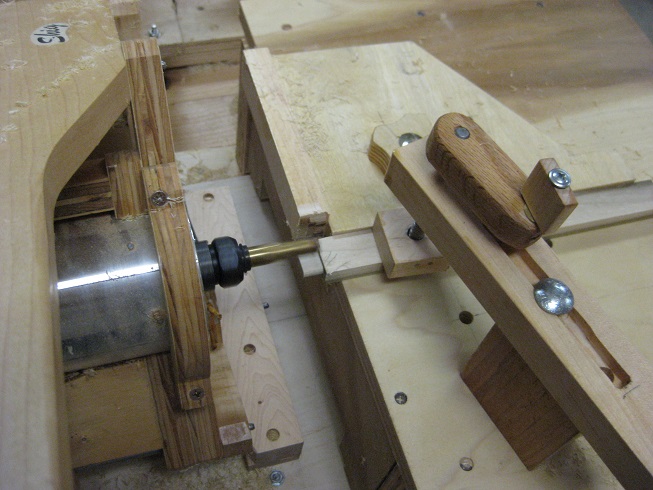
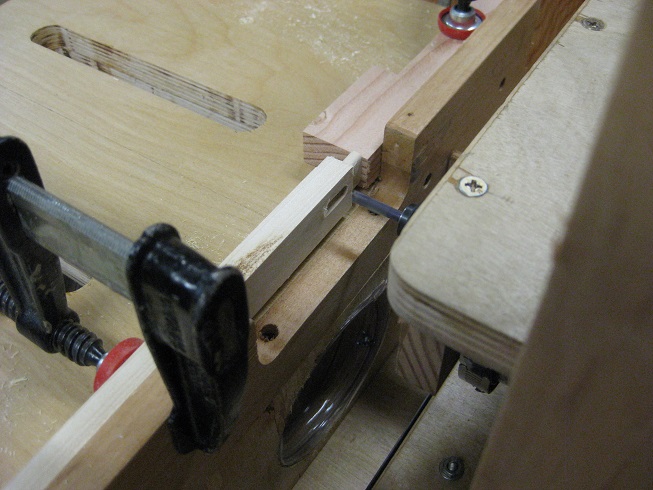
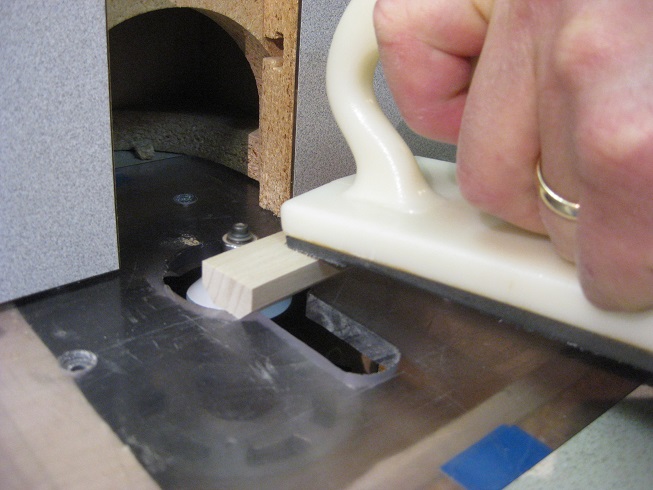
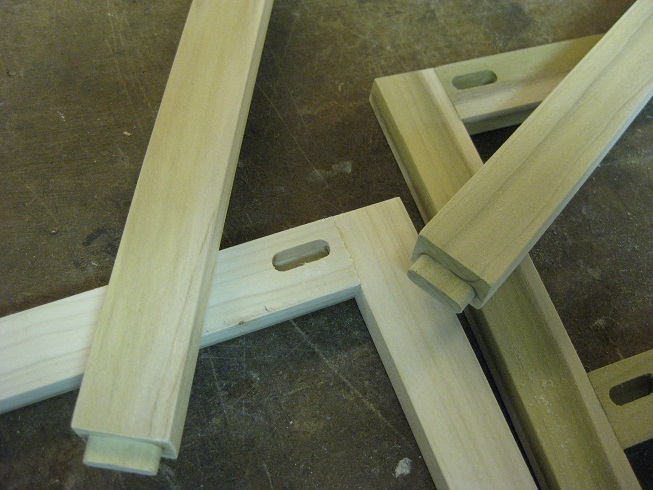
Via the pantorouter and slot mortiser, we cut all of the mortises and tenons.
|
|
|
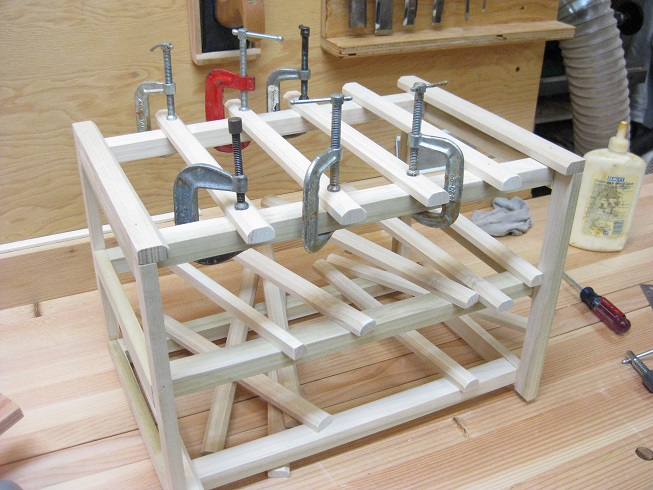
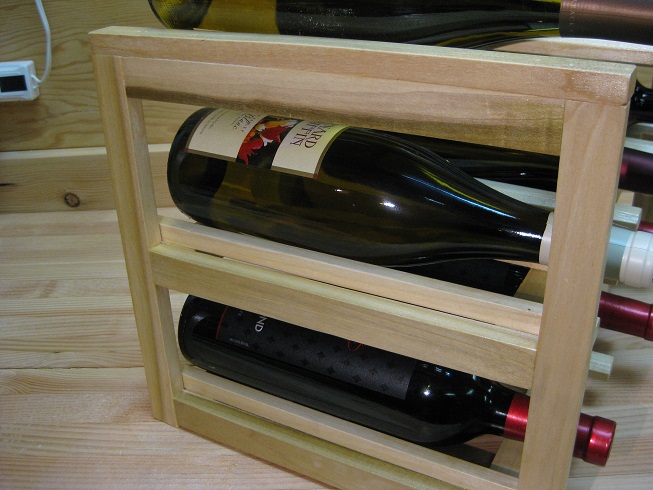
The bottle supports all get beveled where the bottles will sit on them.
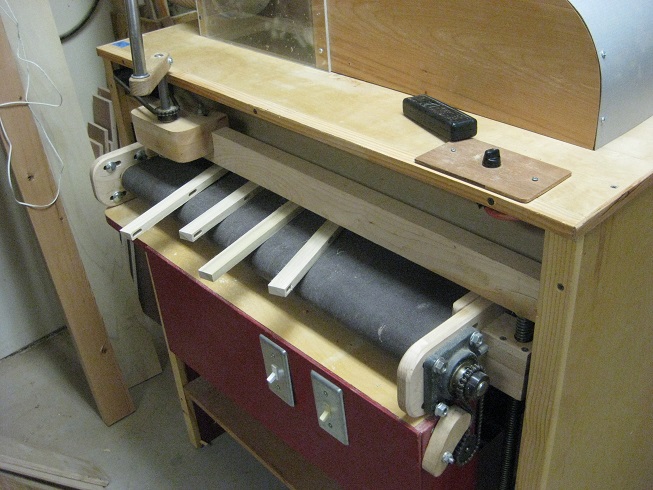
Then, it's off to do some sanding before we glue it up. The thickness sander makes it a simple task... |
|
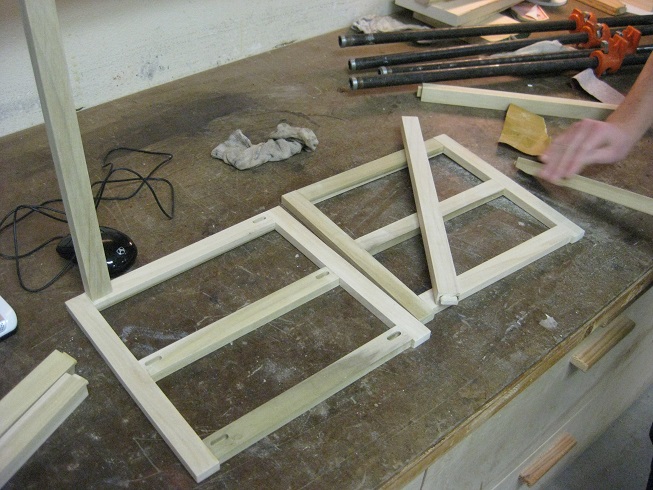
Ready for glue up!
|
|
|
|
Those pantorouter/slot mortiser joints are so nice and fast to make. All of these joints are 1/4" x 3/4" which makes set up a breeze.
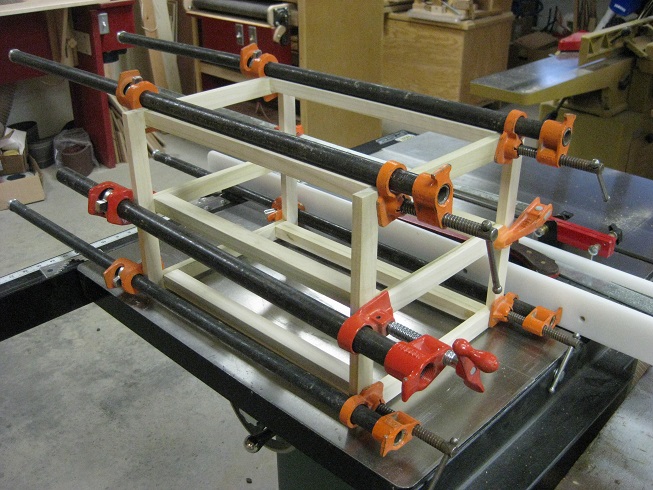
We first glued up the sides, let it sit for an hour or so, then glued up the rails |
|
The next evening, we finished up gluing on the bottle supports. Everything on this project was glued - no mech fasteners anywhere.
|
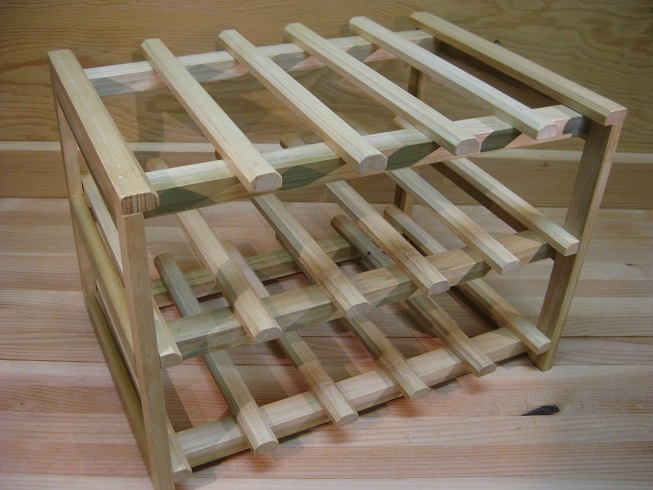
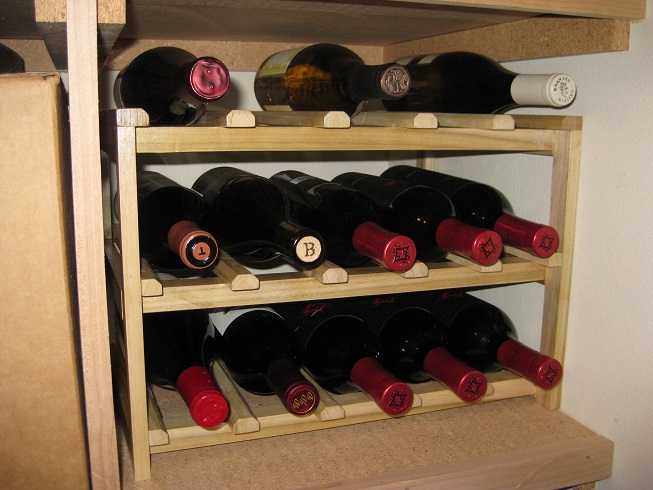
The wine rack
|
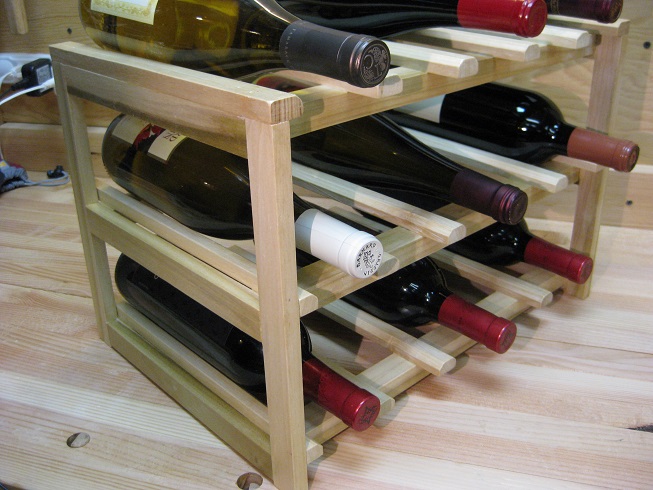
After a couple coats of water base poly, a nice little Christmas present is complete! Good job Buddy!
|
|
|
Not so good, huh?
|
Ah yes. Much better!
|
