
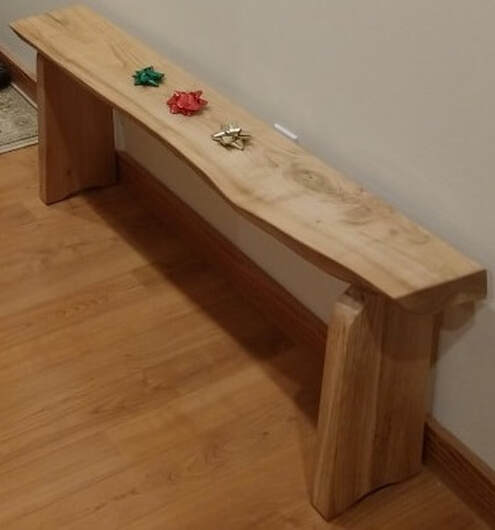
A simple live edge bench
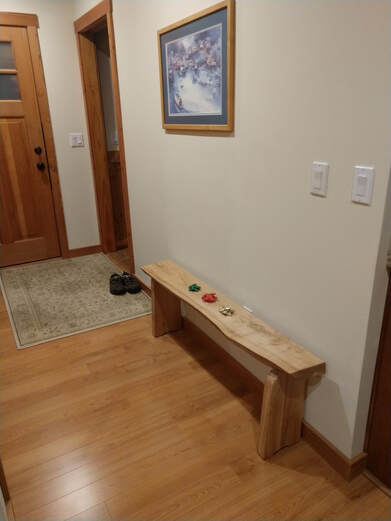
We wanted a bench of some sort inside the front door of our house. With Christmas and the holidays coming, some nice wood in the shop (that's been aging for years), I thought it would be a cool little gift for the house.
Shigshop.com is a participant in the Amazon Services LLC Associates Program, an affiliate advertising program designed to provide a means for sites to earn advertising fees by advertising and linking to Amazon.com.
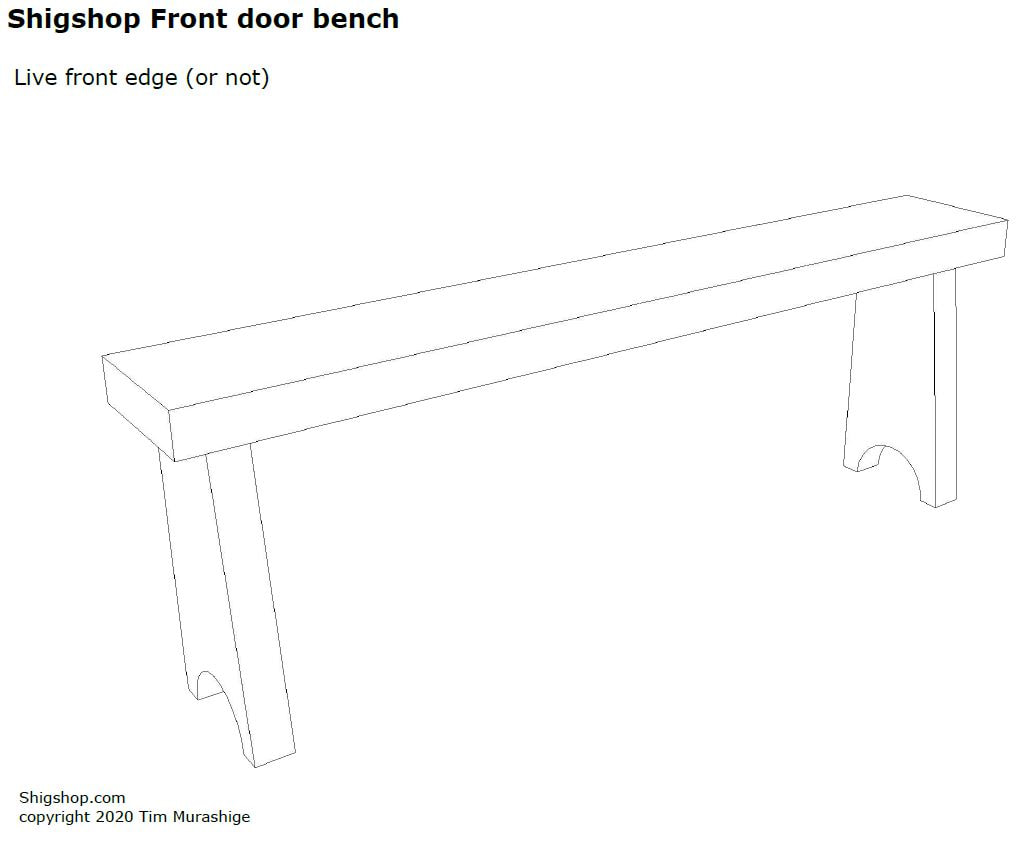
The design
|
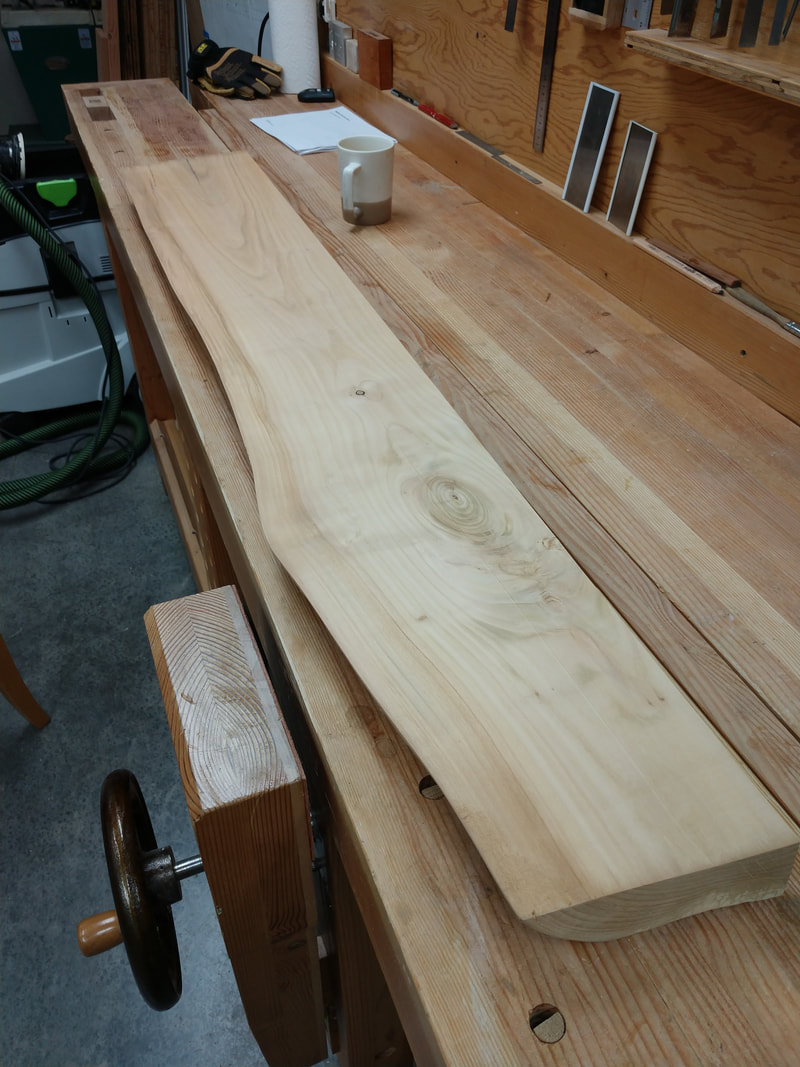
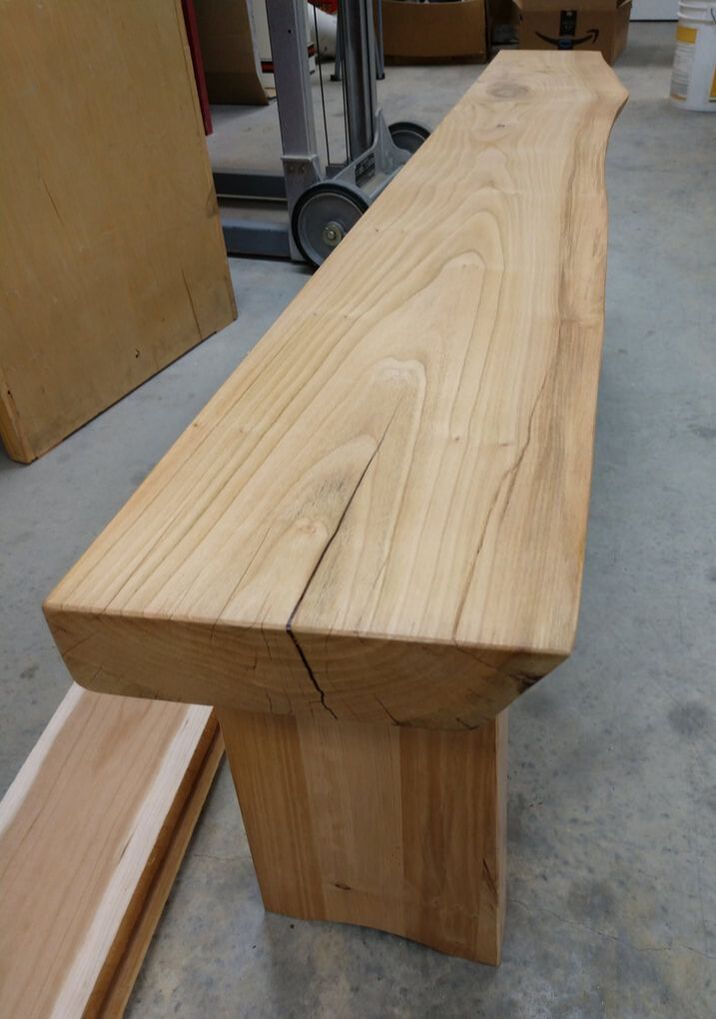
Live edge pieces typically use heavy thick material. Most of this is 2+" thick. It's about 52" long, 18" high, and 8" deep. Just about right for the spot we have in mind.
|
|
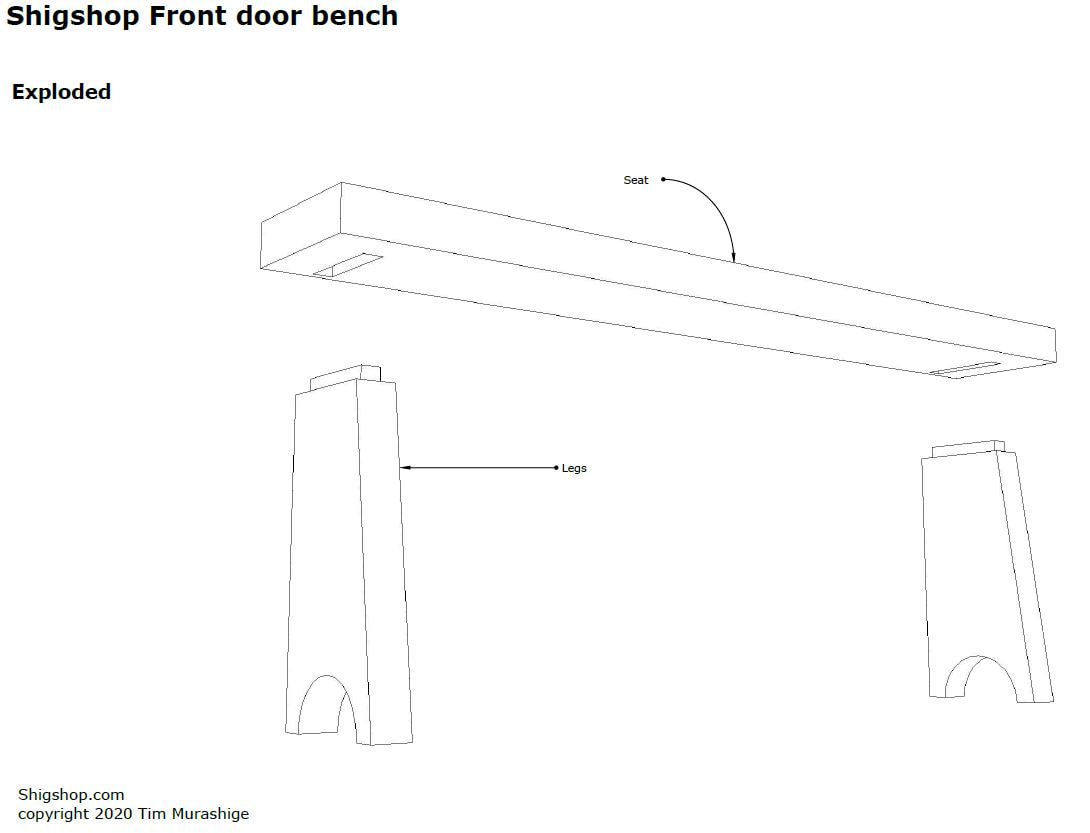
Super simple design. Mortise/tenons on the leg/seat joints with epoxy should pretty much hold up forever.
|
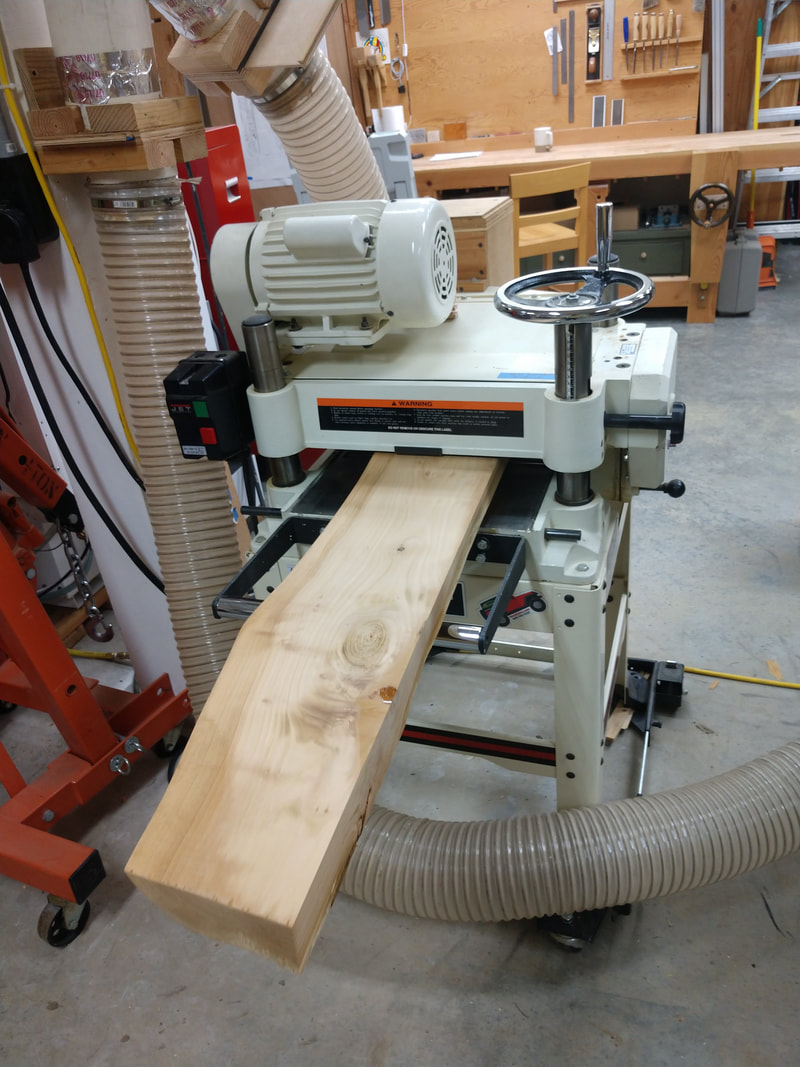
The build - starting with the seat
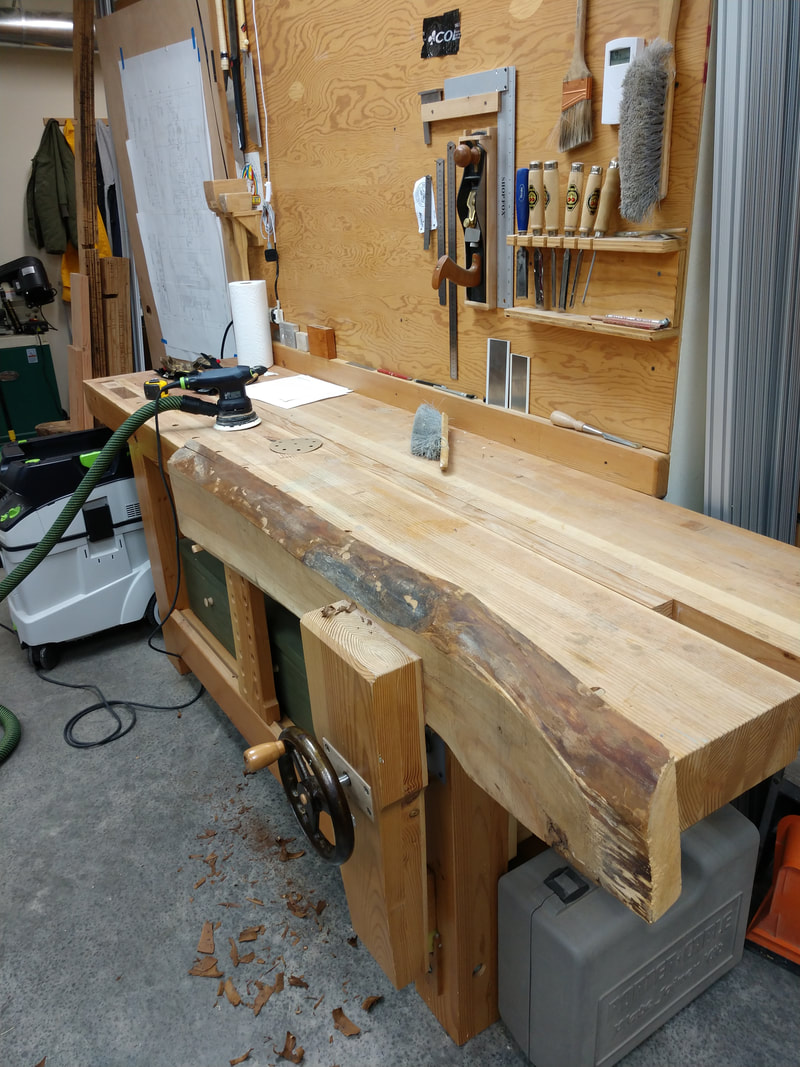
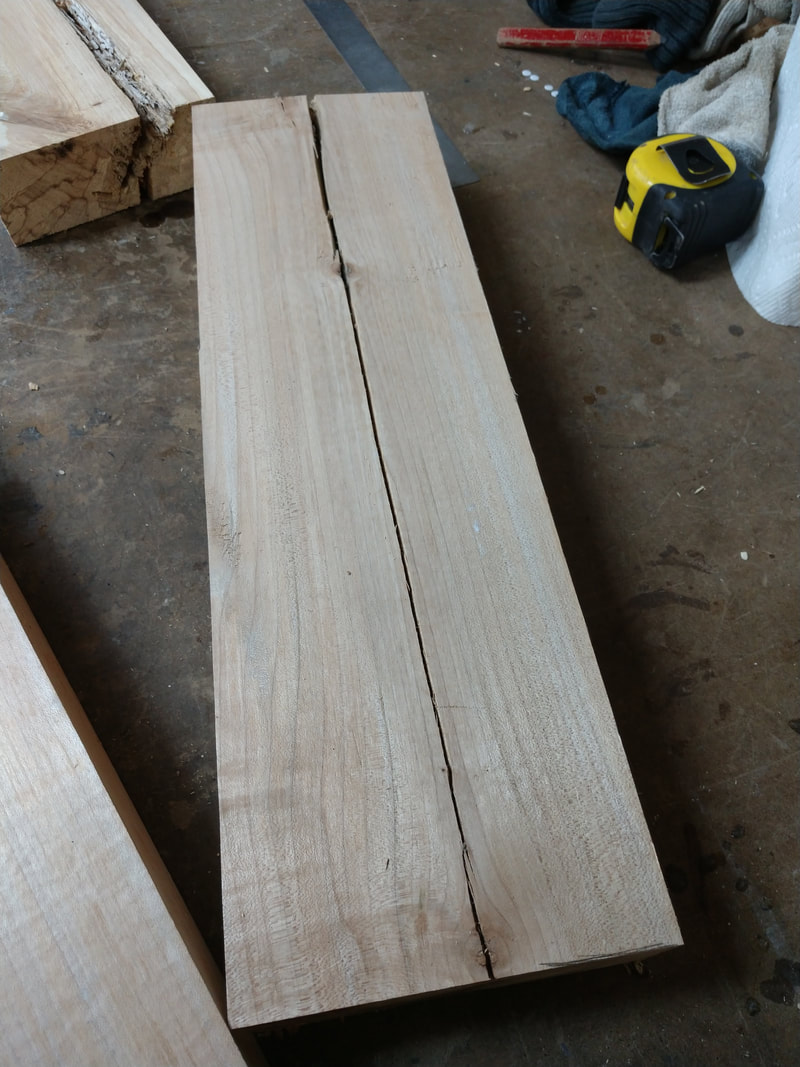
A nice piece of cherry was used for the seat. 80 grit paper on the palm sander made quick work cleaning up the live edge. That Festool sander and vacuum is always a joy to use - practically dustless.
|
|
|
|
|
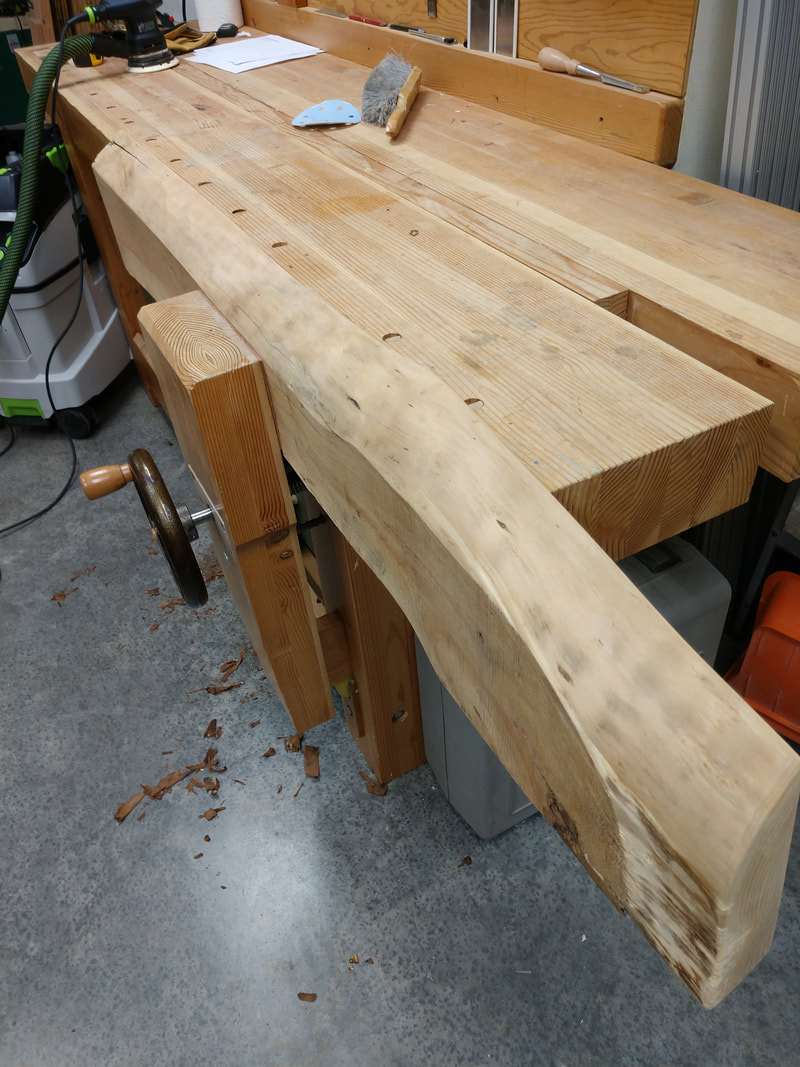
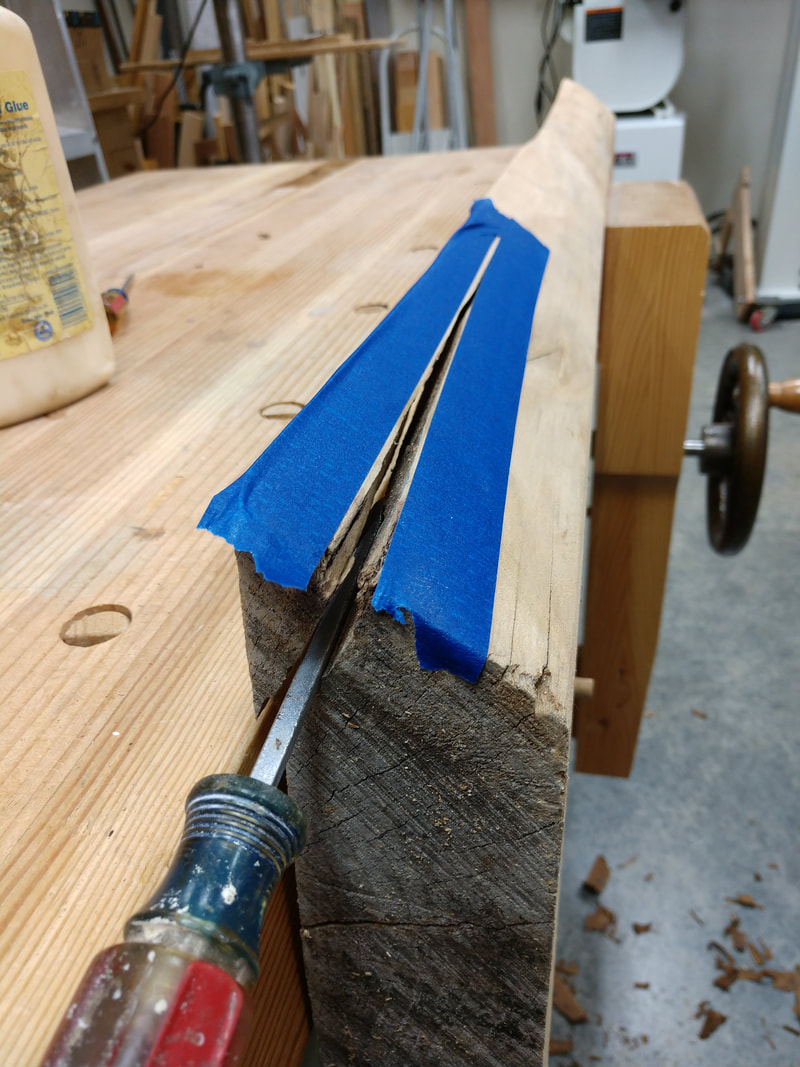
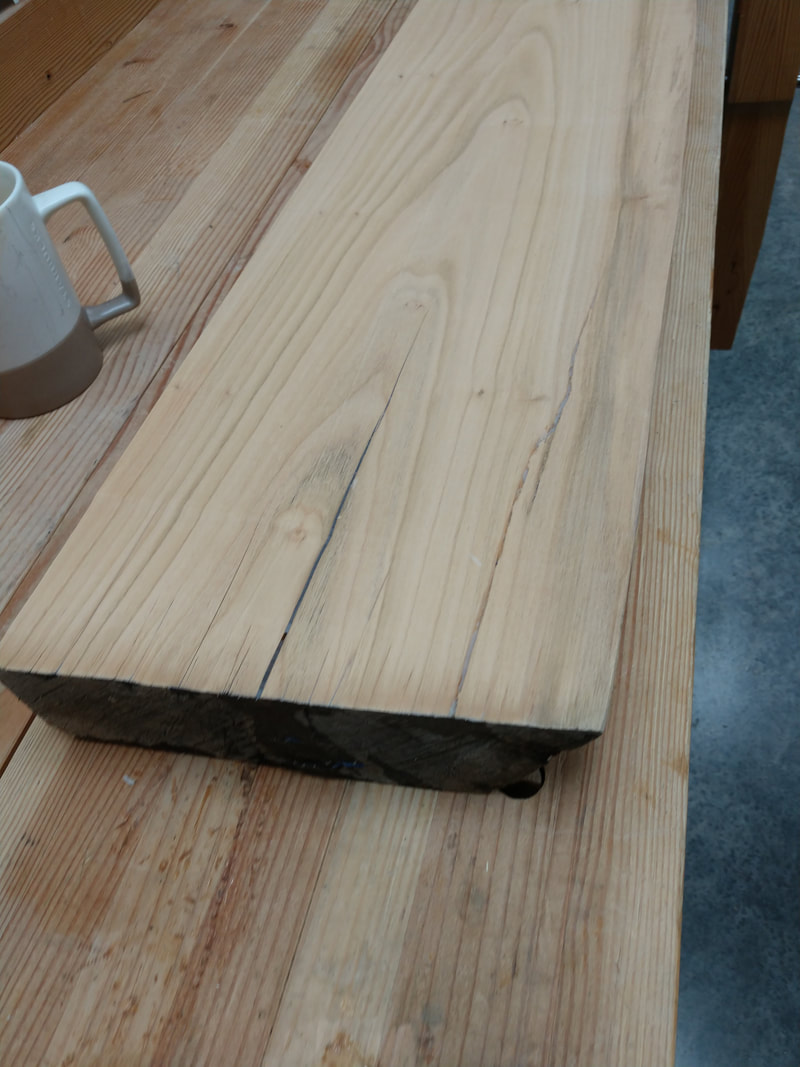
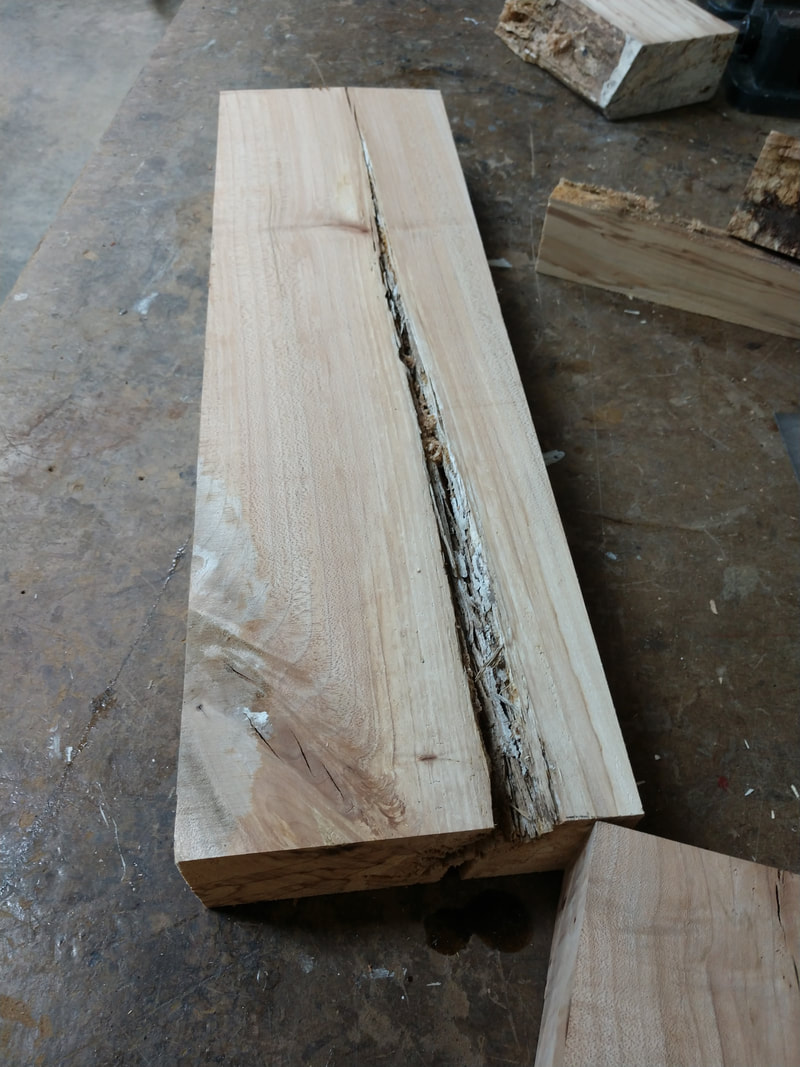
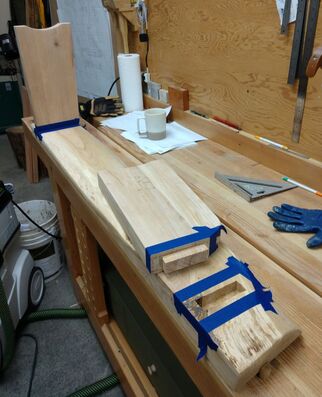
The length of the board was just about right, but there were some big checks on one end that needed to be stabilized. The biggest check passed thru the front edge to the top.
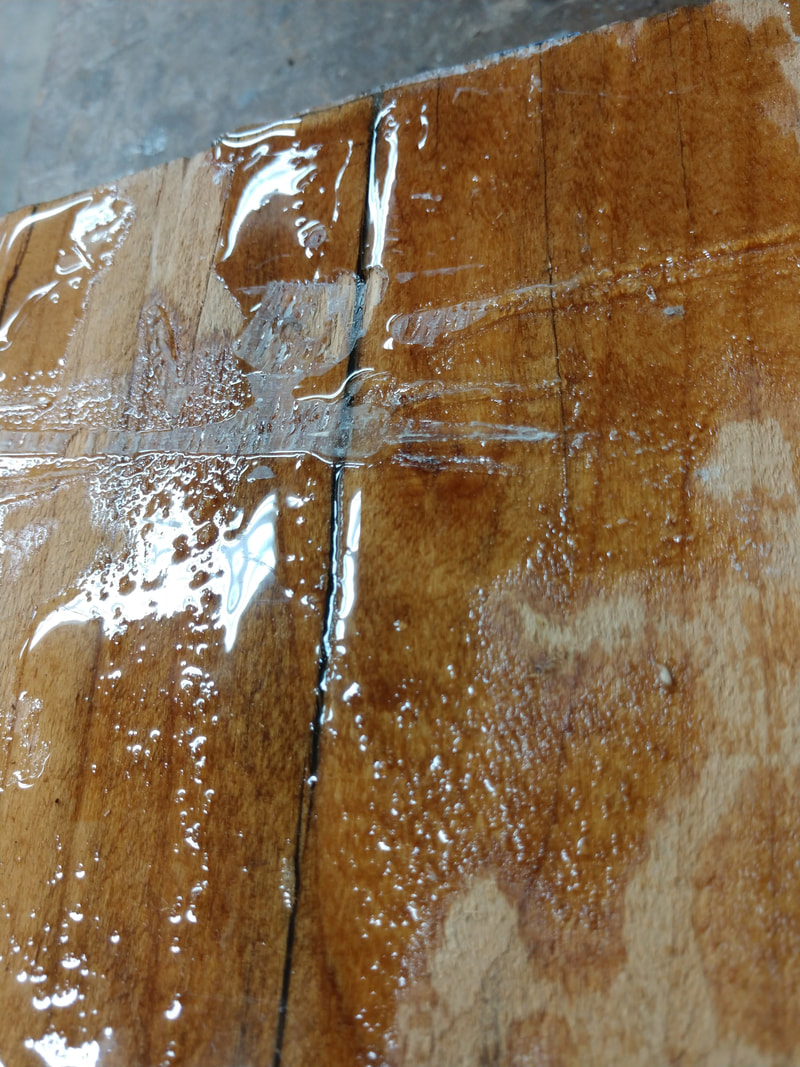
I masked off the surrounding wood, spread the check apart with a screwdriver, filled it with epoxy, then removed the screwdriver before the epoxy cured. This allowed the epoxy to penetrate deep into the crack. After that cured, a couple more epoxy applications completely filled it as well as a few other cracks.. |
|
|
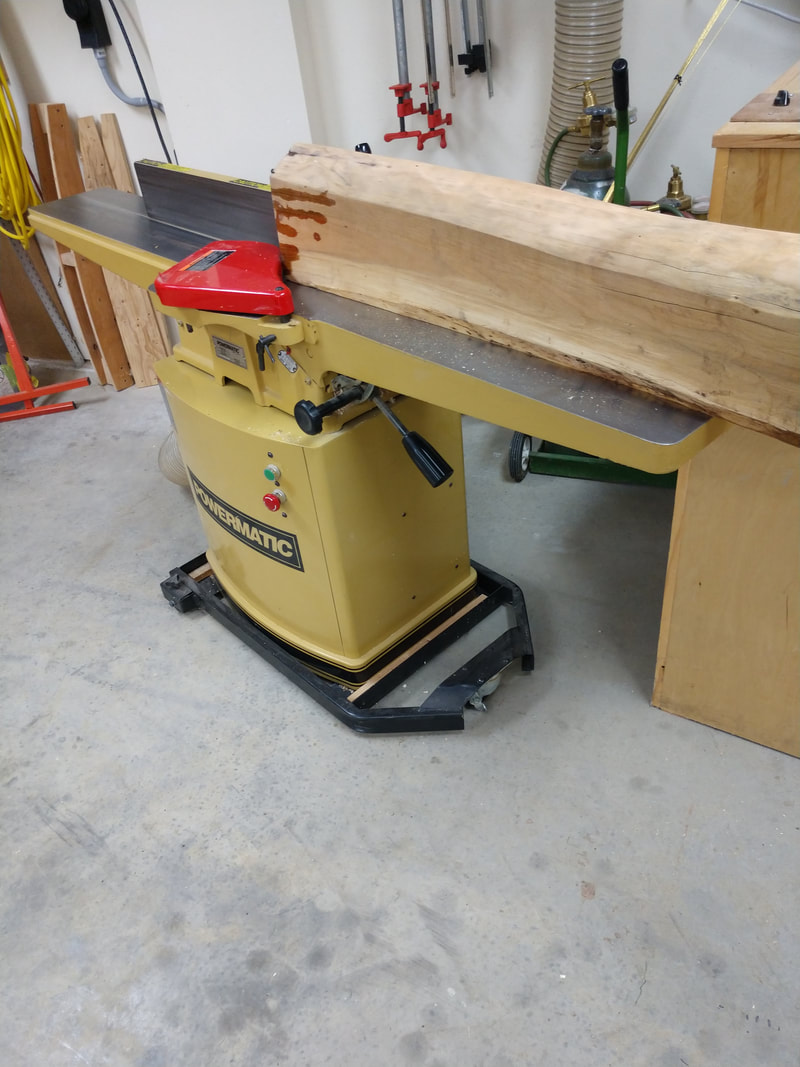
The planer and jointer were used for the final dimensioning of the seat with some minor cleanup of the ends via the radial arm saw.
|
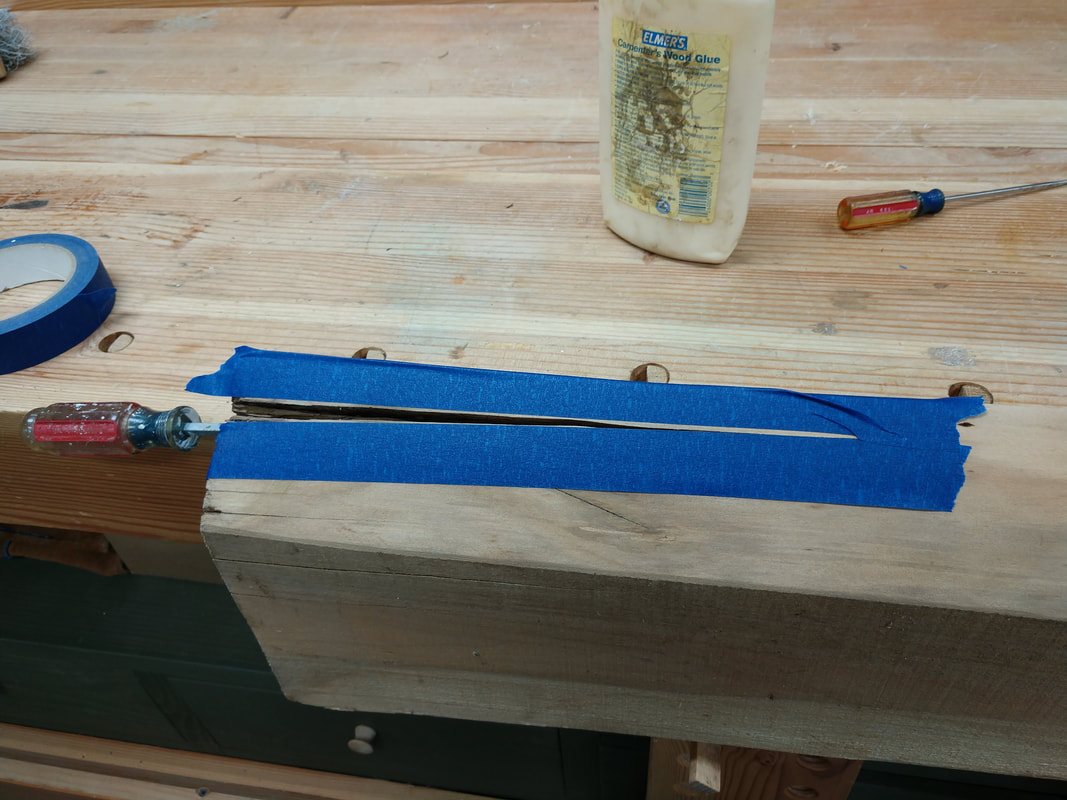
Checks all filled in with epoxy. This end had yet to be cleaned up, which was done on the radial arm saw.
|
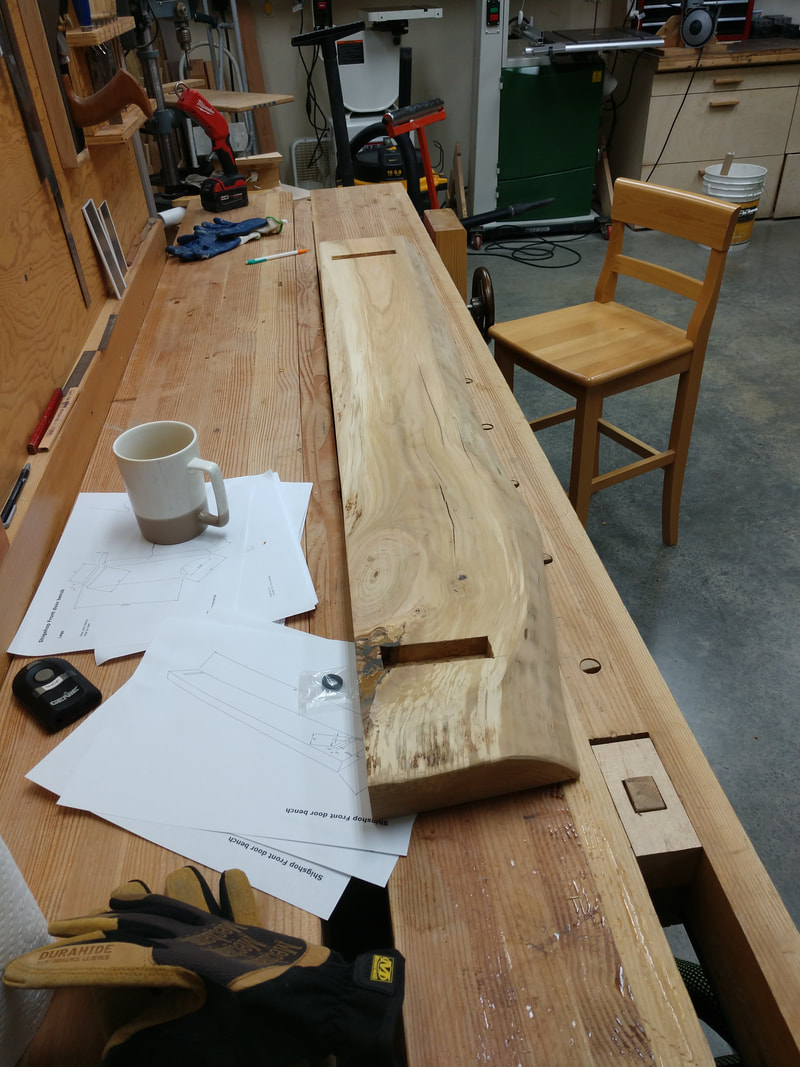
Ready for joinery. But, before that, we need some leg pieces.
|
Next, the legs
|
|
The legs are maple. Some thick stock was on hand, but most had a few bad sections that needed to be removed. After crosscutting some pieces to approximate length, bad imperfections were removed and some glue ups were done to get the required stock. I always try to do my best to mimimize wasted wood - just don't like wasting these precious resources.
|
No biscuits or dominos on this project, just good old fashioned mortise/tenon joints. I did the mortises first, just to be sure that the leg and tenon dimensions would be right.
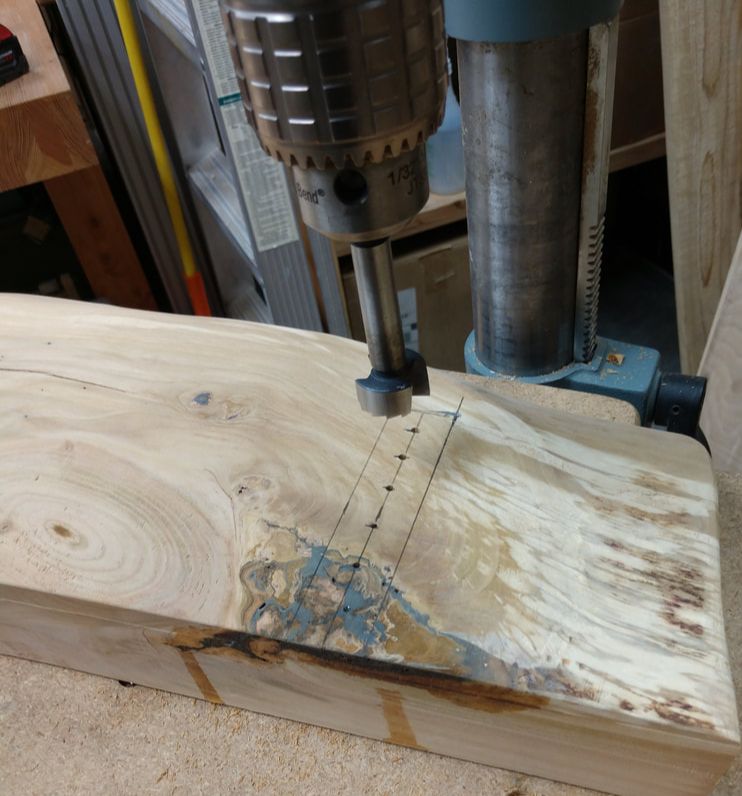
For mortises, after marking out locations and center punching, a forstner bit makes the first cuts. That darker section of wood had to be stabilized with epoxy.
|
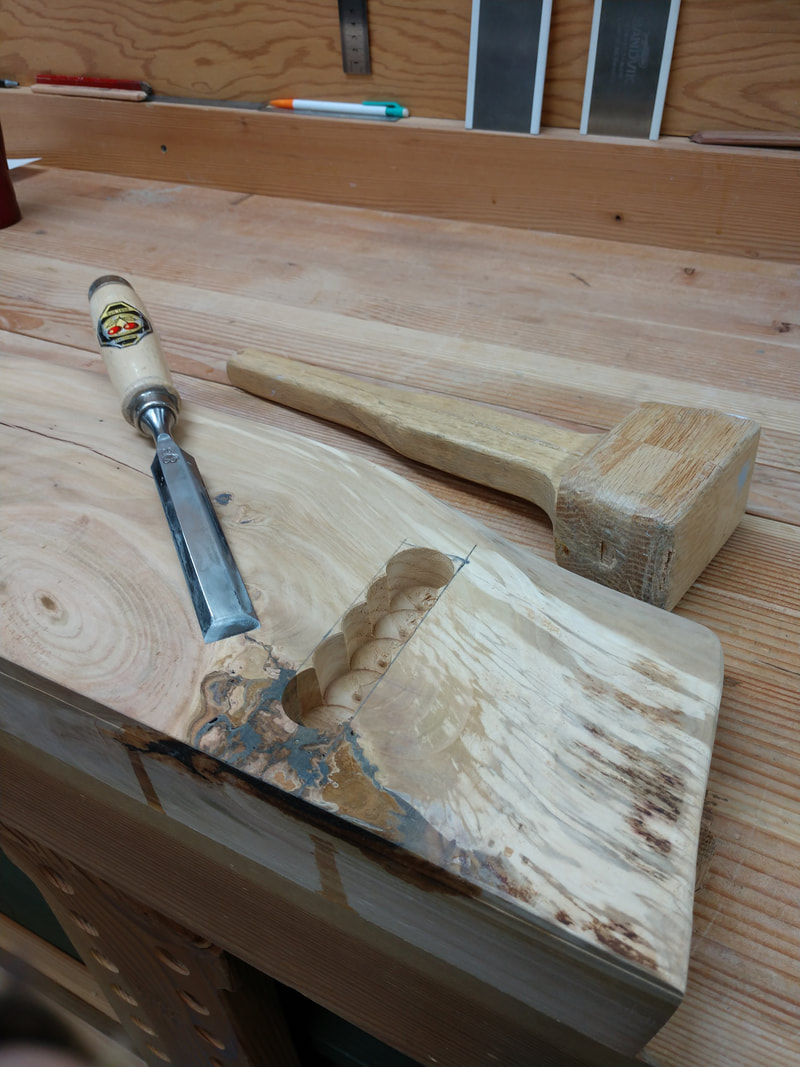
A chisel and mallet finishes the mortises.
|
The shape of the seat caused the length of the 2 mortises to be different on each end.
|
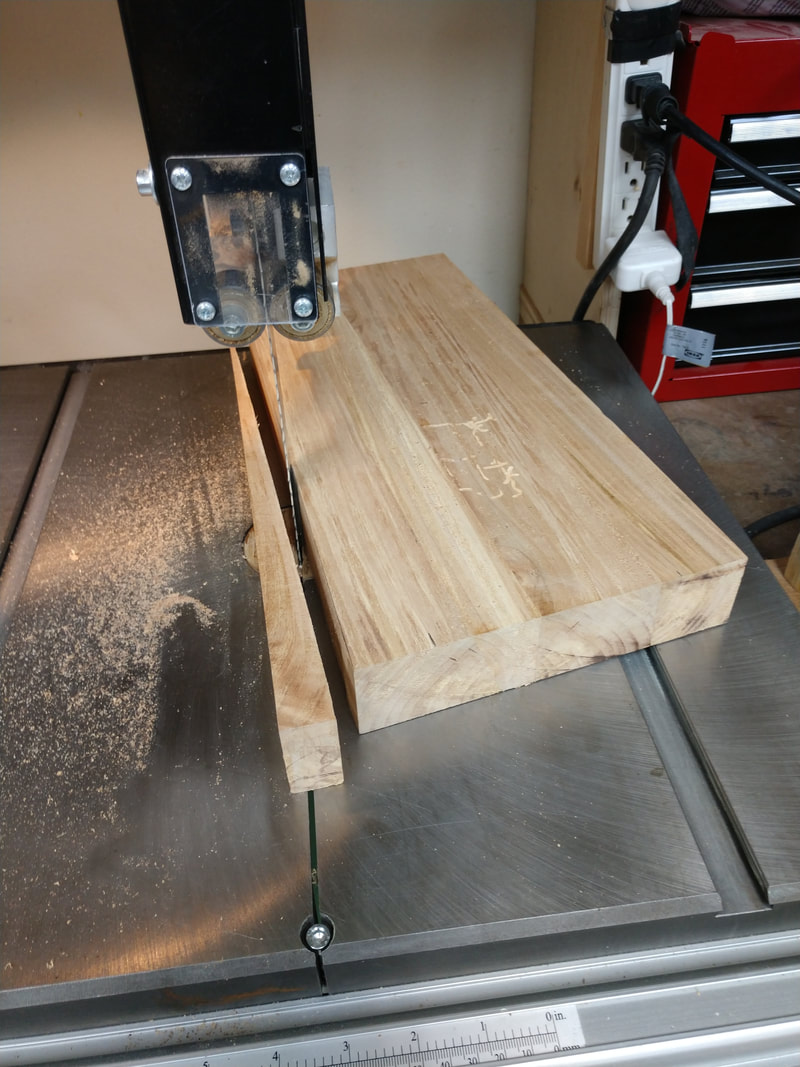
The leg stock was first dimensioned using the radial arm saw, table saw, jointer, and planer.
Before shaping the legs, tenons were cut to fit nicely into the seat mortises. Pics of cutting the leg tenons were lost (thank you android). The table saw was used via a cross cut fence and tenon jig like this:
Before shaping the legs, tenons were cut to fit nicely into the seat mortises. Pics of cutting the leg tenons were lost (thank you android). The table saw was used via a cross cut fence and tenon jig like this:

A small taper was cut on each leg. Note: For proper set up, the upper guide should be lower...
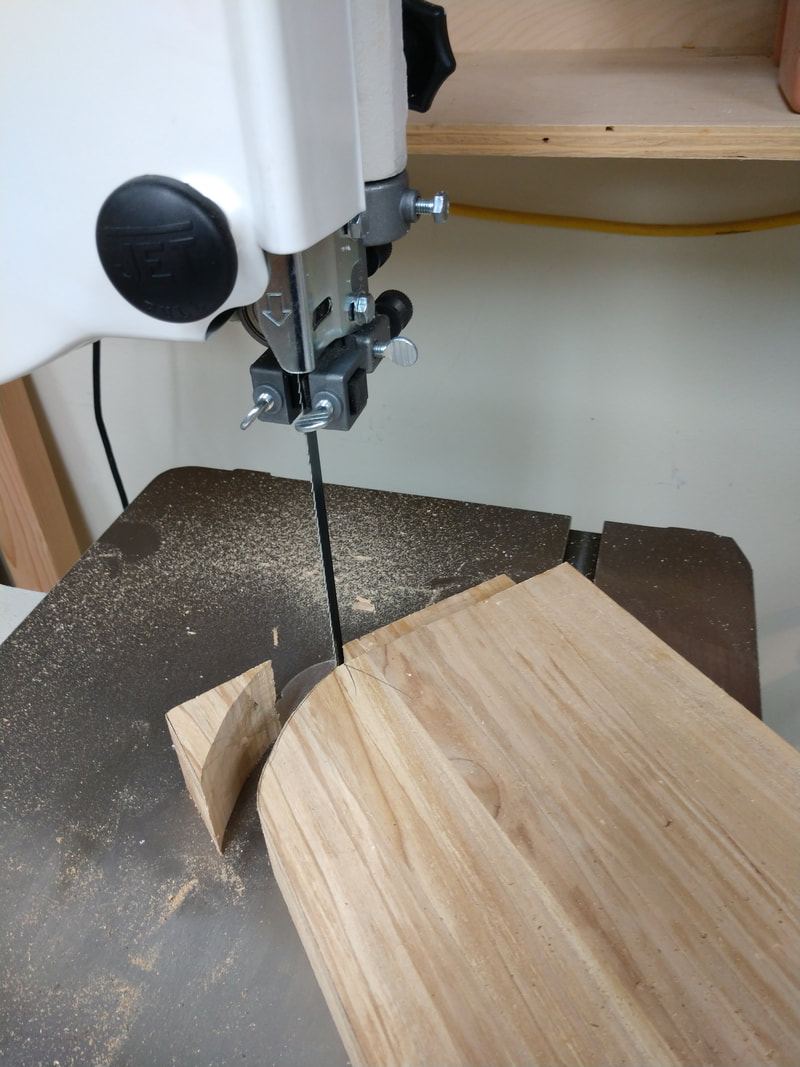
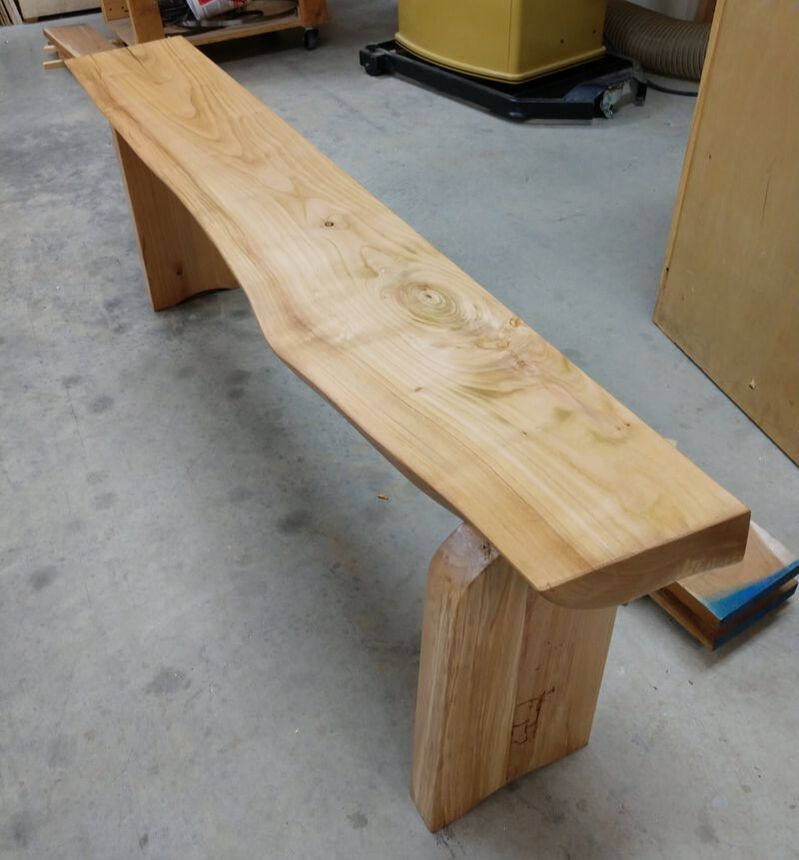
The small 14" bandsaw (new in the my shop) was used for curved cuts. Each of the legs were shaped a little differently due to the live edge. These differences are not in the plans and are done on the fly. What's with it with me and upper band saw guides. I'll try to pay more attention... ;)
|
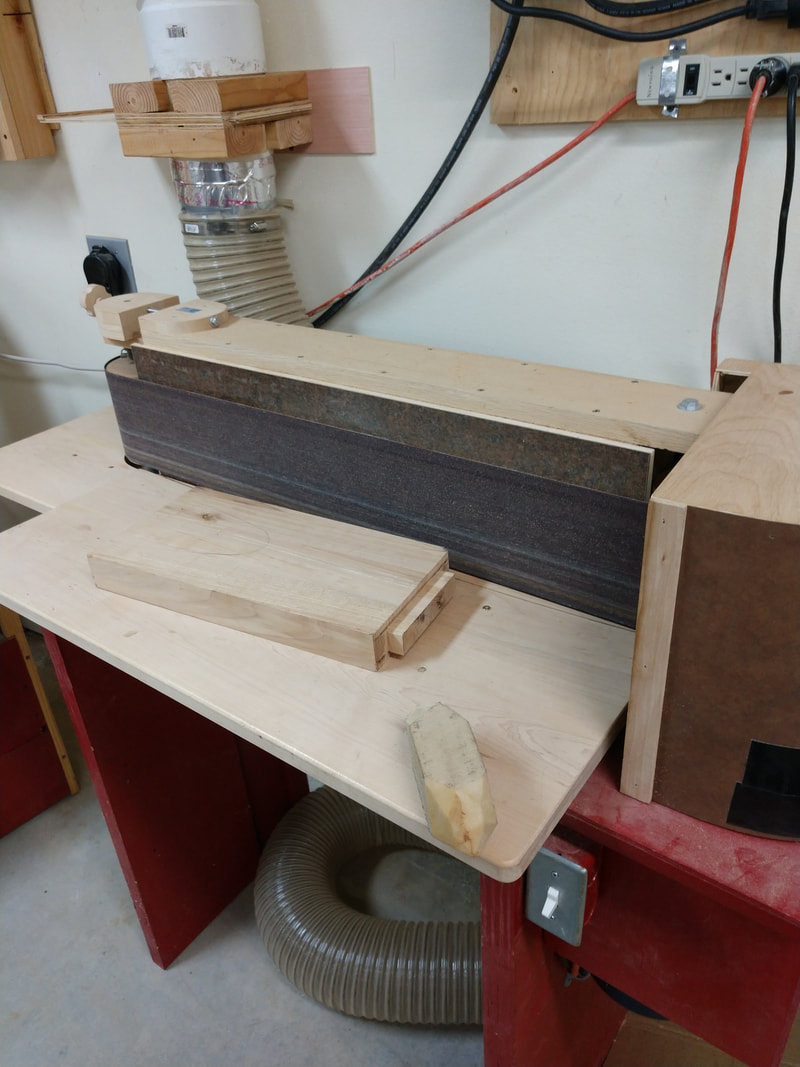
Edge sanding the legs.
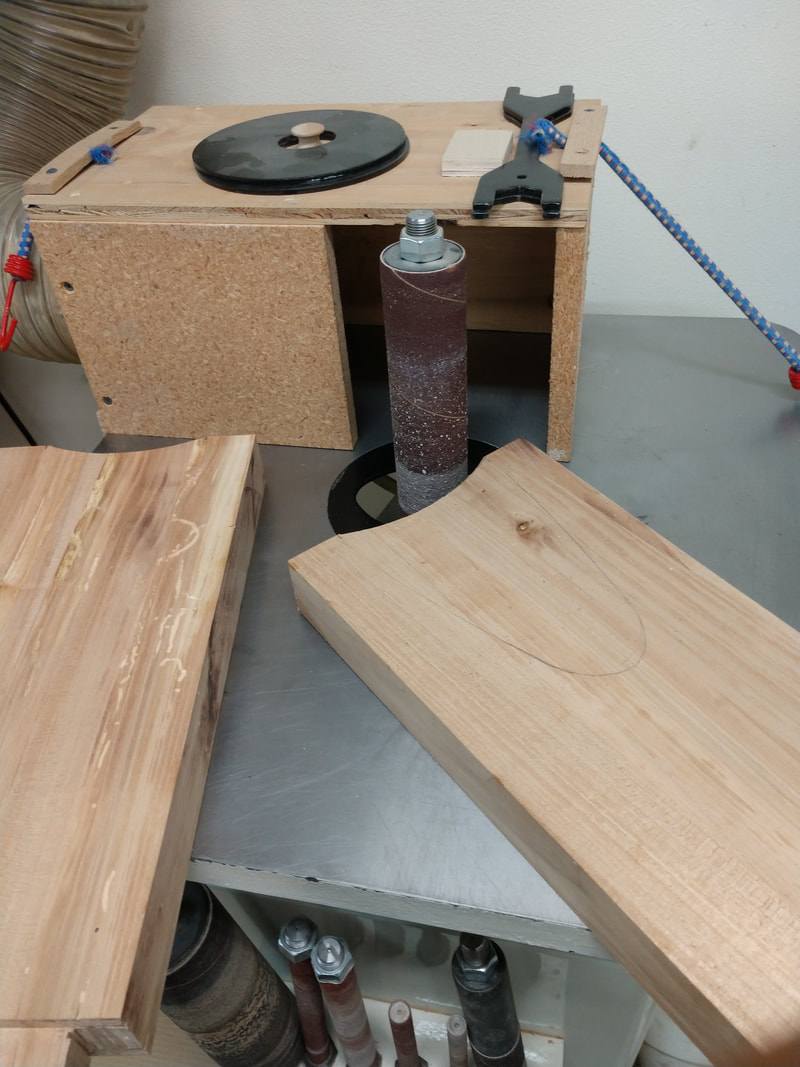
The bottom radius was first cut on the small bandsaw, then sanded via the oscillating sander. As you can see, I settled on a very shallow radius after drawing a couple other designs.
|
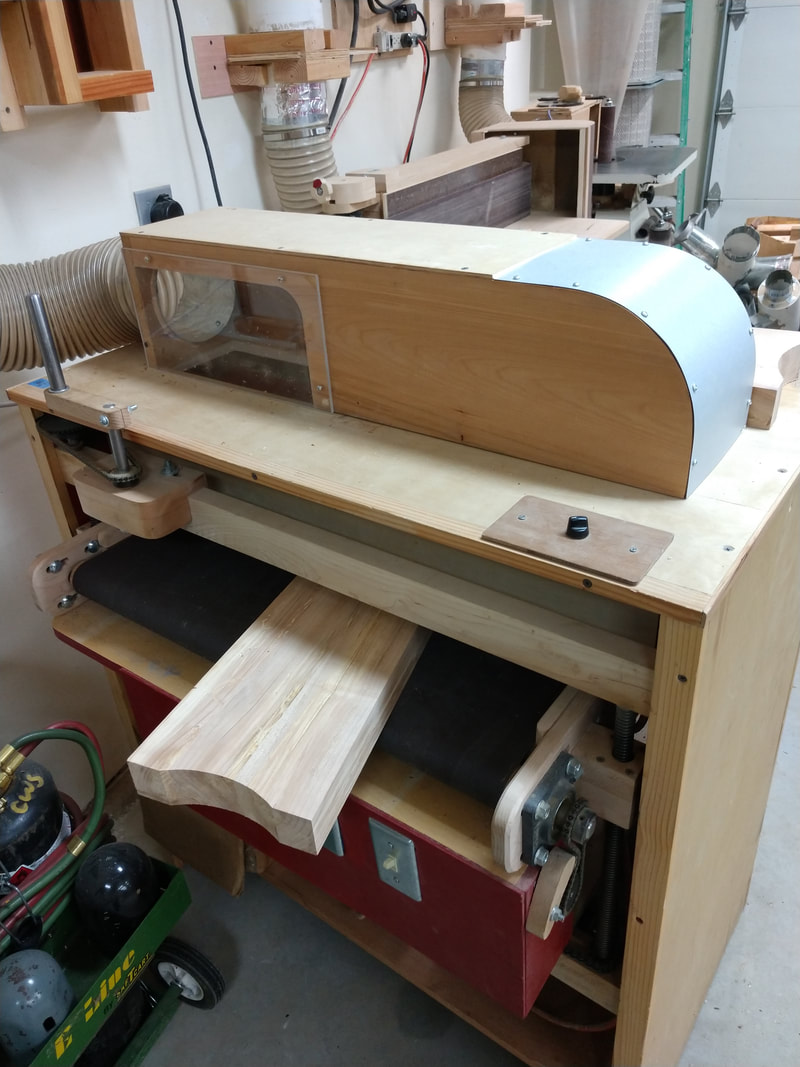
Sanding on the Shigshop thickness sander - click for more info.
This was the first project for my new little 14" Jet bandsaw. It enables me to keep a big resaw blade on the 18" bandsaw and a smaller blade on this one. Another shop luxury for sure.
It's also on a mobile base. The base is simple and requires a piece of plywood cut to the dimension of the tool (not supplied). So far, very pleased with this on the small bandsaw - I'll probably buy another one for my router table.
It's also on a mobile base. The base is simple and requires a piece of plywood cut to the dimension of the tool (not supplied). So far, very pleased with this on the small bandsaw - I'll probably buy another one for my router table.
 |
 |
Assembly and finish
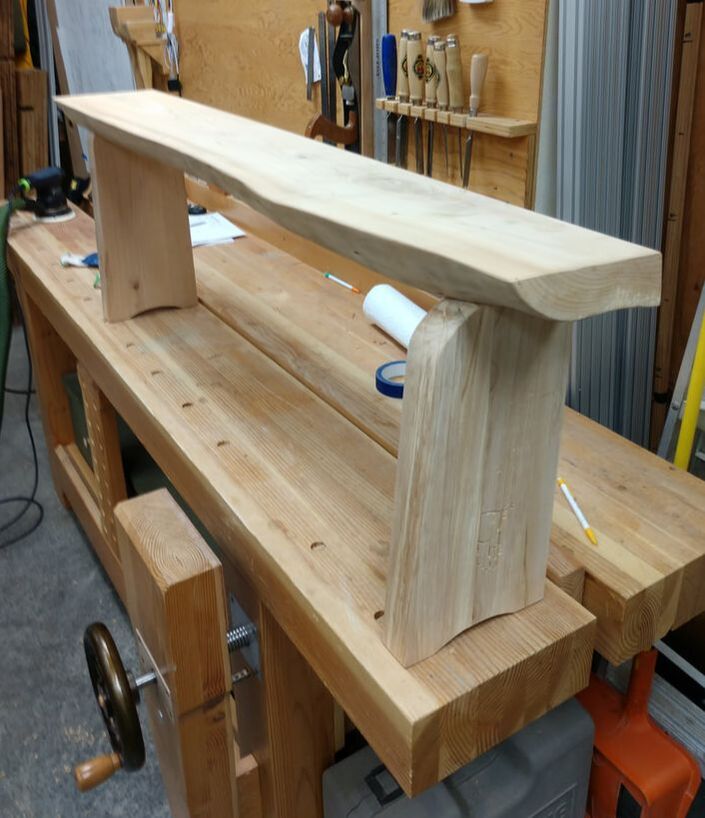
The legs are epoxied onto the seat. Some wood flour was added to the epoxy to thicken it a bit which helps fill any gaps, just had to add a little. To ease cleanup of the squeeze out, the pieces were dry fit, then masked prior to applying the epoxy mix.
|
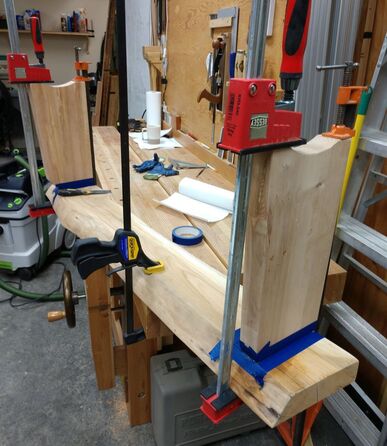
After coating the joint with epoxy, the seat was clamped to the bench in such a way so that clamps weren't too difficult to use. This sat overnight to cure.
|
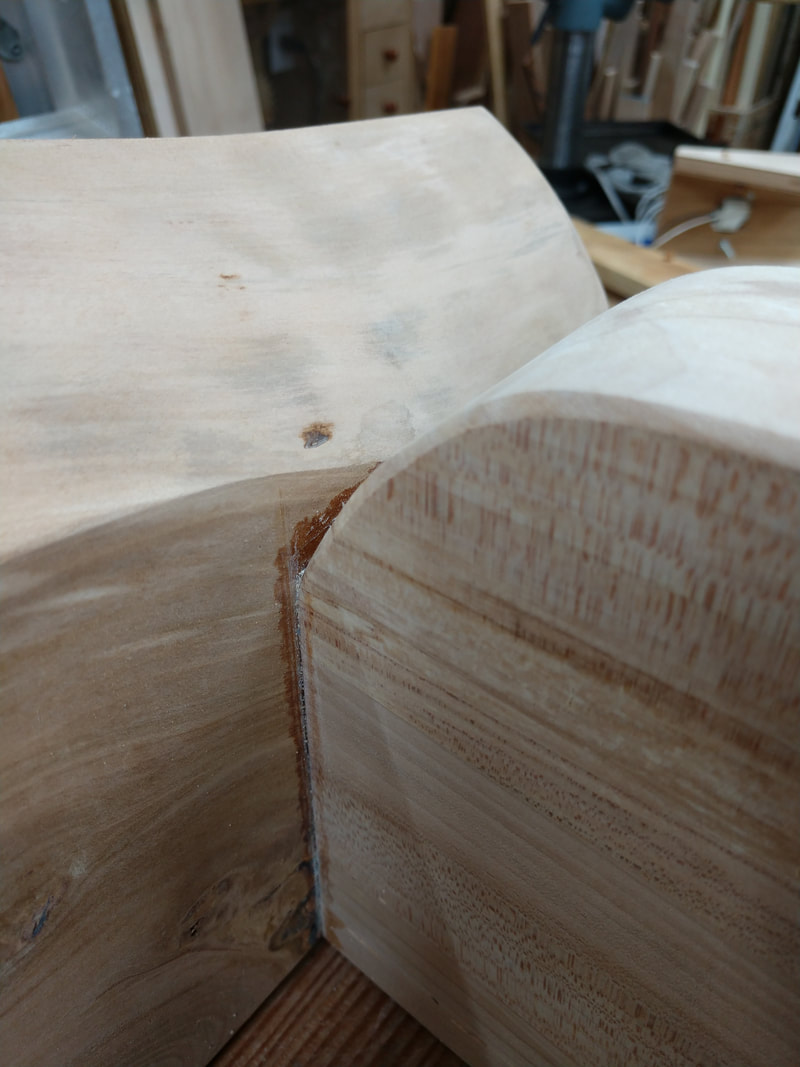
Even after using masking tape, there was a little bleed thru - no big concern.
|
Ready for sanding and finish.
|
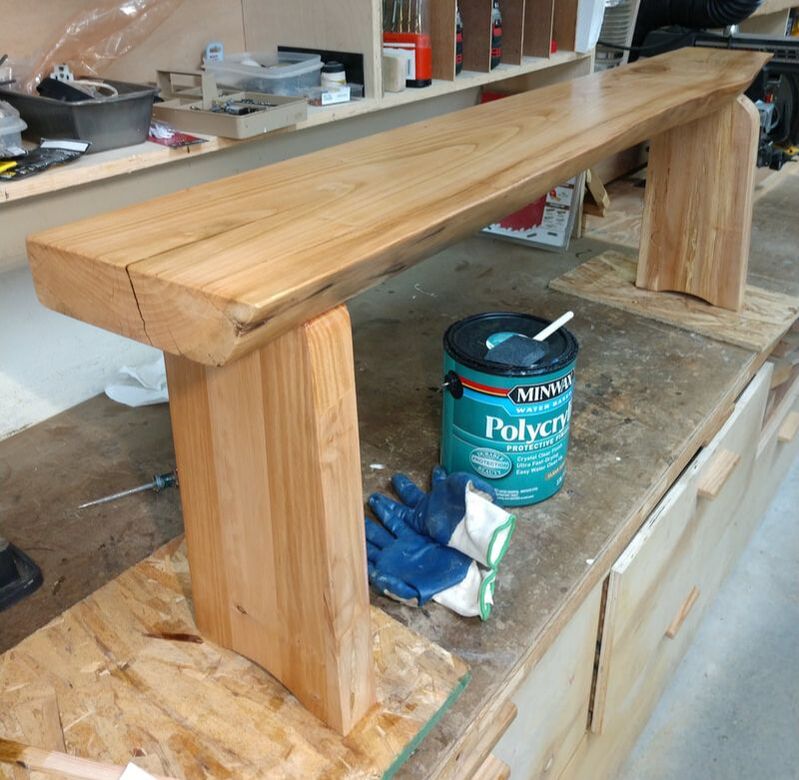
After sanding to 220 grit, a couple coats of water based semi gloss poly completes this project. It's a sweet little piece.
|
|
Free plans
If you made it this far, here are some super simple free plans for the bench.
Although an effort has been made to ensure these plans will produce a good safe project, Shigshop.com does not assume any liability as a result of any usage of these plans or project as a result. Do not use these plans for commercial purposes.
Be careful and proceed at your own risk.
Although an effort has been made to ensure these plans will produce a good safe project, Shigshop.com does not assume any liability as a result of any usage of these plans or project as a result. Do not use these plans for commercial purposes.
Be careful and proceed at your own risk.
| front_door_bench.pdf |
