
Homemade mallets
It's nice to build simple things once in a while. Mallets are simple things, and you can use them to beat on other things too ;).
After a bigger project, you are sometimes left with a pile of scraps and cutoffs - inspiration can strike while looking at those piles.
Awhile ago, I had made a smaller mallet out of scrap that came off the arms of my original morris chair - that tool gets plenty of action. But many times, you need something with a bit more heft, and unless you have a bigger mallet, you end up using a hammer, which usually isn't the best choice for nice woodworking projects.
Oh, if you want to do something like this, don't use anything less dense than oak, maple, or walnut- even better if you have some black locust or ironwood! It's a mallet after all!
From this point on, each mallet will take on a life of it's own - it's the scrap that determines the build. This is just a fun little page showing one particular mallet - one a bit more involved based on the number of pieces I used.
From this point on, each mallet will take on a life of it's own - it's the scrap that determines the build. This is just a fun little page showing one particular mallet - one a bit more involved based on the number of pieces I used.
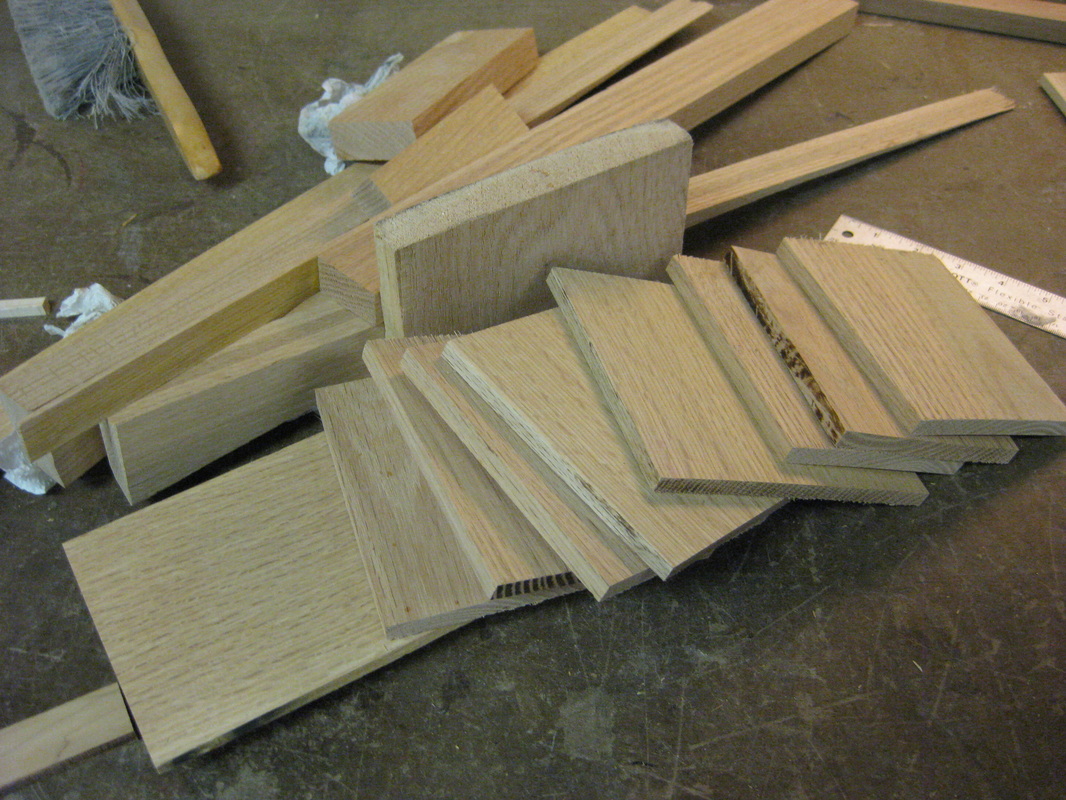
Step 1 - So, after building some oak desks, and digging through my piles of other scraps, I came up with this little assembly of oak pieces.
|
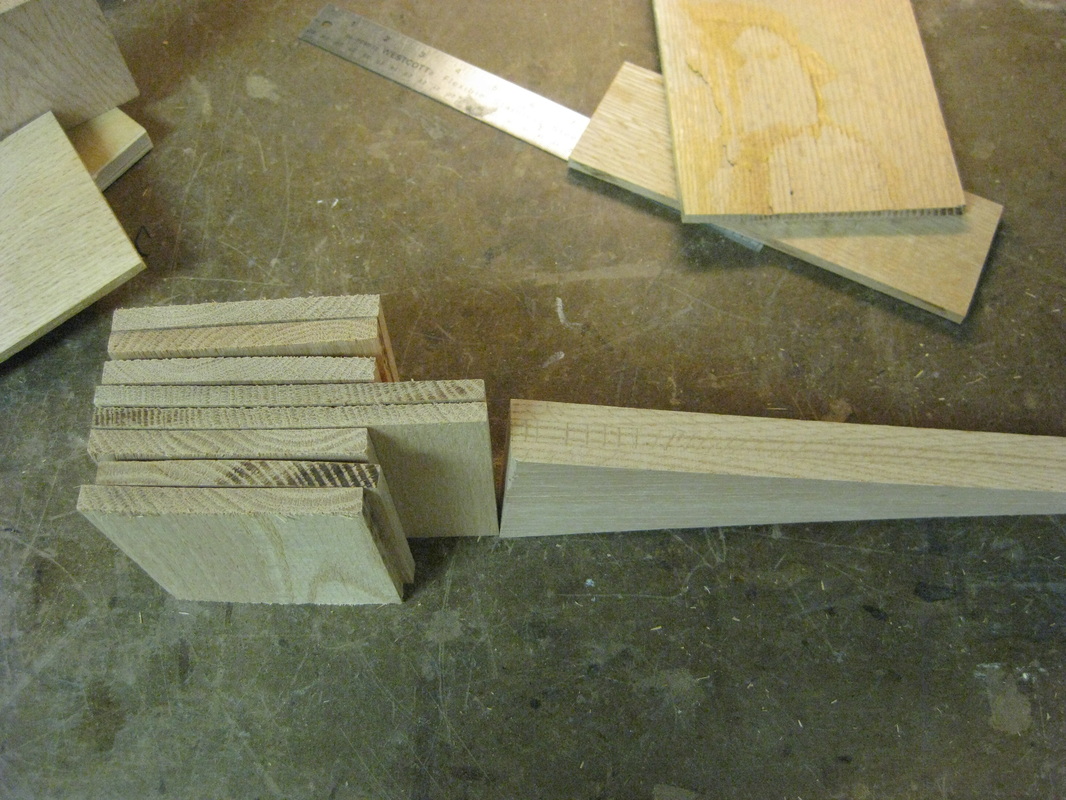
Step 2 and 3 - Spend 2 or 3 minutes creating a detailed plan of how to do this project in your head. :) Then, layout something that has the potential to look something like a mallet. I orient the wood so the hitting surface is endgrain. Do you see something fishy here? Hmm.... Read on...
|

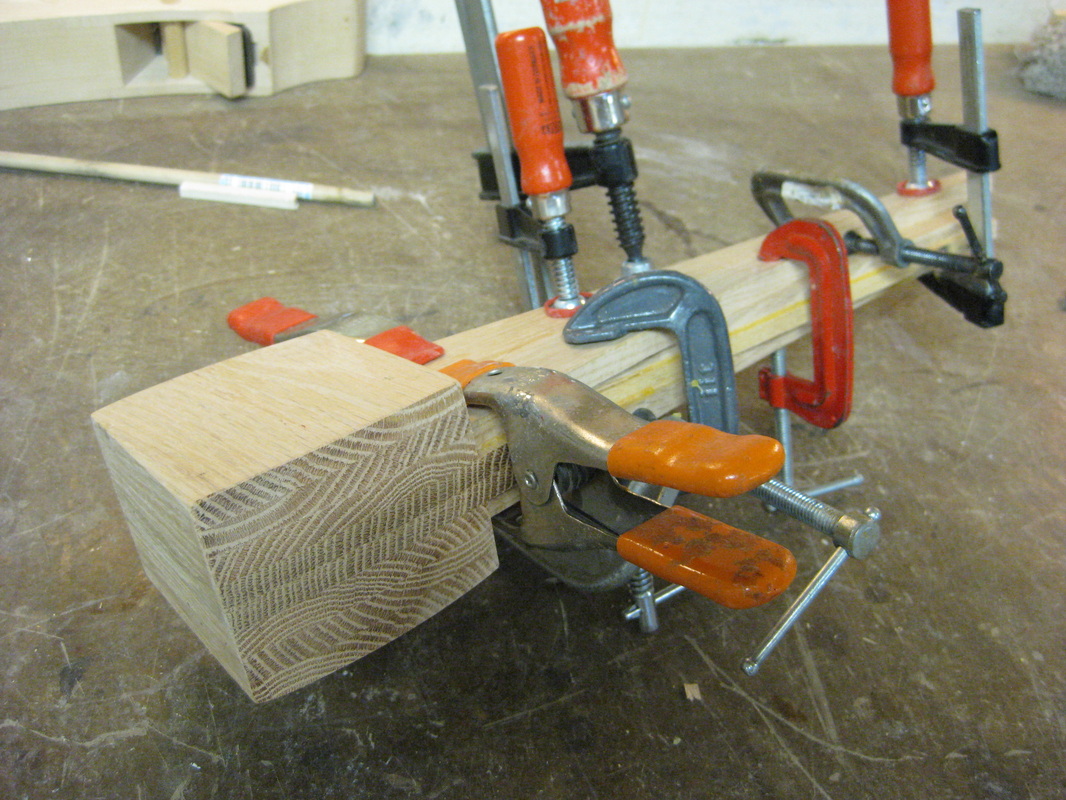
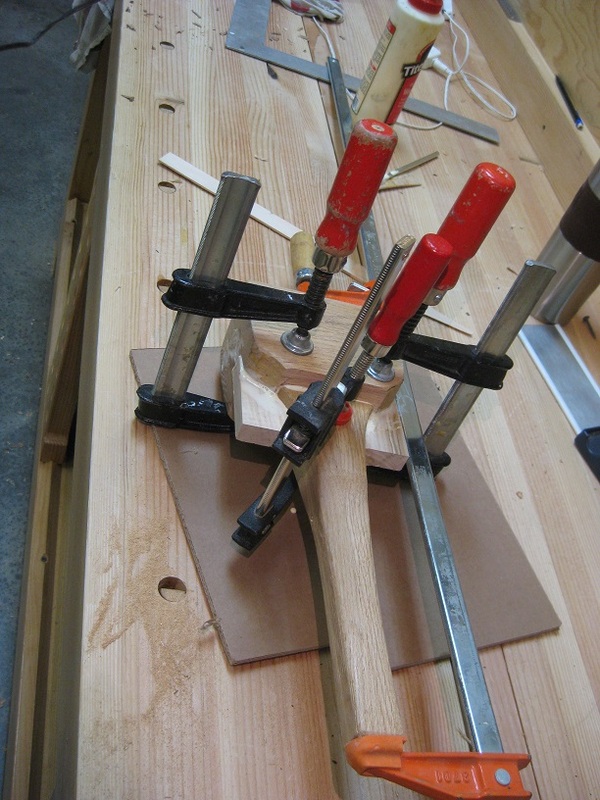
Step 4 - Glue up the head and clamp it good.
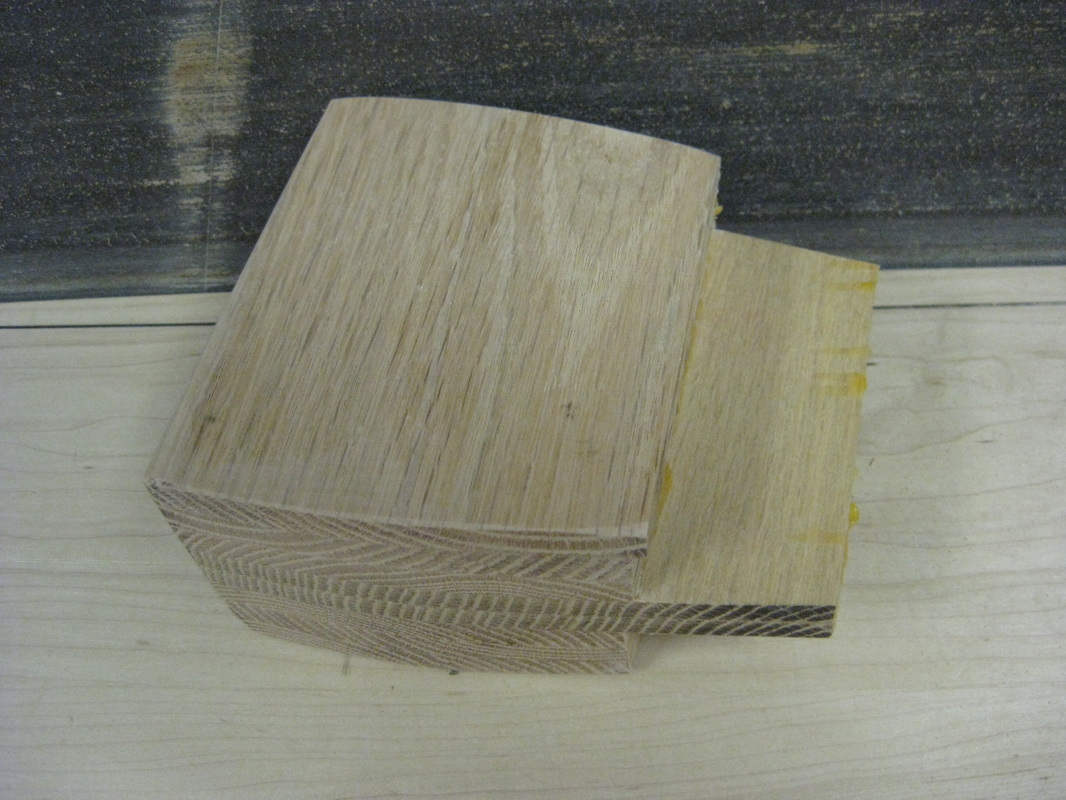
Step 5 - Shape the head on a bandsaw. For this photo, I also had cleaned up the faces using an edge sander and a file to chamfer the edges. Both of these steps could have been done later.
Step 6 - Take some more stock and glue on a handle.
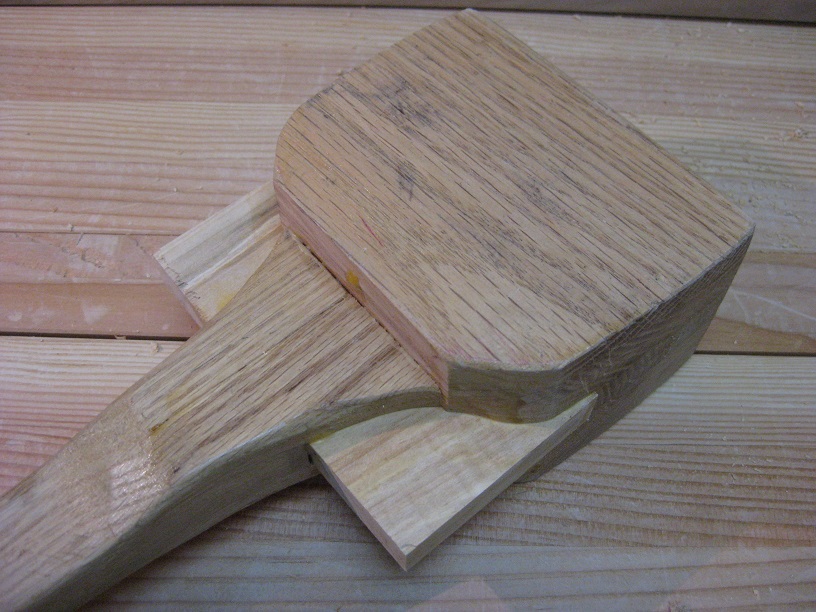
Step 7 and 8 - Via the bandsaw, some rasps, files, and sandpaper, shape it to resemble something appealing. Leave the handle rough - better grip that way. Optionally, brush a couple coats of water based poly on it.

This bad boy is ready for business! Or, at least that's what I thought...
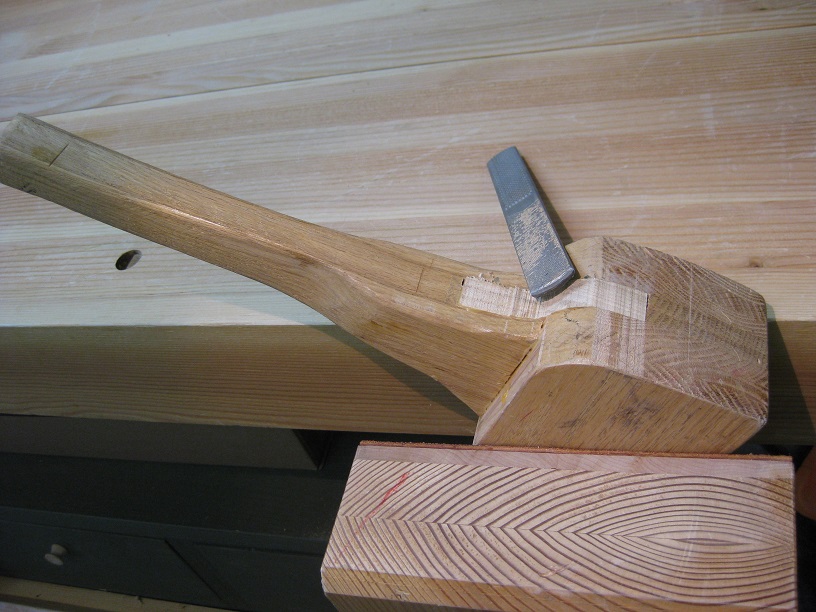
The goof up
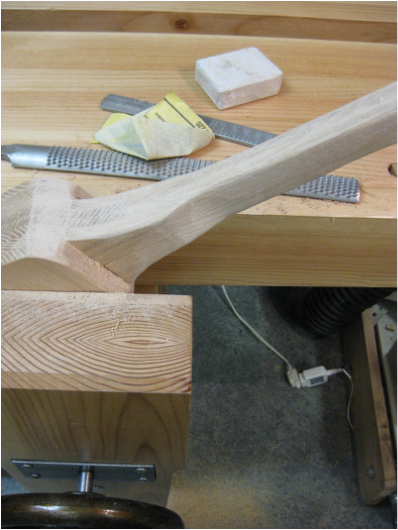
Well, that doesn't look good! I don't know if you noticed that I had oriented the grain for the handle mount in the wrong direction. You can see the grain direction in the pictures above. Using the mallet, I gave a big mortise tenon a good whack to close up a gap, ended up with a 2 piece mallet, and immediately realized my mistake.
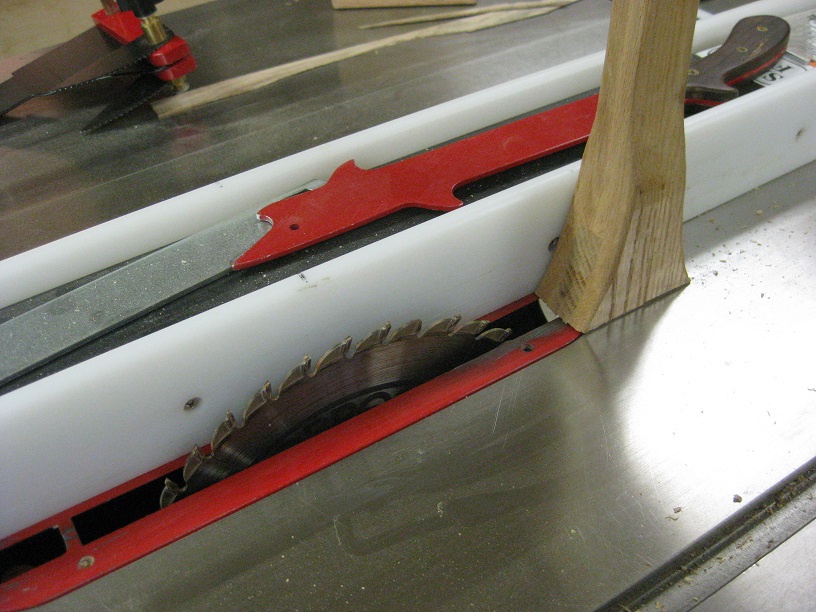
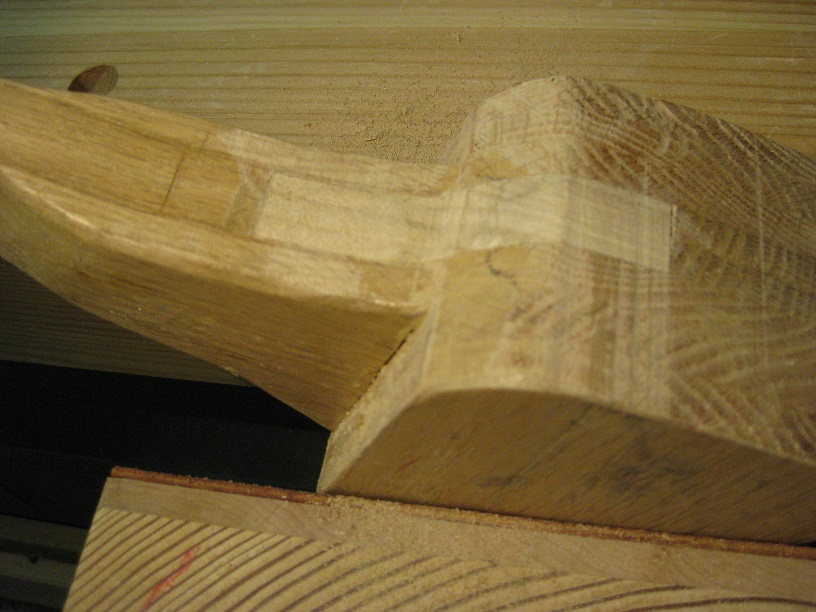
It was pretty easy to fix. I decided to rejoin the 2 pieces with a spline. To flatten the joining surfaces, I used an edge sander on the handle part and a jack plane on the head. Then, mating slots were cut in both pieces on the table saw and a maple spline was glued and clamped - this time making certain the grain was going the right way!
|
|
Clamps removed and excess cut off on the band saw. A file/rasp combo makes short work of cleaning it up before a quick sanding and a coat of poly.
|
|
|
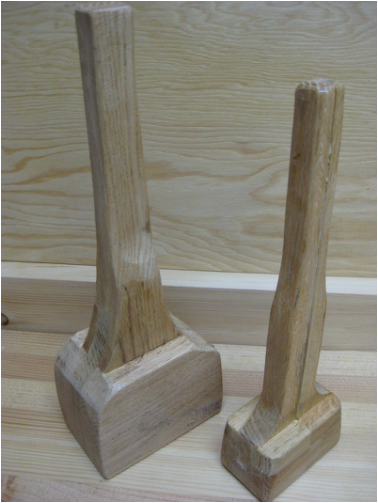
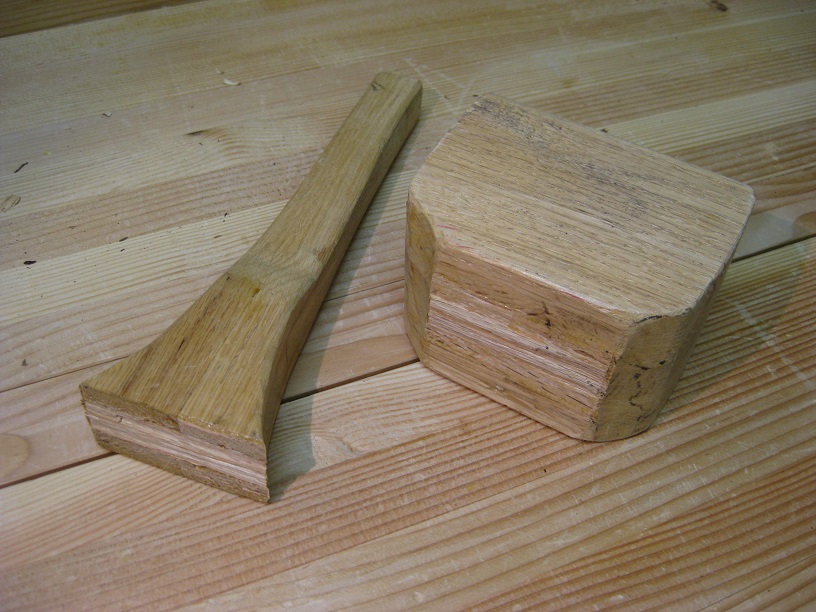
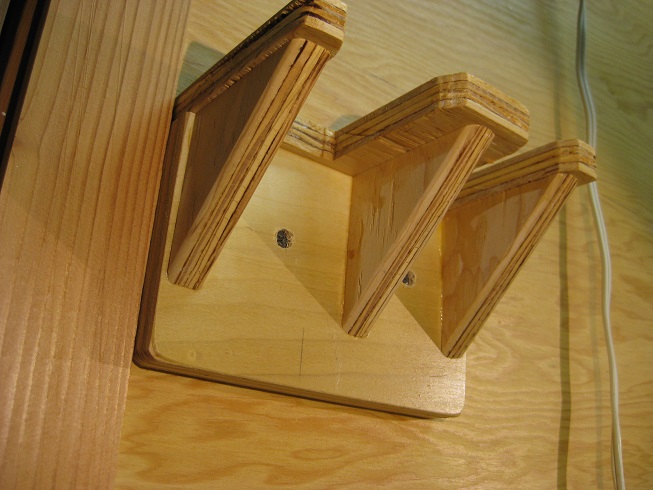
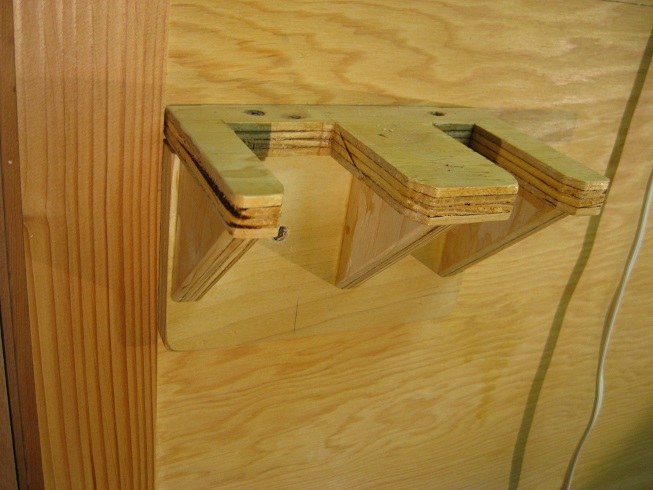
And here are the mallets parked - awaiting their next adventure with a couple shots of their little holder.
Before the breakage and after....
Before the breakage and after....
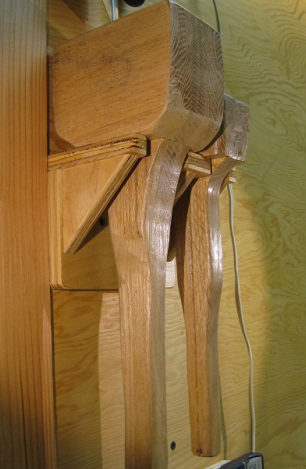
The big mallet here is before it broke

After the repair...
|
|
