
Dingy
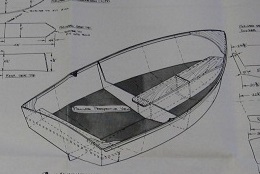
Here's a little dingy I built back in 2009. It was from a plan by Sam Devlin called the "Polliwog". With a length of 7'6" and a beam of 4' 1" she was small, but still sea worthy (of course in flat water) - We had a lot of fun building it and floating around in it was always a blast. The type of construction utilizes what is known as the "stitch and glue" method. This was my third stitch and glue project.
The design

|
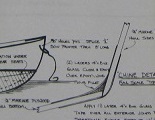
I bought the plans from Sam Devlin. He now sells them in a digital format as well as printed. Back in 2009, he only had the paper versions. A small instruction and assembly manual came with the plans.
The plans were hand drawn in a very skillful manner. All of the information I needed to build the boat could be found in the plans and manual. |
The build

|
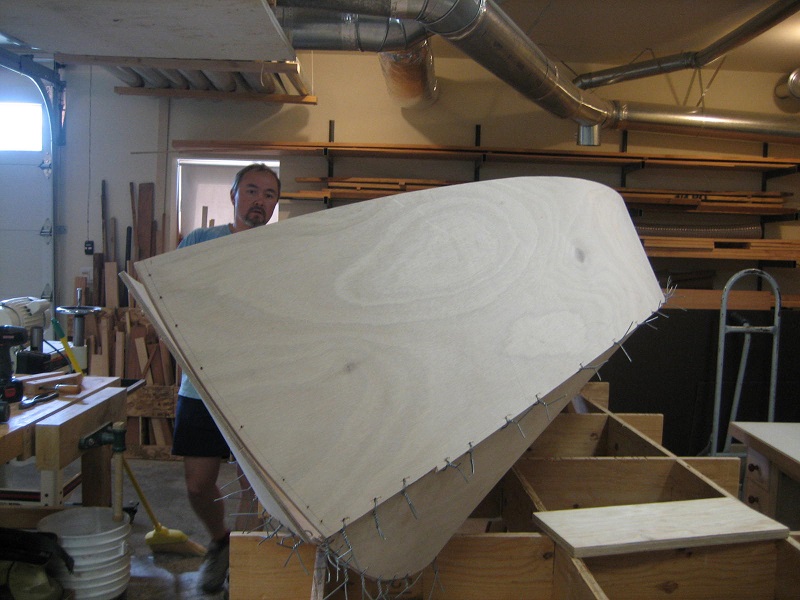
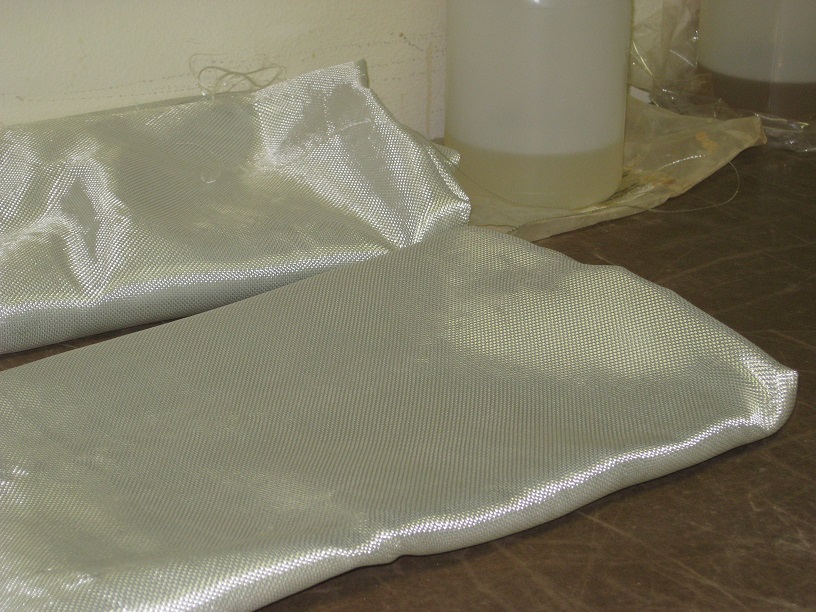
Stitch and glue boat construction is fairly straightforward. Panels get cut out to exact sizes. They are then "stitched" together with wire or zip ties. Marine epoxy with layers of fiberglass complete the joints.
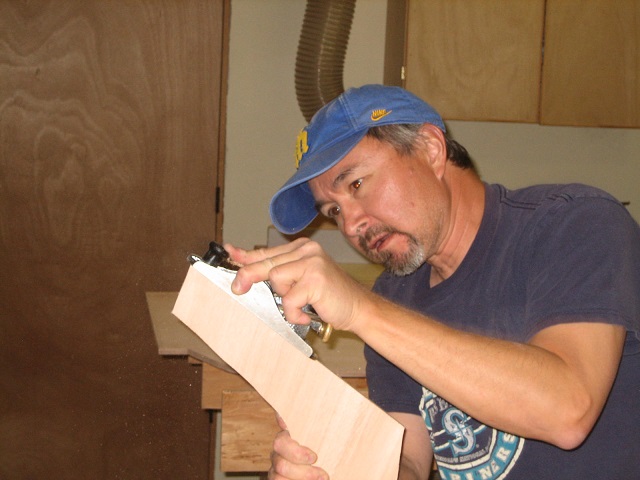
In this picture, I layed out offsets for the hull sides. 2 sheets of plywood are stacked to ensure I get mirror image pieces when they are cut. After the offsets are marked, I used finish nails to hold a batten in place and drew a fair line. Because that line had such a gradual curve, I was able to cut it with a circular saw, and then cleaned it up with a block plane. For the hull to take its proper shape, it's very critical to accurately cut the panels. And because marine plywood and epoxy is about the most expensive plywood and epoxy you can spend your hard earned dollars on, it's a safe bet to buy some quality plans from a place like Sam Devlin's shop. |
|
|
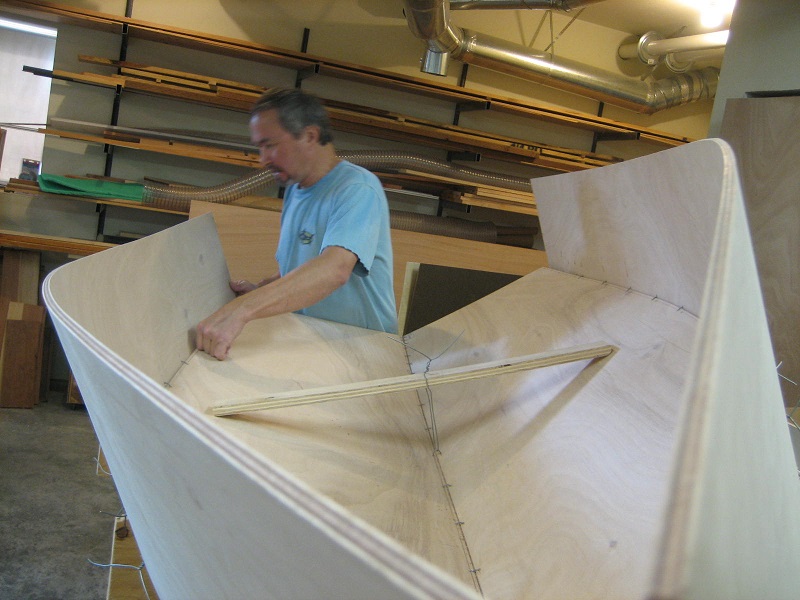
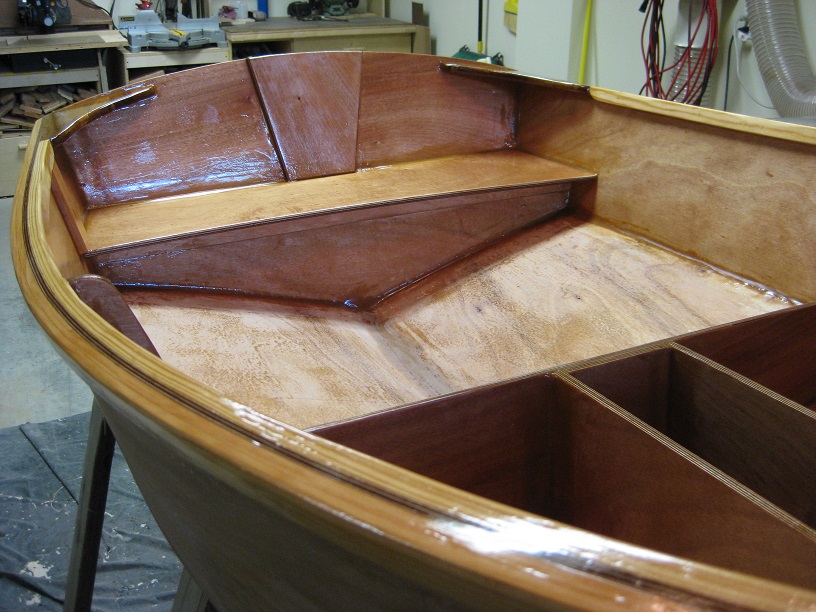
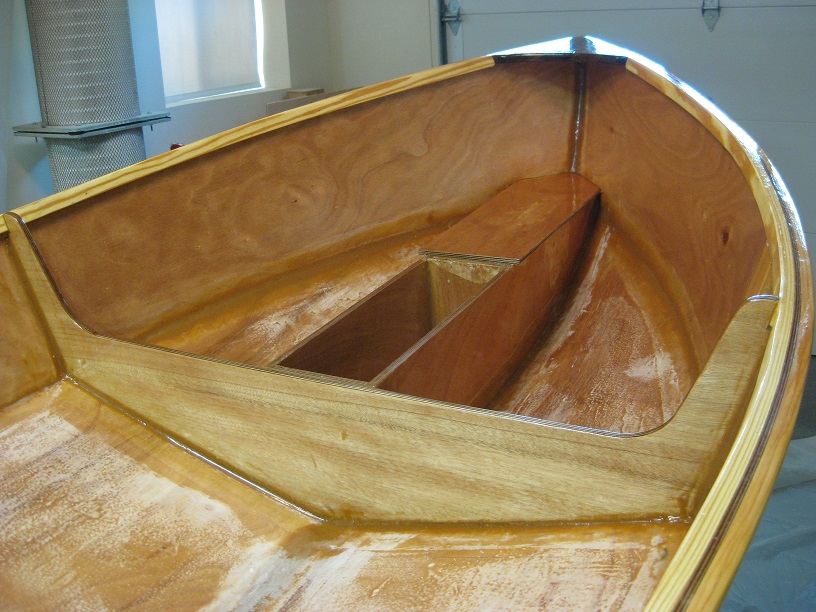
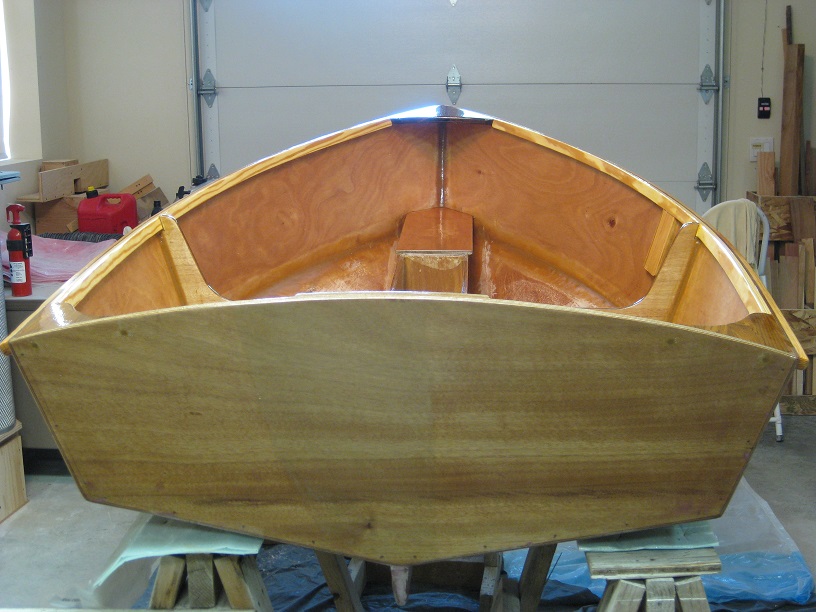
The hull consists of 2 bottom, 2 side, and 1 transom panel. Short lengths of baling wire are used to stitch the hull together. Throughout the build, various stretchers are used to hold the hull in the appropriate shape.
|
|
|
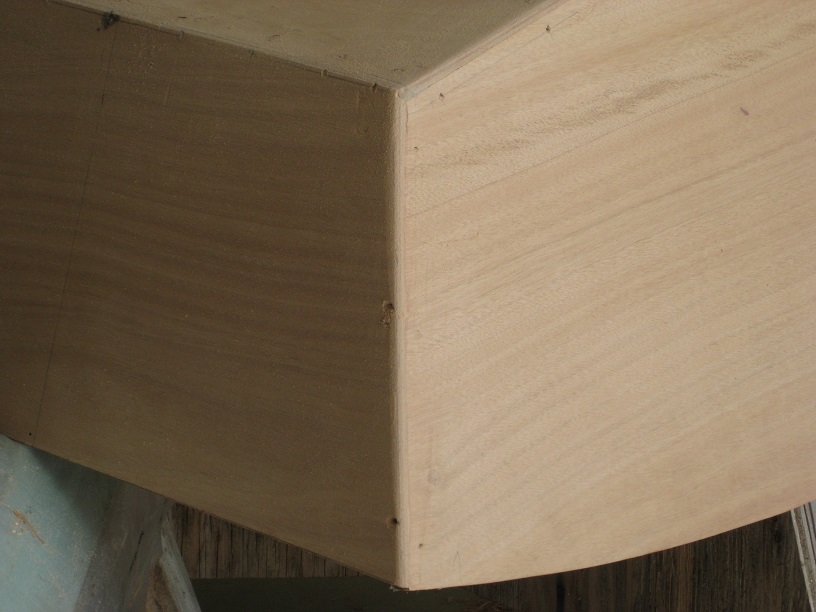
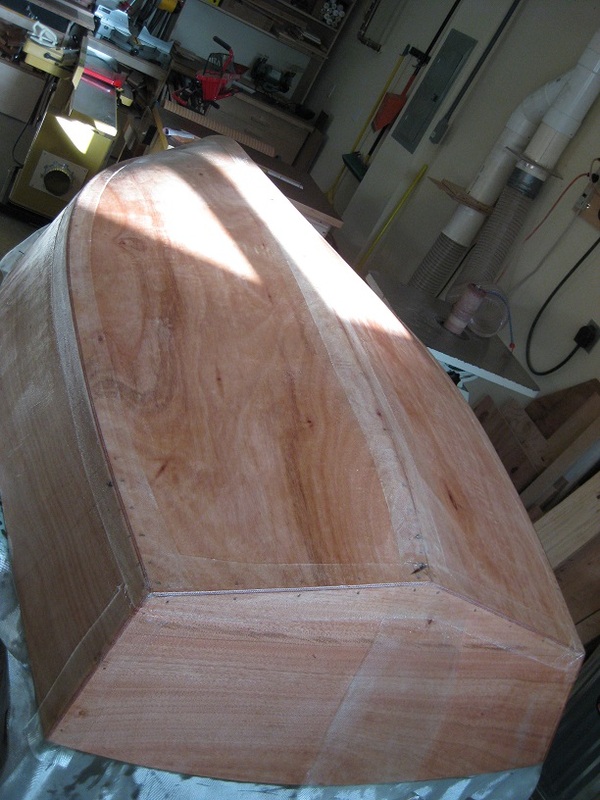
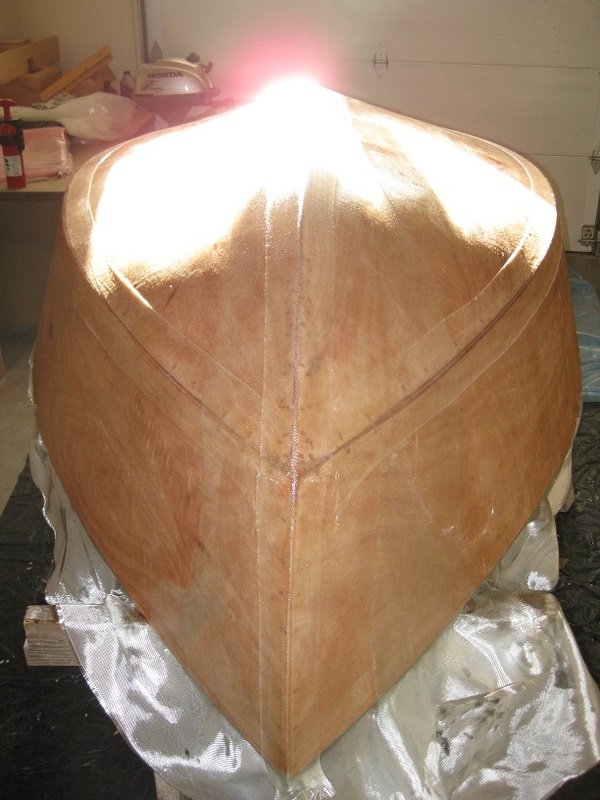
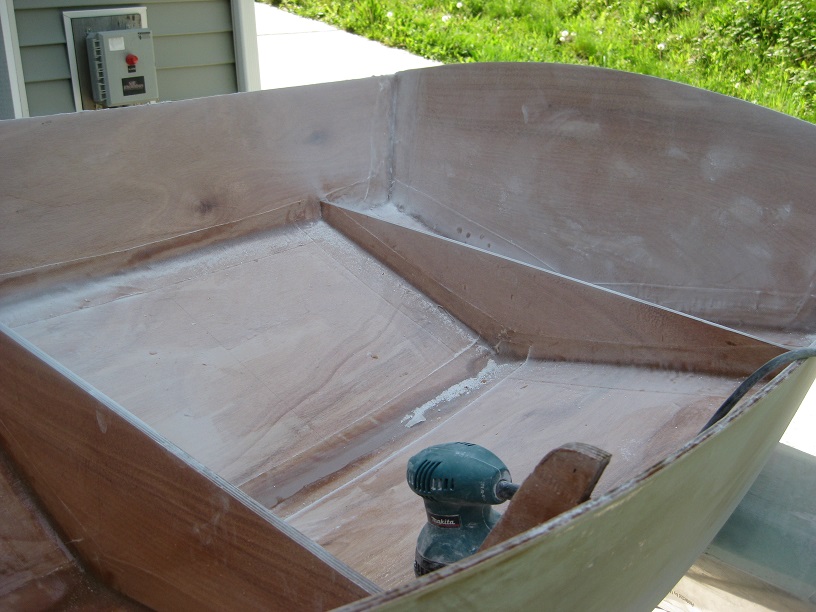
Other support pieces are cut and stitched into place. Using epoxy thickened with wood flour (dust), a fillet is applied to all of the interior joints. After that cures, the hull shape is pretty much locked in.
|
|

|
|
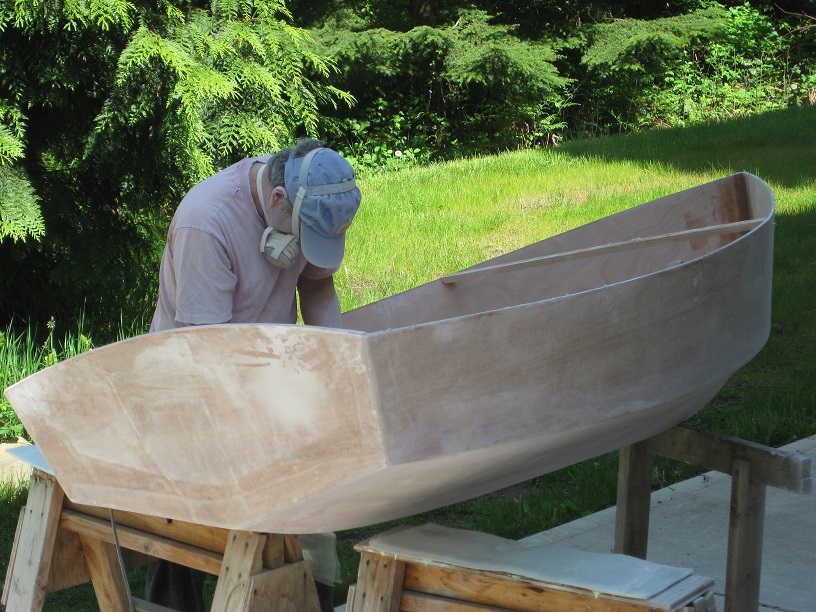
The hull is then flipped and the stitches get removed. It's best to heat the wires a bit to pull them out. I used a propane torch.
Using a block plane and some rough (80-120) grit sandpaper, I go over the joints to clean them up. |
|
|
|
|
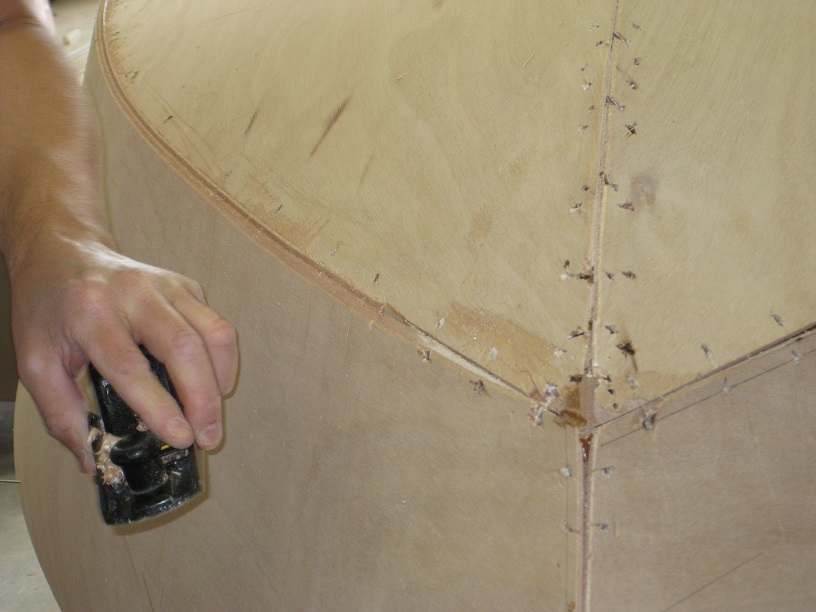
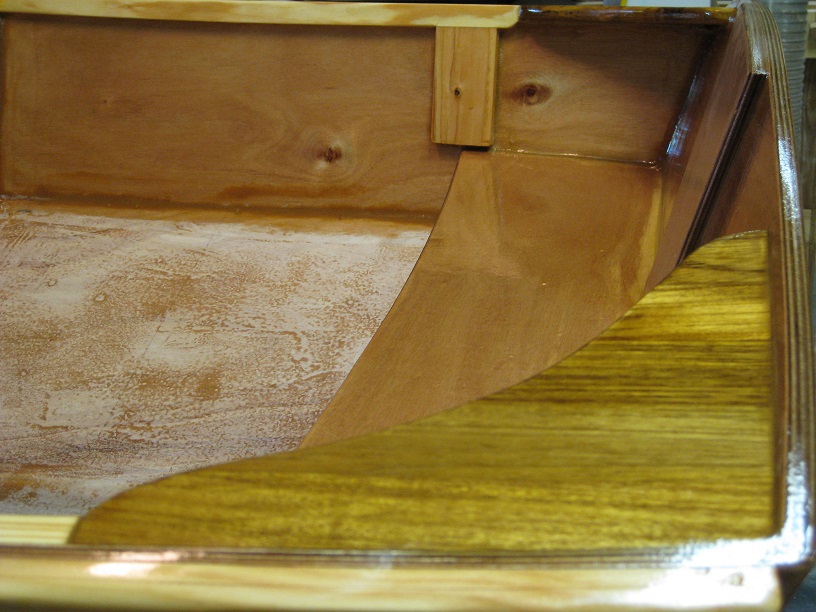
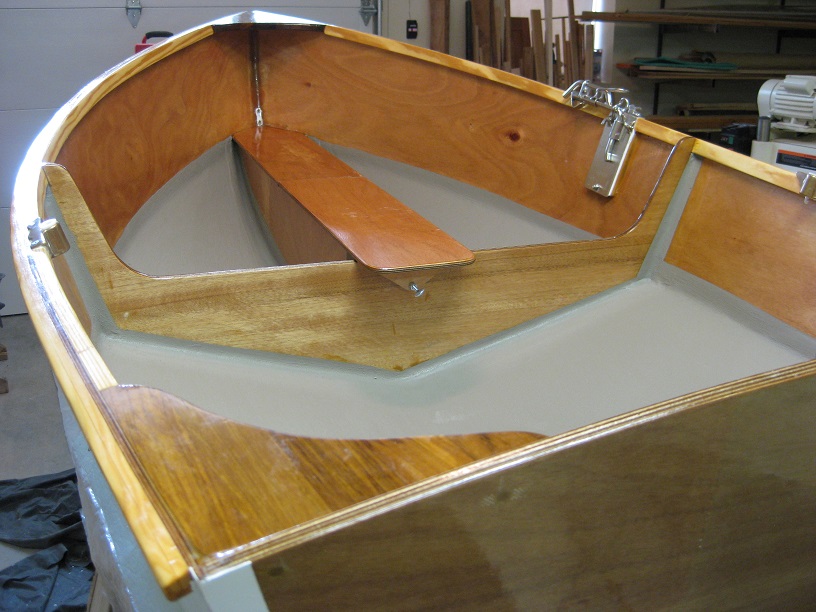
All of the holes get filled with thickened epoxy and each joint gets a layer of fiberglass tape, followed by fiberglass cloth over the whole hull. Multiple coats of epoxy are applied, sanding and washing between each coat.
|
|
|
The inside seams get a layer of fiberglass tape over the fillets. Multiple coats of epoxy get applied to fill the fabric weave. Then, lots and lots of sanding.
After the sanding, it seems to get easier. It's important to wash the epoxy before sanding to remove the amine blush. Otherwise, the sandpaper clogs very fast. |
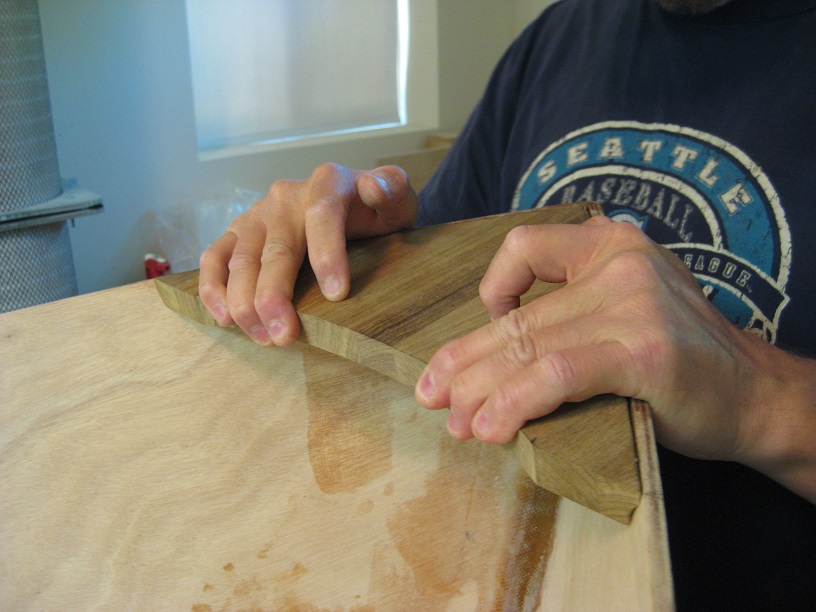
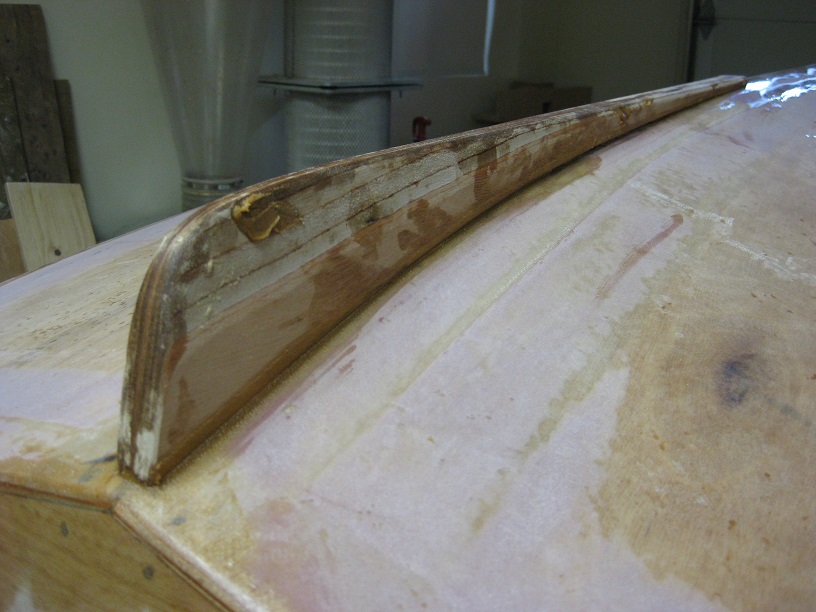
Breasthook
|
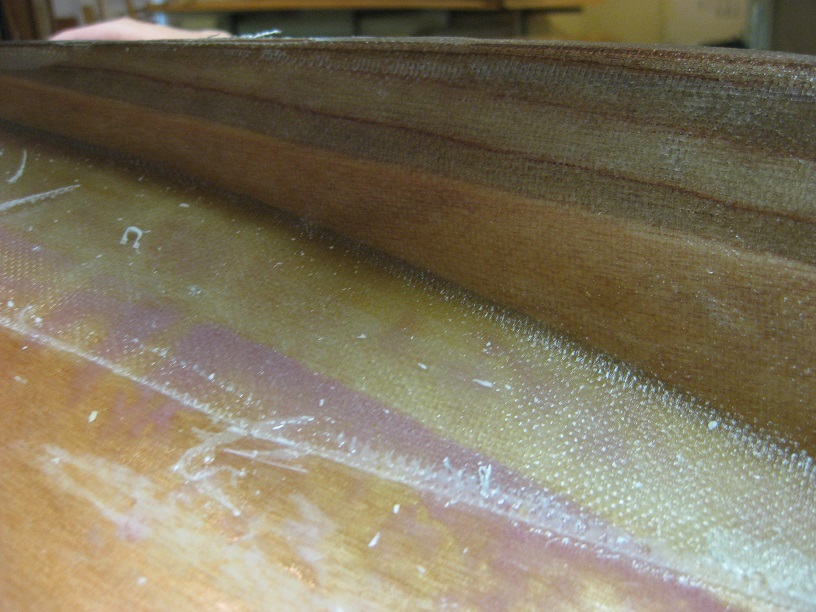
Shear clamps
|
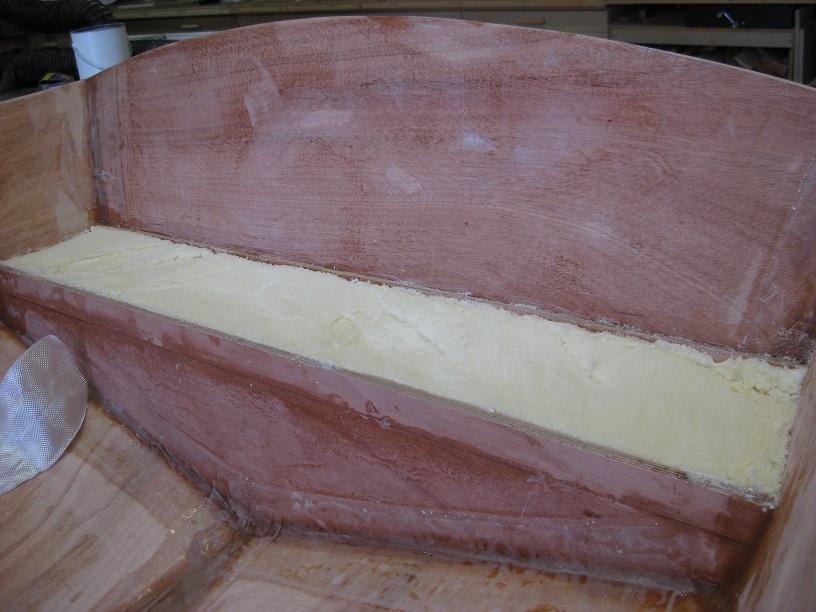
Transom seat foam
|
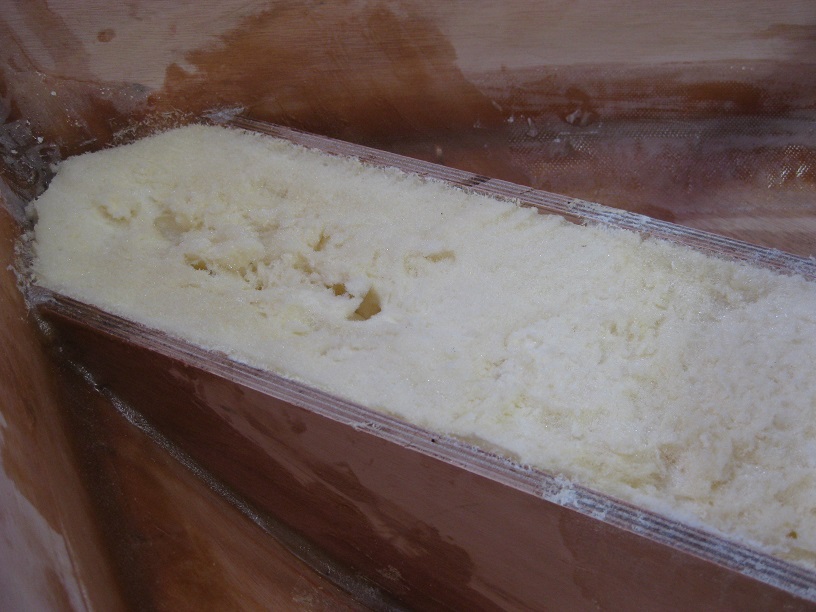
Bow seat foam
|
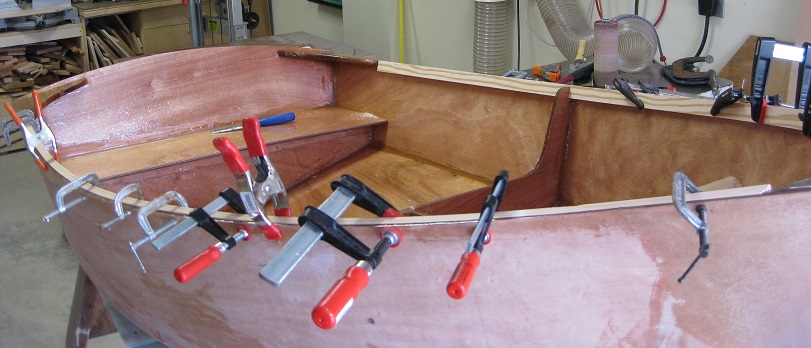
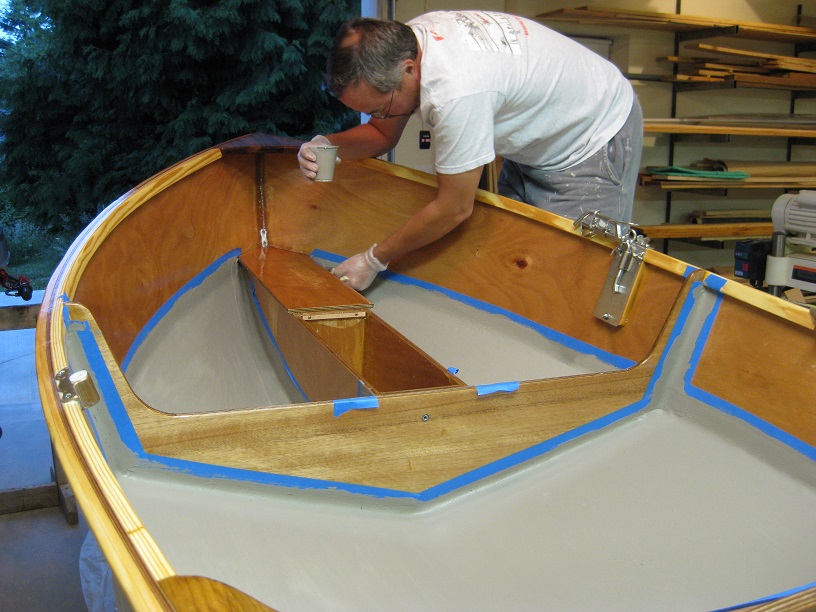
A few more pieces are installed with epoxy.
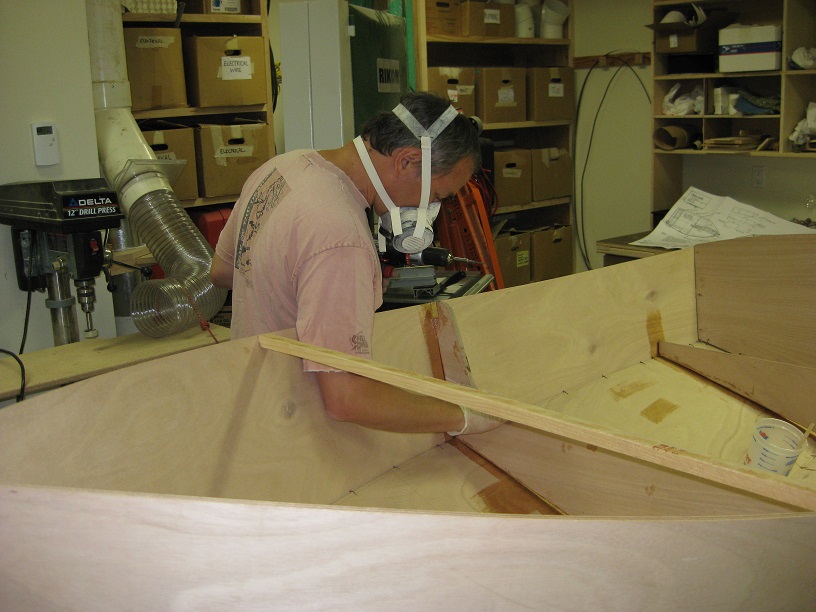
Floatation foam get mixed and poured under the seats. Seat tops are then epoxied on. After these pieces are all in place, they get a couple coats of epoxy. |
|
|
A keel gets cut out, then secured with epoxy and fiberglass.
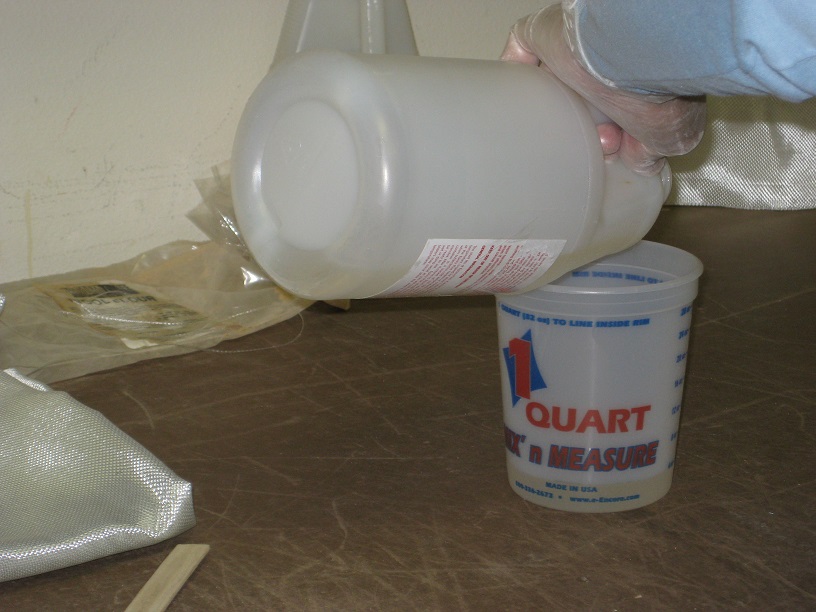
And after a bit more sanding, she's ready for finish. For a project like this, there is not much daily work. Each day, after about 1 or 2 hours, you end up putting it on the side because of waiting for epoxy, primer, paint, or varnish to cure. For most 2 part marine epoxies, hardeners are graded by temperature, so you try to use the hardener for the current season. It's a way of balancing epoxy work time, and cure time. |
|
|
|
|
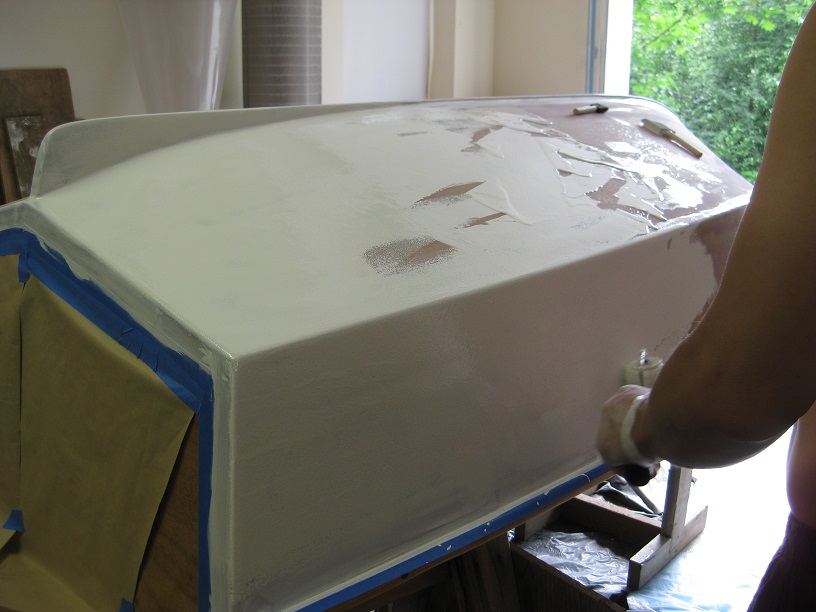
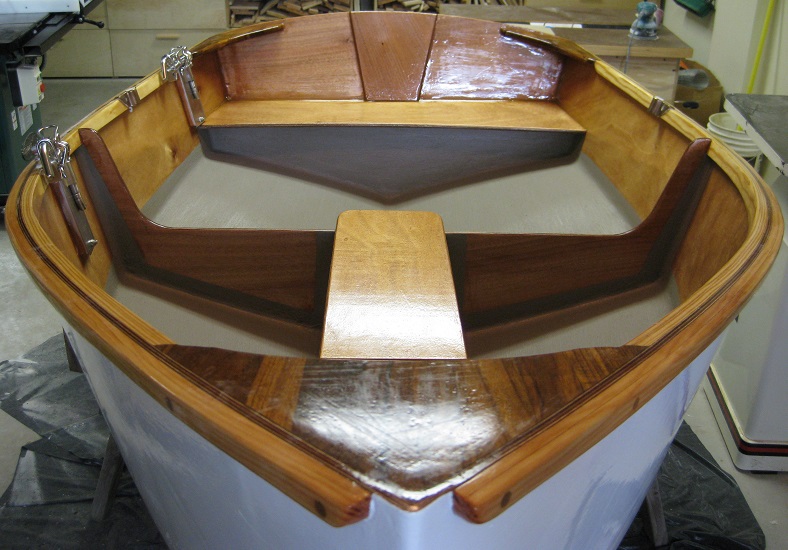
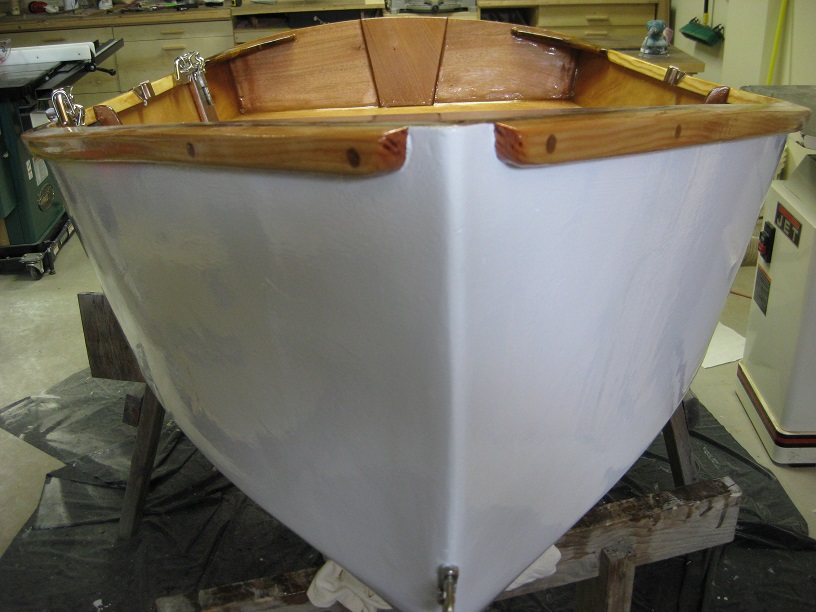
Assembly and sanding complete. Ready for finish. The hull gets painted white.
|
|
|
|
|
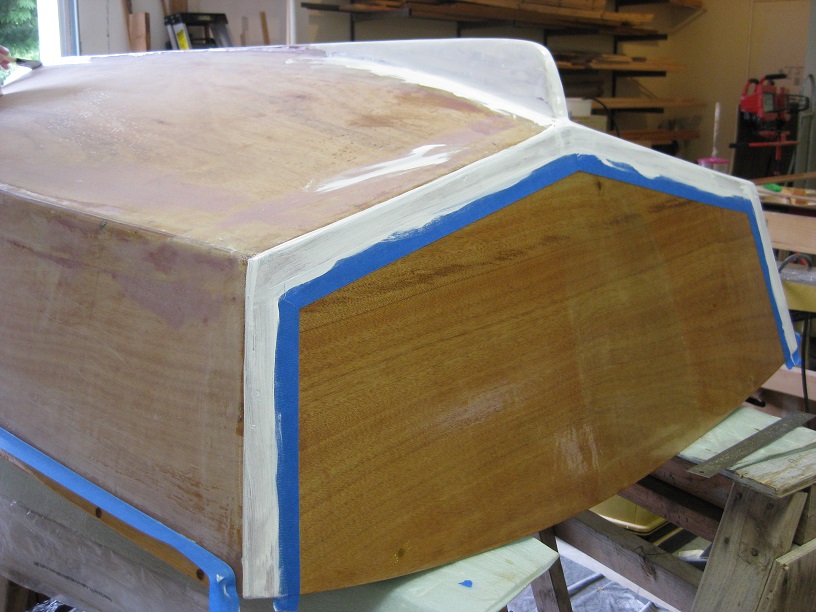
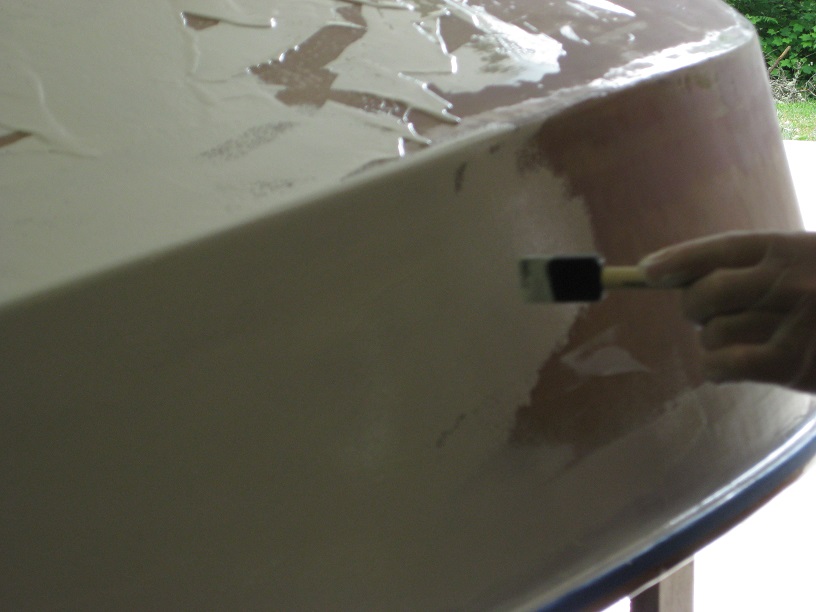
Areas that don't get painted get masked. Then using a roller and foam brush, a few coats of marine paint are applied.
After the paint, I cover the wood grain with a marine varnish (to prevent the epoxy from yellowing). The floors get an anti slip covering. |
The finished dingy
|
|
|
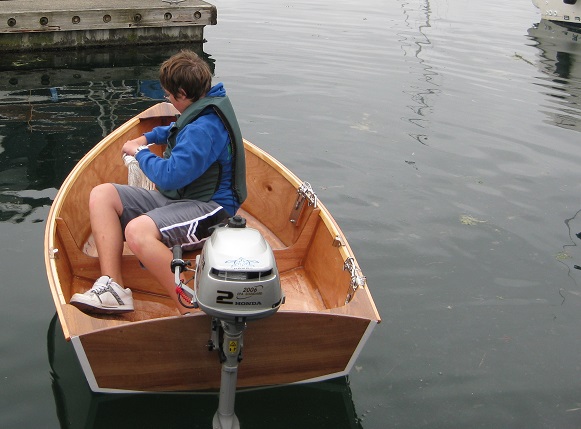
Maiden voyage
|
This dingy is now for sale. After 4 years, the davits have been removed, a refinish has been completed, and has been stored inside since. Contact me via the link below for more info.
