
Customer built thickness sanders
It's really cool seeing thickness sander builds accomplished by others. A few of these folks have taken the time send me some emails with pictures. One guy, CW, went all out and created a comprehensive Instrucables page.
Below are details of some of these sanders.
Thickness sander homepage.
Below are details of some of these sanders.
Thickness sander homepage.
Larry P's sander
Larry got a set of these plans and thought he wouldn't build it. Turns out, a couple weeks later he built a beautiful new sander.
One of Larry's early emails:
"Thank you so much for your prompt and helpful answers to my many questions.
After much time putting together an accurate compilation of the cost of materials to construct the sander I have decided to abandon the project. I projected a cost of a little over $1000 not including a cost for the drum motor which I have.
I spent quite a bit of time pouring over the plans and was excited about the challenge of this ambitious project. You have spent many hours on the plans and they reflect that very well.
Best of luck to you in future endeavors."
In the end though, he built it.
Here are a few of his changes.
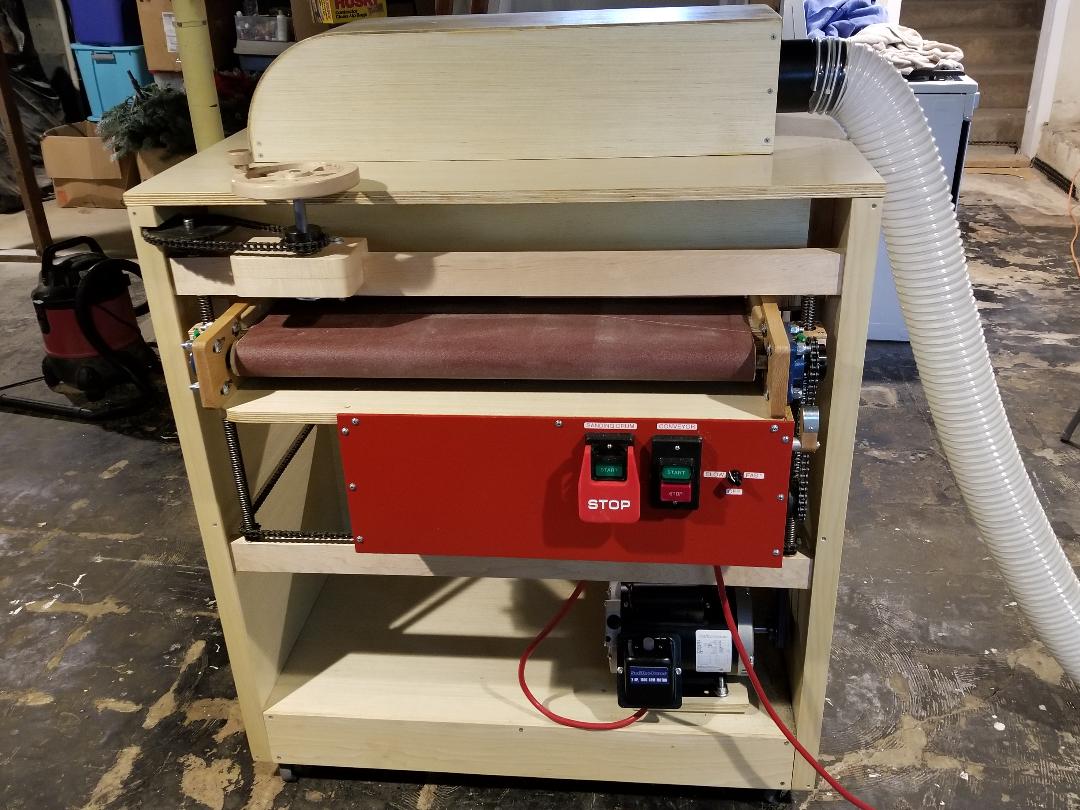
It looks like Larry has a nice shop there with that high ceiling and proper dust collection.
Congrats Larry on an excellent build. Enjoy!
One of Larry's early emails:
"Thank you so much for your prompt and helpful answers to my many questions.
After much time putting together an accurate compilation of the cost of materials to construct the sander I have decided to abandon the project. I projected a cost of a little over $1000 not including a cost for the drum motor which I have.
I spent quite a bit of time pouring over the plans and was excited about the challenge of this ambitious project. You have spent many hours on the plans and they reflect that very well.
Best of luck to you in future endeavors."
In the end though, he built it.
Here are a few of his changes.
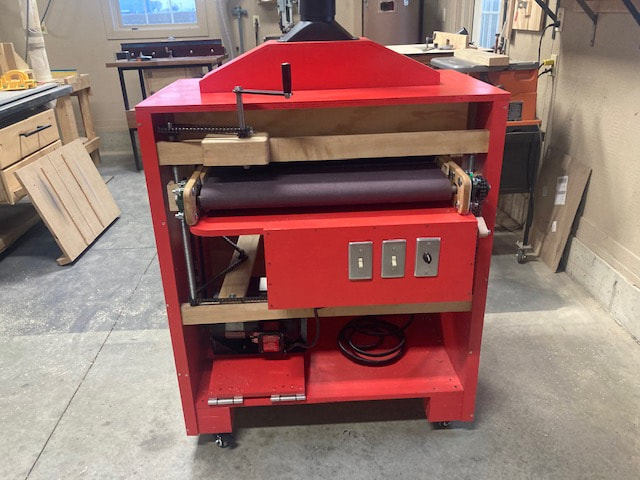
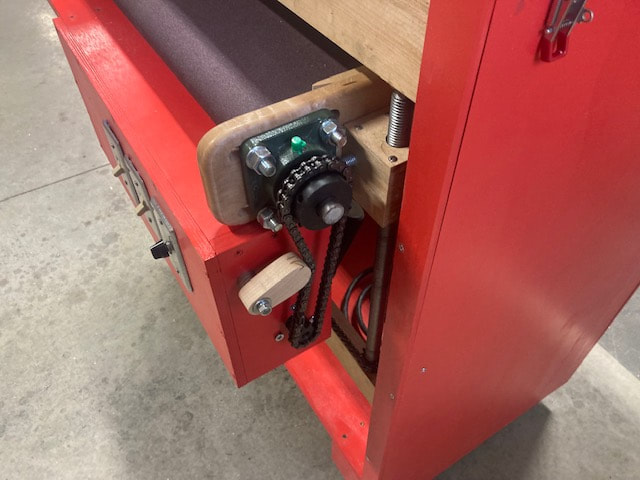
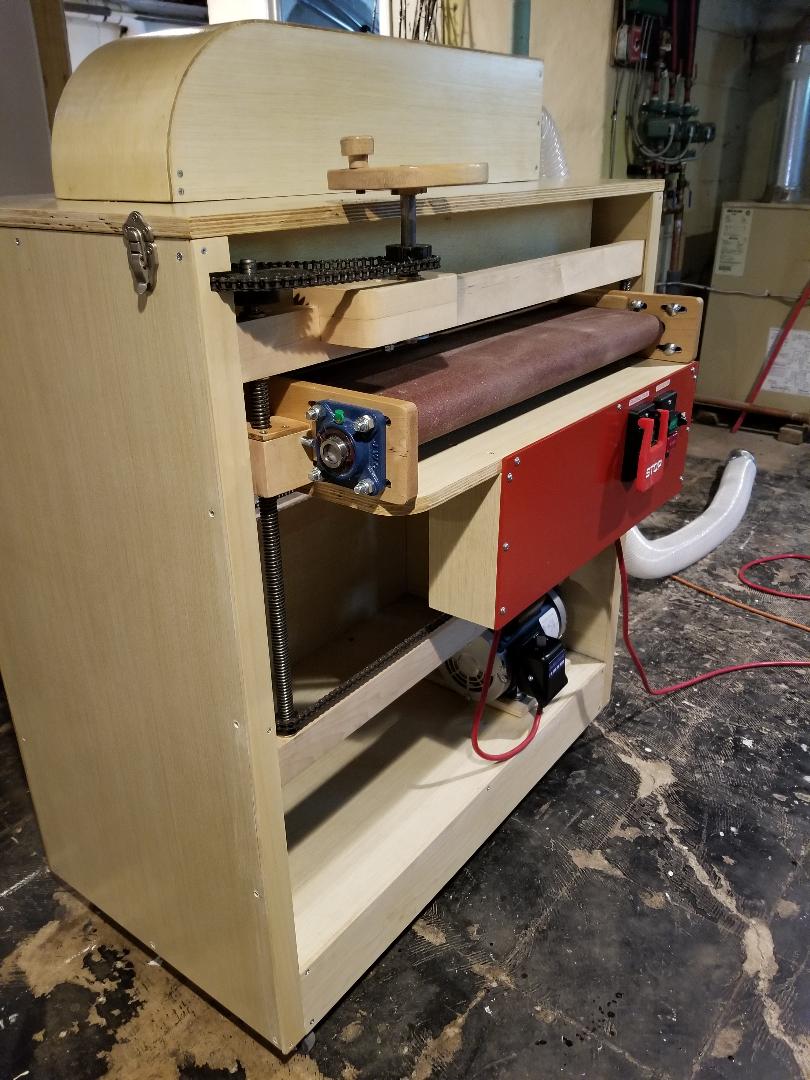
- The drum motor was recycled and turns CCW, so he made the changes to allow him to mount it on the opposite side from what are in the plans.
- Instead of acme screws for the conveyor height adjustments, he used 3/4" threaded rod and square nuts, which made the nut retainers a bit simpler to build.
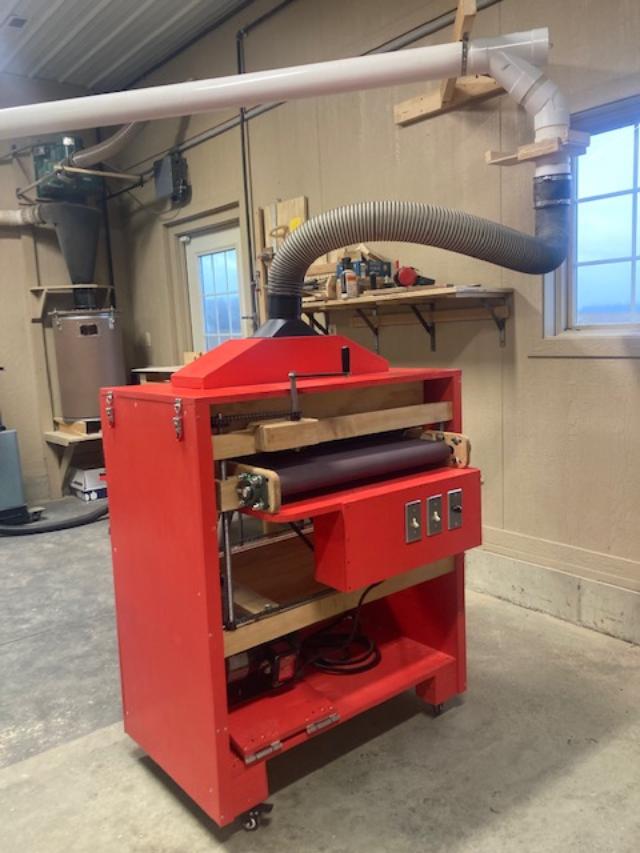
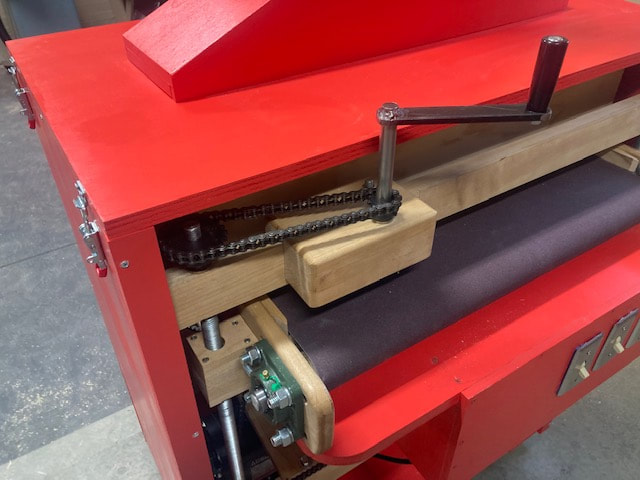
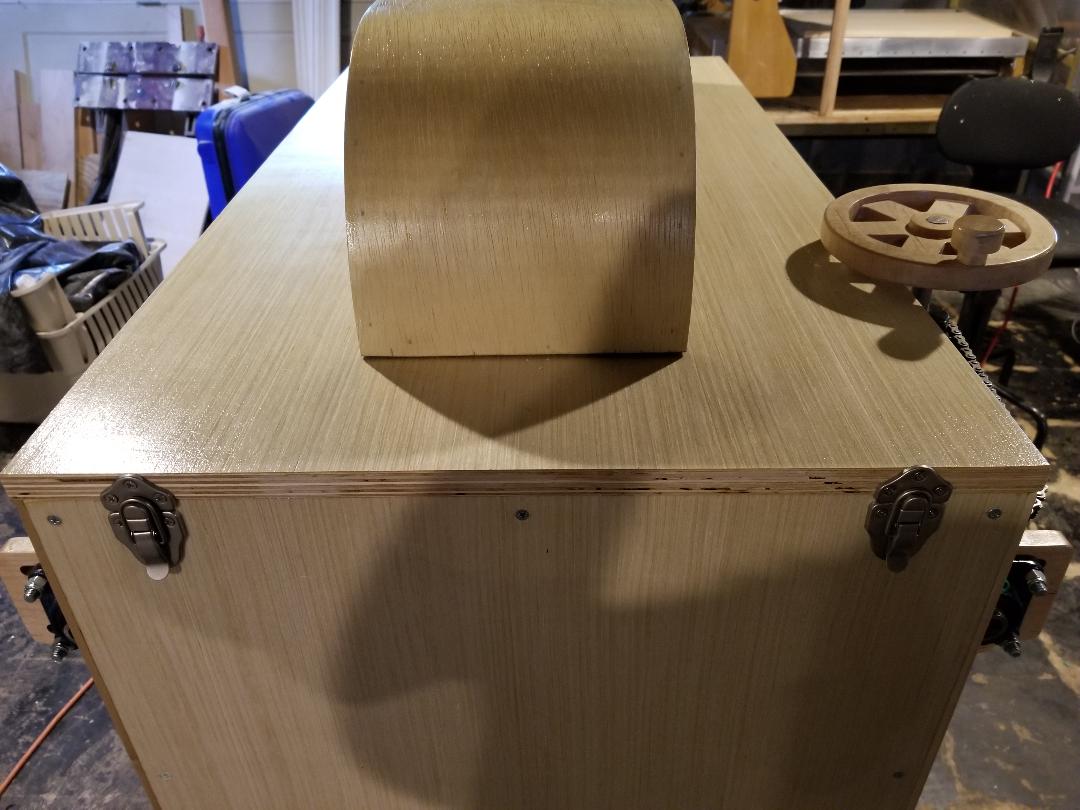
- His hinged/latched top and dust hood are pretty cool. That top should make sandpaper changes even easier.
- As we all know, shops are in a constant state of change, so he added a set of coaster wheels.
It looks like Larry has a nice shop there with that high ceiling and proper dust collection.
Congrats Larry on an excellent build. Enjoy!
|
|

|
|
|

|
John M's sander
John did a great job on his full size sander. He used a home built CNC router to make some of the parts such as the drum and roller disks as well as the hand wheel.
|
Per John:
"The hand wheel was made from 5/4 maple which I cut on my DIY cnc router. I made only minor changes to your design. I installed latches on the top instead of screwing it down so now you can remove the top and dust deflector in one piece. This makes changing the sanding roll and clean up a little easier. I also cut all the roller sections with my cnc which worked out extremely well. All the hard wood used is maple. The rest was made from cabinet grade popular plywood finished with 4 coats of shellac which I rolled on with a foam roller. I upgraded the motor to 2hp. So far I didn't stall the motor but I don't want to push it. I have sanded a 18" wide by 24" pine boards with no problem using 120 grid paper. I make a lot of v-carve small custom signs. All in all I am totally please with the design and performance of your design. Thanks again Tim for well thought out design and plans." Thanks for those comments John.
|
|
|
|
Bernie D's sander
Bernie built a very nice sander. Here are some details and pictures of it along with some of his modifications
|
|
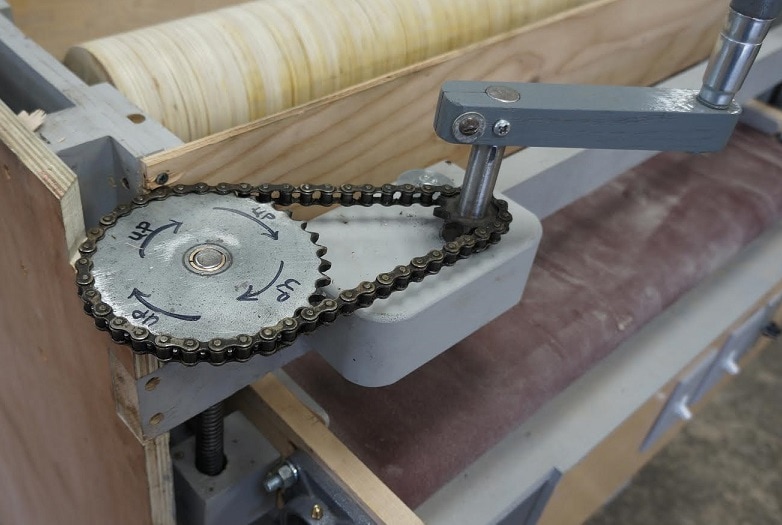
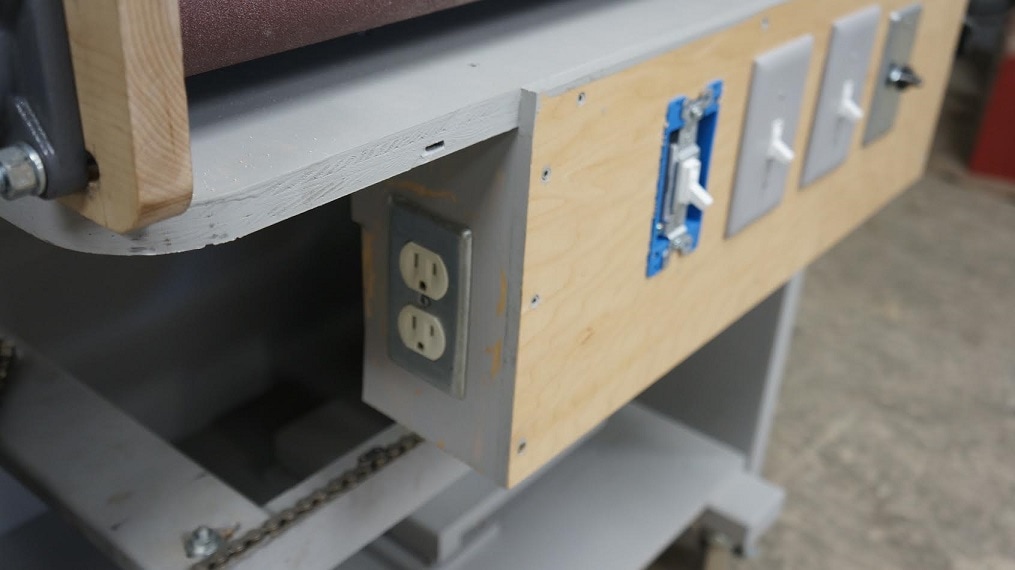
Bernie did a nice job finishing it. He painted it and added casters. If you expand this pic, you can see he added a guard for the belt to prevent it from rubbing on the height adjustment chain.
|
|
|
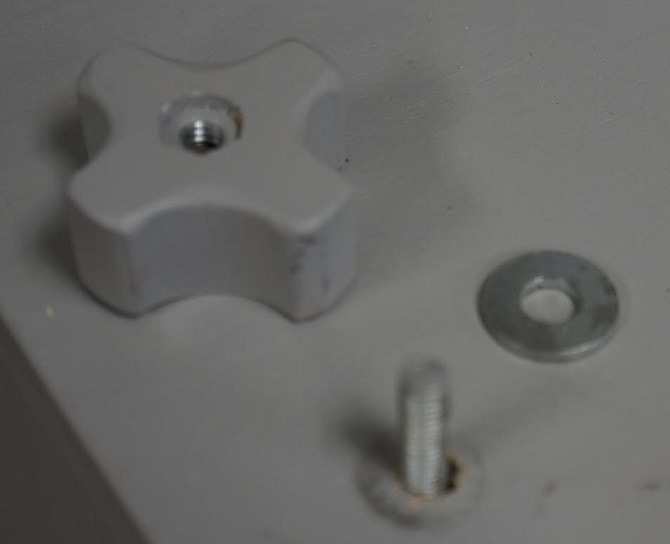
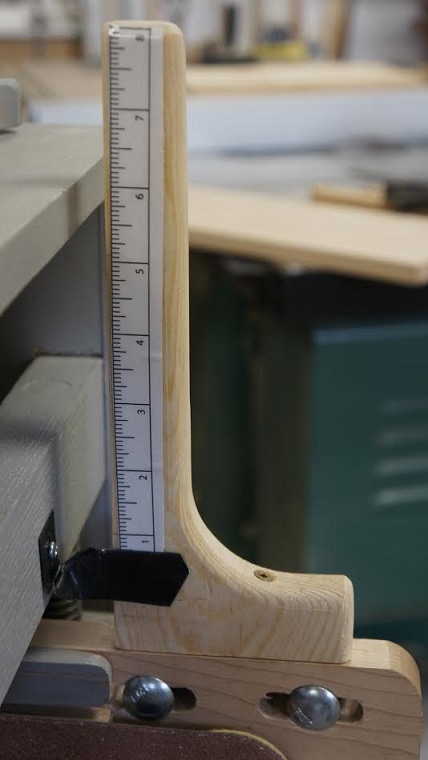
Here are a few other details.
The ruler would be great to get the platen close to where you need it. I just eyeball it on mine, but can definitely see how Bernie's addition has advantages. Nice sander Bernie! |
CW's sander
CW made a beautiful full size thickness sander along with a totally cool instructables.com article. CW has some mad skills for sure...
Per CW:
"I wanted to build this so that I could make segmented turnings on a lathe. It proved to be more challenging that I thought, but I learned a lot doing it."
Hopefully, he'll publish some info on his turnings.
Here is his instructable article:
http://www.instructables.com/id/Thickness-Sander/
Thanks CW!
|
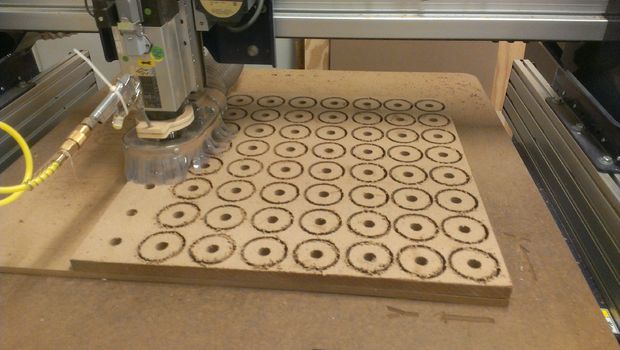
CW built his sander at the Techshop. There are a few Techshops located throughout the United States where you can rent time to use their space and equipment.
http://techshop.ws/ Here, you can see he was able to take advantage of having a CNC router available and he put it to good use. |
|
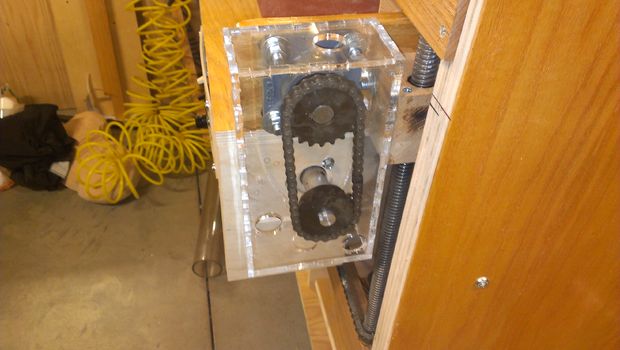
The conveyor chain was enclosed for safety - great idea as I haven't done this to mine (but should). The case was cut from acrylic via a CNC machine and uses finger joints that are glued together.
He eliminated the need for a chain tensioner by using a half link to get the optimal length. |
|
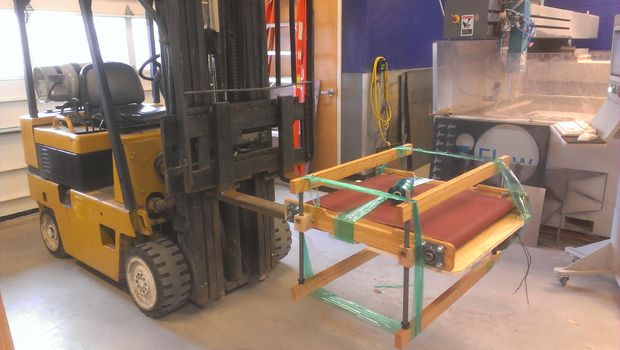
If you've got the tools - use 'em! A fork lift was used for some of the assembly operations, which eliminated the need for additional hands on deck.
In this photo, you can see how he used plastic wrap to hold the rails onto the acme screws before putting the plywood sides on. Those bottom rails tend to fall off until the sides are on... I used straps for the same purpose. |

|
Awesome dust hood! It's cool being able to see the dust getting sucked up while sanding. My machine has a small plexiglass window on the front of my hood - CW one upped me!
Great job CW and thanks for the great instructables page. Again, here is the link: http://www.instructables.com/id/Thickness-Sander/ |
|
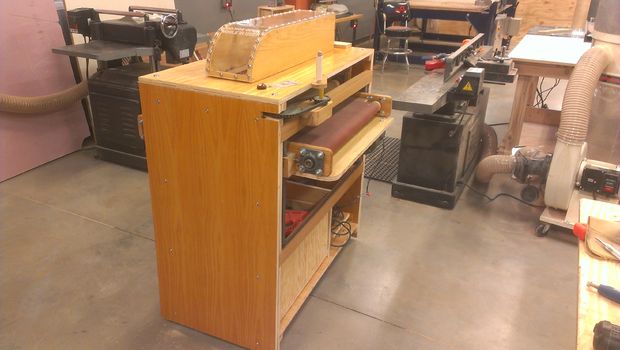
Here's a good looking machine!
|
Mark C.'s sander
Mark builds and sells custom acoustic guitars and used his talents to build a slightly smaller thickness sander.
Per Mark:
"Hi Tim. The sander is up and running perfectly! I made a few changes. I have a handle on the dust hood and I put leveler feet on the base which not only levels the sander, but it makes it easier to move the sander if I ever need to. I also replaced the cheap 1 inch hinges under the motor. They were just hinges I had laying around. But they allowed too much vibration. I got some 3 inch utility hinges under the motor as in the plans and the motor barely moves at all now. Time to build guitars!"
and...
"Just sanded a guitar set for my next build. I had to tighten up a few places like at the conveyor chain and the belt. I discovered that my chain tensioner for the conveyor was a tad short so I just made a new one. Otherwise it is performing beautifully with very little variance across the width of the drum. In comparison with my old underpowered and hand fed rig, it was a piece of cake with no blisters on my hands!"
Congrats on the great build Mark!
He does some beautiful work and has a very nice website:
https://markconleyguitars.wordpress.com/
|
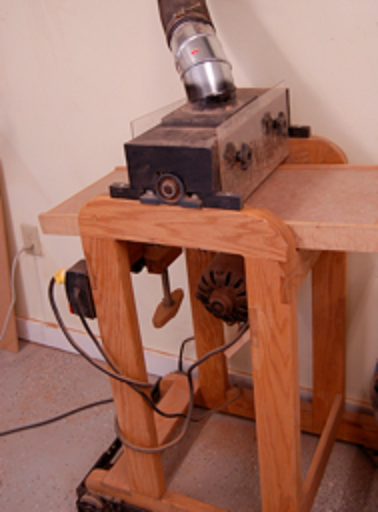
Mark's old sander. This style of sander usually has a hinge on one end of the platen and a screw on the other end used to adjust height (you can see the screw handle left of the motor). Feed is accomplished by manually pushing work pieces through the machine. This is a fairly common design - it's simple to build, but lacks some important features such as an automatic feed and full platen support on all 4 corners. These are cool, simple sanders though and can be useful for small projects.
|
|
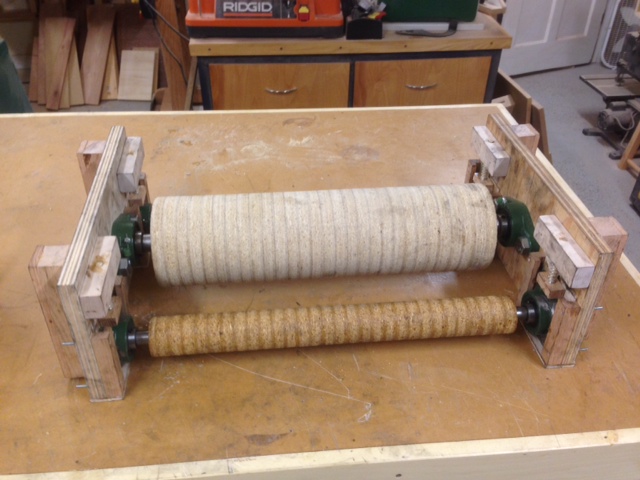
Mark's drums are a little shorter than the plans - they are 18" long, which provides sufficient capacity for his guitar panels. The plans call for 28" rollers - building a smaller sander is sometimes useful - especially in regards to using less floor space in your shop.
To make a smaller sander similar to Mark, the plans show which parts need to be adjusted. |
|
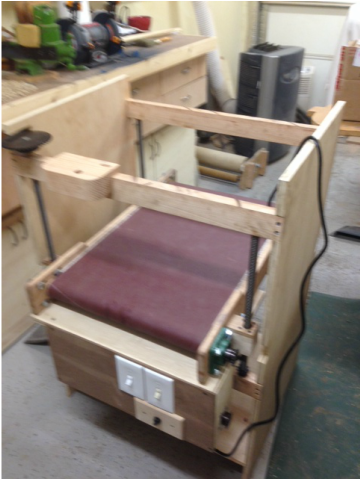
At this stage, the conveyor mechanism and inner sides are complete. The only things left to do are to attach the drum assembly, complete the case, and tune 'er up.
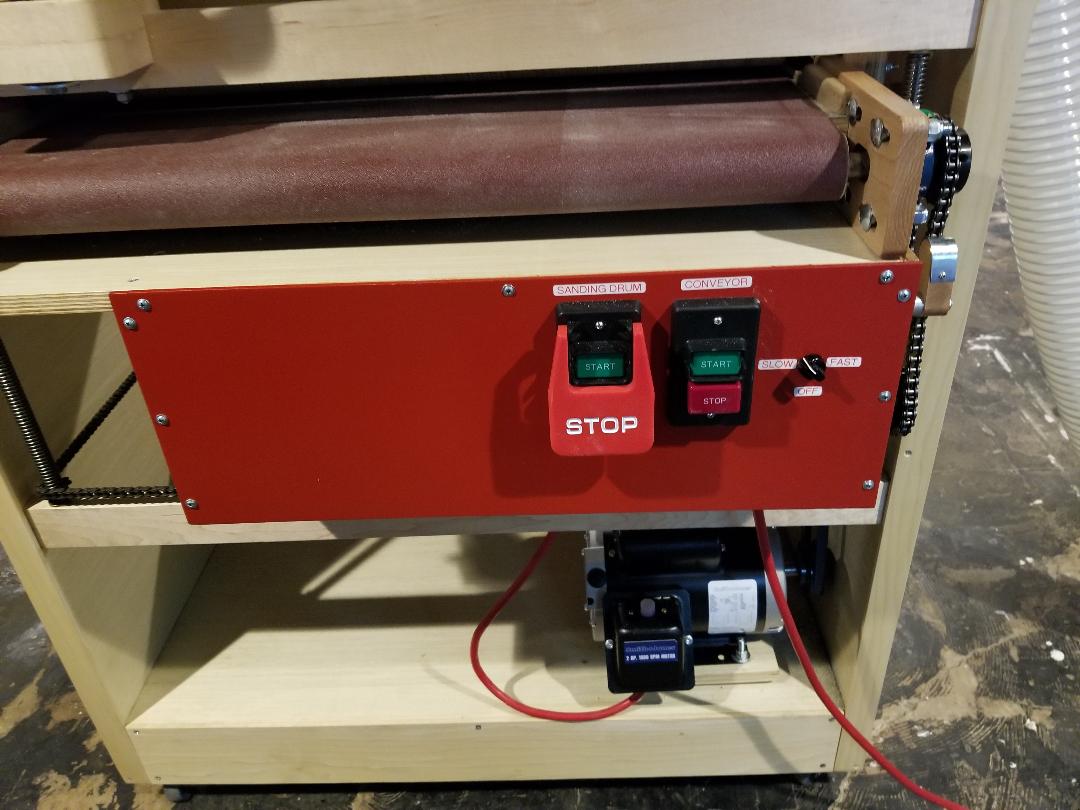
Note: Mark placed the speed control (potentiometer) on the front of the control panel. On my sander, I was constantly adjusting the speed so that control was moved to the top of the machine, making it easier to reach. |

|
This is a cool shot - it's the completed machine - hard to tell its 10" narrower than mine. I look forward to seeing some of his new guiltars this sander helped build!
|
Steve's sander
Steve from the UK helped preview my original plans a back in 2012 and has since built his version of the sander. He was very resourceful in parts selections and came up with a useful machine that I'm sure sees plenty of board feet.
Some comments from Steve:
"Excuse the quality of the pictures, I used my waterproof one as I was truing up the drum and the DSLR wouldn't have liked all the saw dust!
The screw bars work well. I was concerned that they wouldn't be up to scratch (compared to acme screws). Having trued up the platen as per instructions and used a micro measuring ruler I'm very happy with it. I'm yet to determine the travel when turning the crank one hole revolution.
The converyor belt is trued up now and runs well. I just have to put a variable switch on it to adjust the speed. I may have to glue on some
sandpaper strips if the conveyor is too 'slippery' for the material going through.
I had an issue with the back roller and had to loosen off the nuts so that it would retract down again. It worked fine 'on the bench' but when I finally fixed it into the machine it muct have bent it a notch. I did make the tolerances very fine."
And here are some pictures...
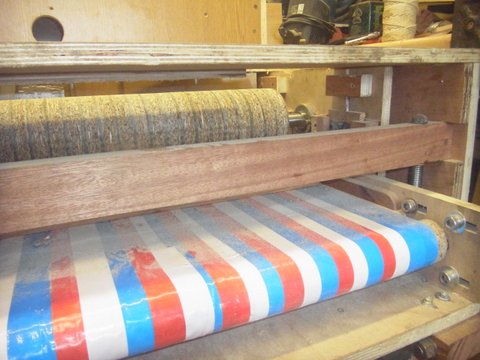
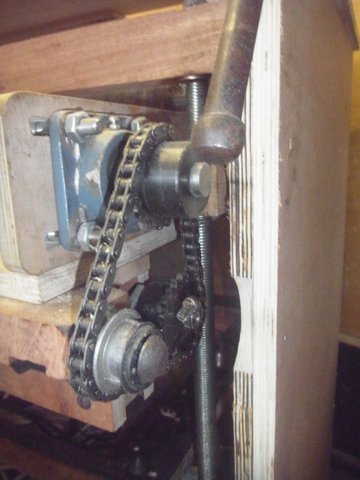
A unique conveyor!
|
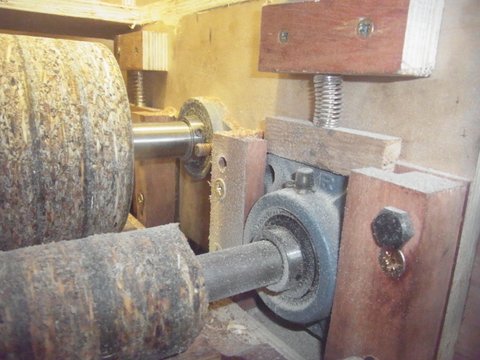
A compression roller assembly.
|
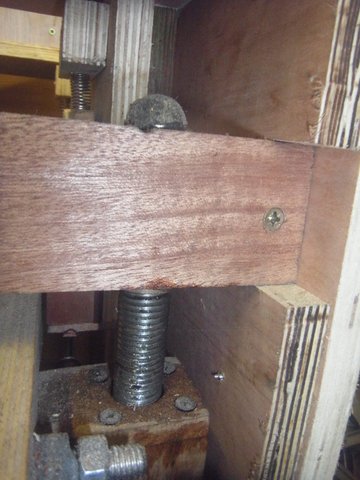
Threaded rod can be used instead of acme screws, as done here. That looks like mahogany for the conveyor screw frame.
|
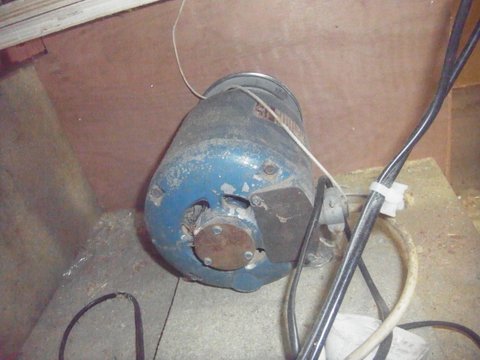
I like seeing recycled motors. This motor is for the sanding drum.
|
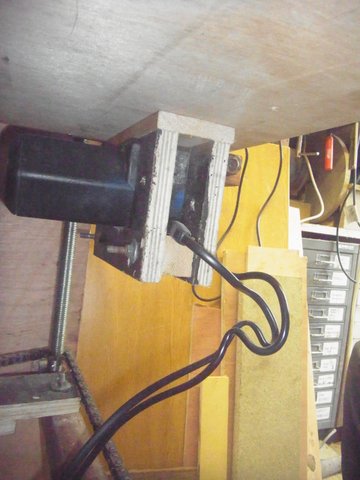
The conveyor motor. Steve mentioned he would eventually make it variable speed.
|
|
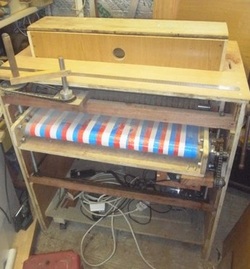
Steve was awesome in helping me out with the original plan set. He did a great job on his sander.
A big thanks to all of the folks that have purchased plans, sent emails about their builds, and provided support to Shigshop. I have lots of fun with Shigshop - it's always fantastic to see the quality of work being done out there! Lots of great talent and plenty of fun - for sure!
Thickness sander homepage.
Thickness sander homepage.
