
A cabin bed
We have some friends that bought a nice piece of rural property and put up a barn style cabin. A few maple trees were brought down, hauled to the sawmill, then sat in dry storage for a few years. We made a deal - some maple wood exchanged for a bed frame. It was awesome building the bed from that wood. And now, the wood is back at the property from whence it came...
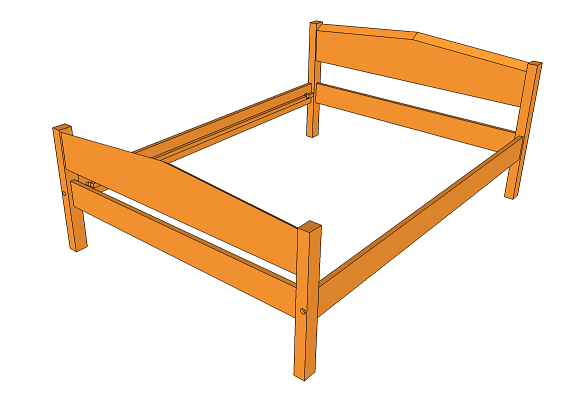
The design
|
The main head and foot board pieces are 2-1/4" thick with a live edge on top. I didn't bother modeling that top edge.
All joints are mortise/tenons and the rails are attached via bed bolts. |
The build
|
|
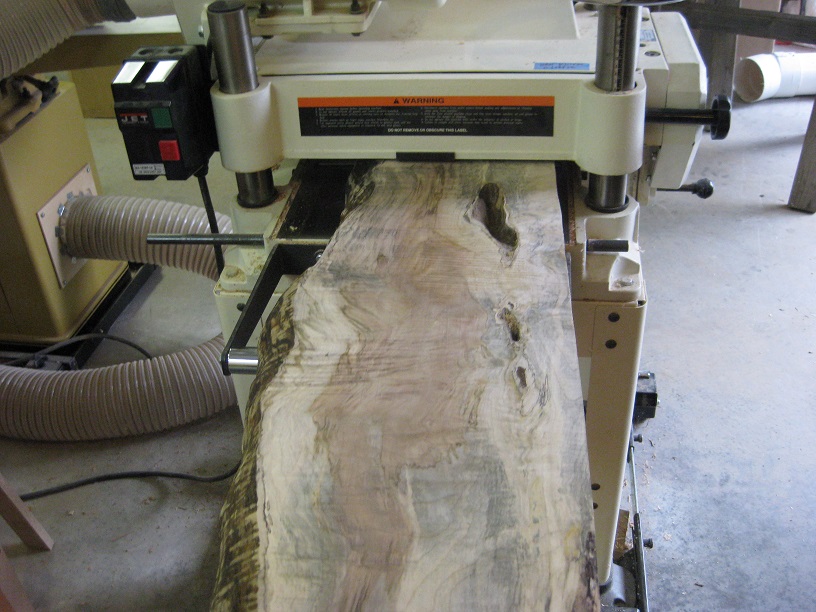
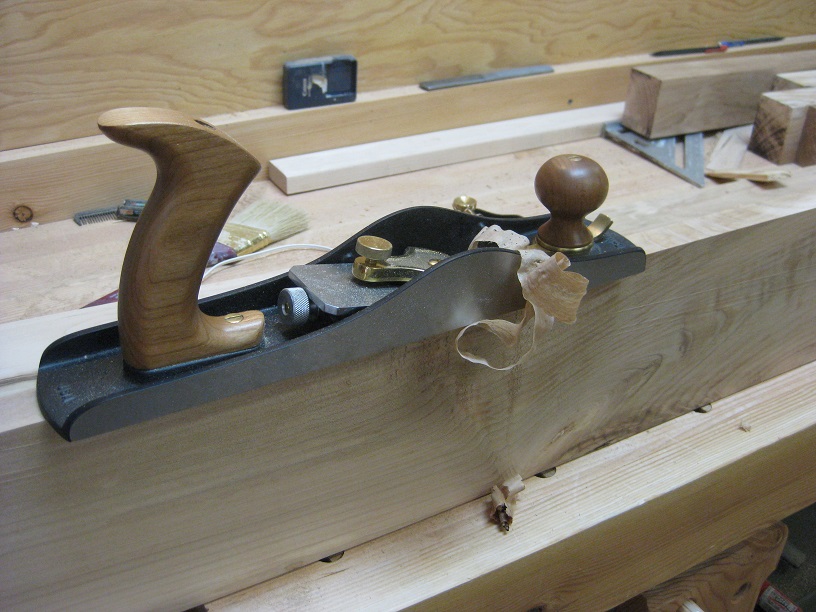
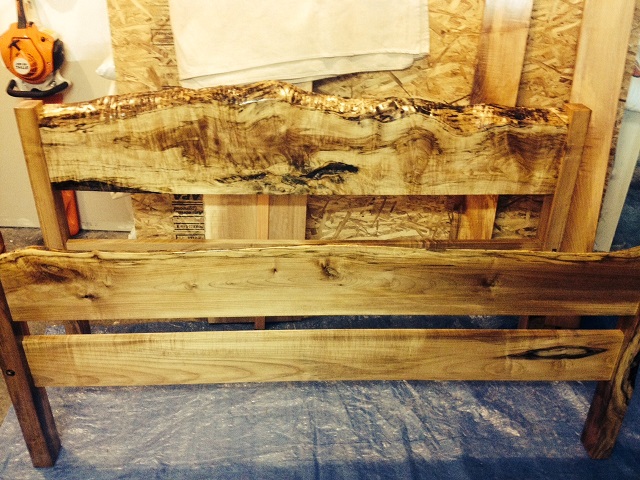
This is the main head board piece and is the biggest piece of wood on the frame. It barely fit through my 16" planer. Later, I ran my smoother plane over it a bit. It's got some pretty incredible grain patterns and I wanted to resaw it - lots of great boards would have been the result... My better judgement took over and continued with the build...
|
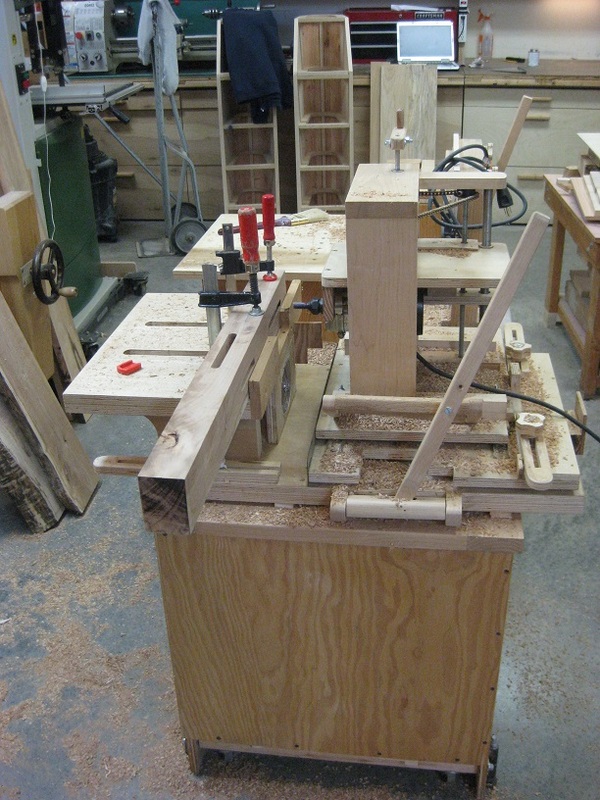
Mortise/tenon station - using the slot mortiser to cut the leg joints.
|
|

|
The slot mortiser was used to cut all of the mortises. These pics show the legs, but the head/foot boards were also mortised on this machine. The main headboard piece had a rough length of 62 inches and I needed it to be 61" which meant that it wasn't long enough for integrated tenons. After barely cleaning up the ends of that big headboard piece, we had the 61" required. To join it to the legs, mortises were cut into the ends that got splines.
|
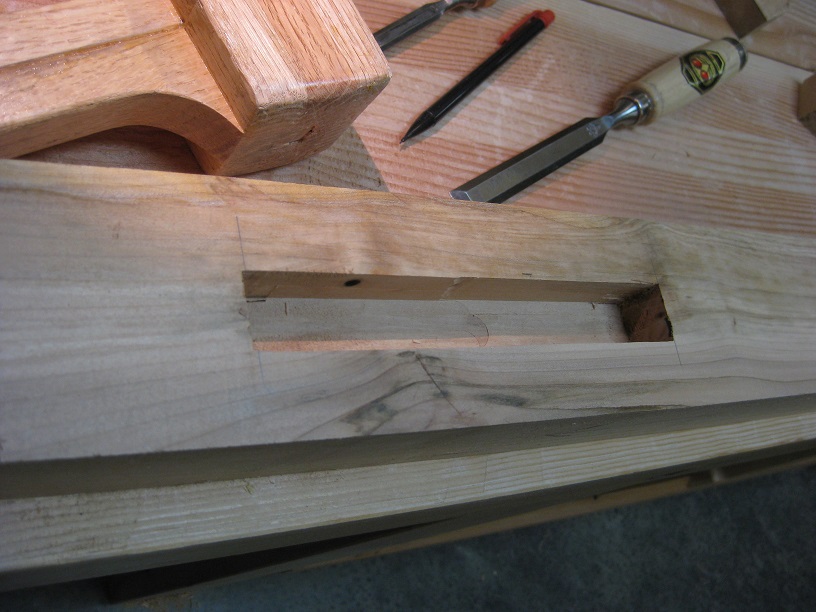
Squaring the corners on the rail mortises.
|
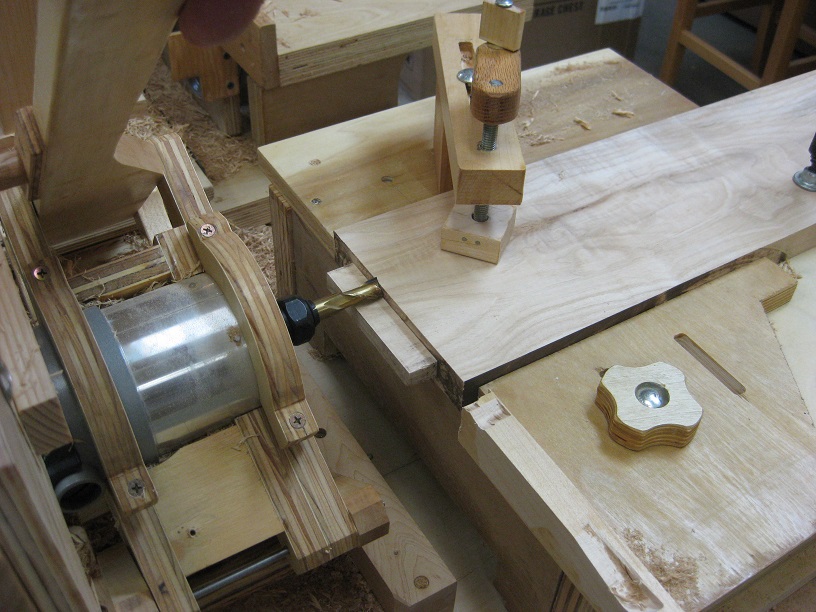
Rail tenons being cut
|
I squared up the mortises for the rails. The bed bolts will be going through these. I left some mortises rounded. For those, tenons were also rounded for a nice tight fit.
In the second pic, tenons are being cut that are 5" long x 1/2" thick x 3/4" deep. These will be for the bed bolts and are being cut for an easy fit into the mortise on the legs. The pantorouter is being used here. |
|
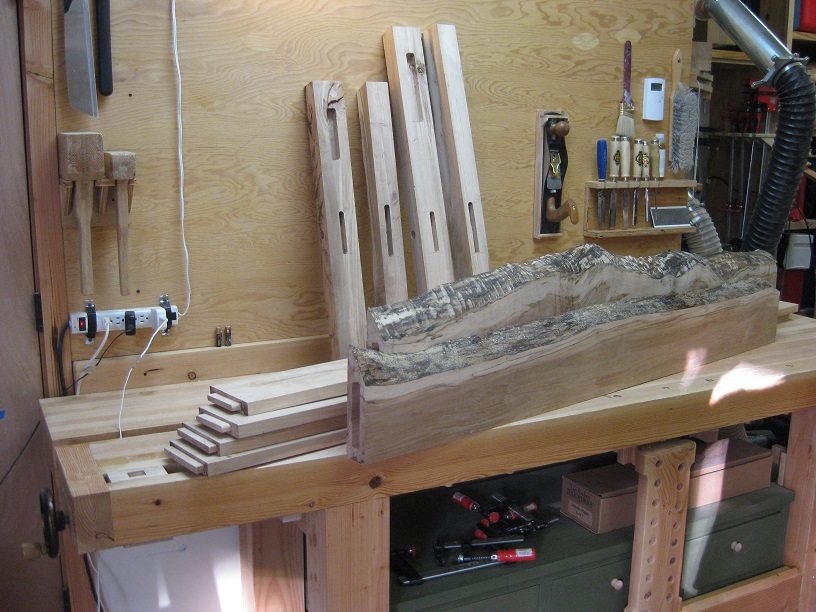
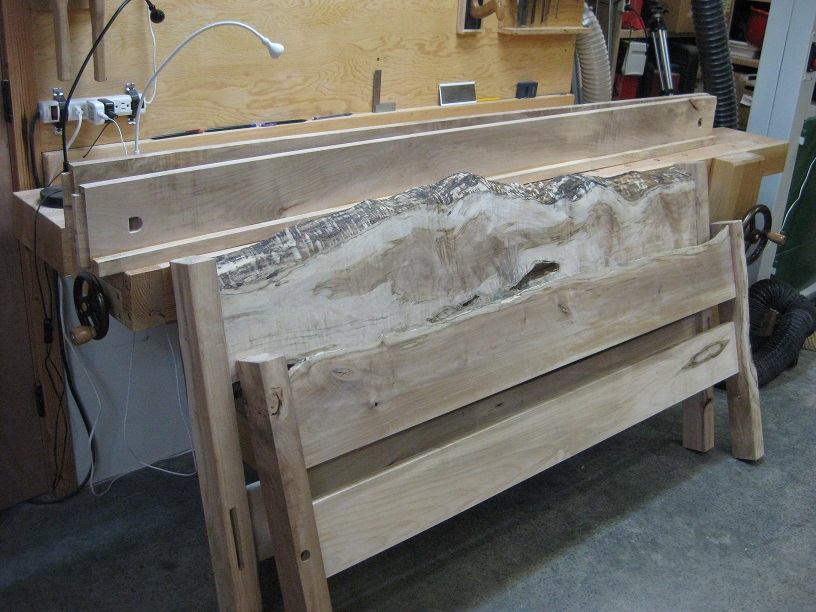
All major milling complete here.
|
|

|
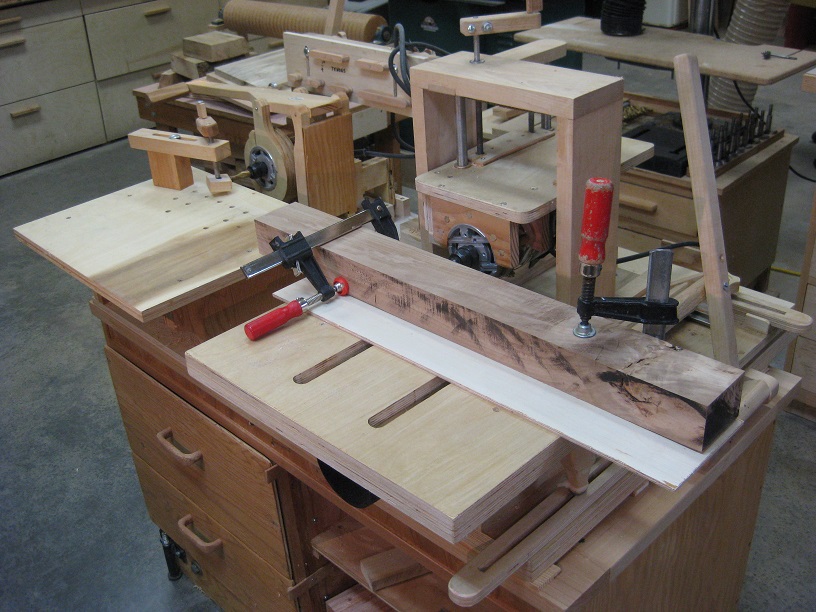
Some planing before glue up.
|
|
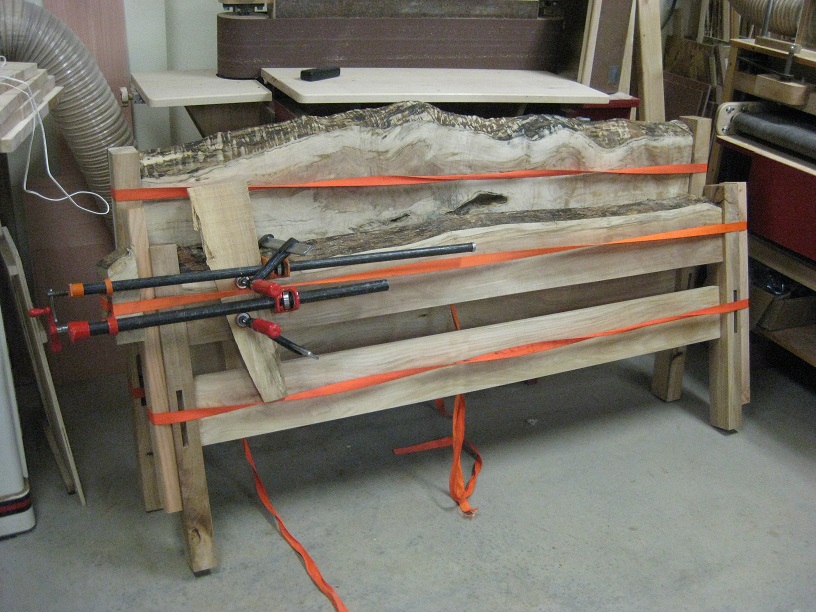
Glue up is always an exciting time. With limited time to get things done and a few big joints to work on, you need some kind of plan - and maybe 1 or 2 alternatives in case things start going awry. On these, the headboard went perfectly to plan. Because I don't have any 6' bar clamps, I use ratcheting straps for clamping. I had trouble on the footboard because of wood movement caused from the time between milling and gluing - which was a couple days... In this pic you can see some creative clamping to attempt to overcome the issue. It worked a little, but I still had a small gap on that joint which needed to be filled.
|
|
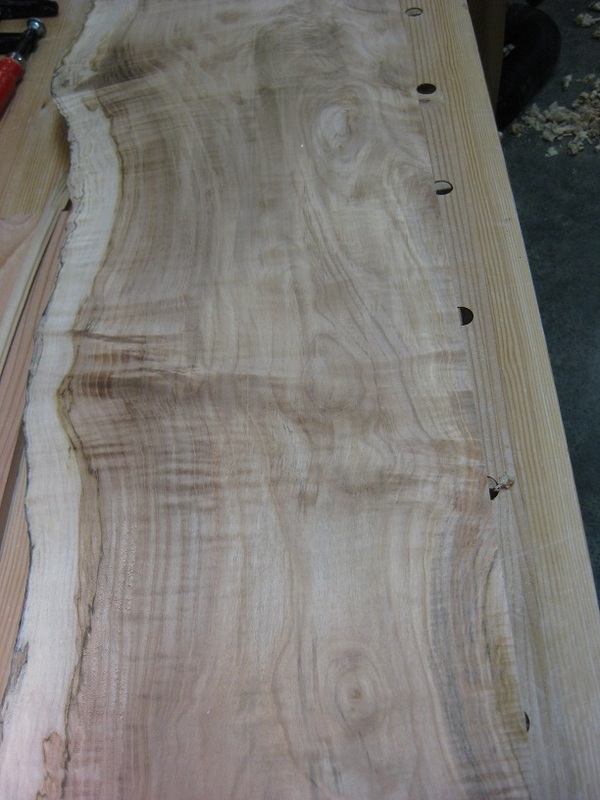
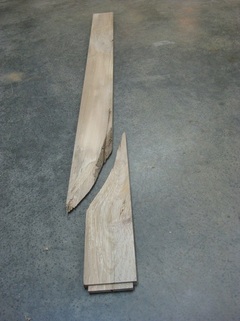
This is one of the original rails. After machining, a nice big crack developed. It's very common for internal tensions to be released within wood as it's cut down to smaller sizes. Most of the time, this just results in some bends and twists. Once in awhile, a bigger problem occurs. I was hoping this was going to be ok, but some testing proved otherwise (i.e. I dropped it). Good thing it broke in my shop, huh? I had plenty of other wood and had another piece all ready to go in about 30 minutes. These broken pieces were plenty big enough to go back into stock for other projects.
|
|
The rails got a slat ledger glued on and the bed bolt holes were completed. It's tricky to drill those holes. For these, I first put the rail tenons into the leg mortises and located where to drill - remember, the leg bed bolt holes and countersinks were already made. Using the leg hole as a guide, I drilled into the rail tenon using a 3/8" twist bit to start the hole. This gave me the correct starting location. Then, I removed the rail from the leg and used a longer bit to get the holes to final depth. The nut access holes were then located and cut using a forstner bit and finished with chisels. Only thing left to do is a little light sanding and a finish.
This completed the work for me. Next thing was to deliver the goods! |
|
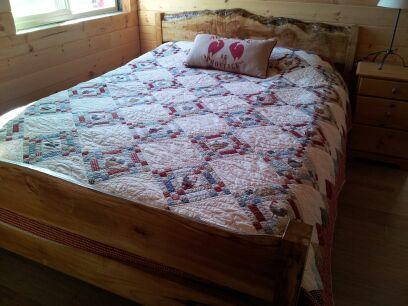
My friend did a little sanding and put a couple coats of poly on - it's looking great! Lots of differing grain patterns have emerged and the live edges give it a nice rustic look. This bed is all about that headboard. Wow!
A handmade quilt completes it. (Thanks for the pics, Captain!) |
