
About this page...
There are a few different frame projects on this page. First is a frame for a Navajo rug, followed by some projects for other art frames.
There are a few different frame projects on this page. First is a frame for a Navajo rug, followed by some projects for other art frames.
Navajo rug frame
One form of beautiful, functional art that I really like are weavings from the native American southwest Navajo tribe. The art of the Navajos and many other tribes is highly evolved. One interesting aspect of the Navajo weavings are the sheep that produce the wool. These sheep have gone through many generations of trial and error, research, and cross breeding resulting in the wool they use today. The Ganado storm pattern in the rug for this frame was created by a weaver named Stanley Ben. The prominent red color is referred to as "Ganado red" originating from the Ganado, Arizona region.
For this project, I built a nice frame so this rug could be used as a wall decoration. The frame was designed by my wife - she comes up with some original, cool designs on paper. Sometimes, I take one of her designs and make a CAD drawing of it that can be used in the shop for building. Then, during the build, other ideas or issues come up and you end up with something a little different than the earlier concepts. This was one of those projects.
For this project, I built a nice frame so this rug could be used as a wall decoration. The frame was designed by my wife - she comes up with some original, cool designs on paper. Sometimes, I take one of her designs and make a CAD drawing of it that can be used in the shop for building. Then, during the build, other ideas or issues come up and you end up with something a little different than the earlier concepts. This was one of those projects.
The design
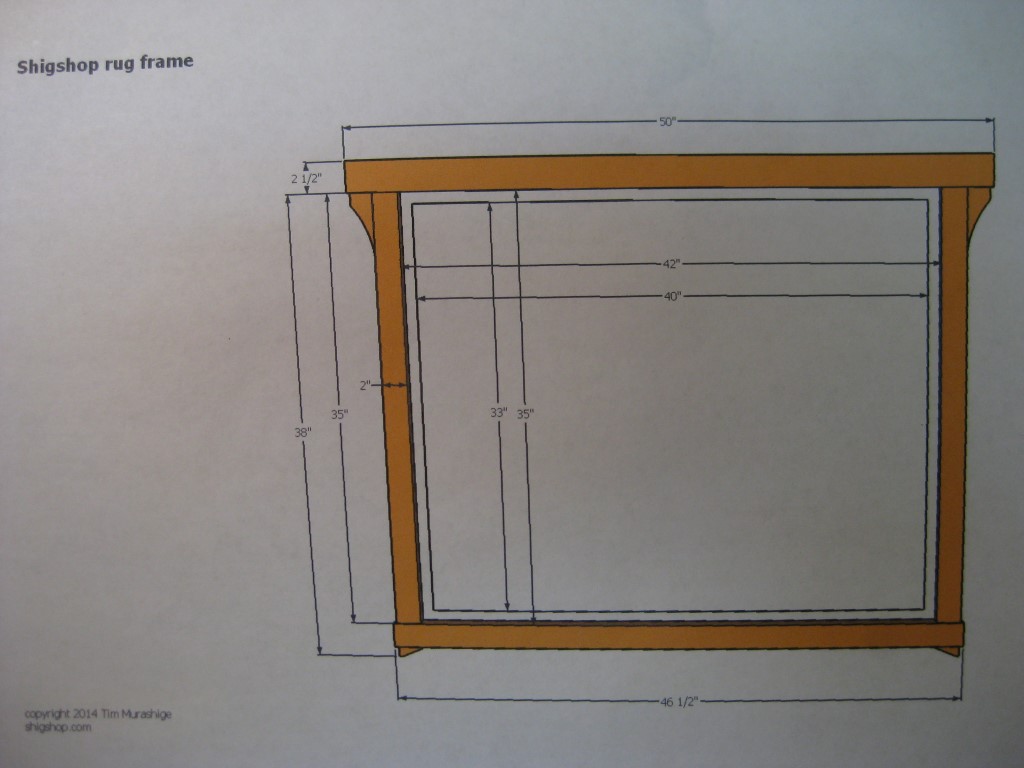
The CAD drawing.
|
Here's a picture of the CAD drawing I used in the shop. Mortise tenon joints were used on the top joints, while tenons with open ended mortises were used on the bottom. The corbels on the top corners was glued on (butt joint style).
The frame was made from maple. Not shown in the model, but added later was some inside trim made from cedar. |
The build
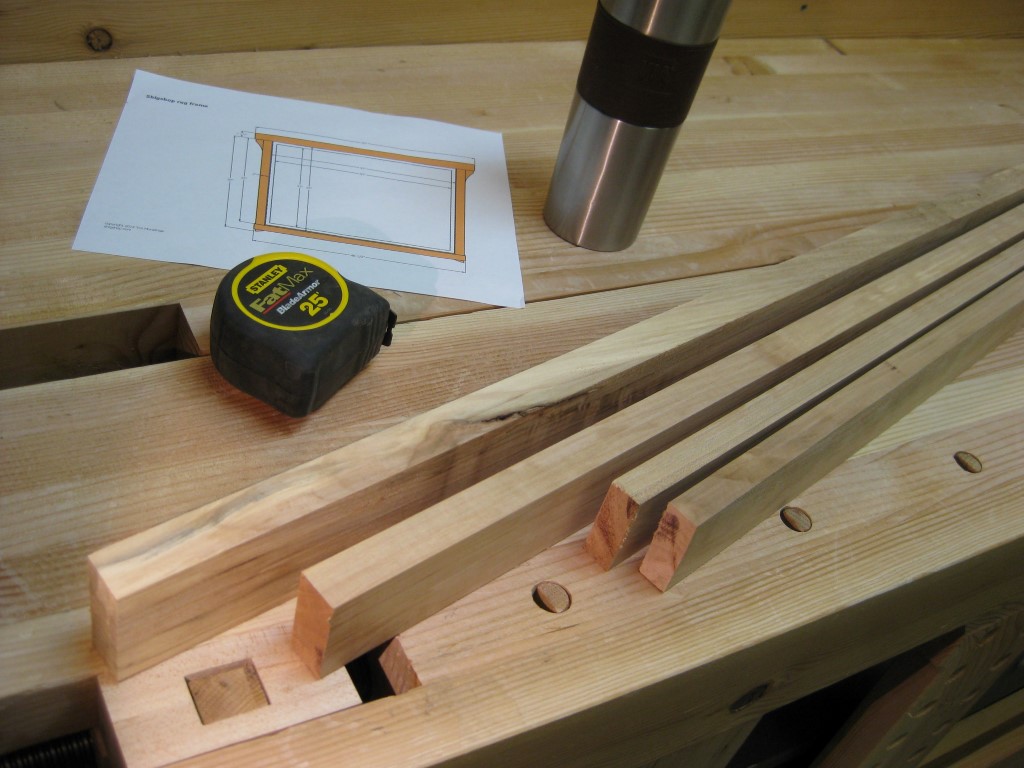
Main frame pieces ripped, crosscut, planed, and jointed.
|
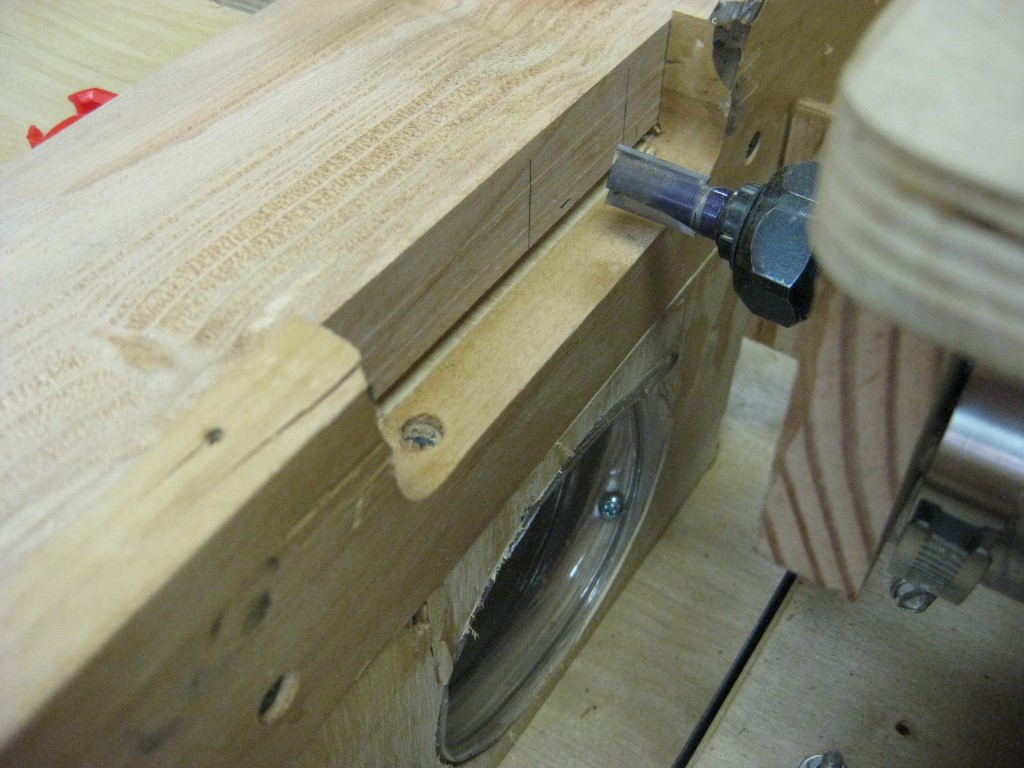
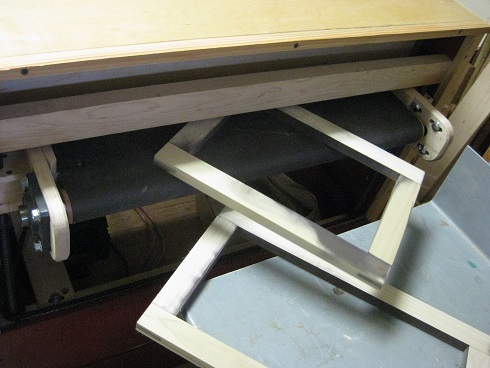
Using the slot mortiser for the top and bottom rails...
|
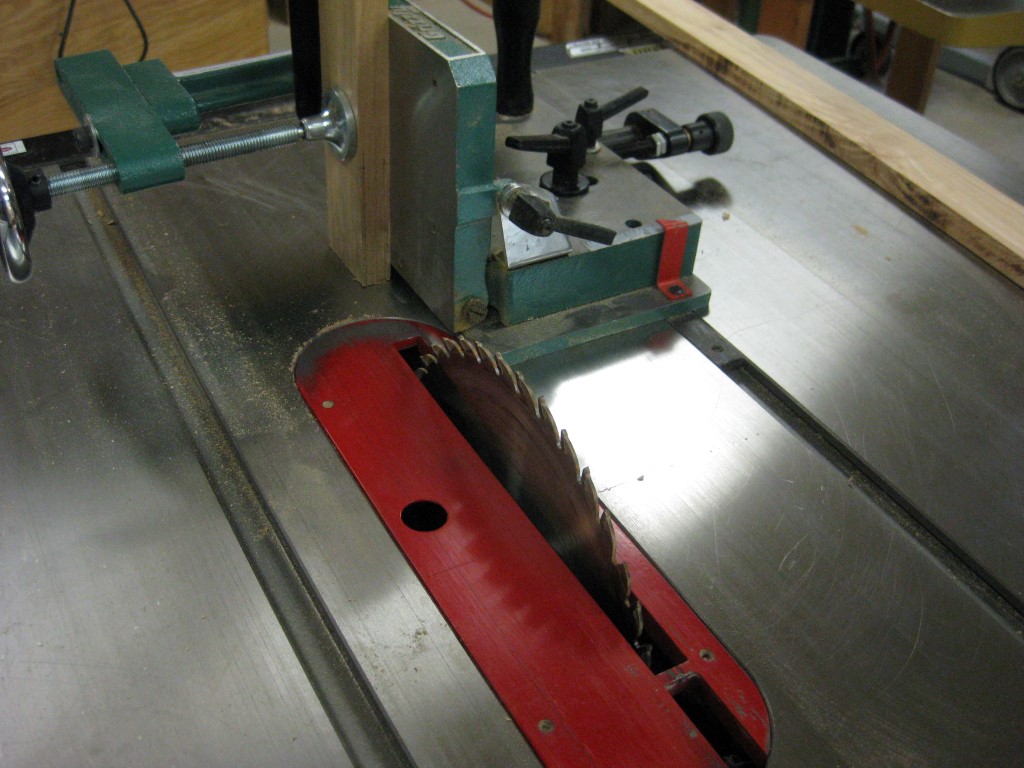
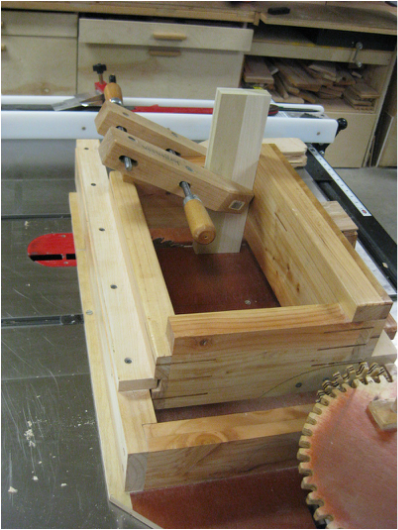
...while the tenons got cut on the table saw using a jig.
|
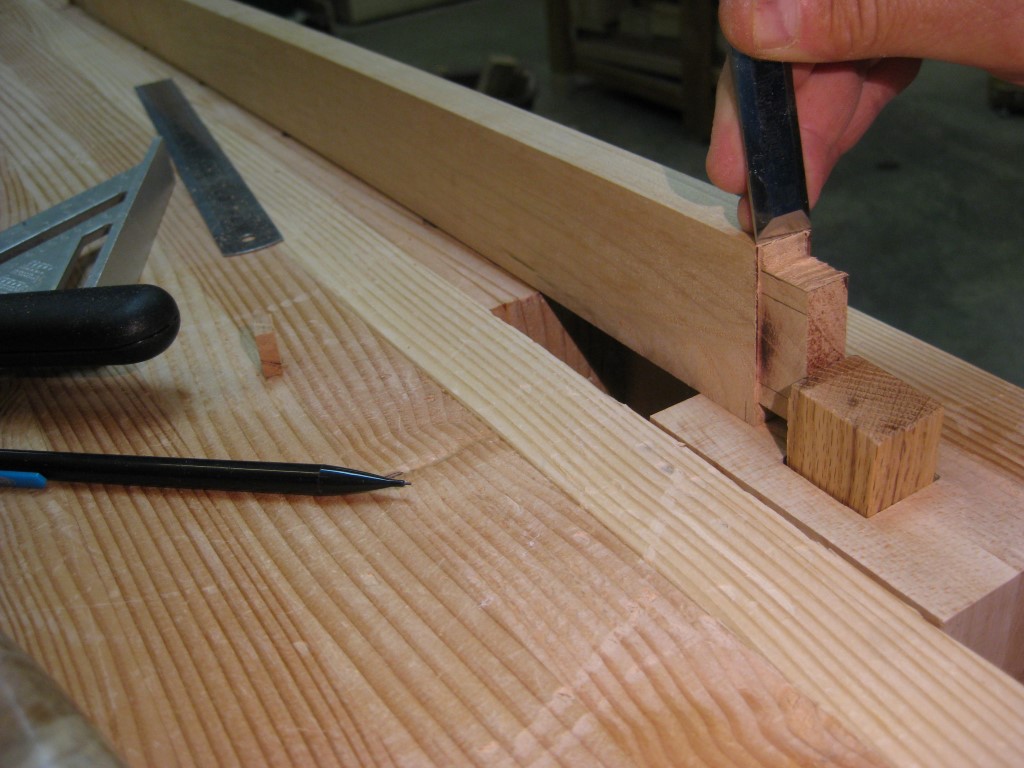
Cleaning up the tenons on the bench.
|
The pieces were milled on the table saw, radial arm saw, planer and jointer. Mortise/tenon joints were then cut via the table saw and slot mortiser. Bench tools are used to finish up the joints.
|
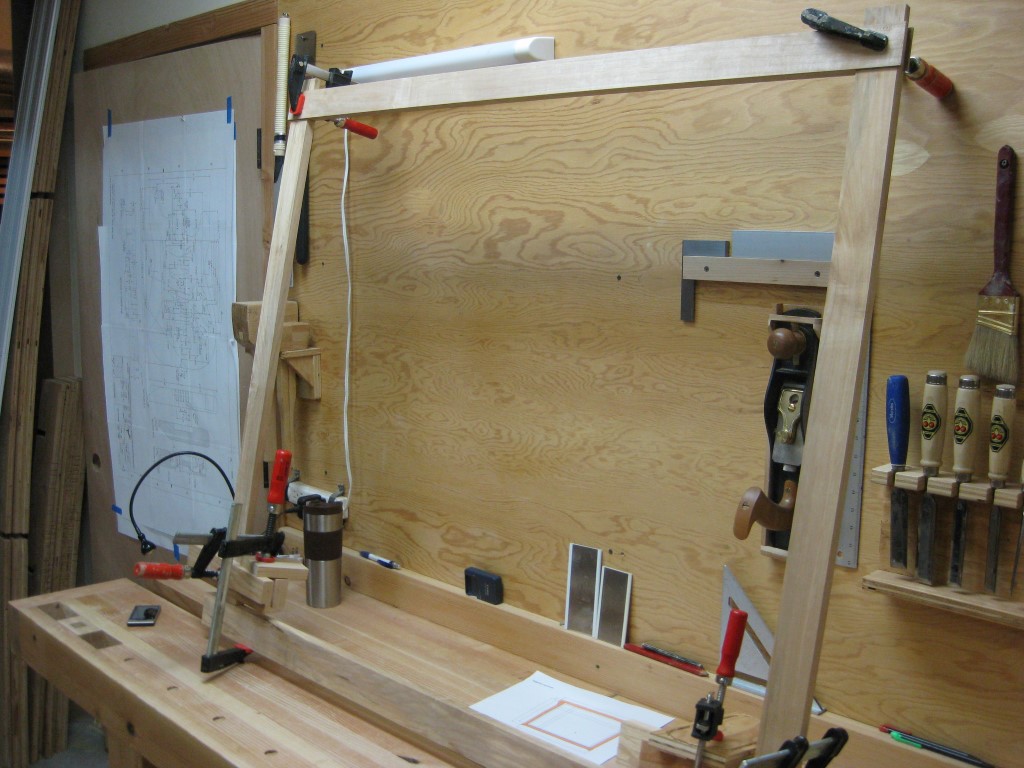
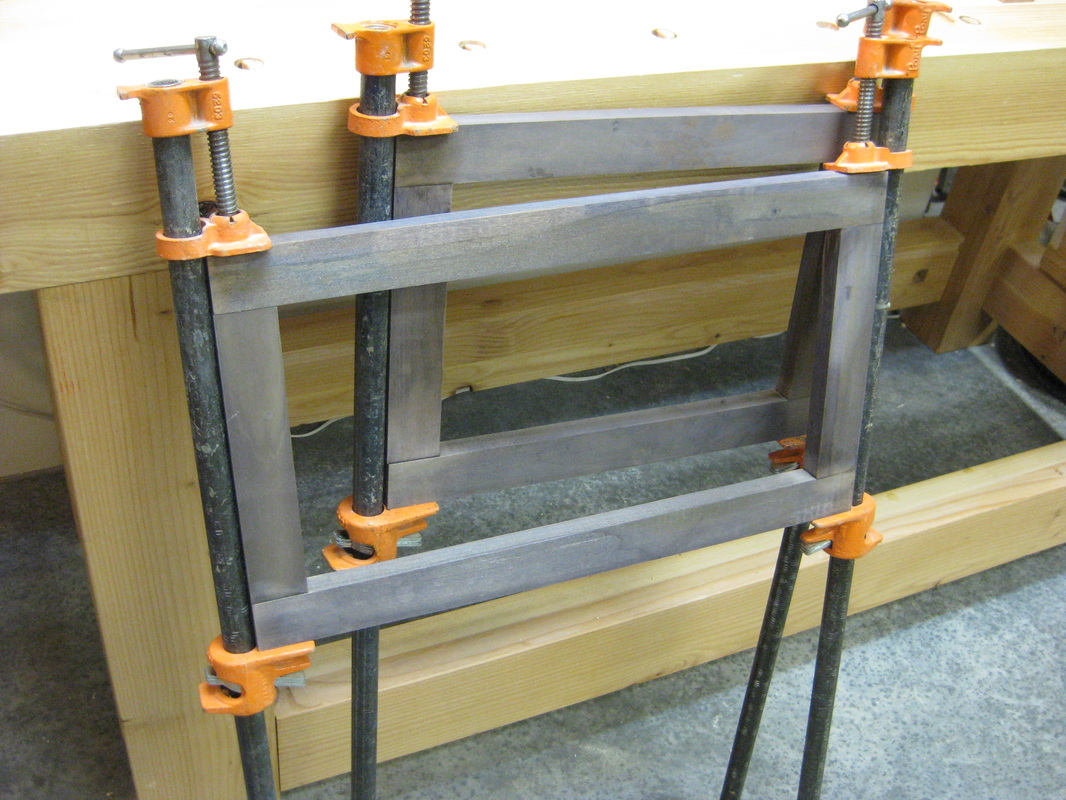
Glue up. Later, I realized my bar clamps would have been long enough, but this technique worked fine.
|
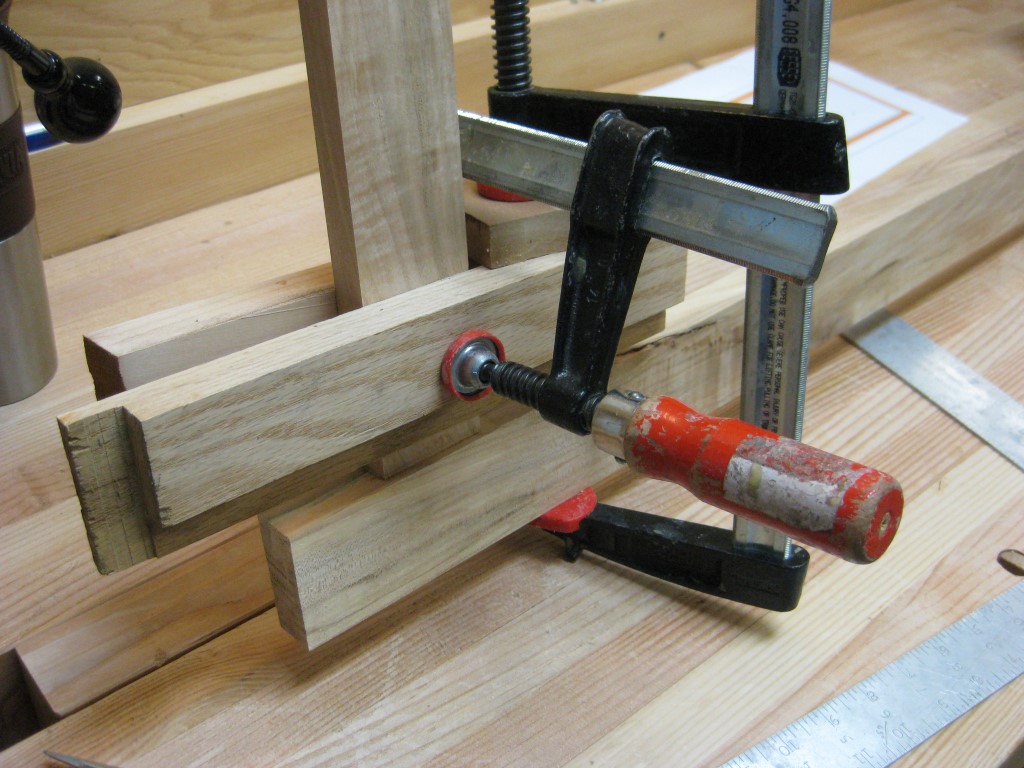
Close up of the clamps for the glue up of the top joints.
|
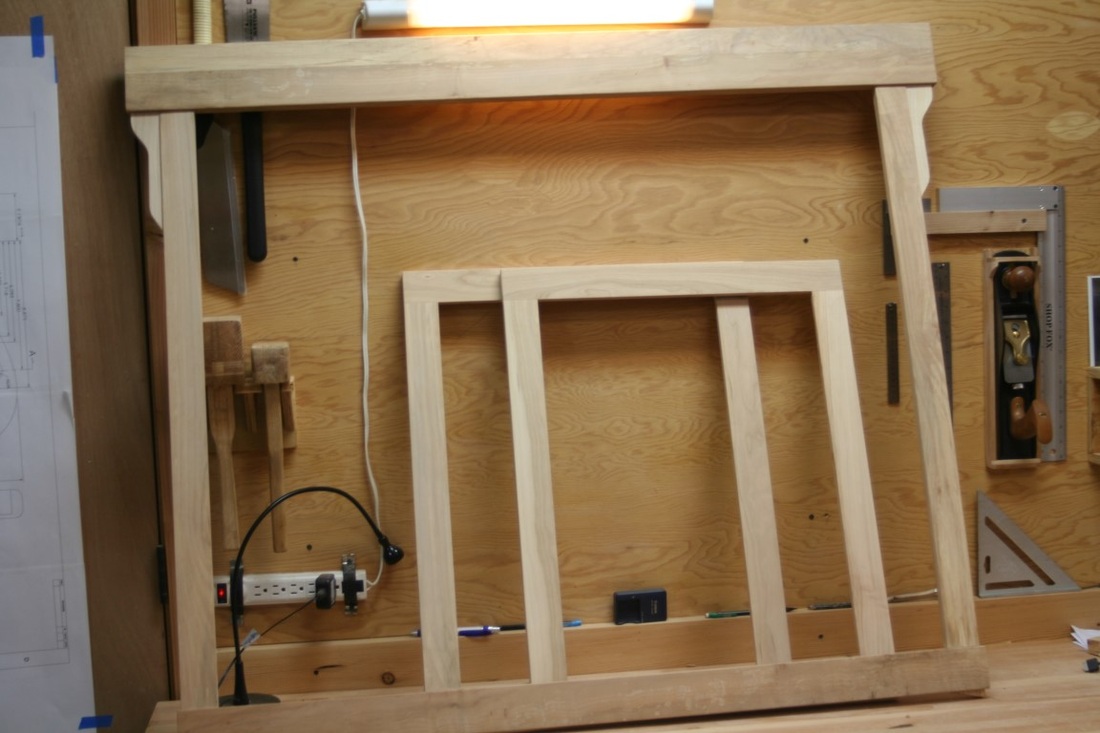
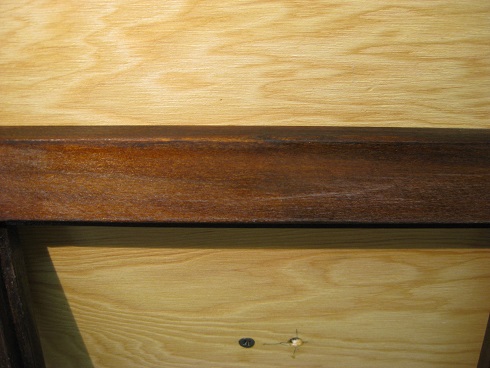
The top piece looked too small, so I widened that board by gluing on another piece of maple...
|
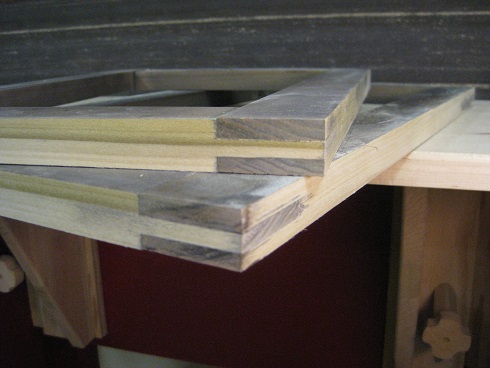
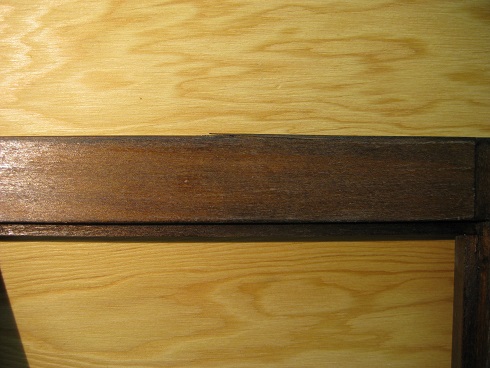
...which left a joint that needed some trim. The trim piece was left a little proud.
|
After I glued it up, the top board looked proportionally a little too small, so it got widened with another board. A coat of finish was applied and I decided that top joint needed some trim, so a channel was routed and a piece of trim added. During this build, I also did a couple other frames seen in the 3rd pic and pics below.
|

Adding the side and bottom cedar trim.
|

Adding the top cedar.
|
A cedar border was glued onto the back which provides a few features:
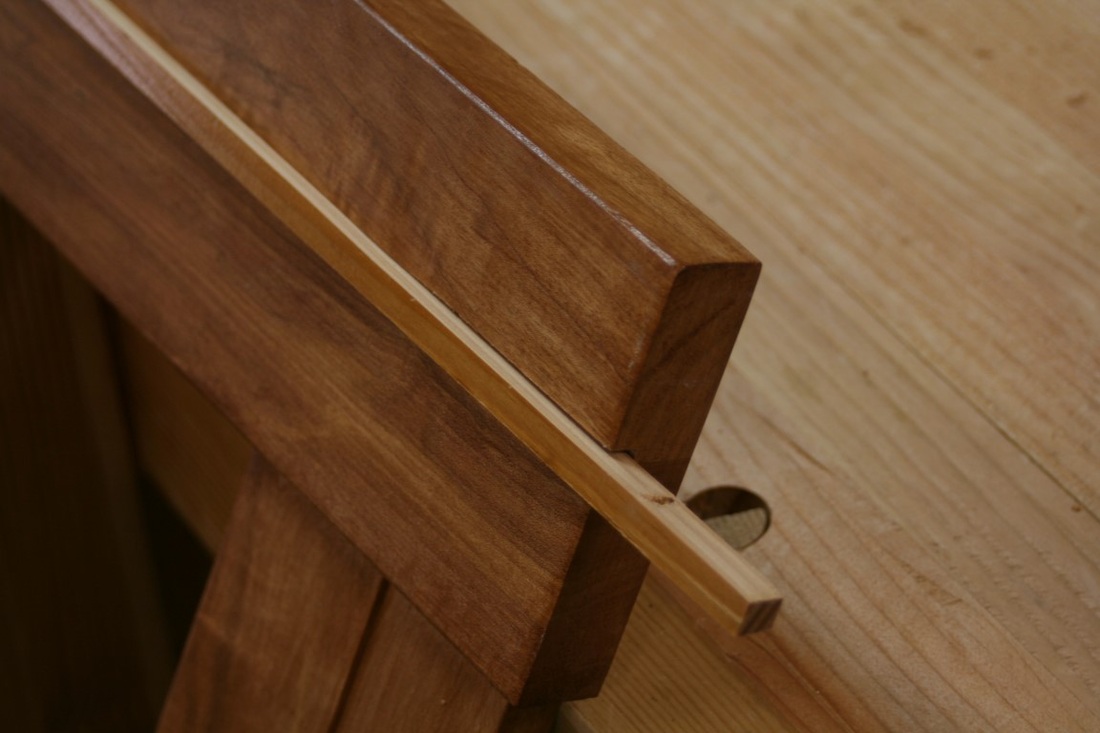
The cedar was glued onto the back keeping it 1/2" from the outside edge. The top piece appears narrower, but it isn't - that piece is wide enough to keep the 1/2" outside edge relief and to be able to add a clamp for the rug. |
|
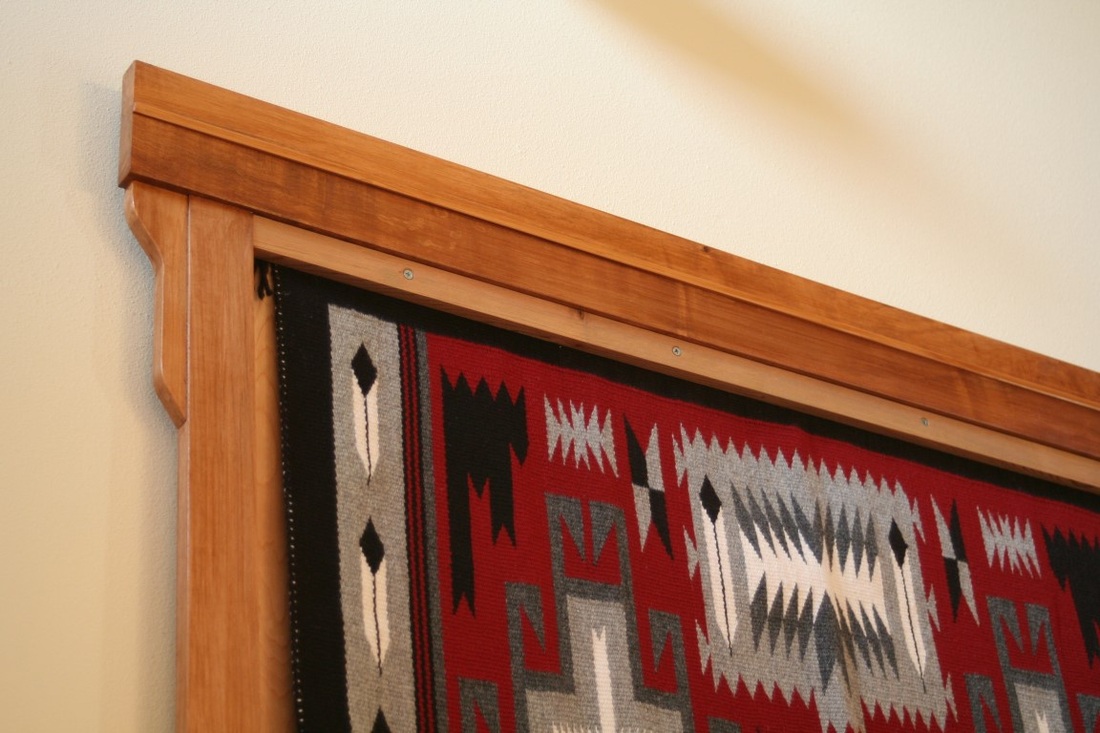
Here, you can see how the rug is clamped to the frame - it's basically pinched between the top cedar border trim and the clamp. No additional attachment for the rug was required. This photo also highlights the shadow affect caused by the cedar trim holding the frame off the wall a bit.
|
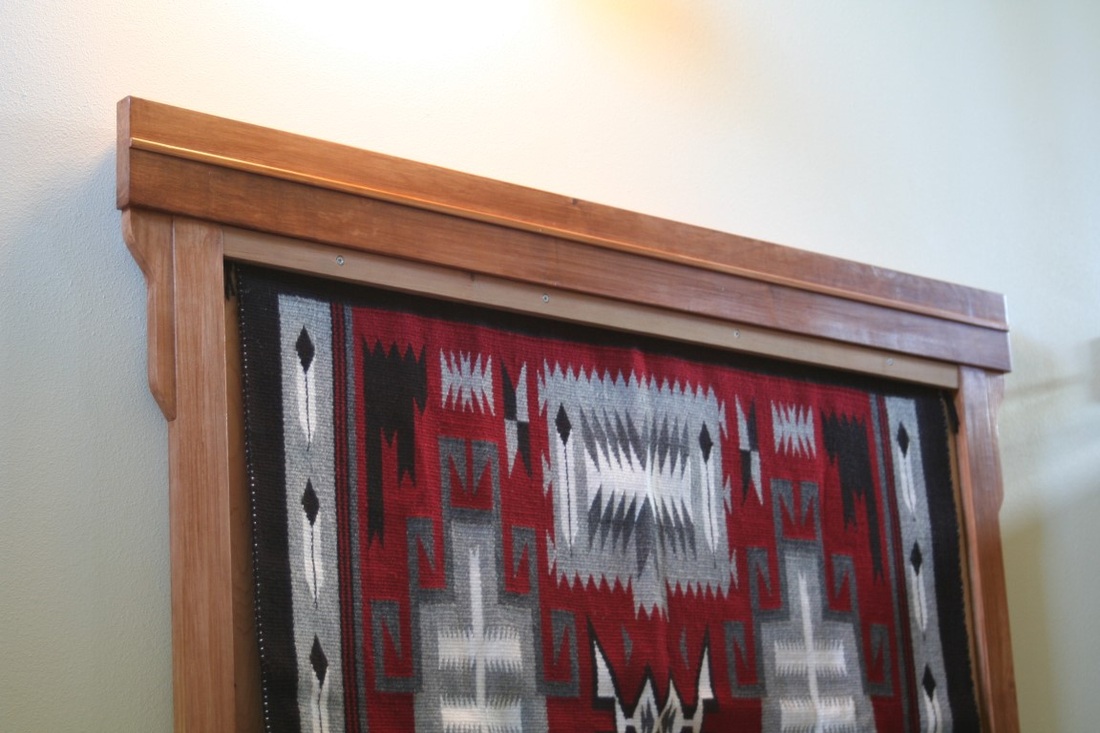
The completed frame and rug
For a finish, a couple coats of water based semi gloss polyurethane were applied. To make it a little darker, I mixed up some brown analine dye and added it to the poly. It's a simple technique that I have used before and haven't seen anywhere else - give it a try sometime!
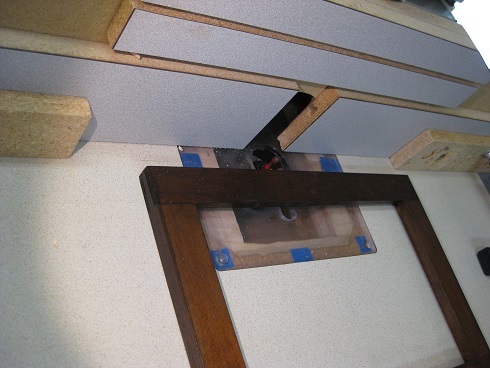
It was important to hang the frame so that it is centered over the shelf below it. A couple of T slots were routed into the top rail so that they would line up with wall studs. 2 screws then attached to those studs to hang the frame from the slots.
And finally, many thanks to Mr. Stanley Ben for such beautiful work. After all, this project was all about the rug that he made!
Hanging on the wall.
|

Here you can see how the bottom mortises are open ended with a little tail of the tenon sticking out.
|
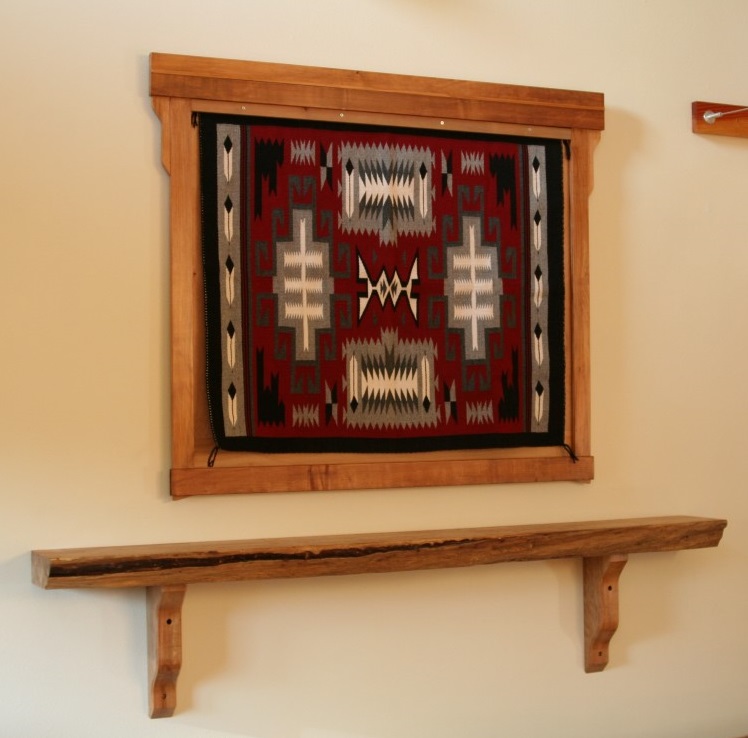
The hanging rug with the live edge shelf right below it.
Some other art frames...
Finger jointed picture frames
I have made many picture frames, for these, just to do something a little different, I decided to use Matthias Wandel's awesome finger joint machine.
|
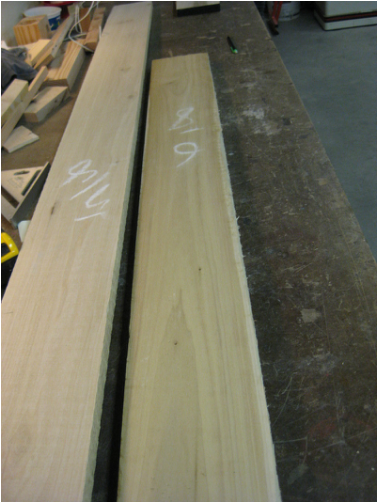
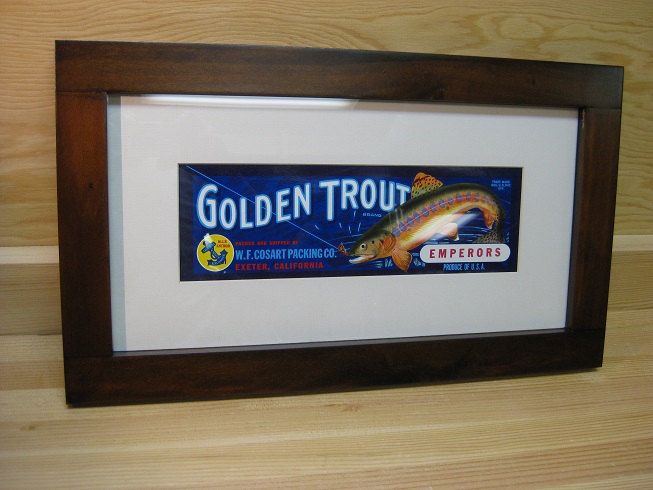
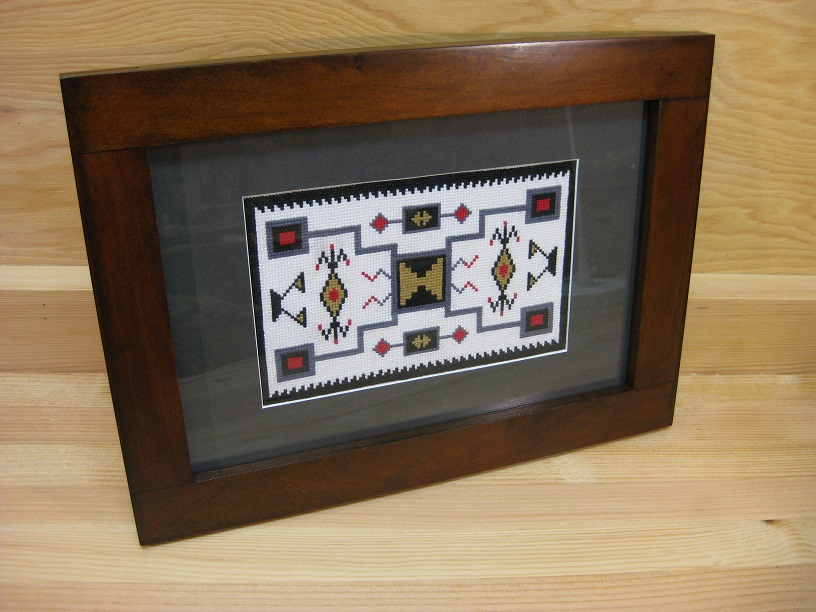
I start with some 4 quarter poplar boards about 5.75" wide. The one on the right, marked 6/8 will become 2 small frames, one for a fish picture and the other for a needle point. The other board will be used for square deep section frames a friend wants to use to display some puppets he picked up while in SE asia.
|
|
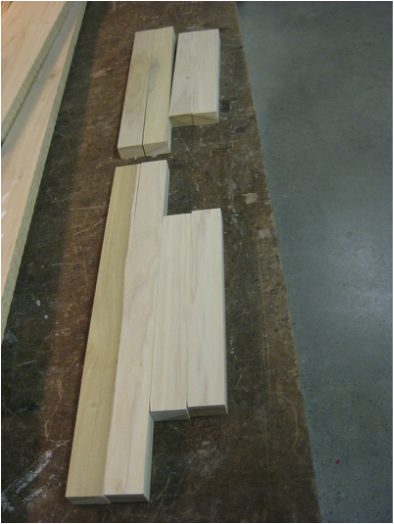
First I jointed, ripped, planed, and crosscut the pieces. These are for the 2 smaller frames.
|
|
|
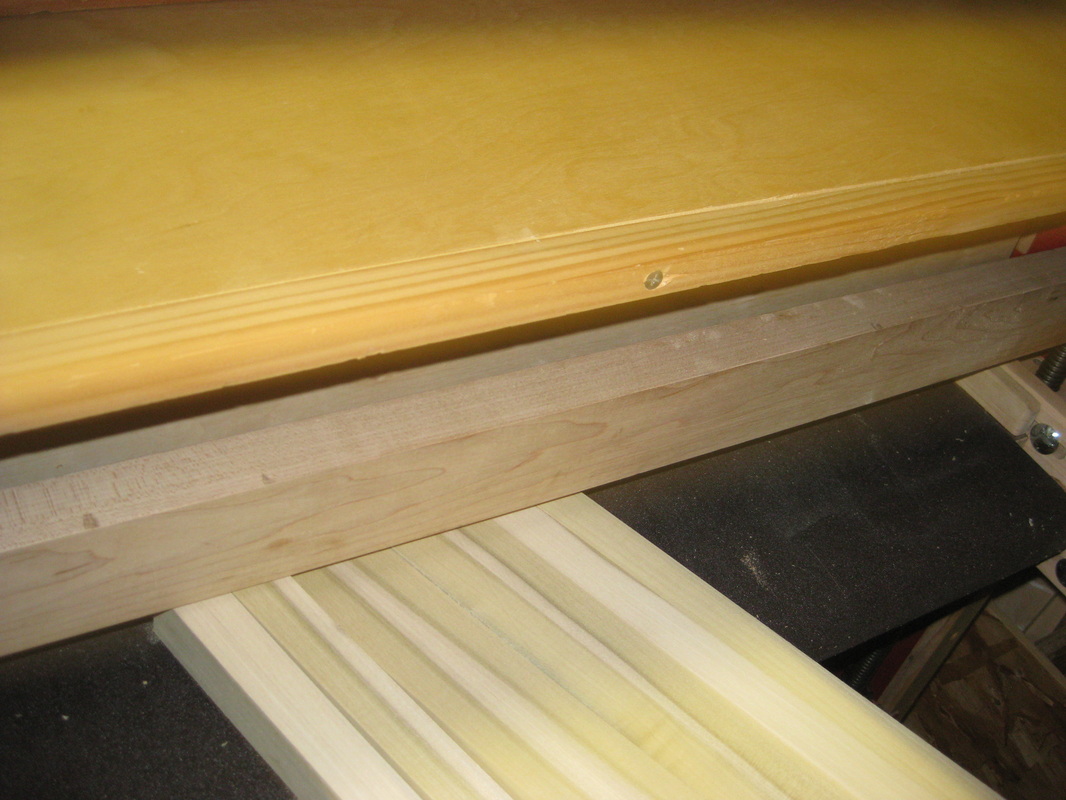
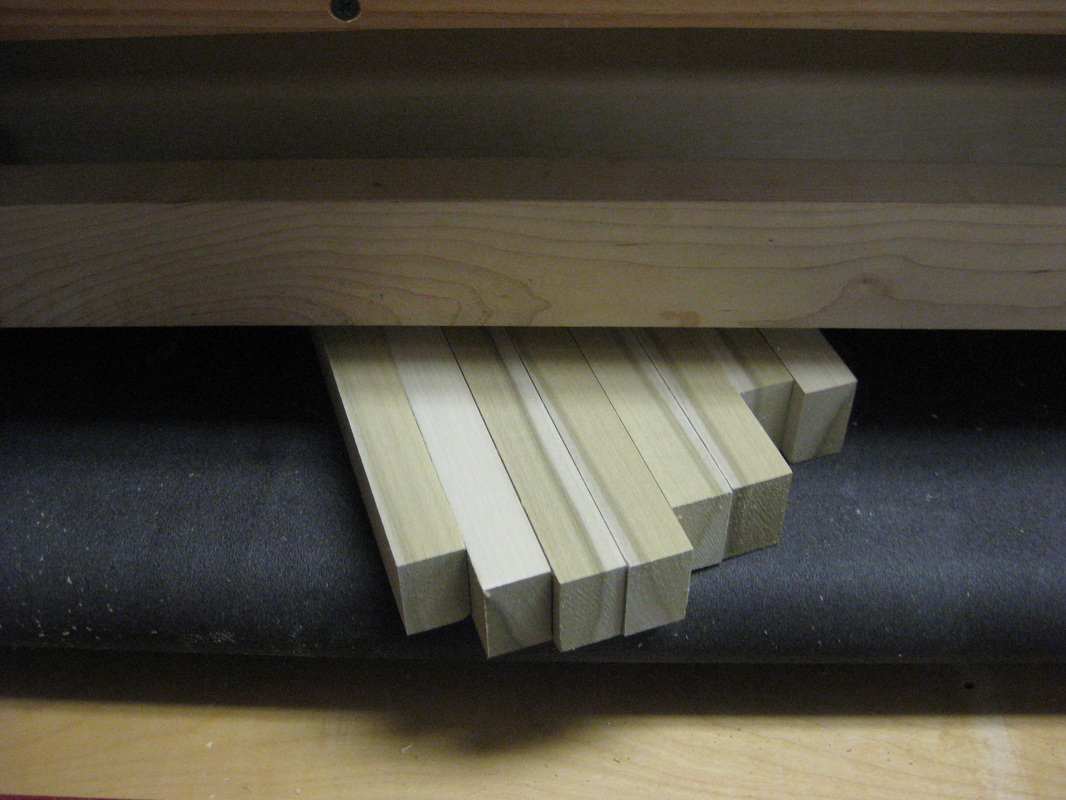
Running them through the thickness sander is always kinda fun and for these short pieces, it only takes a few minutes to get all 4 sides of each piece sanded.
|
|
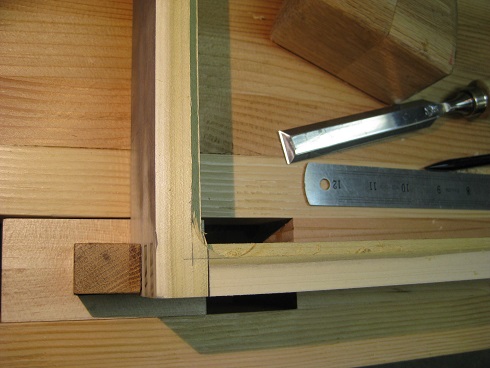
Here, I'm using a machine built from a design by Mathias Wandel - the finger joint jig. It's being used to cut joints in 2 pieces at a time. With these frames, being 3/4" thick, I'm making a 1/4" finger - they are like a mortise/tenon with open sides. When the pieces are flipped to do the other end, I make sure to orient the pieces so the cut starts on the same side as the other ends.
A standard thin kerf (3/32") blade is being used, so each finger requires 3 passes. It's faster doing it this way, than it would be to put a 1/4" dado blade on the saw. This jig is super accurate and fun to use - it's one of my favorite "Matthias" machines. |
|
A video of me using the Screw advanced finger joint jig... Such a fun tool!
See www.woodgears.ca for details. These were pieces for the puppet frames. |
|
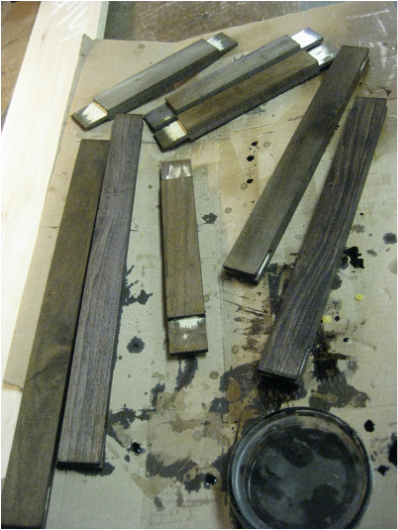
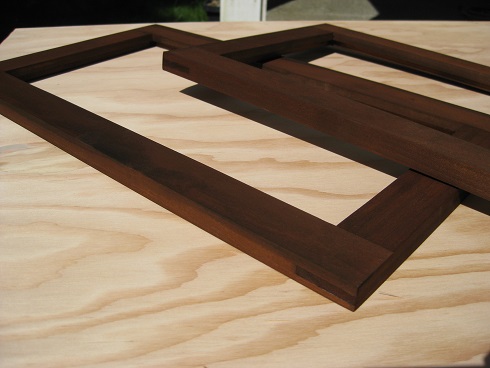
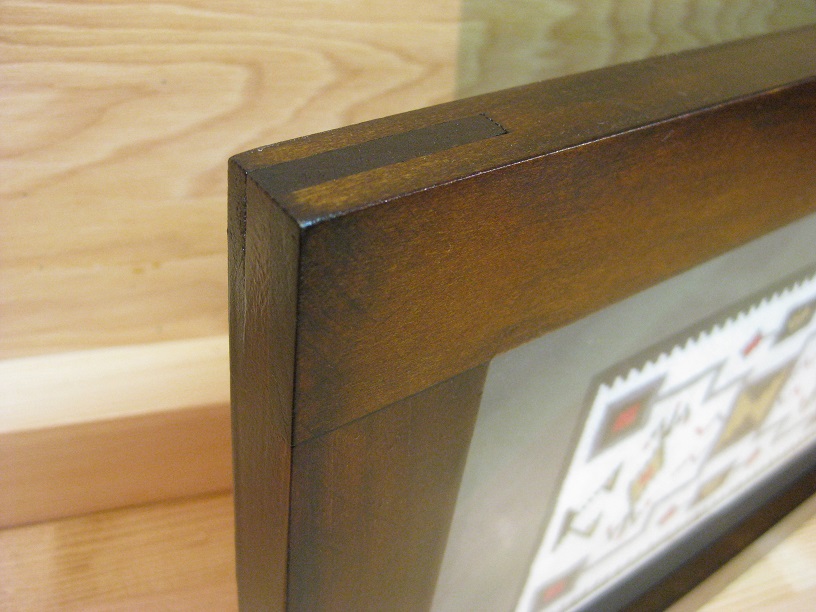
This is a photo of the picture frame pieces. We want them dark, so I use black aniline dye on them before gluing them up.
Were I to glue them first, then dye, the glue squeeze out would have gone into some of the exposed end grain on the finger joints. That grain would then not take the dye very well and I would have some bad looking corners, requiring me to remove the affected wood by sanding, sawing or planing the frames narrower thereby giving me some "clean" end grain that could be dyed. That's potentially too much work, so to be safe, I dye them first, which goes very fast. Leaving the fingers a little long helps because I will sand them even with the sides, but I don't want to take any chances with this being light colored wood that I'm trying to make very dark. This way, any glue squeeze out will not affect the dye coloring on the exposed end grain |
|
After the dye dried, I glued them up.
|
|
|
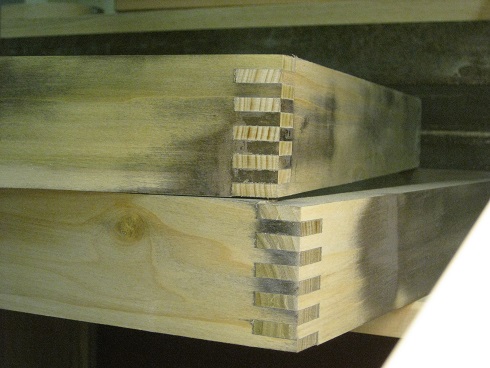
The sides were sanded on the edge sander. You can see in the photo on the left how the end grain has retained the dye.
To make all of the faces flush, I decided to run them through the thickness sander a few times. |
|
|
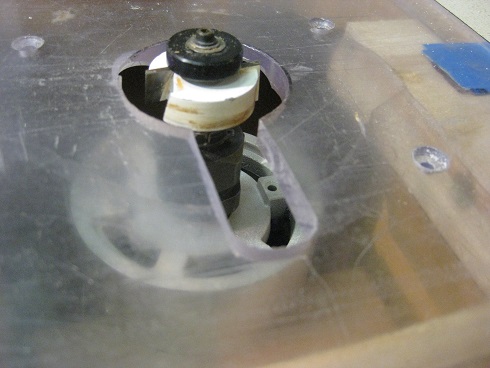
Now, it's time to rabbet the backs. I set up a bearing guided rabbet bit on the router table. To eliminate the possibility of tear out, I first took a shallow pass, then a final one. This poplar is very forgiving, I could have probably done it in one pass.
|
|
|
After the routing, the corners need to be squared up. Here, you see my tools to do this. I have it clamped in my dogsled wagon vise...
It would be nice to get a corner chisel. Or, I could do like Lars at Lars.com and make one (that thing is so awesome!)... Alas, so much to do, so little time... |
|
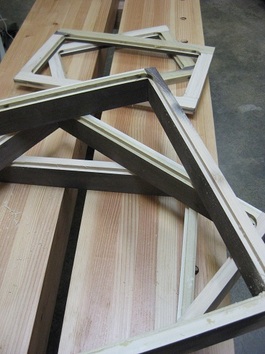
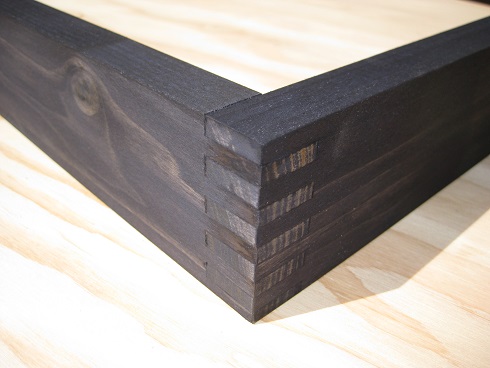
Here are the puppet frames after sanding. With these, I made the fingers a little longer, so I was more aggressive with the side sanding, still, there are a few fingers whose end grain has retained some dye. Aniline dye is very forgiving. There is no glue on that exposed end grain now, so when I re-dye them before finish, the color will even out.
|
|
|
I dyed them again, then realized I forgot to put in the hanger slots. After dyeing, the color can easily get damaged - especially with any moisture contact. To make them a little more durable before the final finish, I applied an initial coat of poly prior to cutting the hanger slots. The slots will expose the original wood color, which might look kinda cool - it's on the back anyway, so if I can cut them without any tear out, they will be left that way.
The ones on the right were originally dyed black, but I decided to make them brown. Some of the black will still show through, they'll look nice. |
|
|
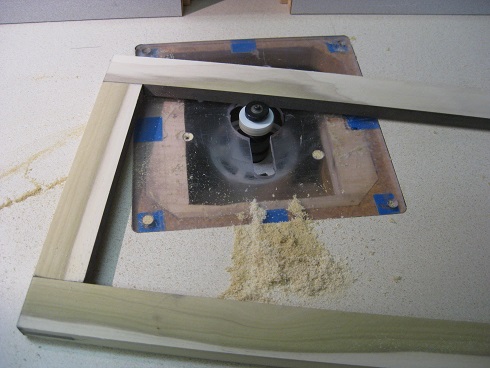
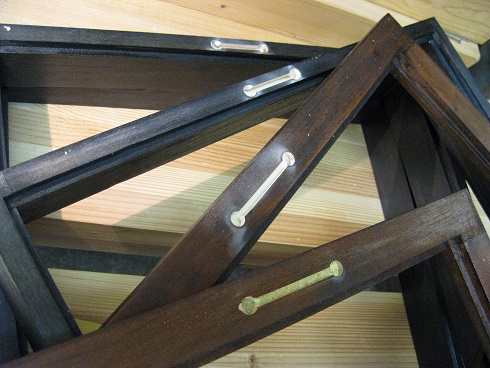
Here, I'm cutting the hanger slots on the router table. All 5 frames with virtually no tearout.
For these smaller frames, which are light weight, I just put 1 slot in the middle of the top rail. Larger frames might require 2 slots evenly spaced from the sides to prevent bowing of the top rail. |
|
|
|
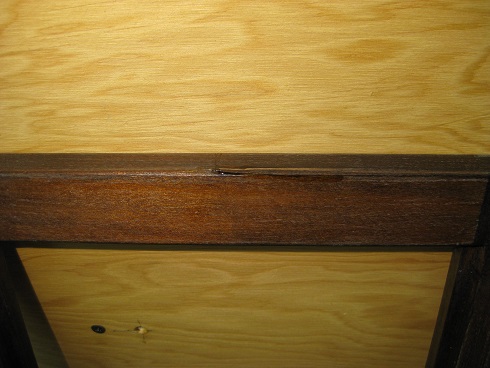
Click to enlarge.
Tearout and repair - I'm not sure when this occurred, but to fix it, I super glued the sliver, carefully holding it down for a few seconds, then, sanded, and dapped some dye on it. Another coat of poly made it just about disappear. |
The final pictures
|

|
|
|
